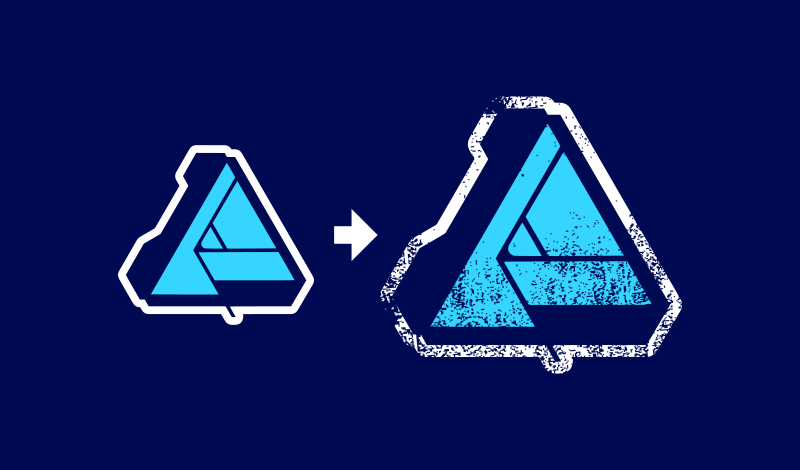
How To Apply A Texture Overlay with Affinity Designer
How To Apply A Texture Overlay with Affinity Designer https://logosbynick.com/wp-content/uploads/2021/01/texture-overlay-affinity-designer.png 800 470 Nick Saporito https://secure.gravatar.com/avatar/8e31bf392f0ba8850f29a1a2e833cdd020909bfd44613c7e222072c40e031c34?s=96&d=mm&r=gIn this tutorial I’ll be demonstrating how to apply a texture overlay with Affinity Designer. If you’re creating a design that needs to have an aged and worn look, Affinity Designer makes it easy to apply texture overlays to help create the look you’re going for, and the process is relatively simple when compared to alternative applications. With a simple black and white image applied as a layer mask, you can give your designs the photorealistic appearance of wear and tear.
Texture Overlays
A texture overlay is an image that is masked over another design element in order to combine various elements of the two.
Sometimes referred to as “layer masks” or “opacity masks”, texture overlays will make dark areas of the subject transparent and lighter areas opaque.
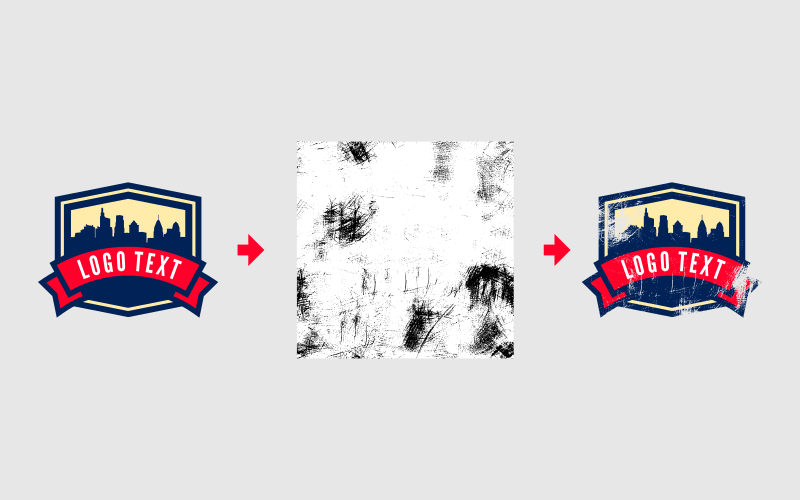
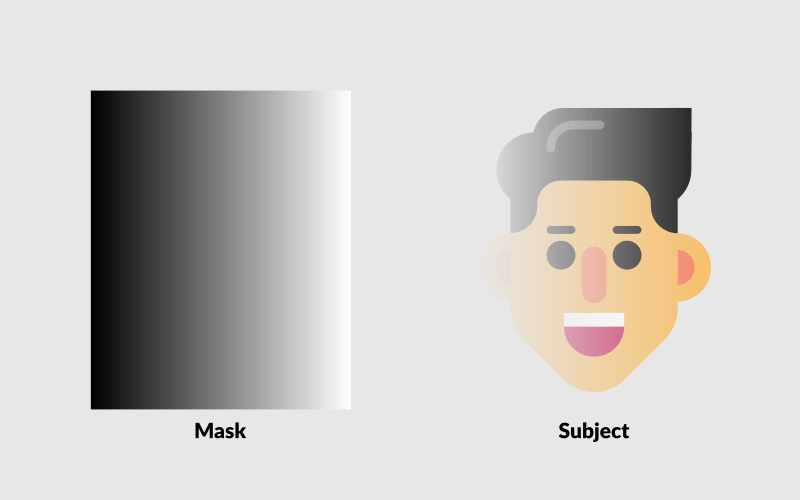
Black and white images can be used as texture overlays.
White areas of the texture overlay will remain fully opaque, whereas black areas will become fully transparent. Everything else in-between (gray areas) will have partial transparency that is determined by the darkness/lightness of the shade being used.
Texture overlays are also known as layer masks and opacity masks in other applications.
As demonstrated in a previous tutorial, this can be used to create a gradient of transparency. However, we can also apply a texture overlay with Affinity Designer to create an aged look as well. We just need to have the right texture images.
Apply A Texture Overlay with Affinity Designer
| To apply a texture overlay with Affinity Designer, position your texture image over your subject, then right-click its layer and select Rasterize to Mask from the drop-down menu. |
The following steps will guide you through the process of applying a texture to your subject in order to give it a worn look.
For complete step-by-step instructions, be sure to watch the video tutorial below:
Step 1: Group Your Layers
The only way we can apply a texture overlay with Affinity Designer is if we apply it to a single layer. So if you want to apply the text to a grouping of objects, make sure to select all of them and group them together by navigating to Layer > Group.
This should place all of your objects on a single layer.
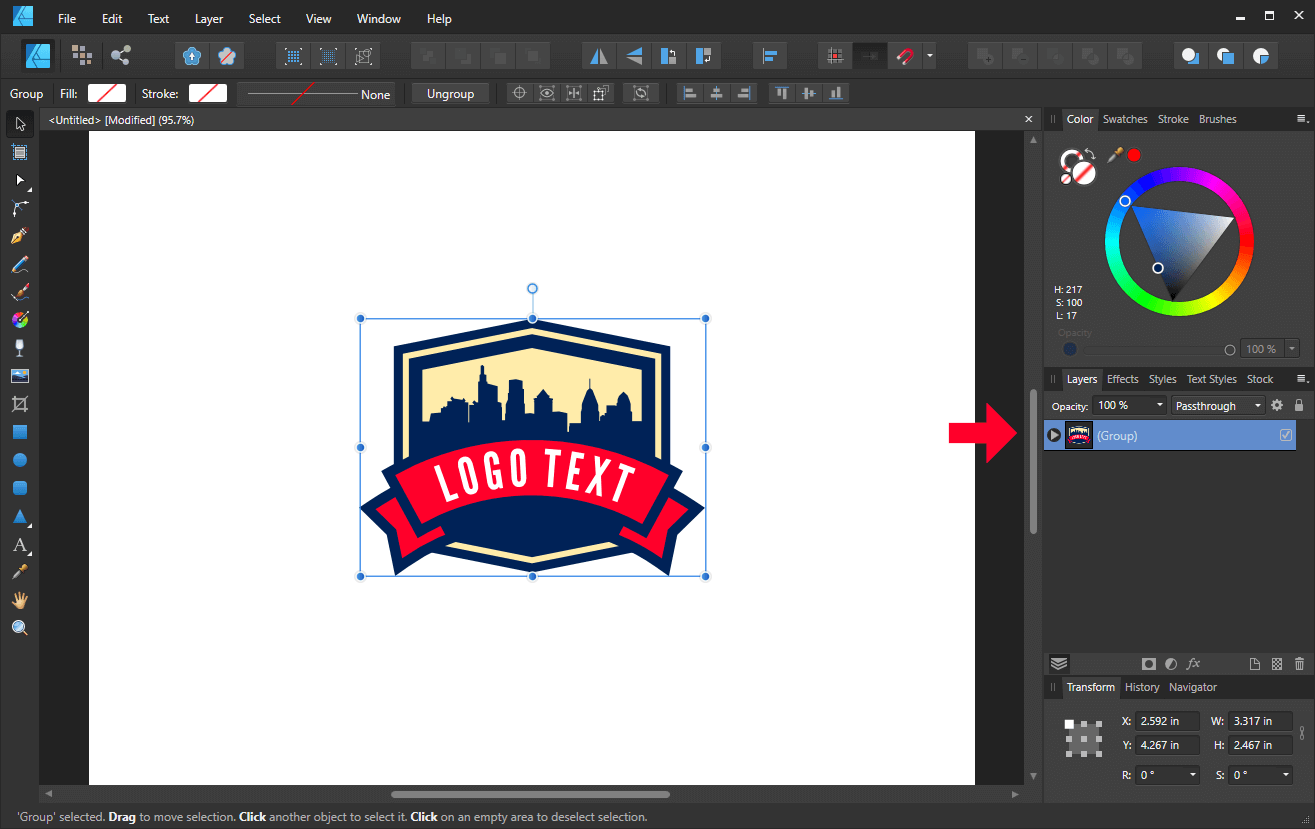
Your objects must all be on a single layer if you’d like to apply a texture overlay to them.
If you’d like to apply your texture to a single object then you can disregard this step as your object is already on a single layer.
Step 2: Import Your Texture Overlay
Now we need to import the texture overlay that we’d like to apply to the subject.
It’s important that the texture you import is only black and white and consists of no other colors. As mentioned previously, texture overlays use a scale of black and white — and every gray shade in-between — to determine the transparent and opaque areas of the subject they’re applied to.
Be sure to check out my pack of 15 free grunge textures if you don’t have any other textures to work with, or if you simply want to follow along with this lesson.
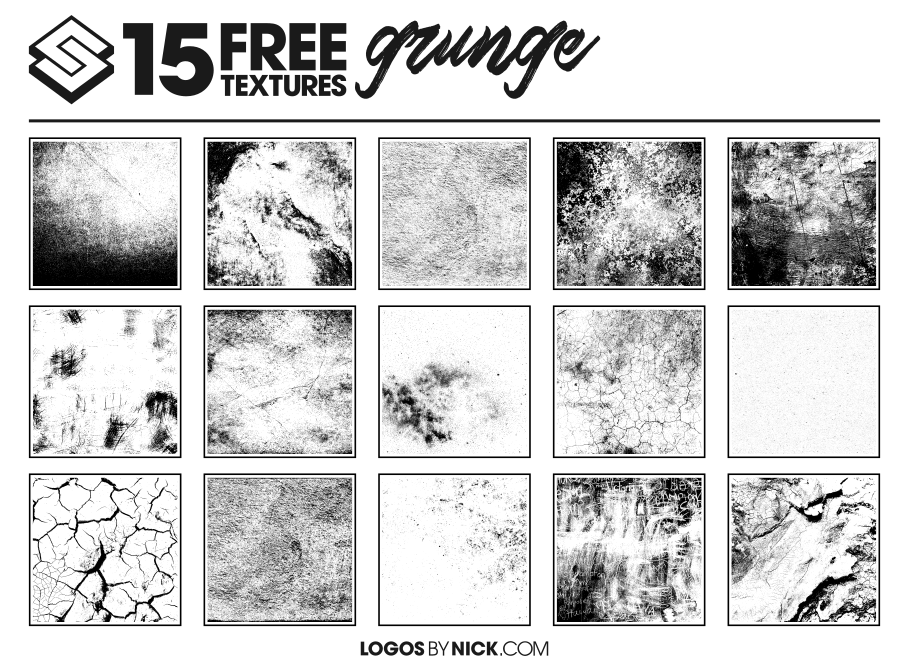
Feel free to utilize my bundle of grunge textures if you need a texture to work with.
Make sure to save them on your hard drive so that they can be located with ease.
To import your texture overlay, navigate to File > Place and locate your textures on your hard drive. Once selected, simply click on the canvas to place the texture overlay.
The image will be placed wherever you click on the canvas.
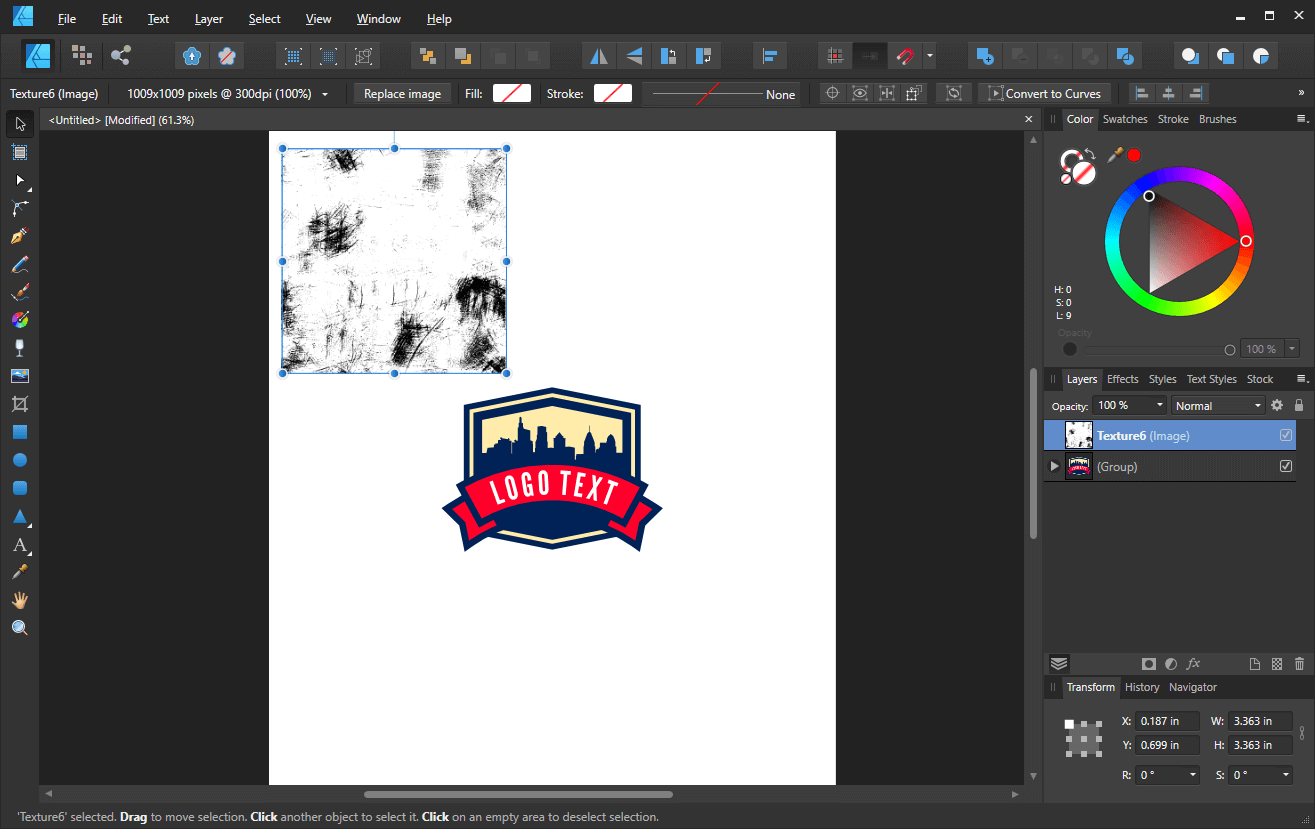
Step 3: Rasterize To Mask
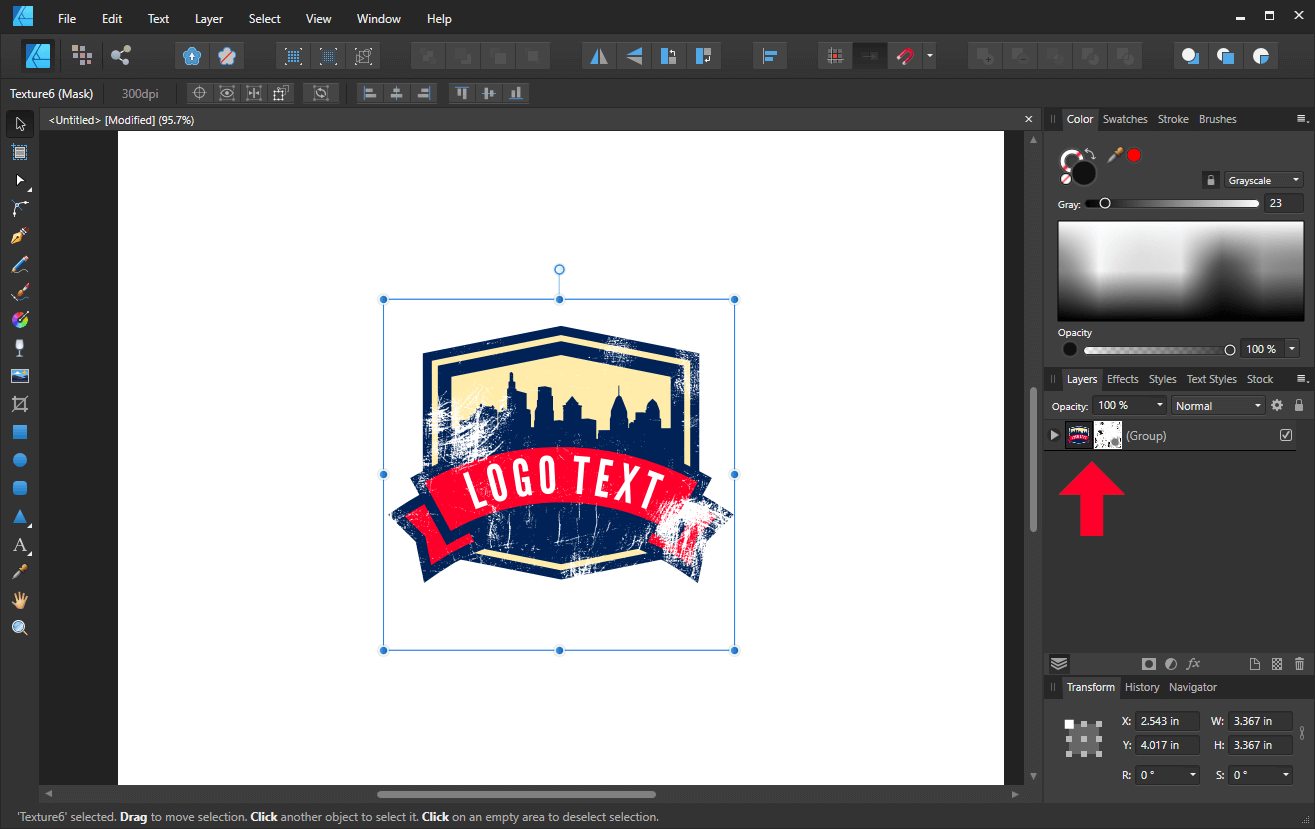
Next, we’re going to position the texture overlay on top of the subject so that it is covering it completely.
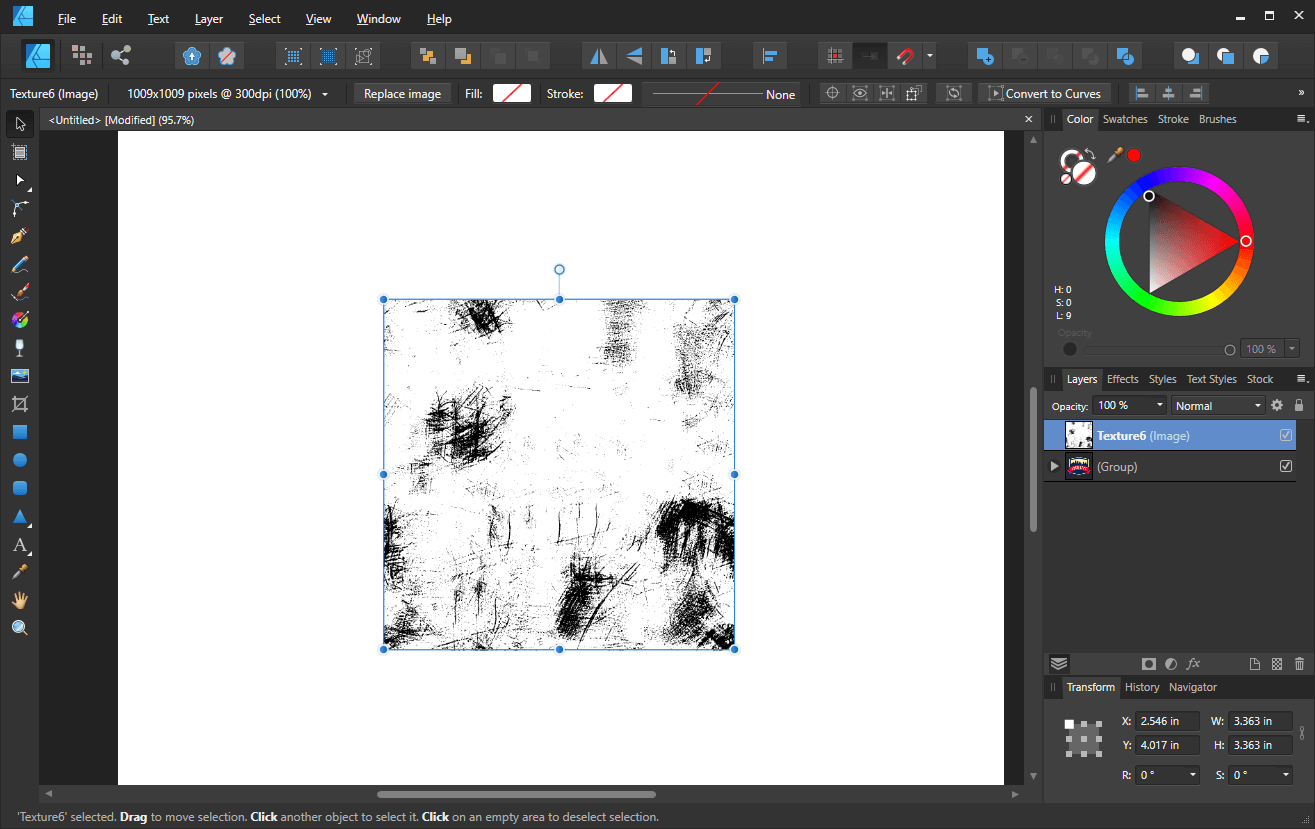
Make sure that your texture is larger than the subject, and that no elements of the subject stick out from behind the texture.
Right-click the texture layer, then select Rasterize to Mask. This will apply your image to the layer below as a layer mask.
Rasterizing to a mask will give you a preview of how your image looks when used as a texture overlay.
You can now adjust your texture overlay as needed. You can:
- Adjust its position
- Resize it
- Rotate and shear it
- & more
Adjust your texture overlay until you are satisfied with its appearance.
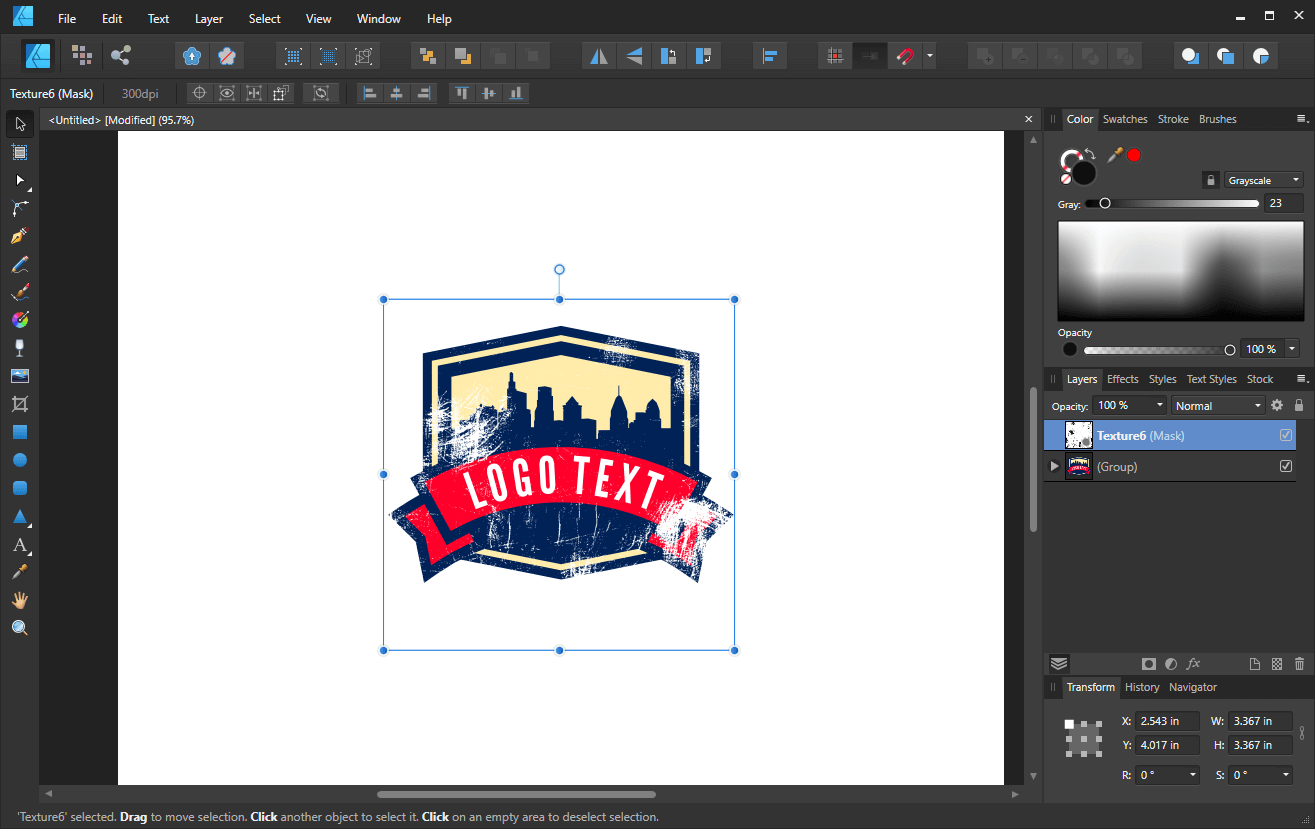
Step 4: Mask To Below
Once you’re happy with the position of your texture overlay, it’s time to mask it to the layer below so that it can be applied as intended.
To do this, right-click the texture overlay layer and select Mask to Below.
Once applied, the texture will be placed on the same layer as the subject:
Once applied as a mask, the texture and the subject both reside on a single layer.
Pay special attention to the thumbnail previews in the Layers menu.
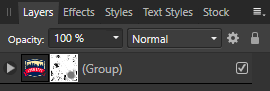
Make sure you have the correct layer thumbnail activated if you plan to transform the image further.
Clicking on the subject’s thumbnail will allow you to transform the subject with the texture overlay applied. Activating the texture overlay’s thumbnail will allow you to transform the texture independent of the subject, as we did in the previous step.
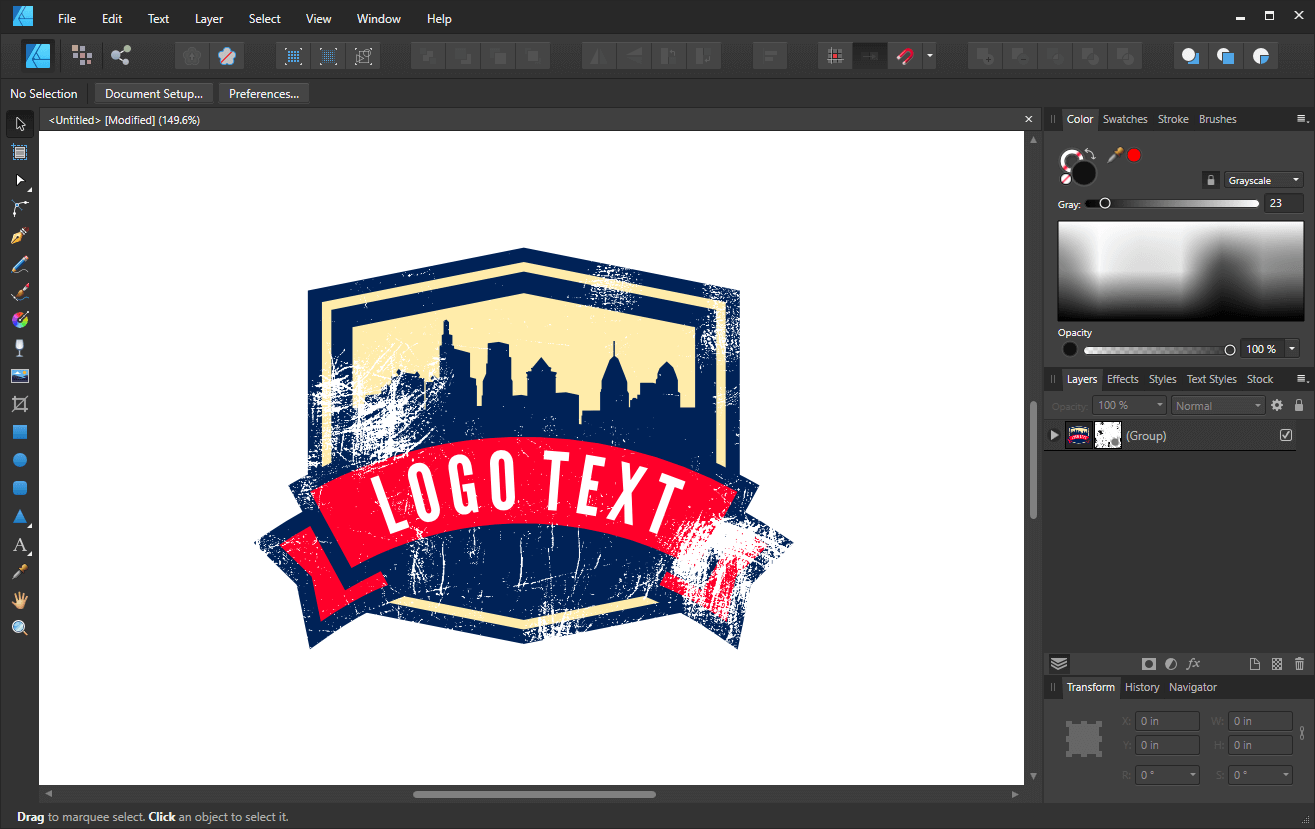
How the finished logo looks with a scratched texture applied.
Once you’re satisfied with the look of your newly-applied texture overlay, you can go ahead and save and/or export your it.
Releasing A Texture Overlay
One of the benefits of applying a texture overlay with Affinity Designer is that it is a non-destructive process. This means that you can remove the mask at any point.
To release the texture mask from your subject, simply right-click the thumbnail preview that contains the texture, then select Release Mask.
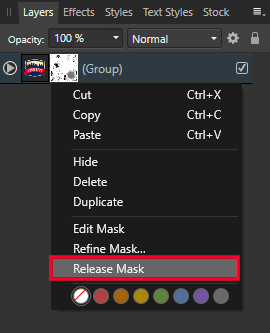
Releasing the mask will separate the texture from the subject,
This will make it so that the texture is once again on its own layer, as it was in step 3 of the lesson.
Conclusion
Thanks to Affinity Designer’s masking feature, it’s relatively quick and easy to apply a texture overlay to any subject you’d like, whether it be an individual object or a complex grouping of objects. The process is simpler than that of Adobe Illustrator, yet it isn’t bare bones as it is in Inkscape.
If you have any questions, or if any part of this lesson was unclear, simply leave a comment below!
Learn To Master The SoftwareGain a complete understanding of your favorite design apps with my comprehensive collection of video courses. Each course grants access to our private community where you can ask questions and get help when needed.
|
||||||||||||||||||||||||||||||||


Thanks very helpful.