How To Flow Text Around A Shape with Adobe Illustrator
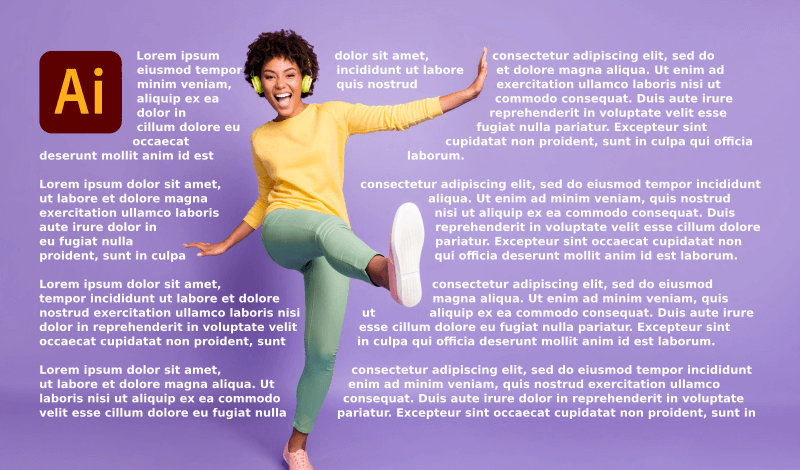
How To Flow Text Around A Shape with Adobe Illustrator https://logosbynick.com/wp-content/uploads/2021/01/flow-text-around-shapes-illustrator.png 800 470 Nick Saporito https://secure.gravatar.com/avatar/8e31bf392f0ba8850f29a1a2e833cdd020909bfd44613c7e222072c40e031c34?s=96&d=mm&r=gIn this tutorial I’ll be demonstrating how you can easily flow text around a shape with Adobe Illustrator. This can be really useful if you’re doing any kind of desktop publishing — like for a magazine, a poster, flyer, or whatever else — and you want to make your text interact with other design elements in a professional, consistent style.
To accomplish this, we will be using the Text Wrap feature in Illustrator. This makes the process incredibly simple, and unlike Inkscape, we will be able to transform the object that we are wrapping the text around in real time! This means that you can continue working on your design after you wrap text around a shape with Adobe Illustrator.
Flow Text Around A Shape with Adobe Illustrator
| To flow text around a shape with Adobe Illustrator, make sure that your shape is positioned above the text, then select both the text and the shape and navigate to: Object > Text Wrap > Make. |
The following steps will guide you through the process of flowing your text around an object with Illustrator — whether it be a shape, photo, logo, icon, or whatever else.
For a more immersive learning experience, be sure to check out the video tutorial that I put together:
Continue on if you’d prefer to follow the written tutorial.
Step 1: Generate Some Text
The first thing we’re going to do is generate some text on the artboard.
For this demonstration I will be using some placeholder Lorem Ipsum text, but you can use whatever text you’d like. If you’d just like to follow along with what I’m doing then you can find some placeholder text to copy and paste here.
Grab the Type Tool (keyboard shortcut: T) and click and drag a bounding box where you’d like the text to be on your artboard.
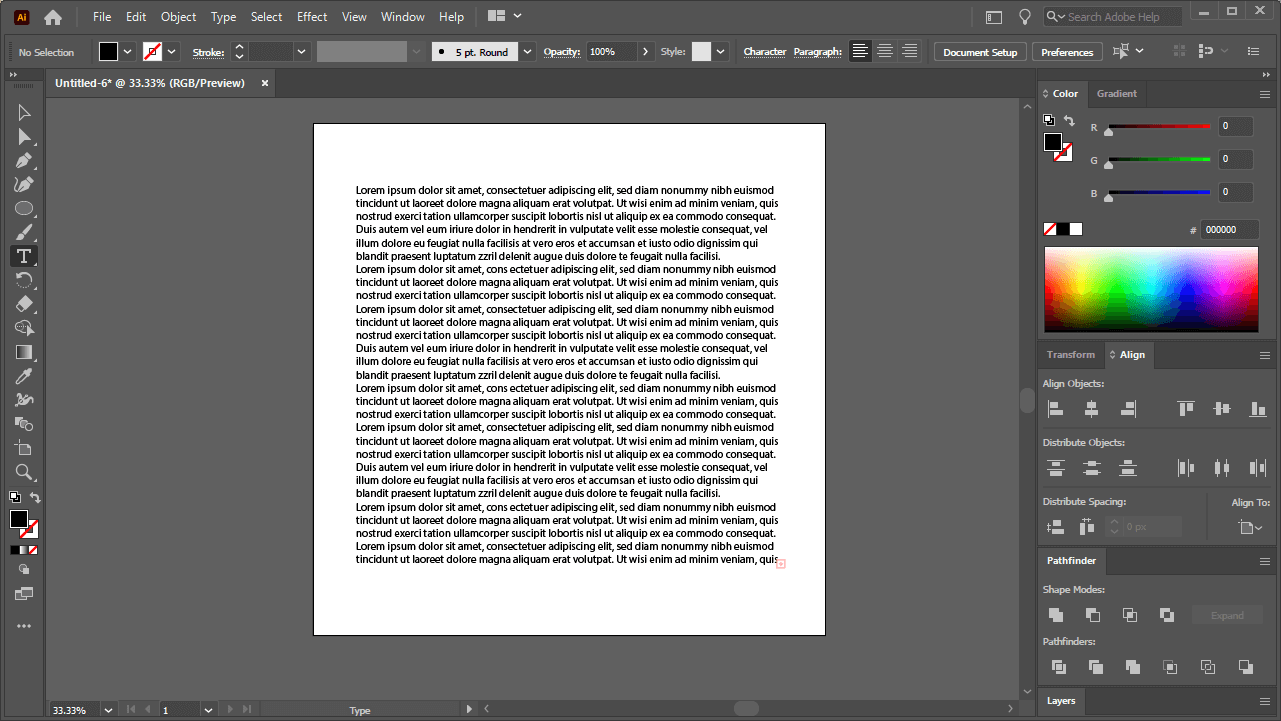
Generate some placeholder text on your artboard. Make sure it’s enough to flow around your shape.
Make sure to use the Align menu to center your text on the artboard vertically and horizontally.
Step 2: Place Your Shape Over The Text
Next, we’ll generate a shape to place over the text.
For this demonstration I will be using a simple ellipse, but this process works with virtually any shape or object.
If you want to wrap your text around a portion of a photograph — like I did in the header of this post — then you’ll have to manually draw a shape around your subject using the Pen Tool. I have a tutorial for doing such here.
Whatever shape you use, make sure that it is placed on top of the text and not beneath it.
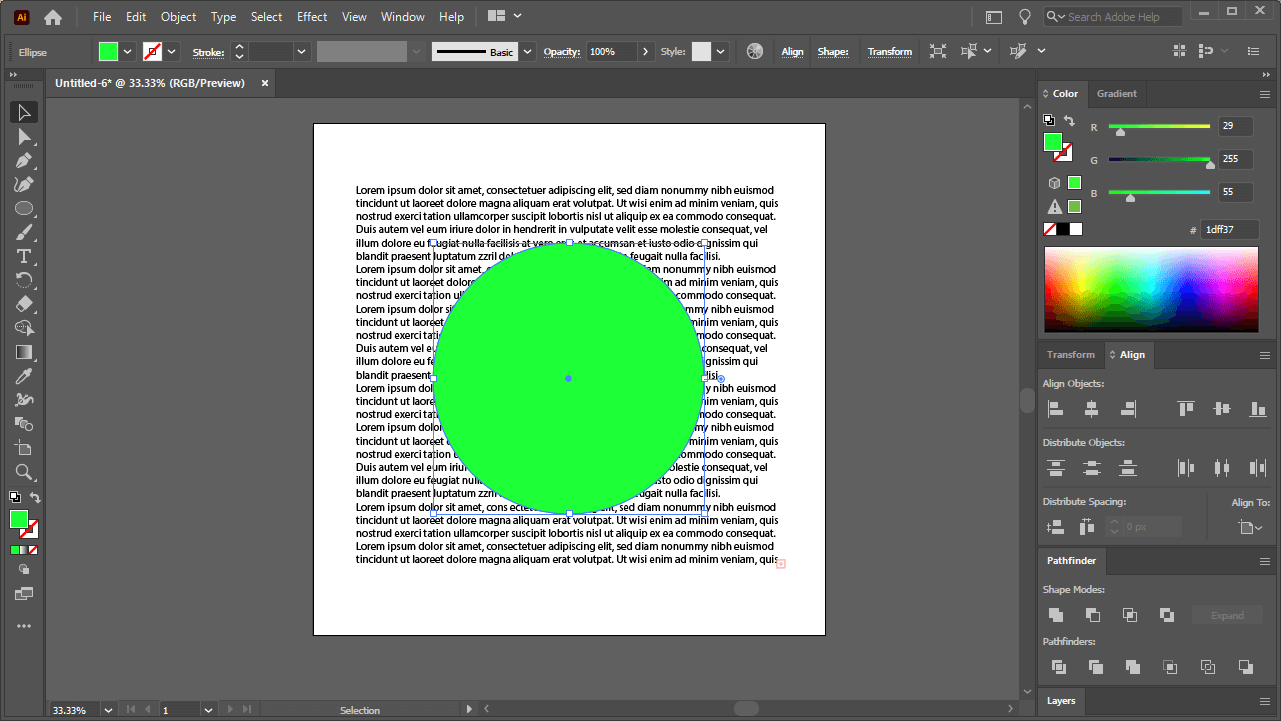
It’s important that your shape be positioned on top of your text, otherwise you will not get the desired result.
To position your shape above the text, simply right-click it and navigate to: Arrange > Bring to Front. Or you can use the keyboard shortcut, which is Control + Shift + ].
Step 3: Wrap Your Text
Once you have your text and object in place you are now clear to wrap your text.
To flow text around a shape with Adobe Illustrator, select both the text and the shape at the same time, then navigate to: Object > Text Wrap > Make.
This will make it so that your text wraps around the object:
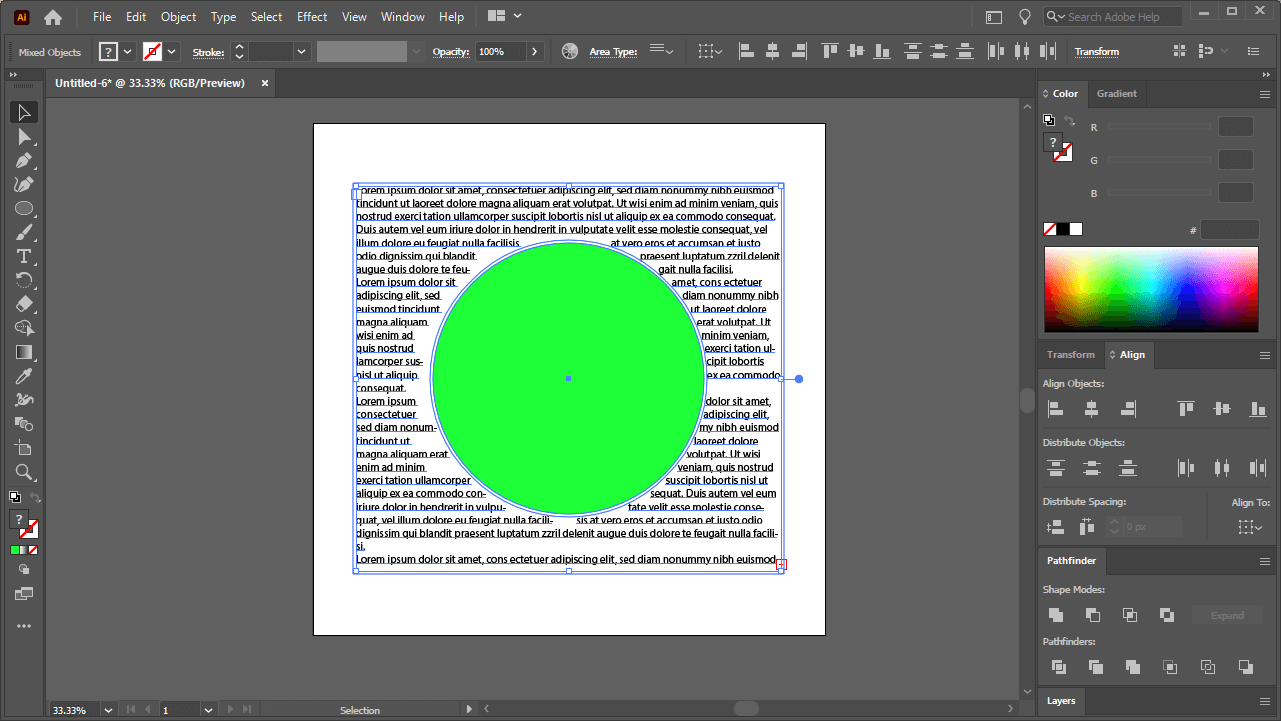
The Wrap Text feature allows your to flow your text around a shape with Adobe Illustrator.
Step 4: Make Any Necessary Adjustments
One of the biggest benefits of using Illustrator to wrap your text around shapes is that you can make adjustments to the shapes in real time without affecting the text.
At any point you can move your object around, and your text will transform itself to accommodate whatever changes you make:
You can continue making adjustments to your shape after you’ve wrapped your text.
This is also true for any other transformations you’d like to make to your shape, including:
- Scaling
- Shearing
- Rotating
- Changes to fill and stroke properties
- & more
If you’d like to change the size of the padding between the letters and the edge of the shape — otherwise known as the offset — you can do so by selecting both the text and the shape, then navigate to: Object > Text Wrap > Text Wrap Options.
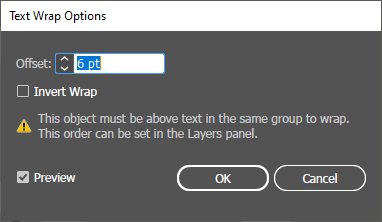
The Text Wrap Options menu allows you to change the spacing between the text and the edge of your shape.
By default, the offset is set to 6 pt. Increasing it will add more space between the text and the shape, whereas decreasing it will reduce the space.
You can preview how the changes will look by toggling the Preview box in the Text Wrap Options menu.
Increasing the offset will allow you to add more separation between the text and the shape you’ve wrapped it around.
Flow Text Inside Of A Shape
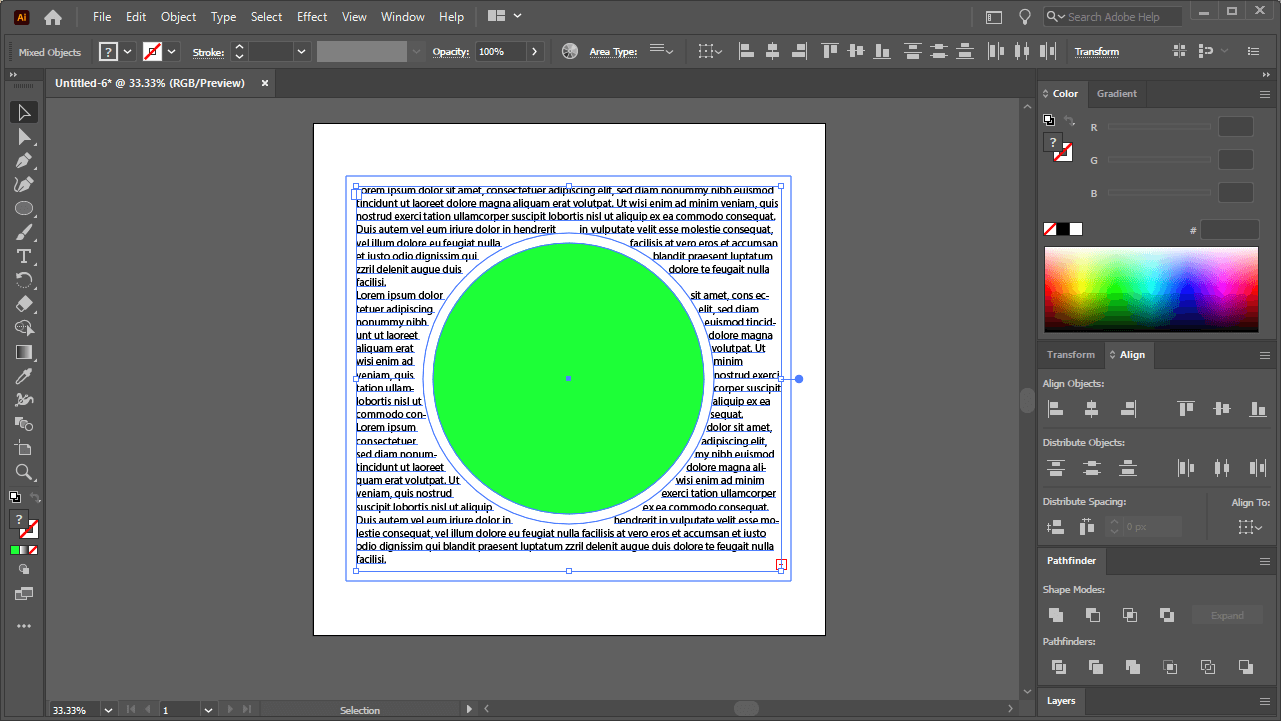
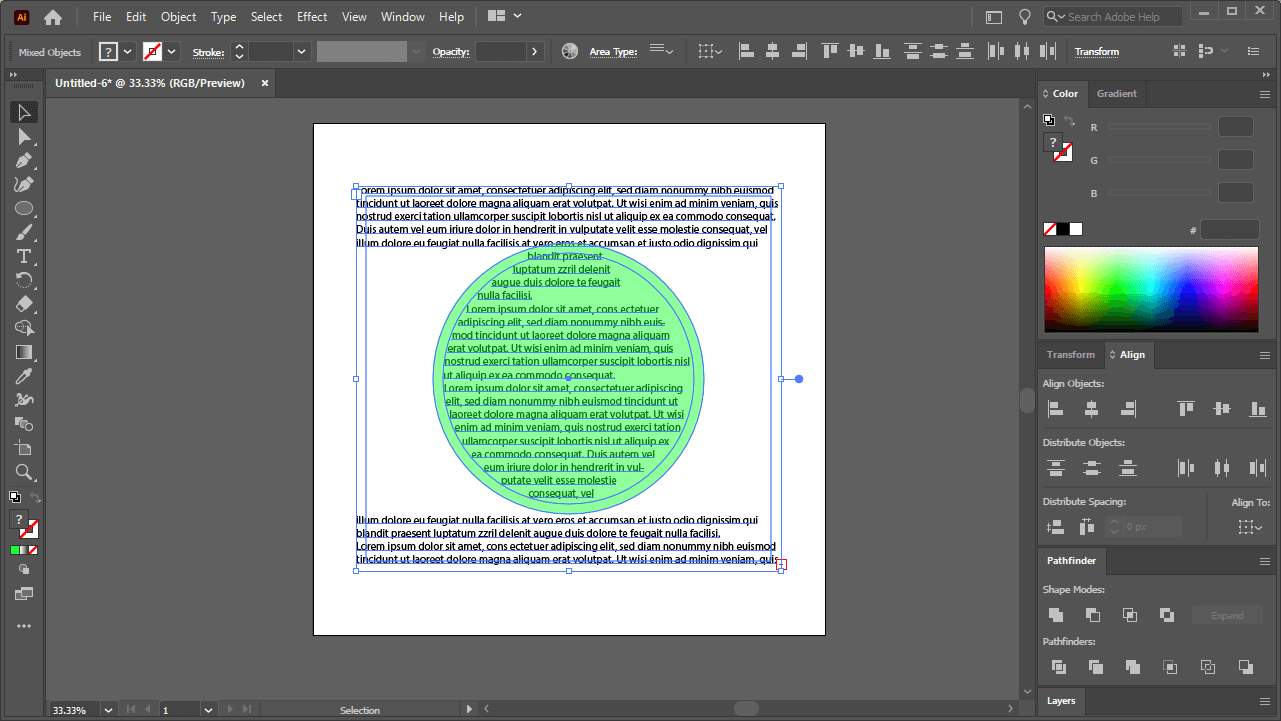
If you’d like to flow you text inside of a shape with Illustrator, all you have to do is follow the same steps, only open the Text Wrap Options menu and enable the Inverse setting.
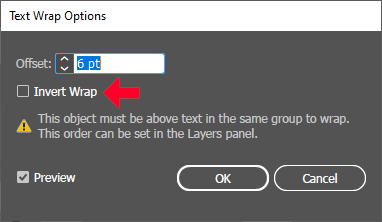
Ticking the Inverse box allows your to flow your text inside of a shape.
This will make it so that you text flows inside of the shape.
Sometimes your text will overflow from the shape if there’s too much of it.
If you text is not visible after flowing it inside of the shape, then it’s likely because it’s positioned beneath the shape. To see it, you’ll have to either raise the text or lower the shape.
To lower the shape, simply select it and press Control + Shift + [ on your keyboard. This will send the shape to the bottom, making your text visible.
Conclusion
One of the things I’ve always liked better about Illustrator, as opposed to some of its alternatives, is how easy it is to work with text. This is something I touched on briefly in my comparison of Illustrator VS Inkscape, and it’s also true when it comes to wrapping text. It’s simply easier to flow text around a shape with Adobe Illustrator than it is with any other application I’ve used. And best of all, you can continue making changes to your design after the text has been generated. In other applications, adding text will have to be the final step, otherwise the text will become misaligned.
If any part of these instructions were unclear, or if you have any questions, simply leave a comment below. As always, thanks for stopping by!
Learn To Master The SoftwareGain a complete understanding of your favorite design apps with my comprehensive collection of video courses. Each course grants access to our private community where you can ask questions and get help when needed.
|
||||||||||||||||||||||||||||||||


