How To Group Objects By Color In Illustrator
How To Group Objects By Color In Illustrator https://logosbynick.com/wp-content/uploads/2023/07/group-by-color-illustrator.webp 1000 587 Nick Saporito https://secure.gravatar.com/avatar/8e31bf392f0ba8850f29a1a2e833cdd020909bfd44613c7e222072c40e031c34?s=96&d=mm&r=gIn this tutorial we’ll be going over how to group your objects by color in Adobe Illustrator. This can be useful if you’re working with an array of objects and need to organize your artwork.
In short, to accomplish this we just have to select objects by color and then group them together using the Group function in Illustrator. Then, we can use the Layers menu to label and organize each group. Let’s have a closer look.
Group By Color In Illustrator
The following video tutorial will walk you through the entire process:
Continue on for the step-by-step instructions.
Table of Contents
|
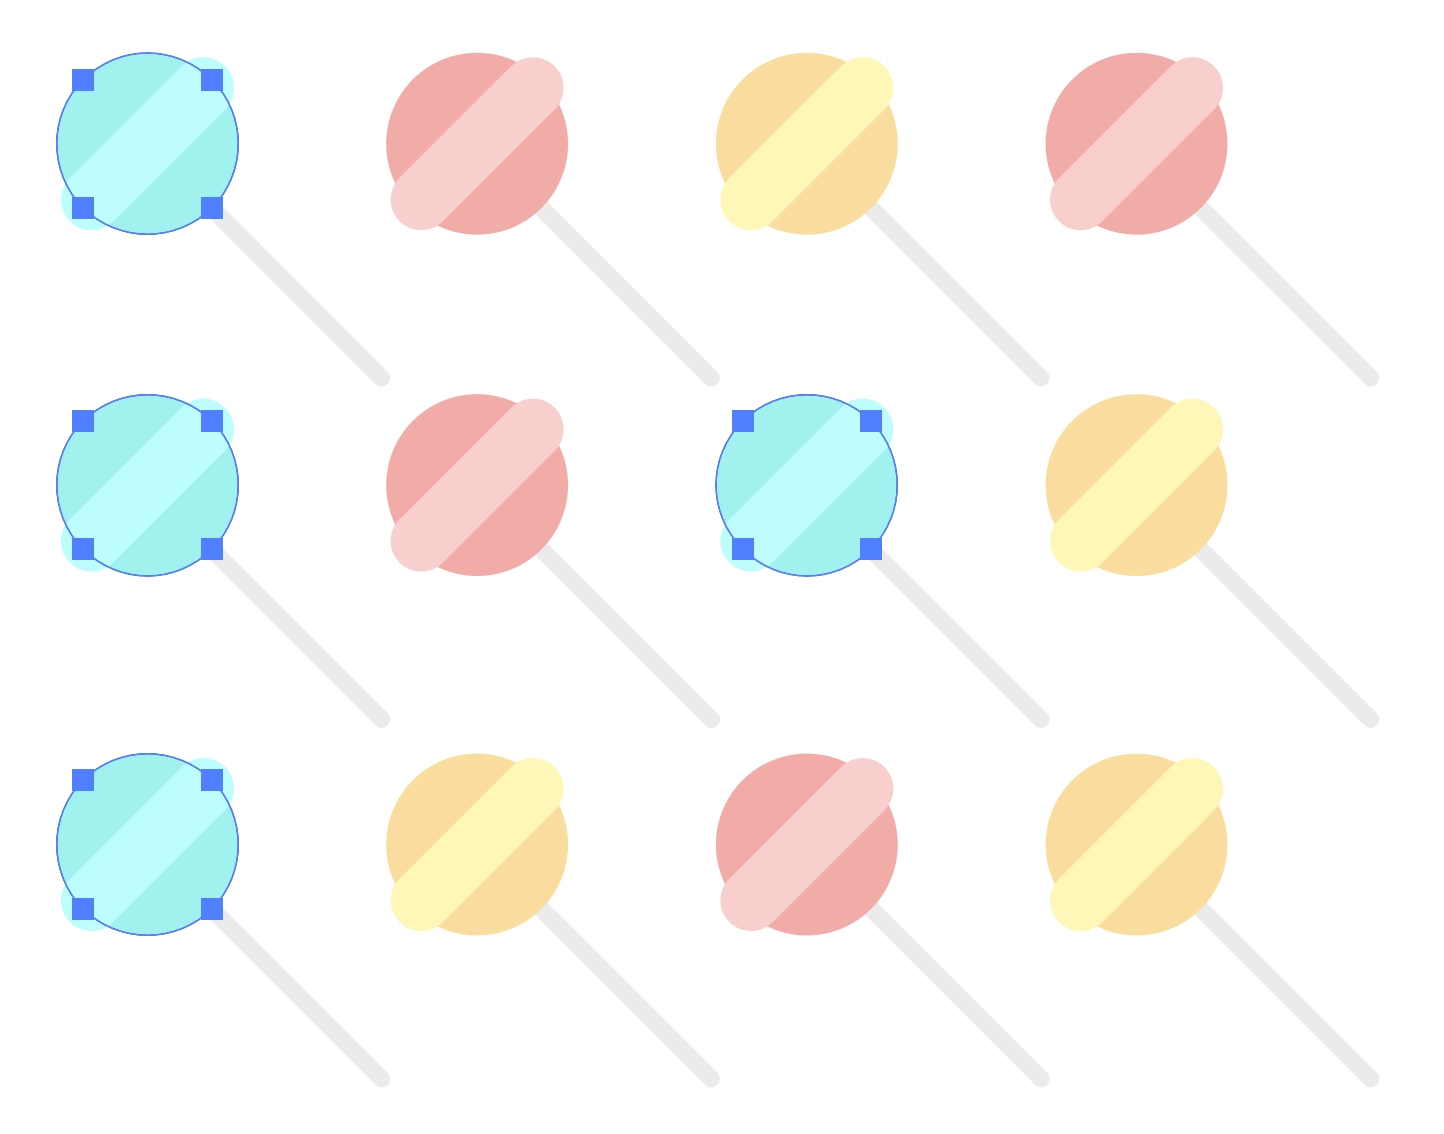
Step 1: Select all object of a similar color
First, click on an object (any object) to select it and then select all other objects with the same color by navigating to:
Select > Same > Fill Color
If you’re working with objects that consist of strokes and do not have a fill color then you would choose Stroke Color instead of Fill Color.
All of the objects on your canvas with that color will be selected:
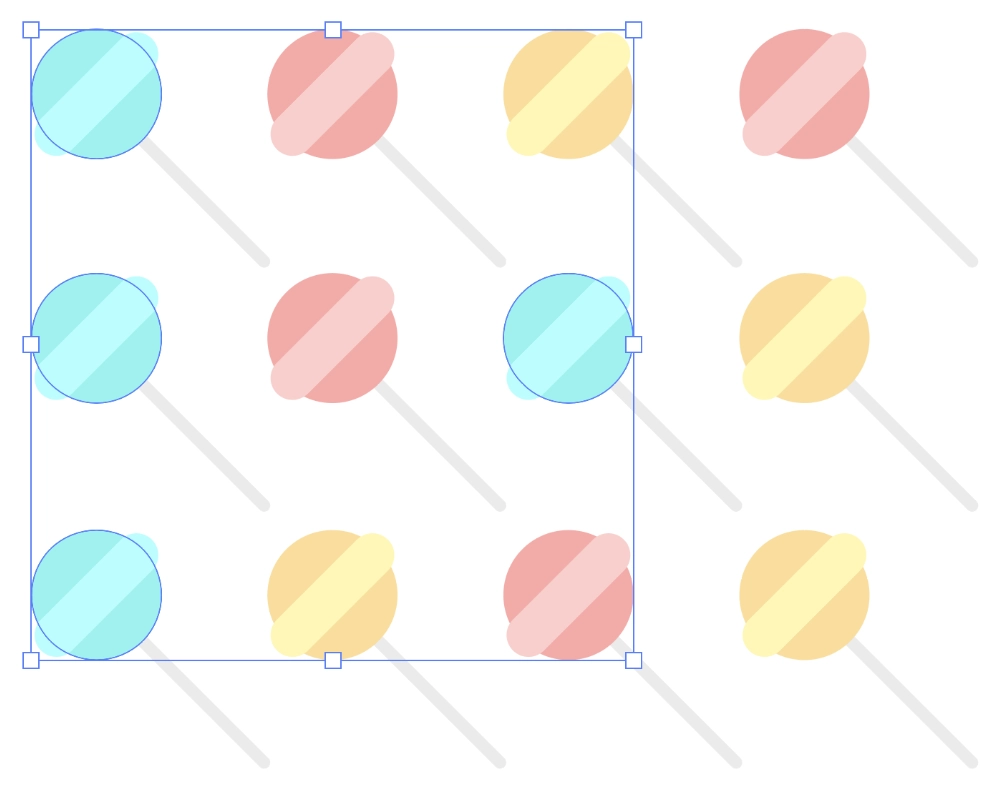
Step 2: Group them together
Now let’s group the objects together. To do this, navigate to:
Object > Group
Once enabled, the selection of objects will be converted into a group which only contains objects of a single fill color:
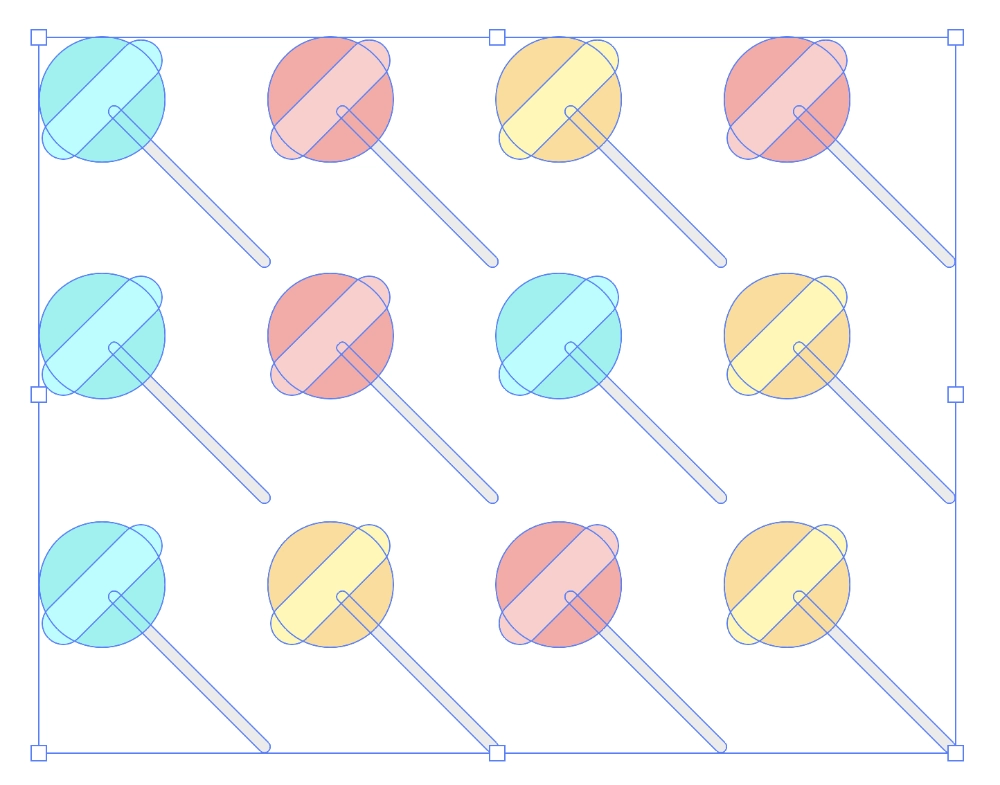
Step 3: Repeat this process for all other colors
All we have to do now is repeat the first two steps for every other color you want to make color groups for. Create all of your groups as needed:
If you’re working with a lot of colors then you can speed the process up using the keyboard shortcut for grouping, which is Control + Shift + G for Windows users and Command + Shift + G on Mac.
It should be noted that when grouping objects sometimes their positions will change relative to the artwork. Maybe they have been lowered or raised too many steps.
You can correct this by right-clicking the group and going to Arrange and then choosing whether you want to raise or lower your group.
Step 4: Organize your groups using the Layers menu
Once you are finished grouping your objects by color, you can arrange and organize them using the Layers menu. To access it, navigate to:
Window > Layers
Expand Layer 1 by clicking on the arrow next to its name. You should now see each color group indexed in the menu:
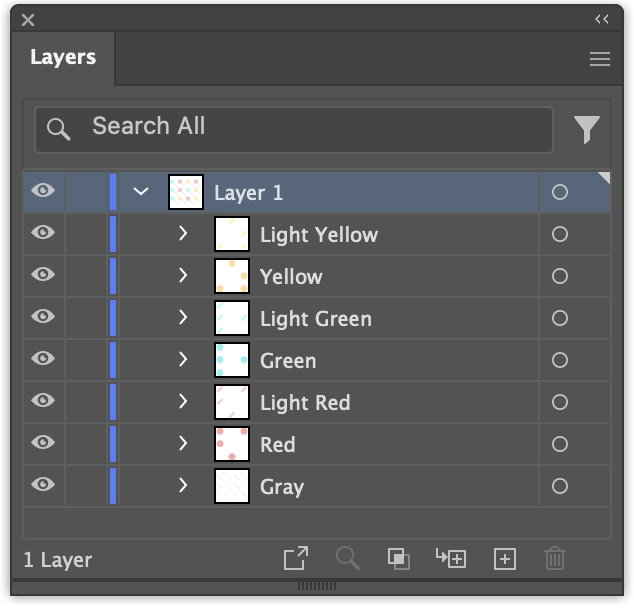
You can change the names from “Group” to whatever you’d like.
You can double-click the labels associated with each to change the names to their respective colors as I did in the screenshot above.
How To Undo The Color Groups
If at any point you want to remove your color groups, you can do so by selecting them and navigating to:
Object > Ungroup
The objects will revert back to their independent state. Please note that if you do this, all changes made to the group names in the Layers menu will be lost.
Learn To Master The SoftwareGain a complete understanding of your favorite design apps with my comprehensive collection of video courses. Each course grants access to our private community where you can ask questions and get help when needed.
|
||||||||||||||||||||||||||||||||