How To Apply Textures To Objects with Inkscape | Beginner Tutorial
How To Apply Textures To Objects with Inkscape | Beginner Tutorial https://logosbynick.com/wp-content/uploads/2019/11/apply-textures-to-objects-with-inkscape.png 800 470 Nick Saporito https://secure.gravatar.com/avatar/8e31bf392f0ba8850f29a1a2e833cdd020909bfd44613c7e222072c40e031c34?s=96&d=mm&r=gIn this tutorial I’ll be demonstrating how easy it is to apply textures to objects with Inkscape. This makes for a great beginner tutorial.
Apply Textures To Objects with Inkscape
In order to apply textures to objects with Inkscape we will be using the Masking feature. In short, masking is when you use a photo as somewhat of a filter and apply it over an object. The object you apply it to can be virtually anything — vector shapes, texts, other photos, etc. This is one of those things that is easier to demonstrate than it is to explain, so let’s dig in a little deeper.
In this demonstration I’ll be using the Inkscape logo as an example. This is the object I’ll be applying our texture to…
![]()
The texture I’ll be applying to this object is as follows…

Example grunge texture
If you’d like to download this texture (and various other textures as well) be sure to check out my free pack of grunge textures.
What I’m going to do is place the texture over the object I’d like to apply it to. Then I’m going to bring down the opacity of the texture enough for me to see the object beneath it and where it lines up.
![]()
Once we apply the masking feature, Inkscape will take the black areas of the texture and make them transparent on the object. The white areas of the texture will have no effect on the object. This works for gradients and other shades as well — darker shades become more transparent the darker they get, and lighter shades have less of an effect the lighter they get.
To see this in action, select both objects (the texture and the object you’re applying it to,) bring the opacity back up to 100%, then go to Object -> Mask -> Set. Make sure that the texture is placed on top of the object and not beneath it. The masking feature uses the top object as the mask.
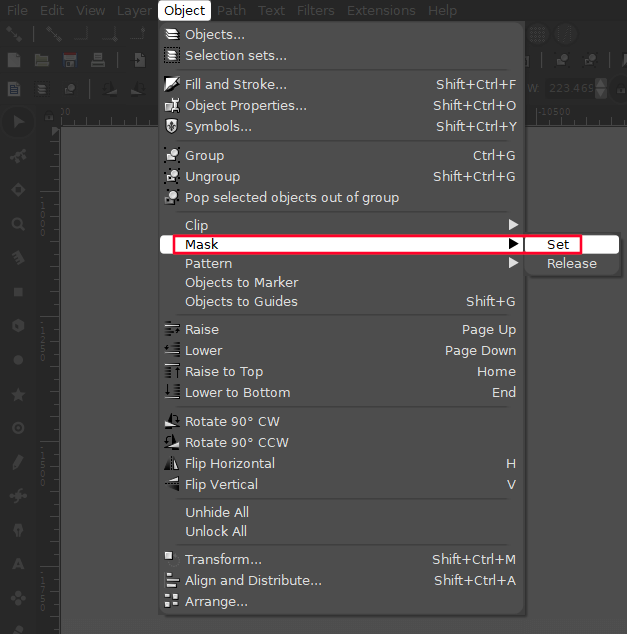
It’s important that both objects are selected, and it’s also important that the texture is layered on top of the object, otherwise it won’t work.
The result is as follows…
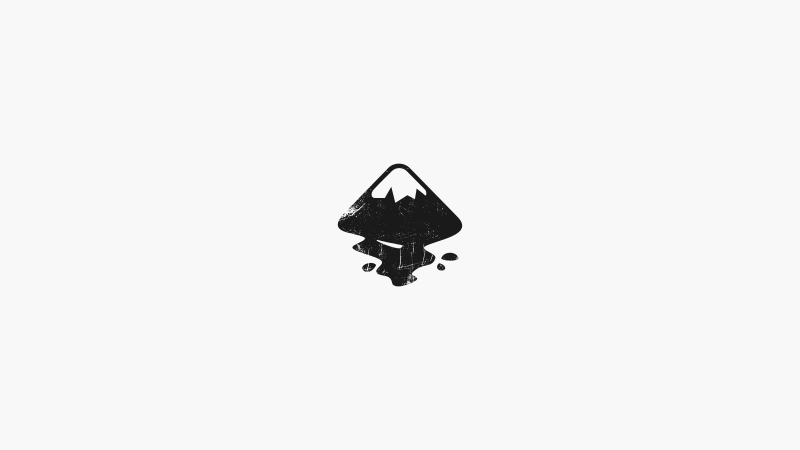
If you look closely, you’ll see that the black areas from the texture were subtracted from the Inkscape logo. White areas of the texture had no effect on the logo.
Video Tutorial
Check out the following video tutorial on the Masking feature in Inkscape to learn more about how to apply textures to objects with Inkscape.
This is a lecture taken directly from my Inkscape Master Class. If you’d like to learn more about how Inkscape works and be a part of our private community, feel free to check it out! If you have any questions just leave a comment below. As always, thanks for watching!
Learn To Master The SoftwareGain a complete understanding of your favorite design apps with my comprehensive collection of video courses. Each course grants access to our private community where you can ask questions and get help when needed.
|
||||||||||||||||||||||||||||||||


i am selling t-shirts on POD platforms like spreadshirt an i have read before that best option to export my design is CMYK color format
and inkscape can’t handle it so what do u suggest ?
i don’t like illustrator and i use linux
There’s a few workarounds for exporting CMYK document with Inkscape. I wrote an article about it here: https://logosbynick.com/export-cmyk-with-inkscape/
amazing option and amazing course tnx nick