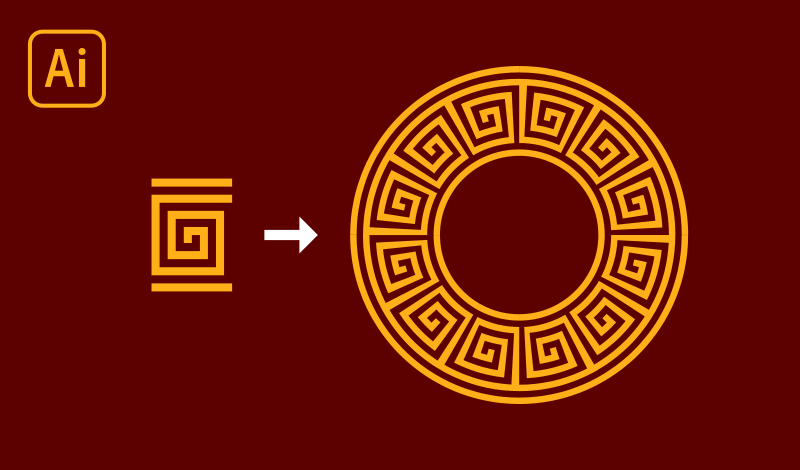
Repeat A Shape Along A Path with Illustrator Using Pattern Brushes
Repeat A Shape Along A Path with Illustrator Using Pattern Brushes https://logosbynick.com/wp-content/uploads/2021/03/pattern-brushes-with-illustrator.png 800 470 Nick Saporito Nick Saporito https://secure.gravatar.com/avatar/8e31bf392f0ba8850f29a1a2e833cdd020909bfd44613c7e222072c40e031c34?s=96&d=mm&r=gOne of Adobe Illustrator’s many useful features includes having the ability to create pattern brushes. Pattern brushes allow you to repeat a shape along a path with Illustrator, but there’s a few things you need to be mindful of first, which I’ll be covering in this lesson.
In a tutorial from last year I demonstrated how you could repeat a shape along a path using Inkscape’s Pattern Along Path effect. This can also be done with Illustrator, but the process is different in every way possible. Regardless, it’s just as simple, and by the end of this tutorial you’ll be able to create all kinds of neat patterns and designs that flow along a drawn path or an already drawn shape.
Repeat A Shape Along A Path with Illustrator
| To repeat a shape along a path with Illustrator, select the shape, open the Brushes menu, and click the plus (+) icon to add it as a new brush. Choose “Pattern Brush” from the New Brush menu and click OK. You will then be able to draw patterns with it using the Paintbrush Tool. |
The way that we go about repeating shapes along paths in Illustrator is by creating our own custom brush and setting it as a pattern brush. Watch the following video tutorial for more information:
Continue on for more details.
Step 1: Select Your Shape
In order to repeat a shape along a path with Illustrator, we first need a shape to repeat. Go ahead and create your shape. The shape can be anything, including:
- An individual object
- A group of objects
- A letter
- An icon
- A logo
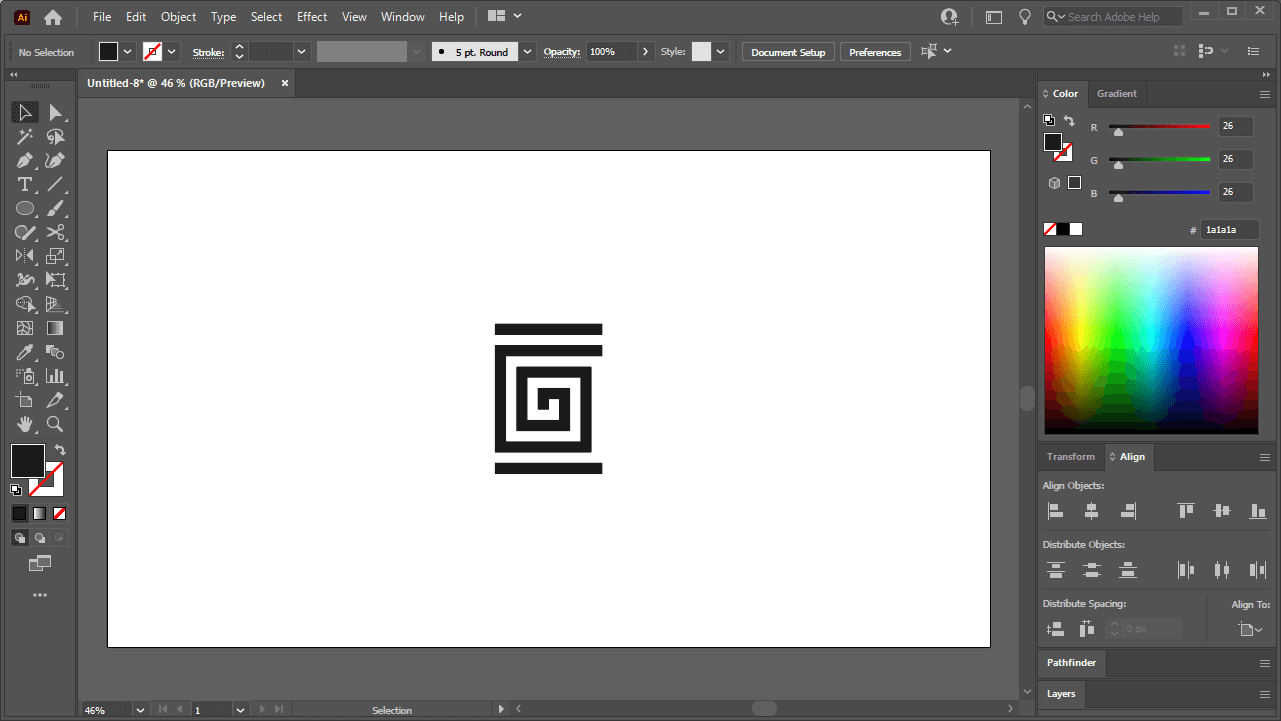
For this demonstration I will be using the following example shape:
Once you’ve identified your shape, select it with the Select Tool.
Step 2: Create A New Brush
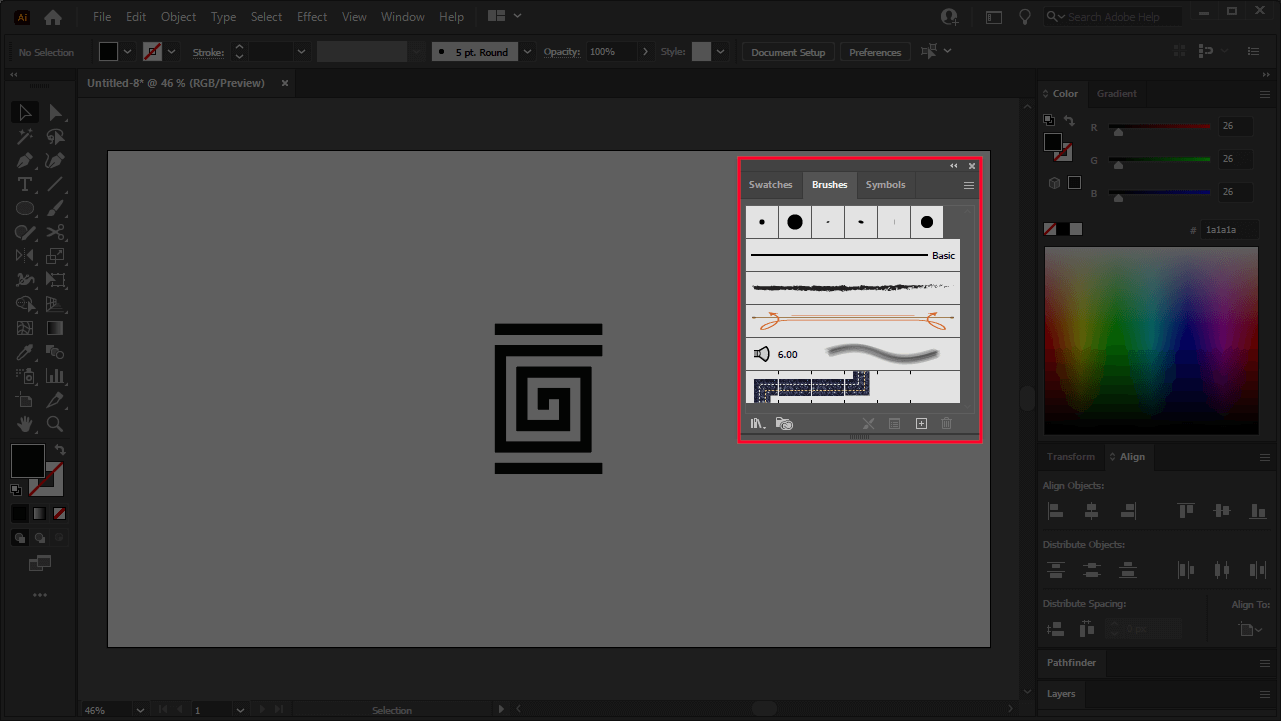
With your shape selected, open the Brushes menu. It can be located by navigating to Windows > Brushes.
Look for the little plus icon (+) in the bottom-right corner of the Brushes menu. It will read “New Brush” if you hover your cursor on it.
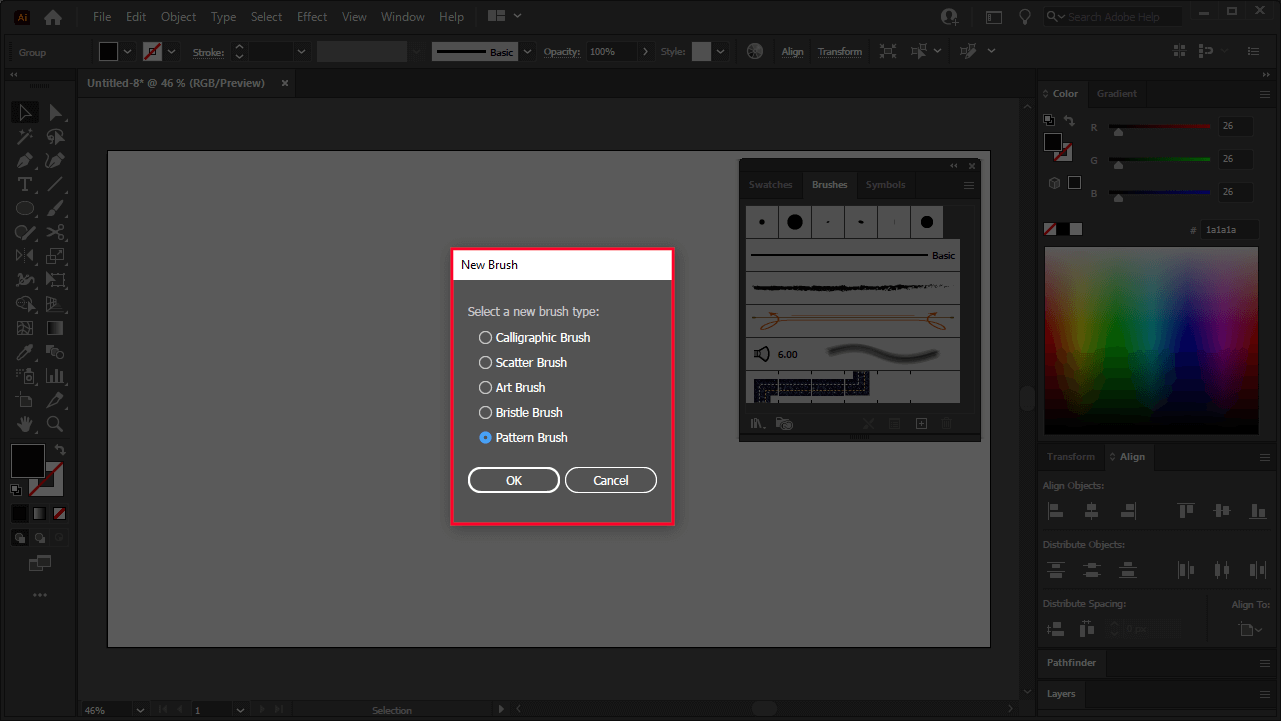
Clicking it will add your current selection as a new brush, but first, you’ll be prompted to choose a brush type:
Choose Pattern Brush and click OK.
You will be prompted with the Pattern Brush Options menu:
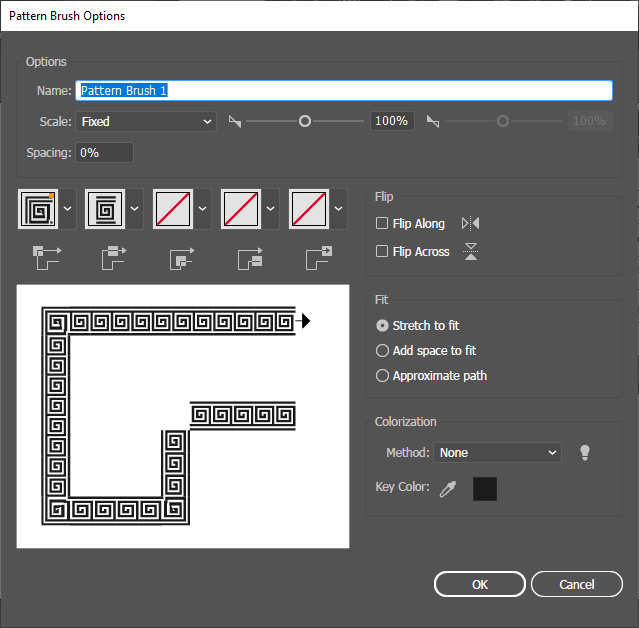
Leave the defaults as they are for now and click OK. We can go back and adjust them later on.
Drawing With Your Brush
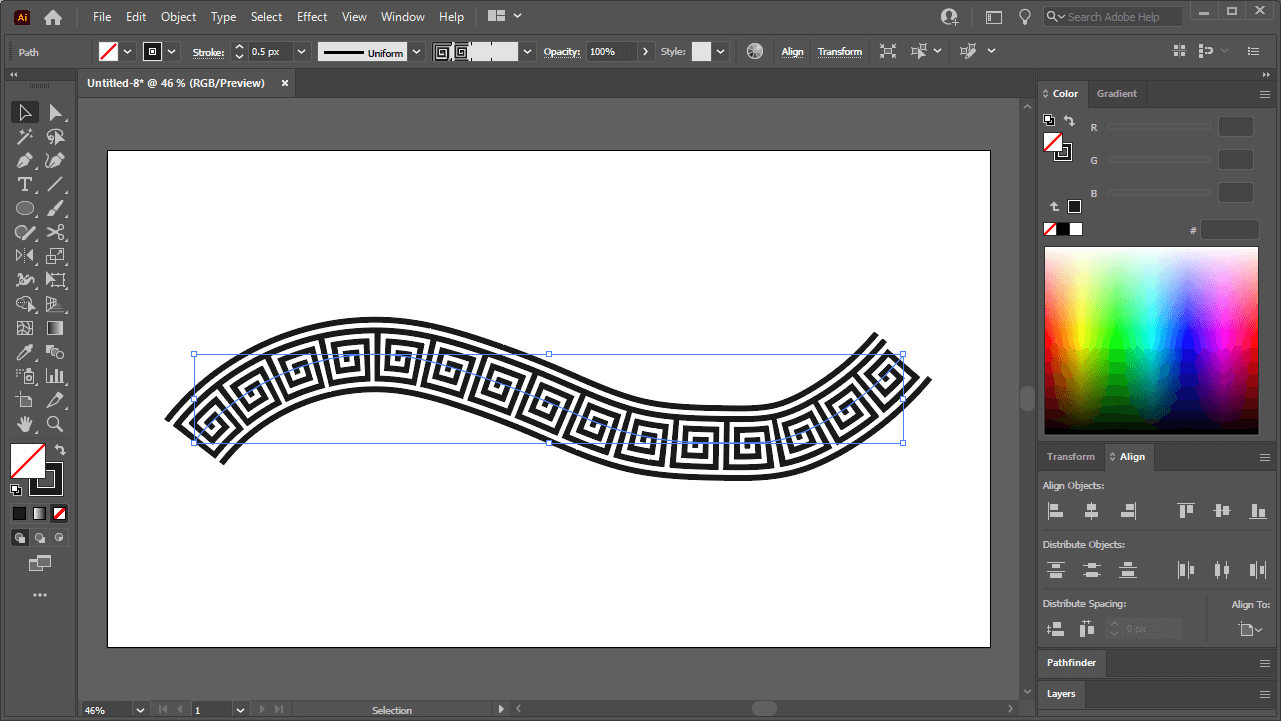
Now that you’ve added your shape as a new brush, you can now repeat it along a path by grabbing the Paintbrush Tool (keyboard shortcut: B) and dragging a click across your canvas:
At this point it is safe to delete the original shape if you no longer need it. Your custom brush is now saved in Illustrator.
Applying Your Brush To A Shape
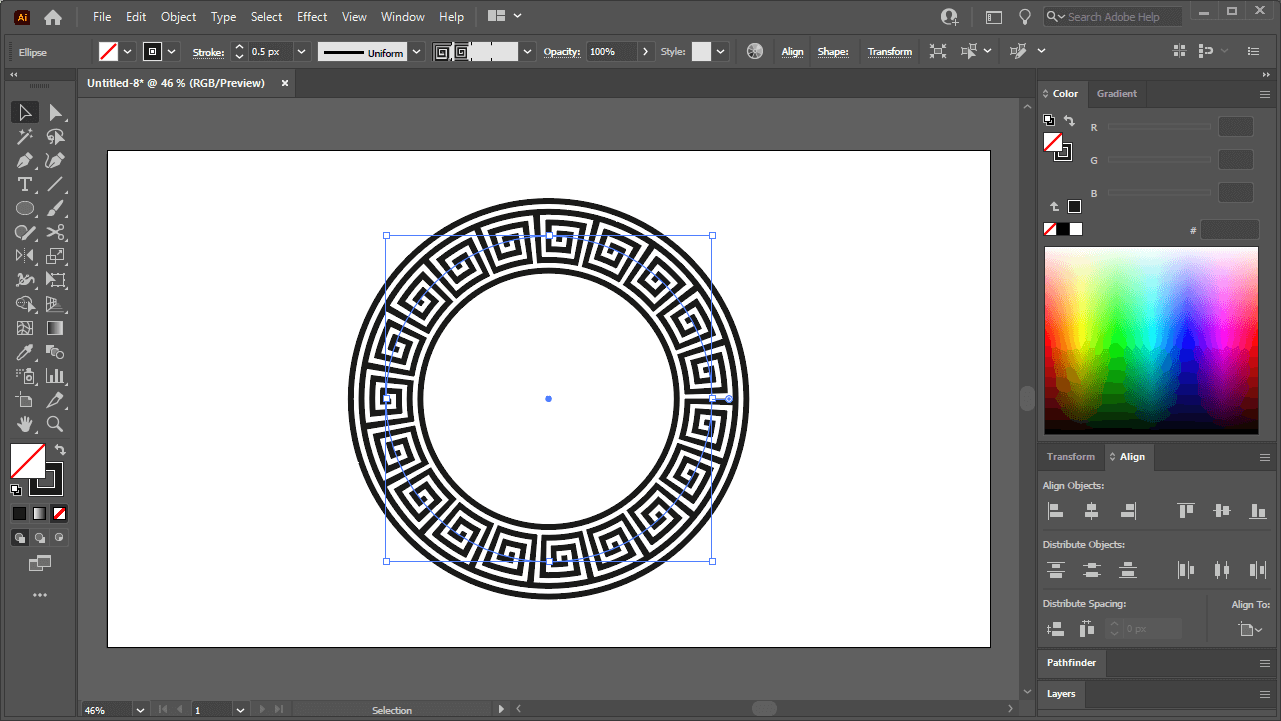
Let’s say you want to repeat your shape around another shape, like a circle. This can be done as well.
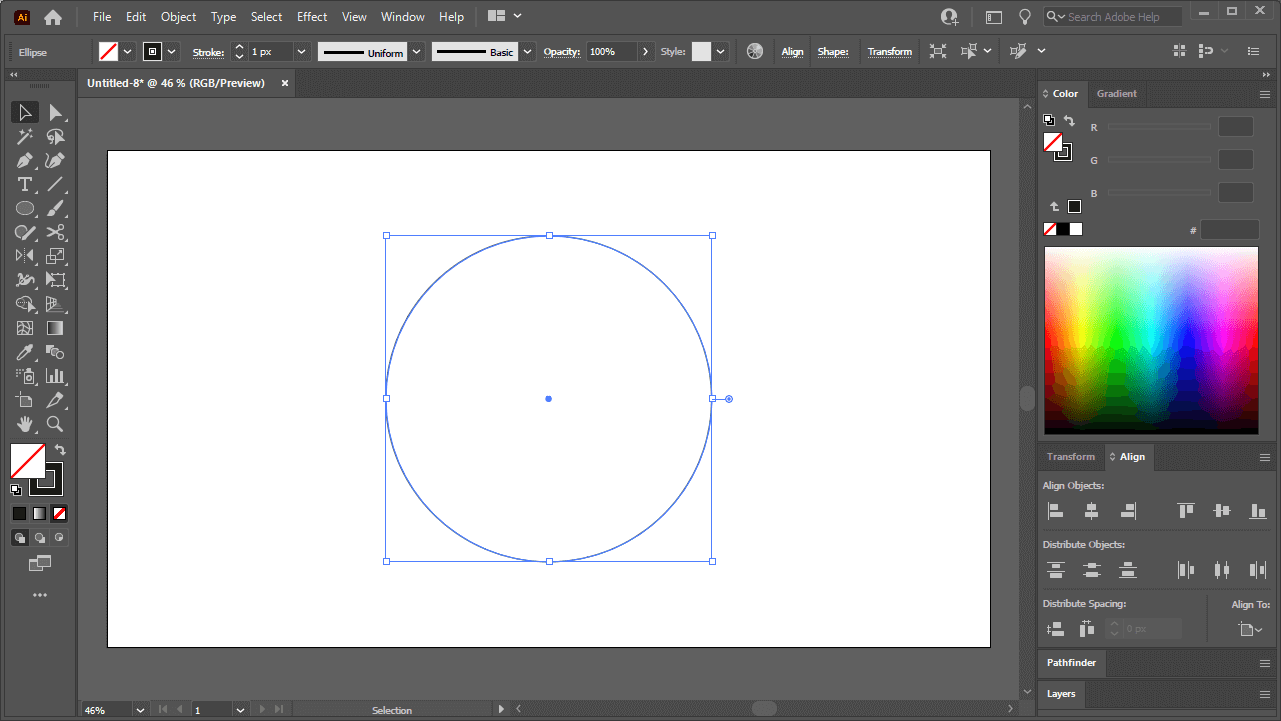
First, create your shape and select it with the Select Tool.
With your shape selected, simply click on your custom brush in the Brushes menu to repeat it around the circle:
Editing Custom Brush Settings
Now that we’ve gone over how to repeat a shape along a path with Illustrator, let’s examine how to edit the brush to adjust things like the size, spacing, orientation, and more.
Altering The Pattern Brush Options
Double-click on your custom brush in the Brushes menu to bring up the Pattern Brushes Options menu again. This is the same menu we were prompted with when we created the brush:

The settings in this menu are as follows:
- Name: Allows you to give your custom brush a name
- Scale: Allows you to increase or decrease the size of your custom brush.
- Flip: Allows you to change the orientation of the object in the pattern by flipping it vertically or horizontally.
- Stretch to fit: Will stretch the shape to fit the path if it is too long or two short.
- Add space to fit: Will not stretch the path, but rather add space between the shapes in the pattern to accommodate the length of the path if necessary.
- Approximate path: Will alter the path itself to ensure that the shape is not distorted or require added spacing.
You can also use the little thumbnail dropdowns to change how the pattern will behave when following along corners and rounded edges.
Be sure to toggle the Preview box to see how these changes will affect your design in real time.
Altering Brush Size In The Stroke Settings
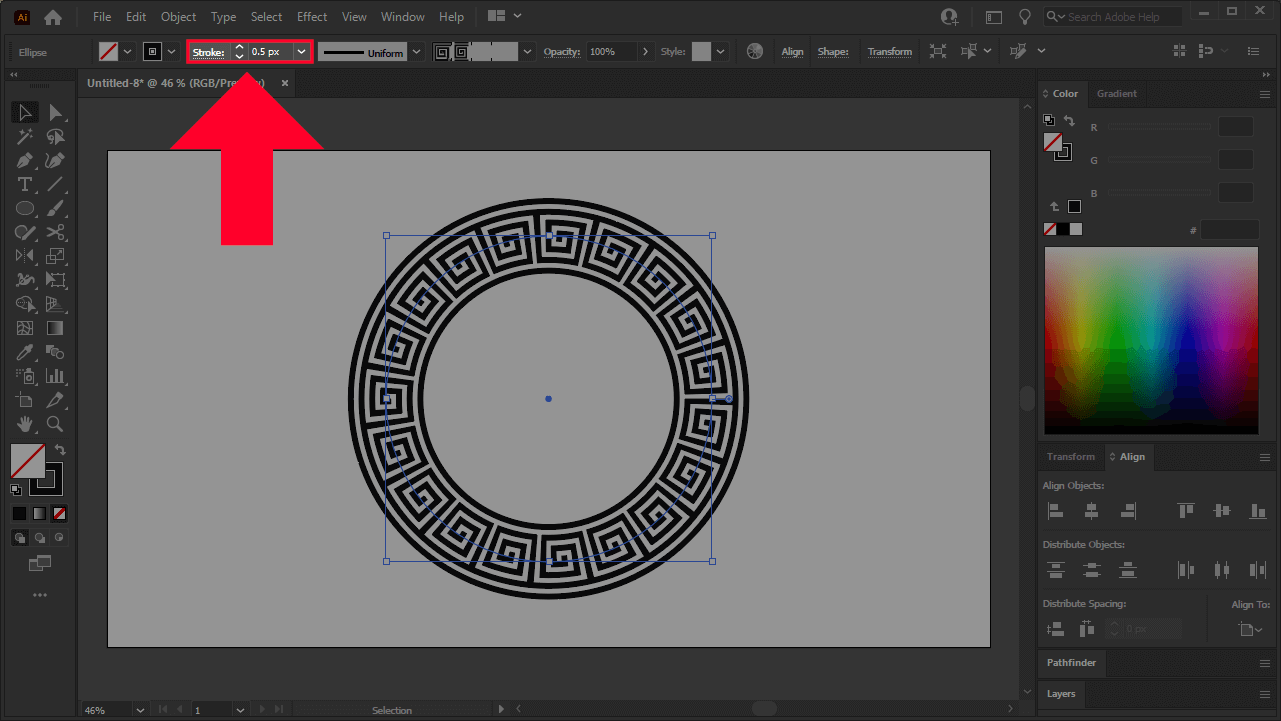
When you repeat a shape along a path with Illustrator, the resulting path is designated as a stroke rather than a fill. This means that you can also change the size of the shape within the path by changing the stroke:
Dictate The Scaling Behavior with The Transform Menu Settings
Seeing as how brush strokes made with custom pattern brushes are classified as stroke objects, this means that you’ll have to treat them the same way you would treat any other stroke.
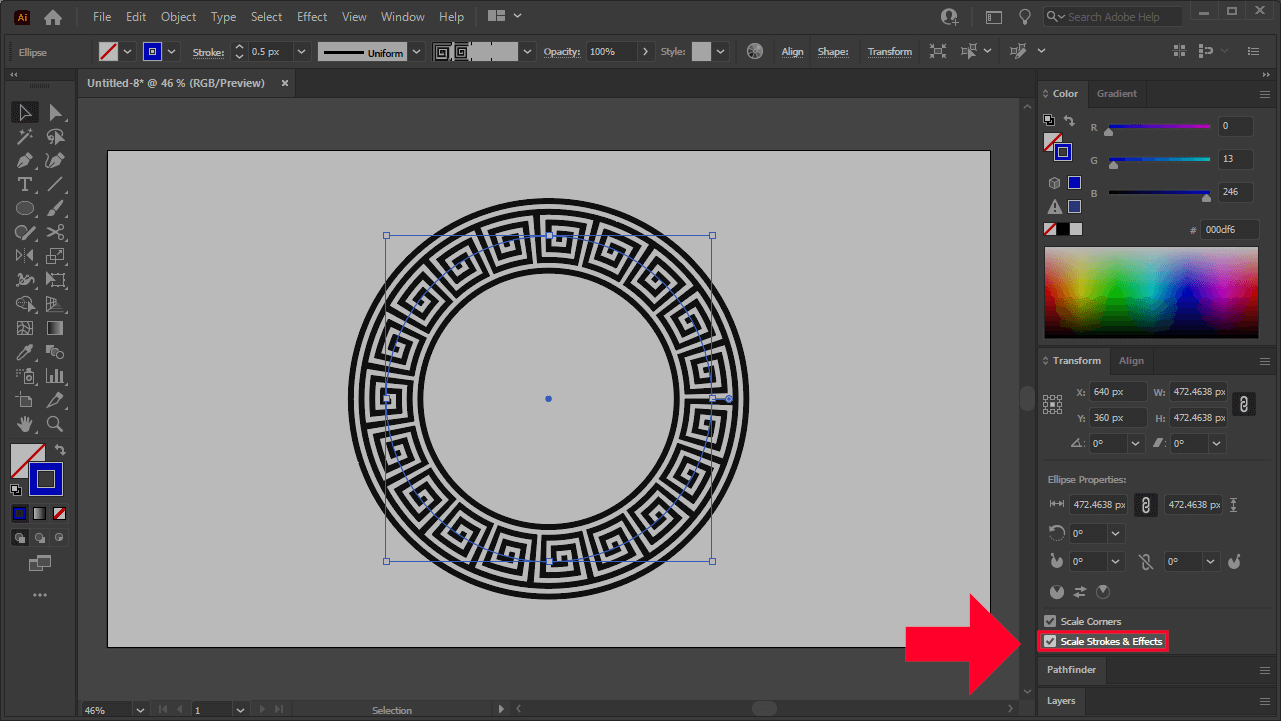
An important aspect to pay attention to when working with strokes is the scaling setting, which can be located in the Transform menu. To access it, navigate to Windows > Transform.
Within the menu, you will see a preset labeled “Scale Strokes & Effects” at the bottom of the menu:
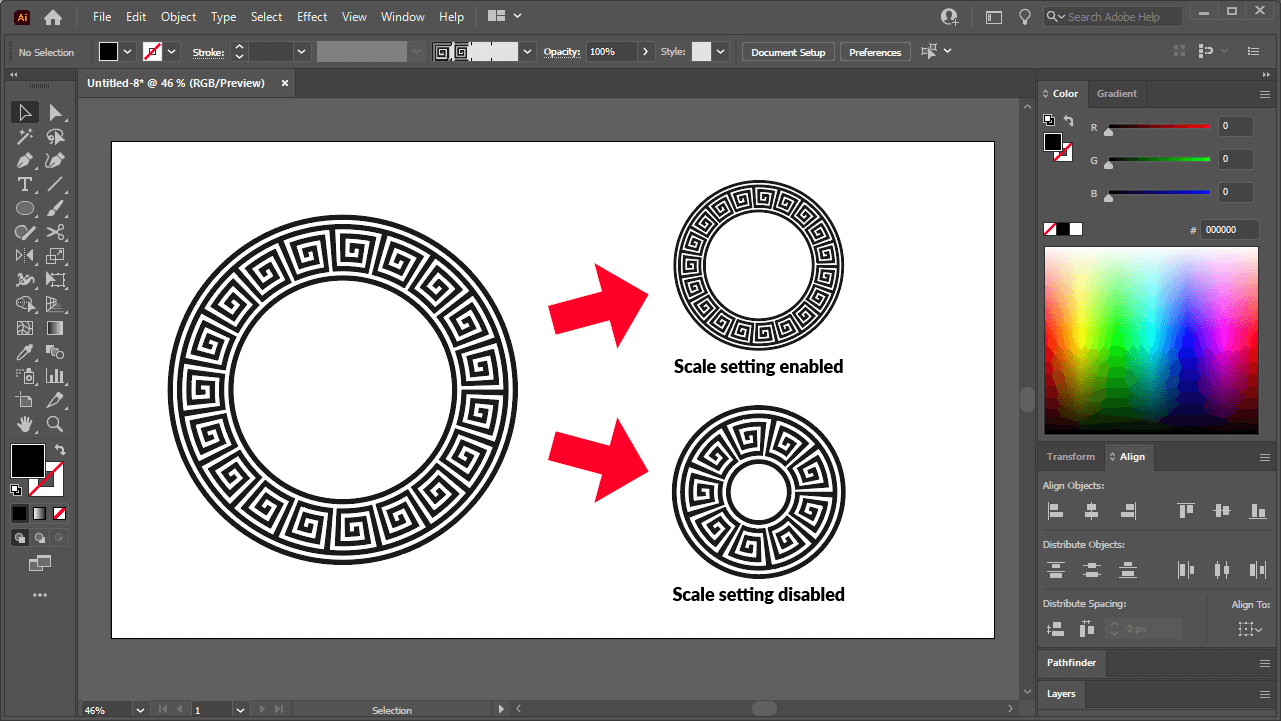
Enabling this preset will ensure that as you scale your path, the size of the shape within the path will scale with it.
Disabling this preset will ensure that the shapes within your pattern will remain the same size regardless of scaling.
See how the path looks in each setting when scaled down:
Finalizing Your Brush Strokes
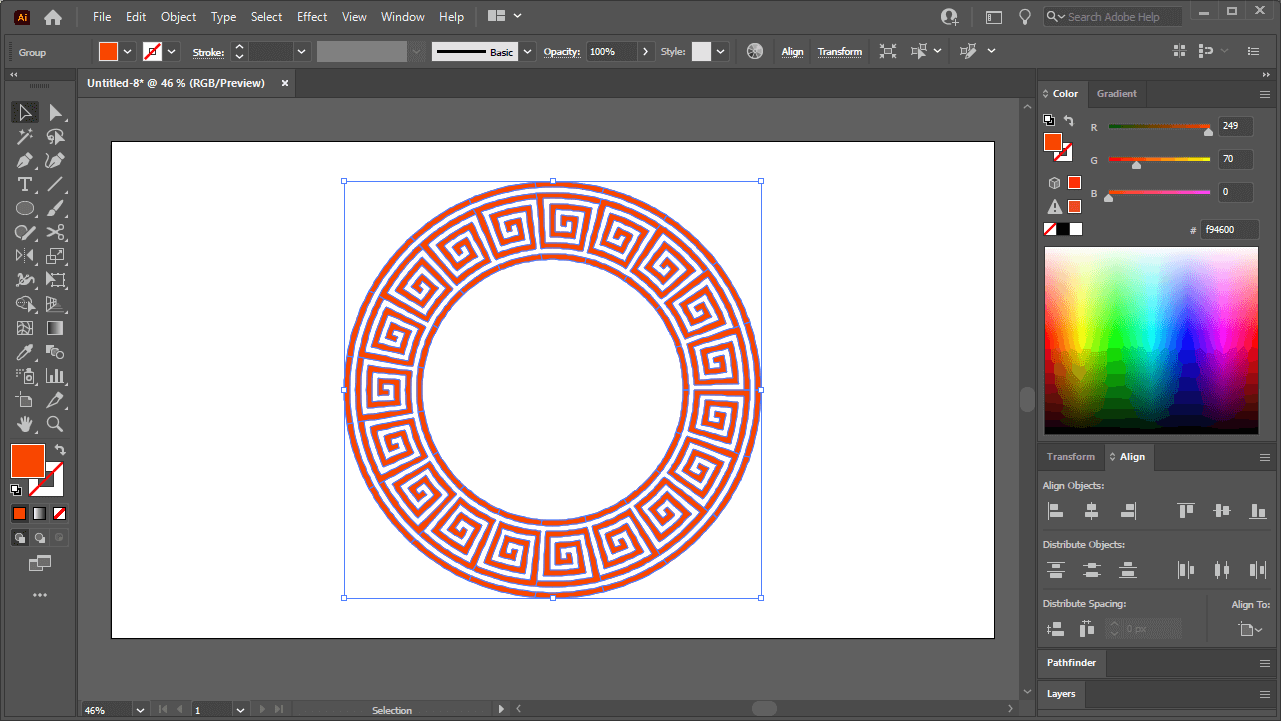
Once your happy with the result of your pattern brush, you can finalize the pattern as a path by navigating to Object > Expand Appearance.
This convert your brush stroke into fill objects:
The benefit of doing this is that you can now work with your pattern further in terms of adding color, editing anchor points, Boolean operations, and more.
Doing this will also ensure that your pattern will be compatible in with other vector design applications, because you’ll be reducing it down to the most basic and universal form of a path.
Some vector editors (like Inkscape) don’t have a brushes feature, so if you open the source file with them it will not be usable. And other applications that do have the ability to work with brushes (like Affinity Designer) may handle them differently than Illustrator does, resulting in cross-platform compatibility issues.
Conclusion
Knowing how to repeat a shape along a path with Illustrator can help you create some really interesting and unique designs. It’s a great way to add decorative borders as well.
Fortunately, this process is much easier in Illustrator than it is in alternatives like Inkscape. It’s also more consistent and stable.
If you have any questions, or if any part of this lesson was unclear, simply leave a comment below.
Learn To Master The SoftwareGain a complete understanding of your favorite design apps with my comprehensive collection of video courses. Each course grants access to our private community where you can ask questions and get help when needed.
|
||||||||||||||||||||||||||||||||
- Post Tags:
- Adobe Illustrator
- Posted In:
- Adobe
- Illustrator
- Tutorials
Nick Saporito
Hi, I'm Nick— a Philadelphia-based graphic designer with over 10 years of experience. Each year millions of users learn how to use design software to express their creativity using my tutorials here and on YouTube.
All stories by: Nick Saporito



Q
Thanks a lot. I really appreciate this.