How To Make Stickers In Procreate | iPad Tutorial
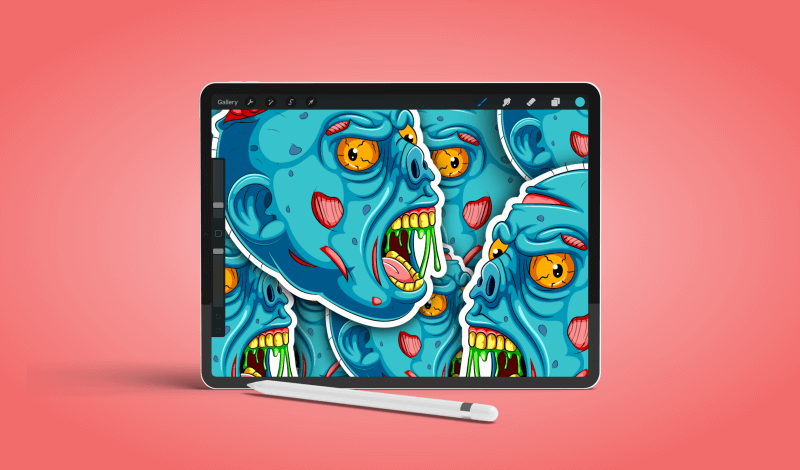
How To Make Stickers In Procreate | iPad Tutorial https://logosbynick.com/wp-content/uploads/2022/01/stickers-procreate.png 800 470 Nick Saporito https://secure.gravatar.com/avatar/8e31bf392f0ba8850f29a1a2e833cdd020909bfd44613c7e222072c40e031c34?s=96&d=mm&r=gProcreate for the iPad allows you to create all kinds of fun designs that can be used in many different ways. Today we’ll be going over an example of how it can be used to make sticker mockups. In this tutorial we’ll be going over a workflow that will enable you to make stickers in Procreate using any of your designs. The stickers can then be used as badges, emotes, and applied to virtually any backdrop of your choosing.
The workflow we’ll be using to make stickers in Procreate is similar to that which was used in a previous tutorial to add outlines (or offsets as they’re called) around subjects. The main difference here is that we’ll be adding a drop shadow as well, which will make the stickers look more realistic and allow you to stack copies of them on top of each other. Let’s get started!
How To Make Stickers In Procreate
The following video tutorial will walk you through the entire process of using Procreate to make sticker mockups:
Continue reading for the written instructions. However, it should be noted that this type of tutorial may be difficult to grasp in a written format. For this reason it is advised that you reference the video tutorial above — especially for beginners.
Step 1: Ensure that your design exists on a single layer
The first step in our quest to make stickers in Procreate is to ensure that your design exists on a single layer.
If you design is broken up into separate layers then the workflow we will be using in this tutorial will not work.
For this demonstration I will be turning the following design into a sticker:
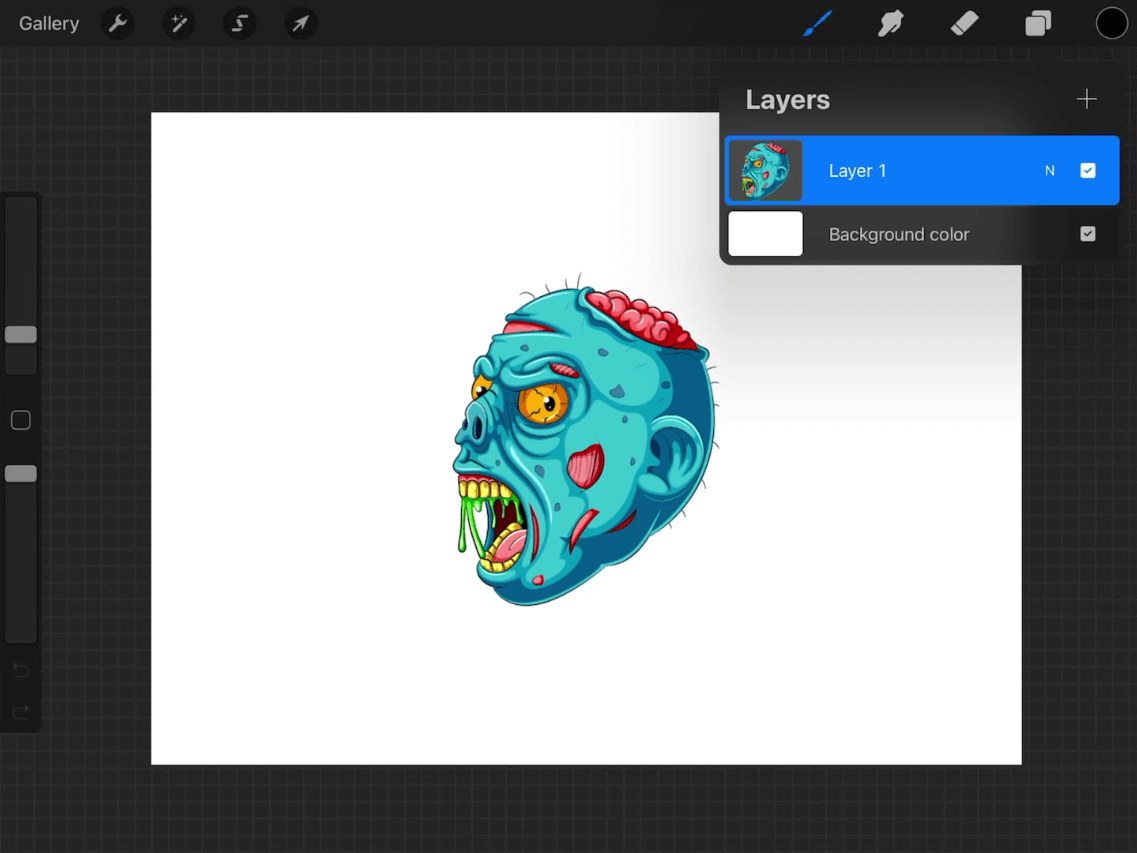
In order to follow along with this lesson your design must exist on a single layer, as depicted above.
As you can see in the screenshot above, the entirety of the design is on a single layer. Check my tutorial about merging layers in Procreate if you need assistance with this.
At this point you can also turn off the visibility of the background layer by unchecking the box next to it in the Layers menu.
Step 2: Create a copy of the design and apply an alpha lock
Next, we’ll be creating a copy of the design layer.
You can duplicate your layer by simply sliding it to the left and tapping the gray button labeled Duplicate.
Once duplicated, tap on the layer to get the layer options menu to populate and choose the Alpha Lock option. This will make it so that only the contents of the layered are altered and not the entire layer itself.
Step 3: Fill in the duplicate copy with white and remove the alpha lock
Now we are going to fill this copy of the layer with white.
First, open your Color menu and select white as your color.
Next, tap on your layer to get the layer options menu and select Fill Layer. If done correctly, this should fill your design with white:

The entire duplicate copy is filled with white.
Now you can remove the alpha lock by tapping the layer again to open the layer options menu and selecting the Alpha Lock option once again. It should have a check mark next to it, indicating that it is enabled. That check mark should disappear once you disable it.
Step 4: Apply a Gaussian Blur to the duplicate layer
In order to make stickers in Procreate you are going to need to create a white offset of the design. To do this we are going to apply a Gaussian Blur to the layer using the Adjustments menu.
Tap on the Adjustments menu (represented as a magic wand icon towards the top-left of your screen) to open it and select Gaussian Blur from the list. When prompted, choose to apply it to the Layer.
Tap and drag across your screen to the right in order to apply the blur. The further right you go the larger the blur will be. Swiping to the left will decrease the blur:

A subtle Gaussian Blur was applied for this demonstration.
Bear in mind that the size of your blur will dictate the size of the white offset that surrounds your stickers, so choose a size accordingly.
Step 5: Create a selection from the blurred layer
Now that the layer is blurred we can use it as a reference to create our white offset.
To do so, grab the Selection tool and create an Automatic selection around the layer:

The blue outline surrounding the design represents the size of the selection being generated.
Tap and swipe to the right to make the selection larger and left to make it smaller.
Again, this will determine the size of the white outline around your stickers, so choose a size that you find suitable.
Step 6: Turn off the visibility of the blurred layer and make a new layer
Next, we will be turning off the visibility of the blurred layer and creating a new layer.
Open the Layers menu and uncheck the blurred layer in order to disable its visibility. In fact, you can delete this layer completely if you’d like as we will not be using it again.
Next, create a new blank layer by tapping the plus (+) icon towards the top of the menu.
It’s important to ensure that you do not accidentally disable the selection when creating your new layer. Please refer to the video tutorial above if you get stuck here as this is easier to demonstrate in video format than it is in text.
Step 7: Fill the new layer with white and move it to the bottom of the stacking order
With the new layer still selected, fill it with white by tapping and dragging the color disc from the top-right corner of the screen onto the selection.
If done correctly the selection should be filled in with white:

Now you can navigate back to the Layers menu and move this layer to the bottom of the stacking order, just above the background layer:

This will effectively create a white outline going around your design that helps make it look like a sticker.
Step 8: Make a duplicate copy of the white layer and fill it with black
When you make stickers in Procreate chances are you’re going to want them to look realistic. This is where applying a drop shadow can come in handy.
The drop shadow will help give your sticker designs a three-dimensional sort of look where it appears to be layered above other objects.
To do this, simply duplicate the white layer created in the previous step and fill it with black:

It is recommended that you move this layer down and to the side (either left or right) slightly to offset it from the rest of the design, as depicted in the screenshot above.
Step 9: Move the black layer to the bottom of the stacking order and apply a Gaussian Blur
Next, move the black layer to the bottom of the stacking order (just above the background layer) and apply a Gaussian Blur, the same way we did in step 4:

In addition, you can also reduce the opacity of this layer slightly if you find the drop shadow to be a bit too intense. Check my tutorial for changing the opacity of a layer in Procreate here for more info.
You can also turn on the visibility of the background layer once again.
Step 10: Merge all of the layers together
At this point we are all but finished making stickers in Procreate. The final step is to merge all of the layer together so that you can a single sticker that you can duplicate repeatedly:

Offsetting and rotating each sticker slightly makes it look more natural and realistic. You can also import some other image to use as the background too if you’d like, as depicted in the screenshot above.
Conclusion
Knowing how to make stickers in Procreate may be a lengthy process that seems complicated upon first glance. However, the instructions laid out in this tutorial should guide you along the process with ease if followed correctly.
If you have any questions or need clarification on anything covered in this lesson then simply leave a comment below.
Learn To Master The SoftwareGain a complete understanding of your favorite design apps with my comprehensive collection of video courses. Each course grants access to our private community where you can ask questions and get help when needed.
|
||||||||||||||||||||||||||||||||


