
Affinity Designer Layers Explained | A Complete Overview
Affinity Designer Layers Explained | A Complete Overview https://logosbynick.com/wp-content/uploads/2022/01/layers-panel.png 800 470 Nick Saporito https://secure.gravatar.com/avatar/8e31bf392f0ba8850f29a1a2e833cdd020909bfd44613c7e222072c40e031c34?s=96&d=mm&r=gIn today’s lesson we’ll be taking an in-depth look at the Layers panel in Affinity Designer and going over how you can best utilize it. In Affinity Designer layers function differently than they do in other applications. This tutorial will seek to demystify this feature in case you’re a new user and are used to how layers function in other vector environments, such as Illustrator and Inkscape.
In short, the main difference between how the Affinity Designer Layers panel compares to other applications is that in Designer, every object you create is placed on its own layer, and, as we went over in a previous tutorial, there is no way to merge layers. There is only layer grouping.
This can be (understandably) confusing as a user of other design applications because layers function in a mostly universal way everywhere else. However, in Affinity Designer things are different. Let’s have a closer look.
Affinity Designer Layers Panel
The following video tutorial explains all of the functions and features of the Layers panel in Affinity Designer and provides a working demonstration:
Continue on for the written lesson.
Table of ContentsLayers Panel FunctionsLayers Panel Interface |
Layers Panel Functions
Let’s first go over what layers are and how they function in Affinity Designer, then we’ll go over the details of the Layers panel in depth.
Stacking Order
In short, layering is a way of organizing and compartmentalizing the design elements in your workspace.
More specifically, layers allow you to position objects above and beneath each other.
In Affinity Designer, every object you create is placed on its own layer, and each new object is positioned above the previous:
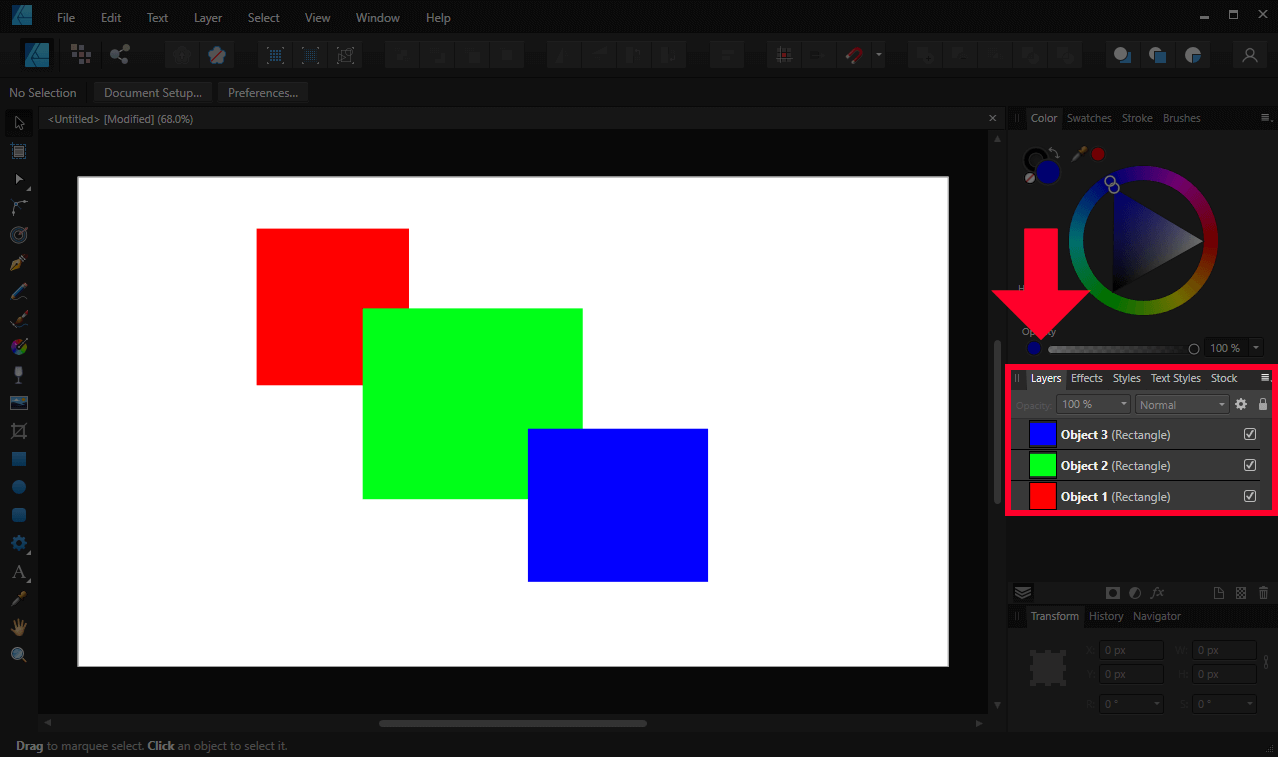
Notice how the stacking order of the layers is consistent with the stacking order of the objects on the canvas.
The Affinity Designer Layers panel gives you an overview of where all of the design elements on your workspace are positioned, and it allows you to reposition them if you’d like.
To move a layer, simply click and drag it beneath another layer. Make sure to position the layer directly above or beneath the other layers though. If you place the layer directly on top of another layer you will end up making a clipping mask.
Selecting Multiple Layers
Clicking on a layer in the Layers menu will select it. Not only will it select the layer, but it will select the contents of your layer on the canvas as well.
Selected layers are highlighted in blue.
If you’d like to select multiple layers in Affinity Designer then you can do so by holding Shift on your keyboard while selecting them. Selecting multiple layers will also highlight them in blue.
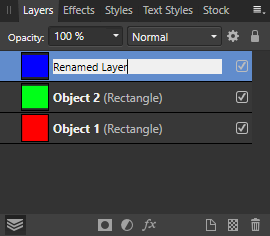
Layer Names
Every layer that is generated will have a default name automatically applied, as indicated by the name label in the interface.
You can change the name of a layer by simply double-clicking on the label and typing in your own name:
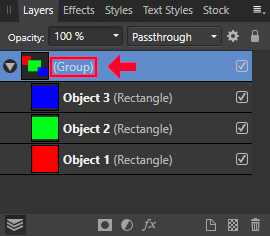
Layer Grouping
In Affinity Designer, layer grouping is a way of combining multiple layers together, or “merging” them as it’s traditionally called.
To group layers together, select the layers you’d like to group and navigate to:
Layer > Group
Grouped layers will be collapsed into sublayers:
You can ungroup your layers at any time by selecting the group and navigating to:
Layer > Ungroup
Alternatively, you can also click and drag the layers to pop them out of the group and into their own layer.
Layer grouping allows you to compartmentalize your work even more. A good example of this would be the following design:
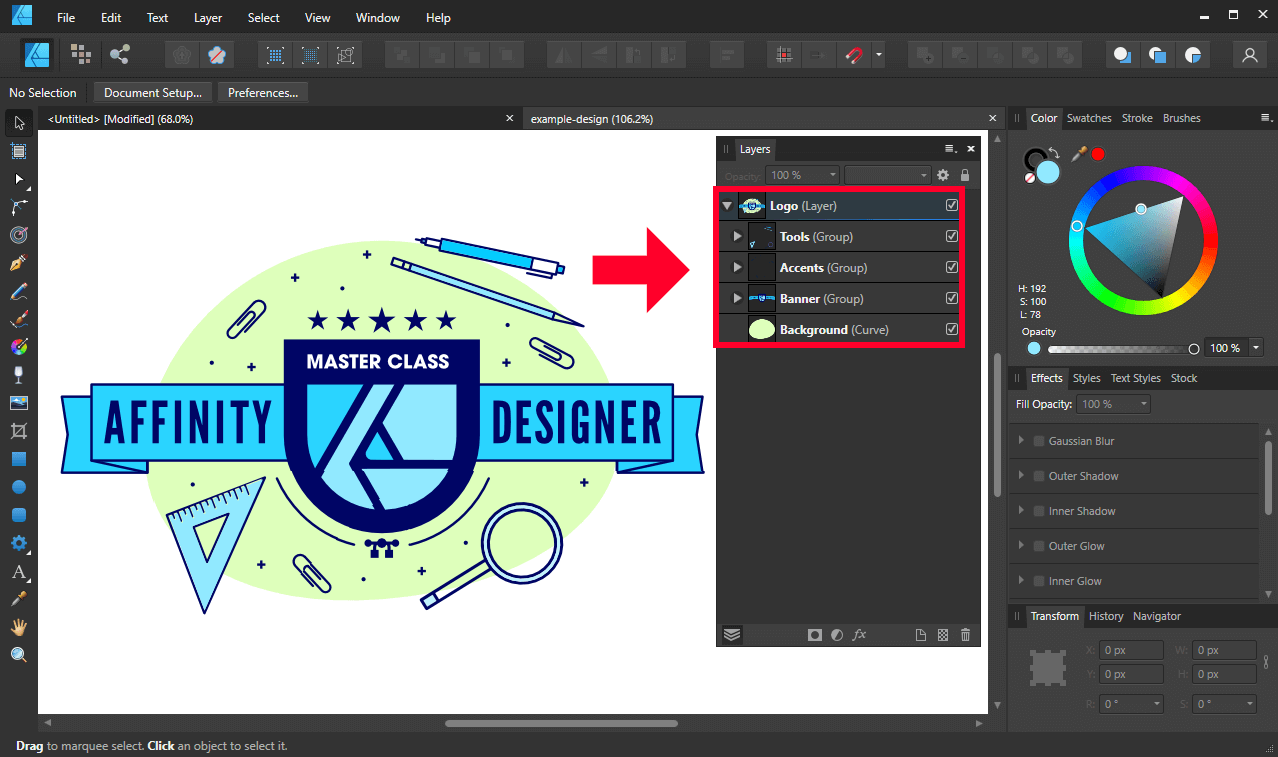
In the example design above, design elements are grouped together by category and labeled accordingly. Organizing your work in such a way makes for a more efficient workflow.
Layers Panel Interface
Now that we’ve gone over the core functionality of working with layers in Affinity Designer, let’s have a look at some of the features available to us in the Affinity Designer Layers panel.
Add New Layer
The Add New Layer button is located towards the bottom-right of the Layers menu:
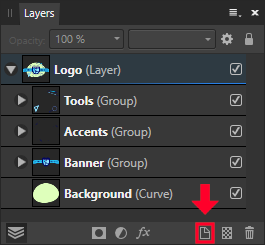
Clicking on this button will create a new blank layer. It will be given a default name that you can change by simply double-clicking the label and inputting your desired name for the layer.
Add New Pixel Layer
The Add New Pixel Layer button is also located towards the bottom-right of the screen:
![]()
Pixel layers are layers that you would typically work with in the Pixel Persona. They allow you to paint, draw, and make pixel-based alterations to your designs.
Pixel layers are necessary when working with pixel brushes and the like. If you don’t have a pixel layer added then Affinity Designer will automatically add one next time you use a pixel-based tool.
Delete Layer
The Delete Layer feature is depicted as a trashcan icon at the very bottom-right of the Layers menu:
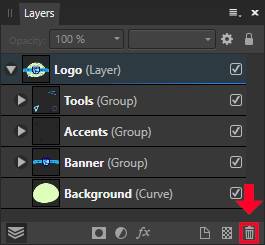
This function will, as the name suggests, delete whatever layer you currently have selected.
Alternatively, you can also delete layers by selecting them and simply pressing the Delete key on your keyboard.
Layer Visibility
Layer Visibility is represented as a check box on the right-hand side of each layer:
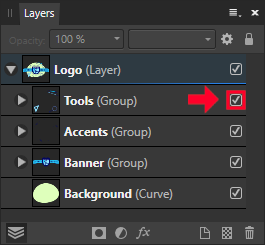
Unchecking the box will toggle off the visibility of your layer, making it temporarily invisible. Checking it again will turn the visibility back on.
This feature can be very useful when working with elaborate designs where you need to focus on one area of the design without letting other areas get in the way. It is also a non-destructive alternative to deleting layers.
Locking Layers
The Lock/Unlock feature is represented as a lock icon, located in the top-right corner of the Layers menu:
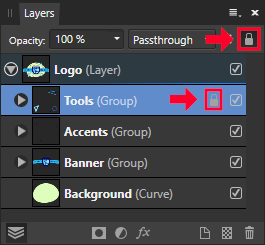
This feature allows you to lock a layer so that its contents cannot be altered in any way. When locked, you should see a lock icon populate next to the layer visibility check box, as depicted in the screenshot above.
Layer locking is useful because it allows you to isolate certain elements of your design and work on them without having to worry about accidentally altering nearby elements.
To unlock your layer, simply click the lock icon again. You can also click the lock icon next to the visibility check box. Either one works.
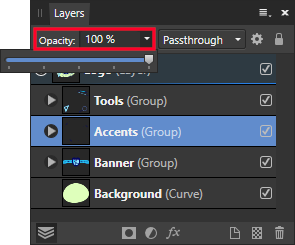
Layer Opacity
The Layer Opacity slider allows you to control how transparent or opaque a layer is:
This is one of several ways in which you can control an object’s opacity in Affinity Designer. Another way would be via the Color menu.
The primary difference between the two is that the Affinity Designer Layers panel alters the entire contents of a layer or layer group, whereas the Color menu only alters the fill or stroke of a single object.
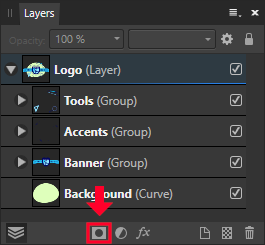
Layer Masks
Towards the bottom of the Layers menu you should see an icon for applying a Layer Mask:
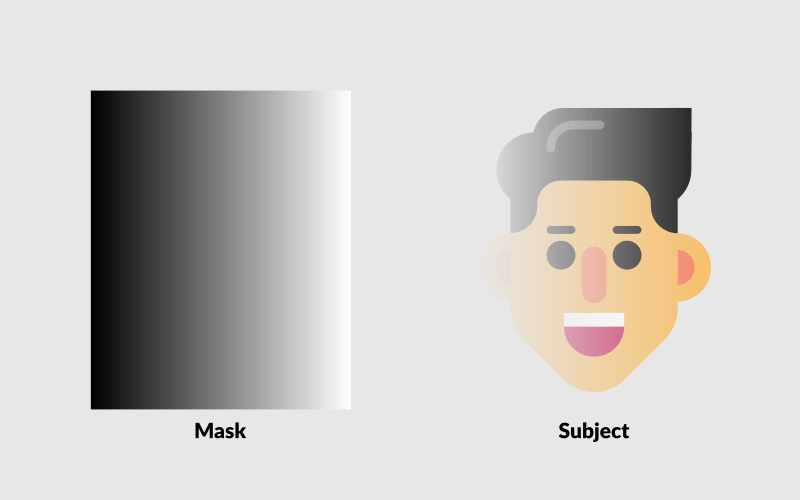
As we’ve gone over in previous tutorials, layer masking is a way of locally changing the opacity values of an object, rather than changing its overall opacity:
Layer masks are also known as opacity masks in other applications.
In a layer mask, areas filled with black will become transparent on the subject its applied to, whereas white areas will remain opaque. Everything in-between (grayscale) will become partially transparent, depending on how dark or light the shade used is.
Layer masking is a somewhat complicated subject that calls for a dedicated lesson of its own.
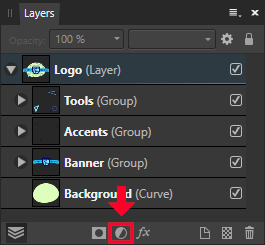
Adjustment Layers
The Adjustment Layers button is located at the bottom of the Layers menu, represented by a half-filled circle:
In short, adjustment layers are non-destructive alterations you can make to a layer. Adjustments included in the Affinity Designer Layers panel include:
- Levels
- White Balance
- HSL
- Recolor
- Black and White
- Brightness and Contrast
- Posterize
- Vibrance
- Exposure
- Shadows/Highlights
- Threshold
- Curves
- Channel Mixer
- Gradient Map
- Selective Color
- Color Balance
- Invert
- Soft Proof
- LUT
- Lens Filter
- Split Toning
- OCIO
When created, an adjustment layer will be placed above whatever layer you currently have selected in the stacking order. The effects of the adjustment layer will then be applied to all of the layers positioned beneath it.
To apply an adjustment layer to only a single object/layer, it is recommended that you create a layer group using the target layer and then add the adjustment layer to the group as a sublayer.
Layer Effects
To the right of the Adjustment Layers button you should see the Layer Effects feature, represented by an “fx” icon:
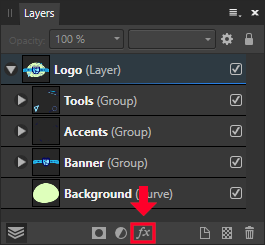
These are an assortment of special effects that can be applied to a selected layer. Effects include:
- Gaussian Blur
- Outer Shadow
- Inner Shadow
- Outer Glow
- Inner Glow
- Outline
- 3D
- Bevel/Emboss
- Color Overlay
- Gradient Overlay
Some of these effects are self-explanatory, but you can play around with them yourself to see exactly what they do, or you can check Affinity’s documentation.
The effects used in the Layers menu are the same as those from the Effects menu. The Layers menu just provides for another access point.
Blend Modes
Finally, there is a dropdown for Blend Modes at the top of the Layers menu:
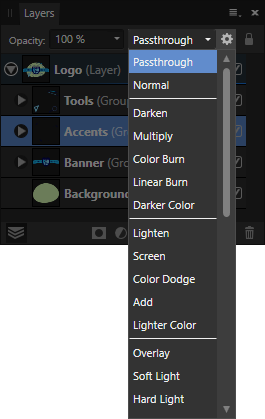
The default blend mode is Normal.
Blend modes are a somewhat complicated subject that calls for a dedicated lesson of its own, but in short, blend modes change the way that a selected layer interacts with other layers in the stacking order.
Blend modes included in the Affinity Designer Layers panel include:
- Normal (default)
- Darken
- Multiply
- Color Burn
- Linear Burn
- Darker Color
- Lighten
- Screen
- Color Dodge
- Add
- Lighter Color
- Overlay
- Soft Light
- Hard Light
- Vivid Light
- Linear Light
- Pin Light
- Hard Mix
- Difference
- Exclusion
- Subtract
- Divide
- Hue
- Saturation
- Color
- Luminosity
- Average
- Negation
- Reflect
- Glow
- Contrast Negative
- Erase
Check Affinity’s documentation for a complete breakdown of all the blend modes. Or you can experiment with it yourself to see how it works.
Conclusion
Using the Affinity Designer Layers panel is a great way to compartmentalize and organize your work. Although the workflow for layer may be different in Designer than it is in other apps, it’s no less effective once you’ve grasped its nuances. In fact, you could argue that Designer handles layering in a more innovative and efficient way.
If you have any questions or need clarification on anything we’ve gone over in this lesson then simply leave a comment below.
Learn To Master The SoftwareGain a complete understanding of your favorite design apps with my comprehensive collection of video courses. Each course grants access to our private community where you can ask questions and get help when needed.
|
||||||||||||||||||||||||||||||||


You might also like


2 comments
-
-
Nick Saporito
Inkscape is better for logo design. It’s better for transforming and warping objects as well as text, which is really important when it comes to logo design.
-
hafiz razak
Hi nick…my i ask..i already enrolled you courses..just want to know from your perspective…which one better for me to learn as newbie to make logo design whether inkscape or affinity desginer?