How To Add A Border To An Image In Affinity Photo
How To Add A Border To An Image In Affinity Photo https://logosbynick.com/wp-content/uploads/2022/01/border-affinity-photo.png 800 470 Nick Saporito Nick Saporito https://secure.gravatar.com/avatar/8e31bf392f0ba8850f29a1a2e833cdd020909bfd44613c7e222072c40e031c34?s=96&d=mm&r=gOne of the more common edits you may look to make to a photo is by adding a simple border around it — whether it be a plain white border, a solid fill, a gradient, or even a pattern. In this tutorial we’ll be going over how to add a border to an image in Affinity Photo, using colors, gradients or patterns.
Affinity Photo has an outline effect built into the Effects panel. This effect is great for adding simple outlines to individual objects. However, this effect is not ideal for adding a border to an entire image. Borders added with this effect will not resize your image to accommodate for the added space of the border.
Using a manual approach (which is what we’ll be doing in this lesson) provides for much more options, and the process is simple enough that even a first-time user could follow along. Let’s dig in!
Add A Border In Affinity Photo
The following video tutorial will walk you through the entire process of adding a border to an image in Affinity Photo:
This is one of those lessons that you can follow along with in written format if you prefer that approach. Continue on if so.
Table of Contents |
Step 1: Open your image with Affinity Photo
In order to add a border to an image in Affinity Photo we will first need an image to add the border to.
Open your image by navigating to:
File > Open
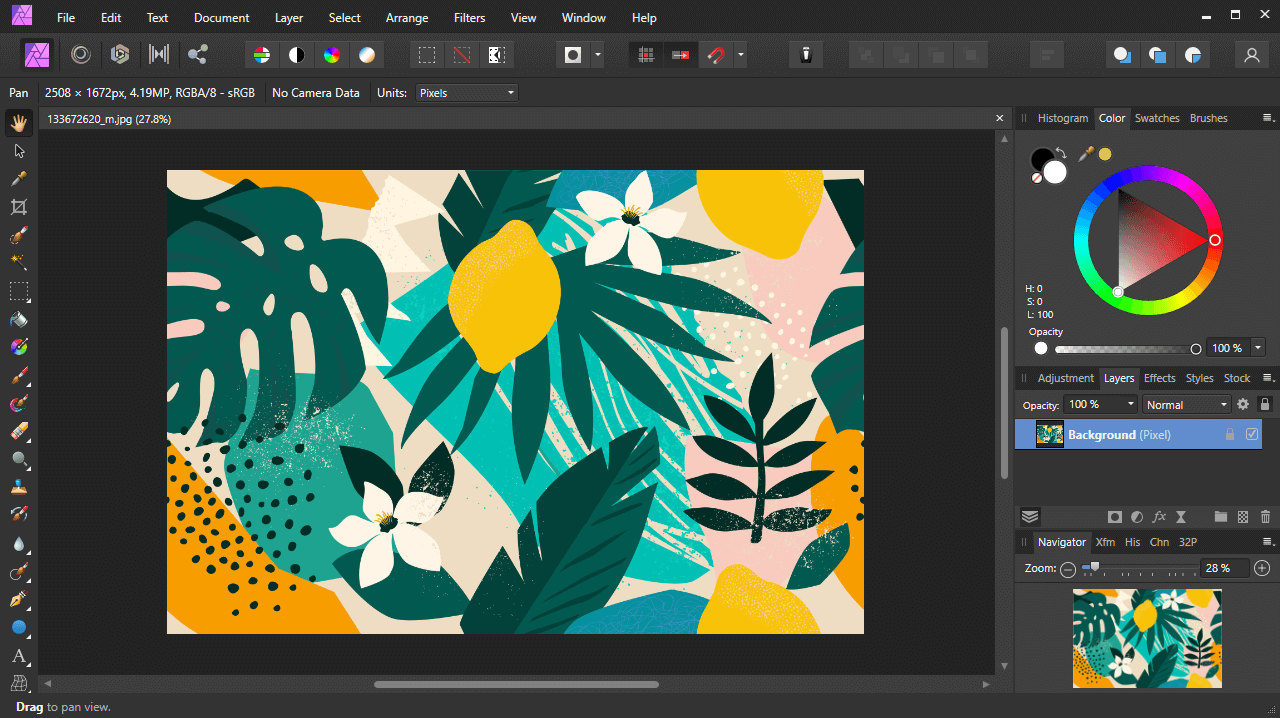
Locate your image on your hard drive to open it. For this demonstration we will be using the following example image:
Step 2: Resize the canvas according to the desired size of your border
To add a border to the image we will have to resize the canvas — or the page boundary that the image exists on — to accommodate the size of the border.
For this we will be using the Resize Canvas feature, which can be accessed by navigating to:
Document > Resize Canvas
Alternatively, you can also access this menu using the keyboard shortcut: Control + Alt + C
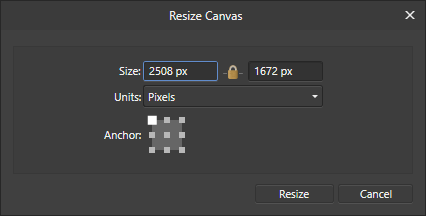
Once opened, the menu should look something like this:
Let’s briefly go over what each of this input values represent in the Resize Canvas menu:
- Size: This input controls the width and height of your canvas. The box on the left is the width and the box on the right represents the height.
- Lock icon: The lock icon between the width and height inputs, when enabled, will lock the aspect ratio of your canvas so that the two dimensions scale in accordance with each other.
- Units: Represents the units of measurement being used. The default is Pixels, which is what we’ll be using in this demonstration.
- Anchor: This represents where your image will be located relative to the canvas once resized.
Before you change any of the input values in this menu, make sure you unlock the aspect ration first by clicking the lock icon. It will be enabled by default. Once unlocked the icon should change from a locked icon to an unlocked icon.
Once unlocked, change the width and height values to reflect the desired size of your border. It should be noted that you’ll be adding space around two dimensions, therefore the changes you make should equal the desired size of your border times two.
For example, if you’d like to have a 50 pixel image border then you would add 100 pixels to both the width and height.
Next, click the center box in the Anchor section so that the image is placed in the center of your document once resized.
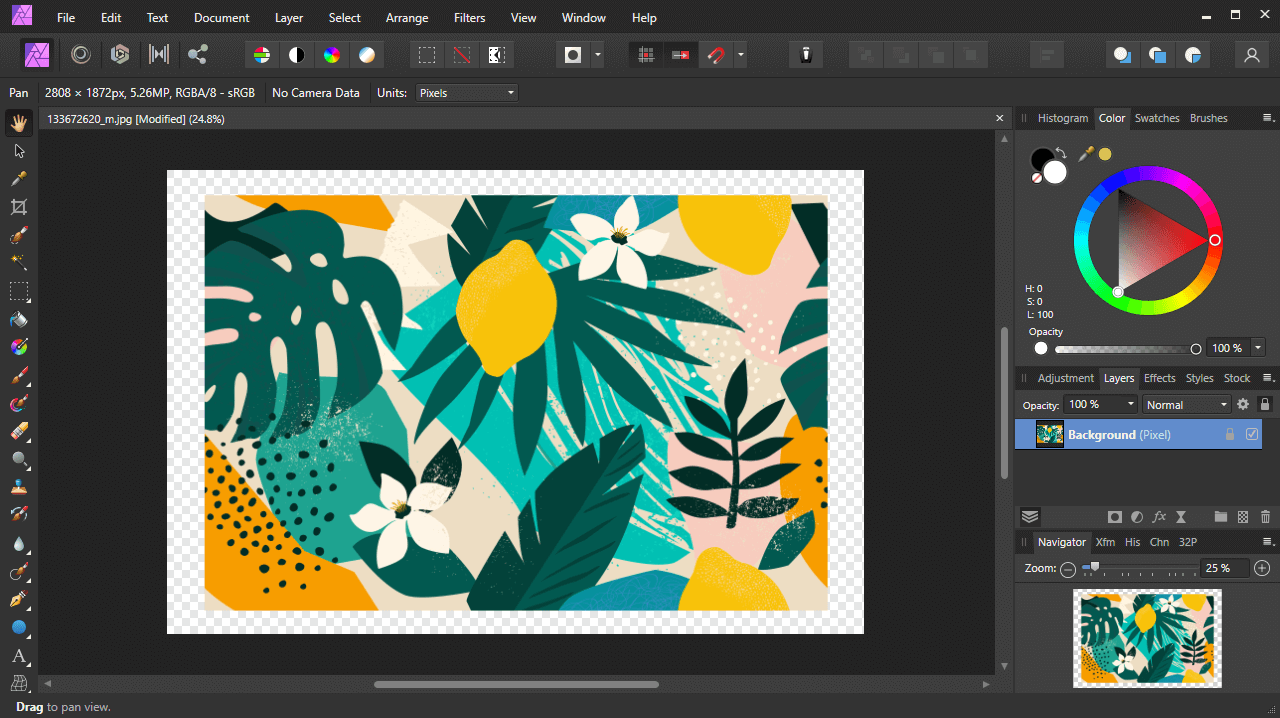
Click Resize to apply your changes once finished. If done correctly, you should now have a transparent border — represented by a checkerboard pattern — going around your image:
Step 3: Add a new pixel layer and position it beneath the image layer
Now that we’ve created space for our image border, we’ll need to fill it in. However, we must first add a pixel layer for the border design to exist on.
Add a new pixel layer to your document by navigating to:
Layer > New Layer
You can also use the keyboard shortcut: Control + Shift + N
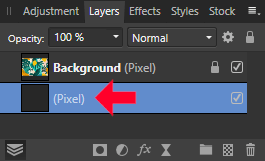
Navigate over to the Layers menu and click and drag the new layer to the bottom of the stacking order:
The new layer should be labeled “(Pixel)” by default.
When moving the layer be sure to move it completely below the image layer. If you place it partially on top of the image layer then it will be added as a sublayer, which is not what we’re going for.
Step 4: Fill in the pixel layer with whatever you’d like your image border to consist of
Once we’ve made space on the document and added a new layer, all we have to do now in to add a border in Affinity Photo is simply fill in the pixel layer with whatever you’d like.
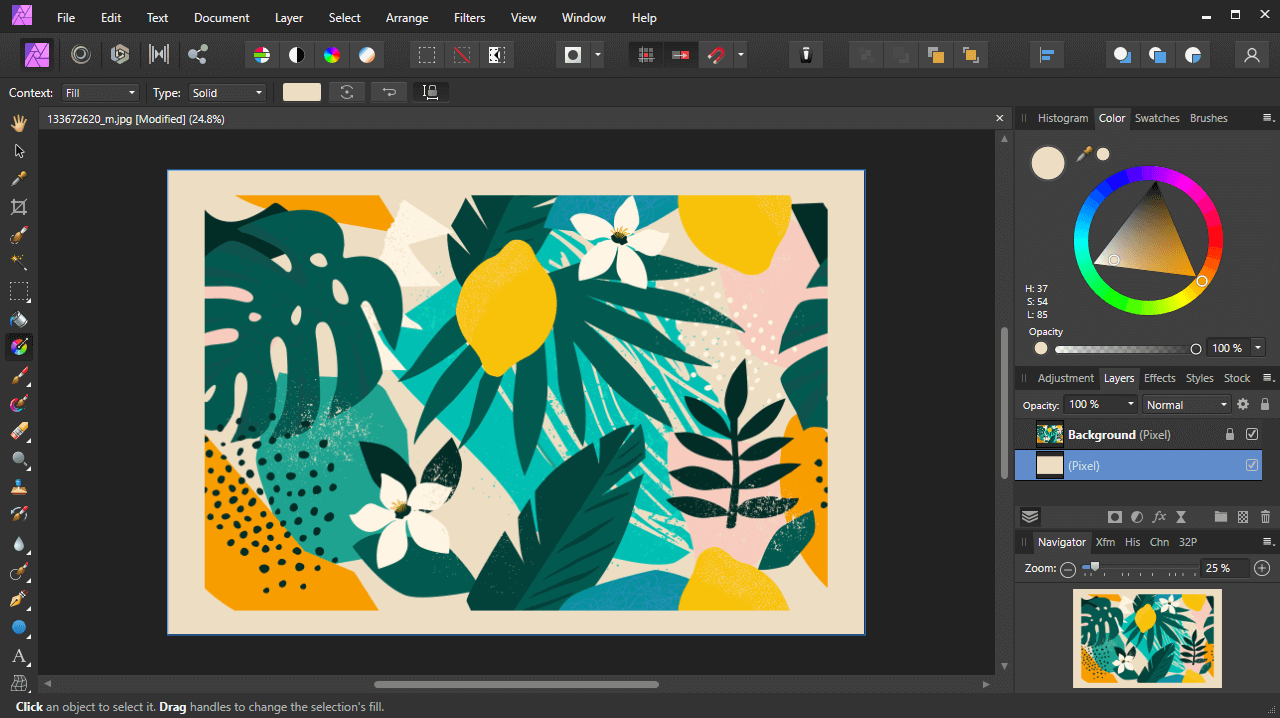
Click on the pixel layer in the Layers menu to activate it, then grab the Gradient Tool (keyboard shortcut: G)
In this Gradient Tool settings menu towards the top of the screen, set the Context to Fill (it should be set already by default.) Then, use the Type dropdown to determine what you’d like your image border to consist of.
The options include:
- None: a blank/transparent border will be added to your image
- Solid: a single fill color
- Linear: a gradient that follows a straight path
- Elliptical: a gradient that follows an elliptical path
- Radial: a gradient that follows a circular path
- Conical: a gradient where multiple colors follow a circular path
- Bitmap: use this option if you’d like to use a pattern fill for your image border
If you need assistance with applying a gradient fill then check my tutorial on using gradients in Affinity Designer here (yes, it’s a Designer tutorial, but gradients work the same way in Photo as they do in Designer.)
For help with applying patterns and textures be sure to check the tutorial I made on using pattern fills in Affinity Designer here.
Here’s how the image looks once a simple border, consisting of a color fill, is applied to the image:
Conclusion
Whether you use the Effects menu or the manual approach demonstrated in this tutorial, there’s numerous ways to add a border in Affinity Photo. Thankfully the process is simple enough that newcomers and first-time users can add borders to their images in mere seconds!
If you have any questions or need help with anything we’ve gone over in this lesson, simply leave a comment below.
Learn To Master The SoftwareGain a complete understanding of your favorite design apps with my comprehensive collection of video courses. Each course grants access to our private community where you can ask questions and get help when needed.
|
||||||||||||||||||||||||||||||||
- Post Tags:
- Affinity
- Posted In:
- Affinity
- Affinity Designer
- Tutorials
Nick Saporito
Hi, I'm Nick— a Philadelphia-based graphic designer with over 10 years of experience. Each year millions of users learn how to use design software to express their creativity using my tutorials here and on YouTube.
All stories by: Nick SaporitoYou might also like
2 comments
-
-
loukash
Why so complicated?
If you have “Snap to spread midpoints” and “Insert behind selection” active:
1. draw a vector rectangle shape with the fill of your choice from the canvas center until it reaches the size you want
2. Document > Clip Canvas
3. voilà




John Sampson
In Affinity Photo 2 the photo is not centred on the canvas after using Resize Canvas.