How To Use The Pen Tool In Affinity Designer for iPad
How To Use The Pen Tool In Affinity Designer for iPad https://logosbynick.com/wp-content/uploads/2022/02/affinity-designer-pen-tool.png 800 470 Nick Saporito https://secure.gravatar.com/avatar/8e31bf392f0ba8850f29a1a2e833cdd020909bfd44613c7e222072c40e031c34?s=96&d=mm&r=gIn this tutorial we’ll be going over how to use the Pen Tool in Affinity Designer for the iPad. This tool allows you to draw shapes by placing individual points on your canvas rather than swiping and brush strokes.
The Pen Tool in the iPad version of Affinity Designer works the same (in concept) as it does on the desktop version. However, due to the nature of drawing with a stylus rather than a mouse, there are some subtle differences that you’ll need to adjust to if you’re already familiar with how pen tools work in a desktop environment.
Use The Pen Tool In Affinity Designer for iPad
The following video tutorial will walk you through a working demonstration of the Pen Tool works in Affinity Designer for iPad:
Continue on for the written guide.
Table of ContentsThe Pen ToolPen Tool Modes |
The Pen Tool
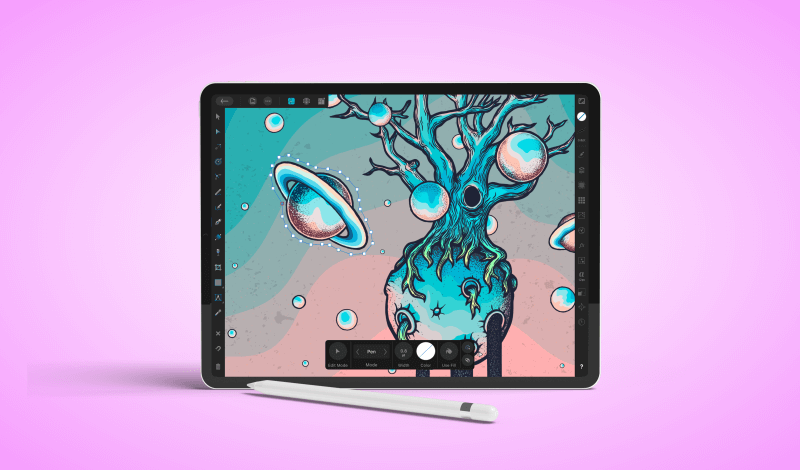
In Affinity Designer for the iPad, the Pen Tool is located halfway down the toolbox menu on the left-hand side of the screen:

The Pen Tool can be accessed in the toolbox.
Holding a tap over the question mark icon in the bottom-right corner of the screen will temporarily place indicator labels over all of the tools. This can make it easier to locate the tool.
What Is The Pen Tool
The Pen Tool is used for drawing vector shapes. However, unlike other tools that require you to swipe to draw, the Pen Tool works by placing individual coordinate points — known as nodes — across your canvas. A path is generated between all of the nodes to form your shape:

The path is drawn between the nodes/anchor points that you place.
The Pen Tool can draw straight lines as well as curved paths. You can create both rounded nodes as well as corners at any angle you’d like. In fact, you can draw virtually any shape you’d like with the Pen Tool.
Once you are finished drawing those shapes you can then edit the nodes individually to fine tune your work into a clean, precise drawing.
The Pen Tool is the quintessential tool for drawing shapes and paths in vector design applications, such as Affinity Designer.
How To Use The Pen Tool
The Pen Tool allows you to draw virtually anything, but it comes with a bit of a learning curve. It will take some practice and patience to get a proper feel for how this tool works.
To start, tap on your canvas once to place a point. Then, tap again to place another point. If done correctly, a line should be drawn between the two points.
This line represents the shape (or “path”) that you’re drawing. As you continue to add points, the shape will be drawn between them accordingly:

Drawing like this will create straight lines and corner nodes. You can draw curved lines by holding the tap and swiping when adding your points:

A curved path was drawn by tapping and swiping.
The path will be shaped in response to your hand movement.
Once you are finished drawing your shape, you can close the path by tapping on the first node that you placed. You will now have a shape that can be filled with color, used as a clipping mask, for Boolean operations, or any other way in which you would use shapes in Affinity Designer:

In this example the path drawn with the Pen Tool was used as a clipping mask for the image beneath it.
If you make a mistake at any point you can undo it by tapping on the screen with two fingers.
How To Edit Your Drawings
Once your shapes are drawn you can enter Edit mode to adjust them as needed:

Tapping and swiping on a node will allow you to move it around. You can also change the contours of the path by tapping and swiping on one of the lines, or by using the adjustment handles that branch off of each node. Refer to the video tutorial above for an in-depth demonstration.
These edits make it so that your shapes can be tweaked to be as precise as needed.
Pen Tool Modes
Now that we’ve gone over how to use the Pen Tool in Affinity Designer for iPad, let’s have a look at the various drawing modes that you can use when creating paths.
Pen Tool modes are indicated in the menu at the bottom of the screen:

There are four modes in total. Let’s go over each.
Pen
Pen mode is the default setting for the Pen Tool. With this mode enabled the tool will function according to the instructions we previously went over.
Smart
In Smart mode, the Pen Tool will automatically draw a soft, rounded path with no hard edges or corners:

This mode is sort of like training wheels for the Pen Tool. If you’re struggling to use it properly in normal Pen mode then Smart mode will allow you to draw your shapes more easily.
Polygon
In Polygon mode you will only be able to draw straight lines that connect to corner nodes. This mode will prevent you from drawing curved paths and rounded nodes:

This could be beneficial when tracing over a subject that consists entirely of hard edges and straight lines.
Line
Finally, Line mode makes it so that you only draw individual straight lines.
You can draw these lines by tapping and swiping or by tapping once to place a point, then tapping again elsewhere to create another point that the line will connect to.
Conclusion
Knowing how to use the Pen Tool in Affinity Designer for iPad will take some time and practice. However, it is a foundational tool when it comes to vector design, and knowing how to use it is crucial.
If you have any questions or need clarification on anything we’ve gone over in this tutorial then simply leave a comment below.
Learn To Master The SoftwareGain a complete understanding of your favorite design apps with my comprehensive collection of video courses. Each course grants access to our private community where you can ask questions and get help when needed.
|
||||||||||||||||||||||||||||||||


