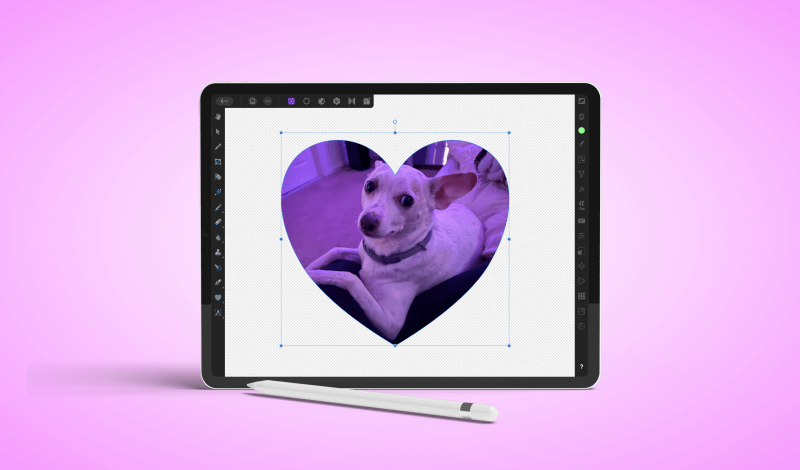
How To Make A Clipping Mask with Affinity Photo for The iPad
How To Make A Clipping Mask with Affinity Photo for The iPad https://logosbynick.com/wp-content/uploads/2021/07/clipping-mask-affinity-photo.png 800 470 Nick Saporito https://secure.gravatar.com/avatar/8e31bf392f0ba8850f29a1a2e833cdd020909bfd44613c7e222072c40e031c34?s=96&d=mm&r=gOne of the many ways in which you can use your iPad to edit photos is by creating clipping masks with them, and in this tutorial I’ll be demonstrating how to make a clipping mask with Affinity Photo for the iPad.
In short, a clipping mask is when you take one object (such as a photo) and use it to fill in another object (such as a shape.) The way that you make clipping masks in Affinity Photo is quite similar to the process used in Affinity Designer — whether it be for the desktop or iPad.
Make A Clipping Mask with Affinity Photo for The iPad
| To make a clipping mask with Affinity Photo for the iPad, place the object you’d like to use as your mask on a separate layer. Then, tap and hold on the layer you’d like masked and move it on top of the mask layer. |
The following video tutorial will walk you through the entire process:
Continue on for the written instructions.
Table of Contents |
Step 1: Open your photo and ensure it’s on its own layer
In order to make a clipping mask in Affinity Photo for the iPad, you first need a subject to apply the mask to. This is typically a photo, but it can be any object (or grouping of objects) you’d like.
For this demonstration, I will be masking the following example photo:

Click to enlarge
If you opened your photo in Affinity Photo then it should be on its own layer by default. This is also true if you imported the photo. However, if you’re going to be masking multiple objects, make sure they’re all grouped together on their own layer first.
Step 2: Place the object that you’d like to use as your mask on its own layer
Now we’re going to create the object that we’ll be using as the mask. This can be a shape, a text object, a path that you’ve drawn, or even another raster image, such as a PNG.
For this demonstration I will be using the following heart shape:
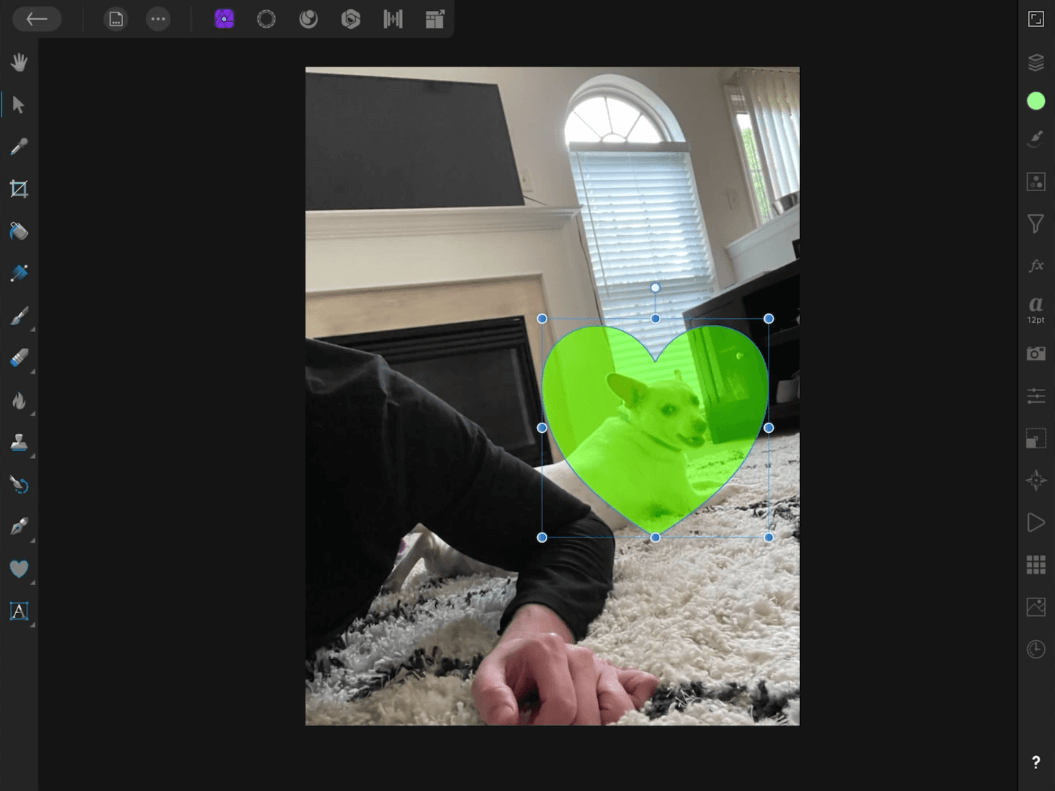
Notice how I gave the shape a color that contrasts nicely with the photo, and I reduced the opacity so that I can see where it lines up with the photo as I’m positioning it. It is recommended that you do the same.
Go ahead and scale and position your photo as needed, until you have it placed directly where you’d like to clip your image.
Step 3: Move the photo layer on top of the mask layer to create a clipping mask
In order to create a clipping mask with Affinity Photo for the iPad, all you have to do now is open your Layers menu, hold a tap over the image layer, then drag it on top of the layer that contains the shape/object you’d like to use as a mask:
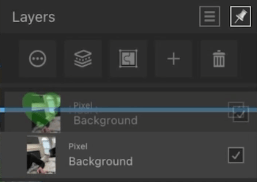
Placing the image layer over the shape layer will create a clipping mask, as indicated by the blue stripe going through the center of the layer.
Once placed, your layer will be combined with the layer you placed it on to create a clipping mask:
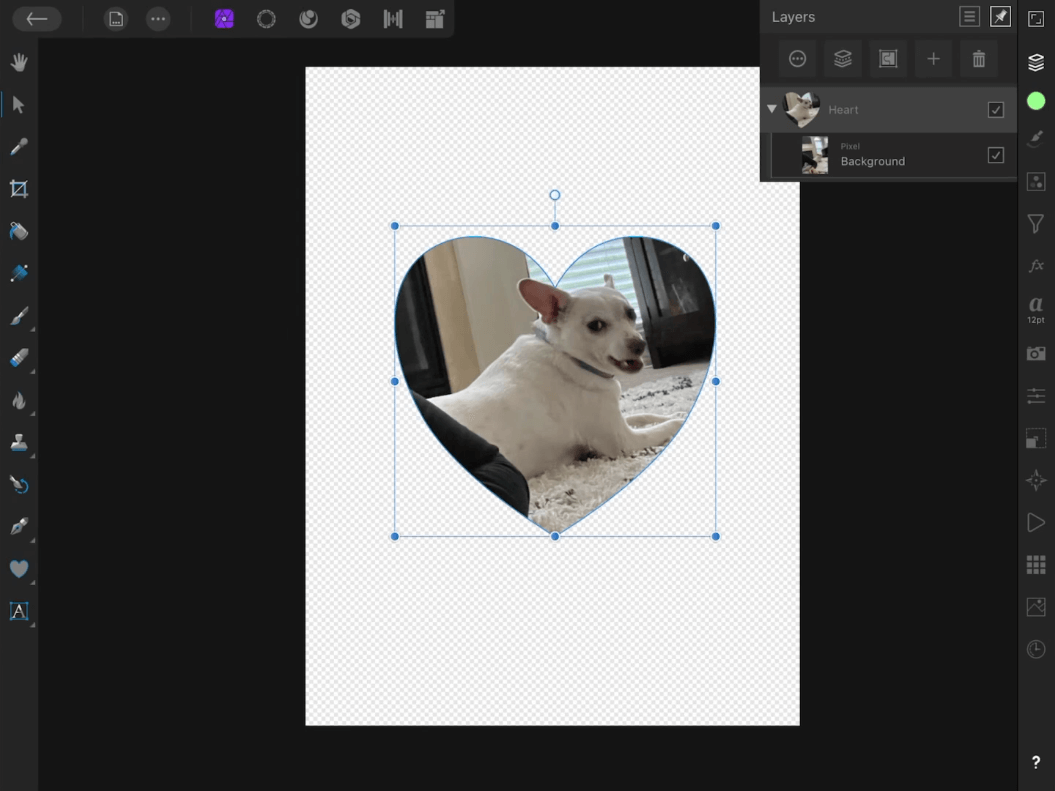
How the clipping mask looks once applied.
And that’s all there is to it!
You can now select between the mask and the masked layer to transform them as needed. And if you want to release the clipping mask then all you have to do is move the image layer out of the layer group, by tapping and dragging, to place it on its own layer again.
If you want to resize the canvas to fit the image, check out my tutorial for doing so here.
Conclusion
The iPad version of Affinity Photo is nothing short of impressive. They Serif team did an excellent job creating a functional image editing app that works in a mobile environment. Thanks to the ingenuity of this app, creating a clipping mask with Affinity Photo for the iPad couldn’t possibly be easier.
If you have any questions or need clarification on any of the steps in this lesson then simply leave a comment below.
Learn To Master The SoftwareGain a complete understanding of your favorite design apps with my comprehensive collection of video courses. Each course grants access to our private community where you can ask questions and get help when needed.
|
||||||||||||||||||||||||||||||||


