How To Pattern Fill with Affinity Designer
How To Pattern Fill with Affinity Designer https://logosbynick.com/wp-content/uploads/2021/01/pattern-fill-with-affinity-designer.png 800 470 Nick Saporito https://secure.gravatar.com/avatar/8e31bf392f0ba8850f29a1a2e833cdd020909bfd44613c7e222072c40e031c34?s=96&d=mm&r=gFilling your objects with a pattern is a pretty common preset for most graphic design applications, and Affinity Designer is no exception to this. However, pattern fills work slightly different in Affinity Designer than they do in alternative applications, like Inkscape and Adobe Illustrator. In this tutorial I’ll be demonstrating how to pattern fill with Affinity Designer using any image you’d like.
Create A Vector Pattern
Unlike other applications, Affinity Designer doesn’t come with stock patterns built in, so you’ll either have to download some pattern designs or create one of your own.
In a tutorial I recently made for my YouTube channel, I demonstrated how to create a vector pattern with Affinity Designer:
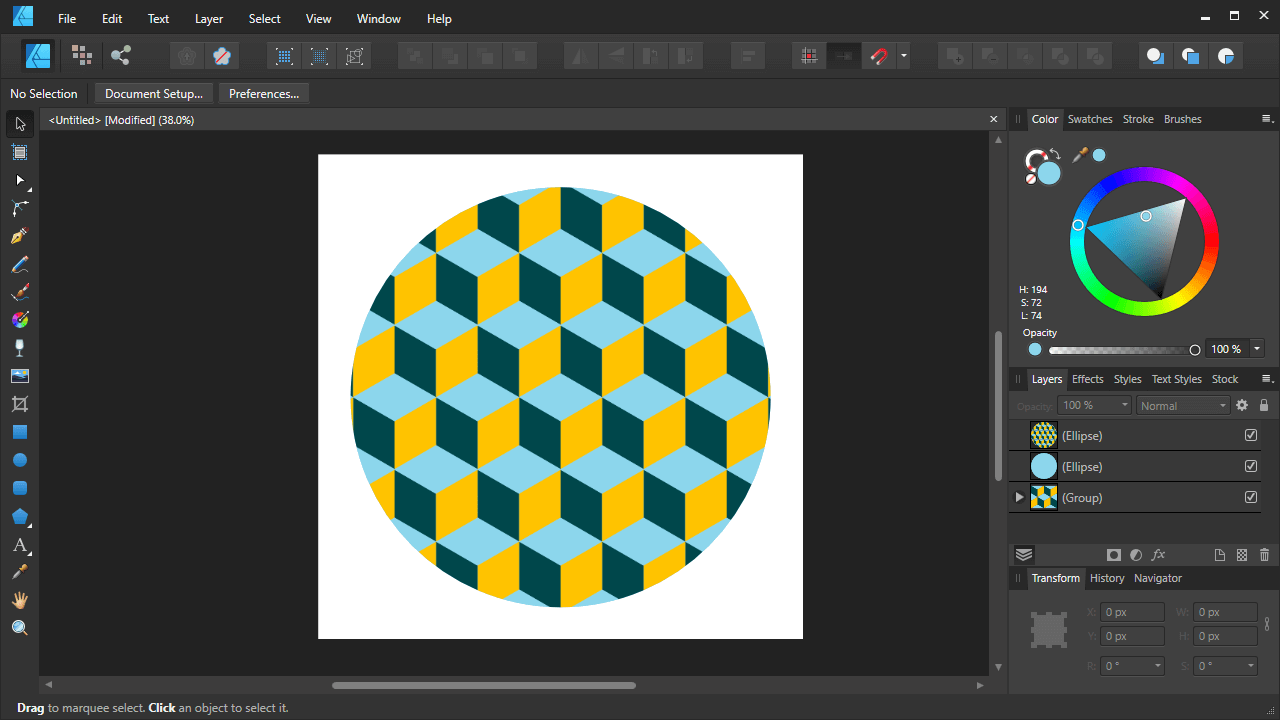
The pattern depicts colored cubes stacked neatly against each other. It is created by first making a single tile, exporting it as a PNG image, and then using it as a pattern fill with Affinity Designer.
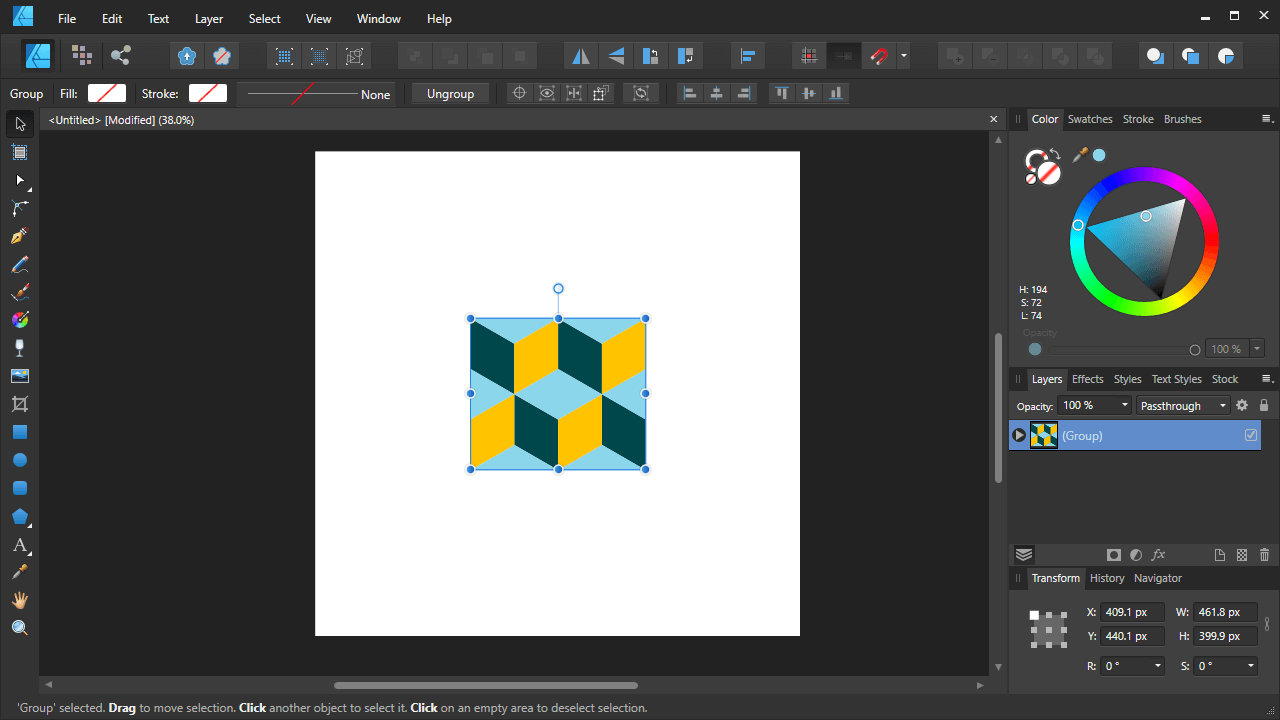
When duplicated and stack next to (and on top of) each other, these tiles can make for an infinite pattern.
The tile is designed in such a way that you can place copies of it next to each other to create a seamless, symmetrical pattern that can be repeated infinitely.
Follow the tutorial if you’d like to learn how to create the design, or you can simply save the finished design below if you’d just like to see how to use it as a pattern fill:
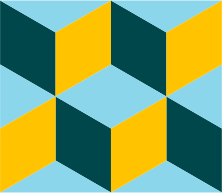
Feel free to download this pattern tile and use it if you’d like!
Just right-click the image and select Save As. You have my permission to use this design however you’d like!
Pattern Fill with Affinity Designer
| To pattern fill with Affinity Designer, select your object, grab the Fill Tool, then choose “Bitmap” from the Type dropdown. You will then be prompted to choose an image to use as your pattern fill. |
Now that we have a pattern image to work with, let’s go over the steps required to use it as a pattern fill with Affinity Designer.
Step 1: Create An Object
The first thing we have to do is create an object or shape to fill the pattern into, assuming you don’t already have one. If you already have an object that you’d like to fill with your pattern then proceed to step 2.
For this demonstration I will be using a basic circular shape. However, you can use whatever shape you’d like.
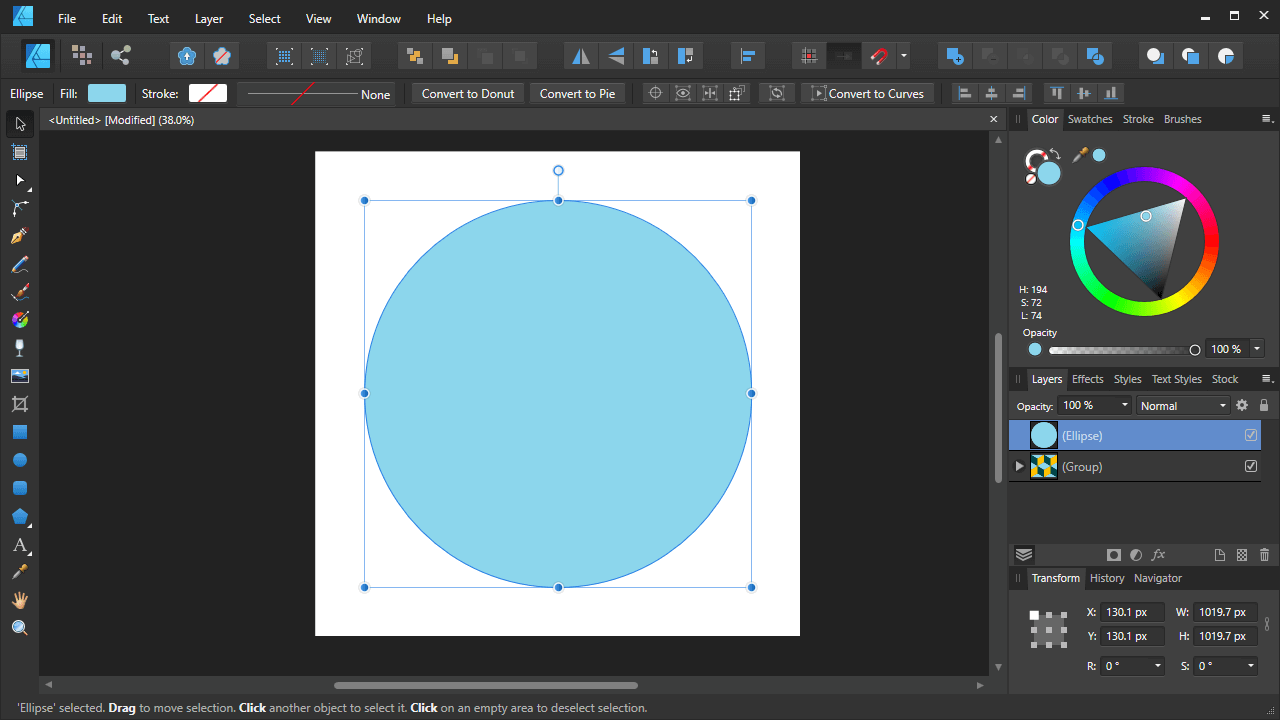
The pattern fill will be applied to this circle.
Use one of the shape tools in the toolbar to the left of your screen to generate a shape.
Step 2: Use The Fill Tool To Fill With A Bitmap
To apply a pattern fill with Affinity Designer, grab the Fill Tool (keyboard shortcut: G) and look towards the top of the screen for the tool settings.
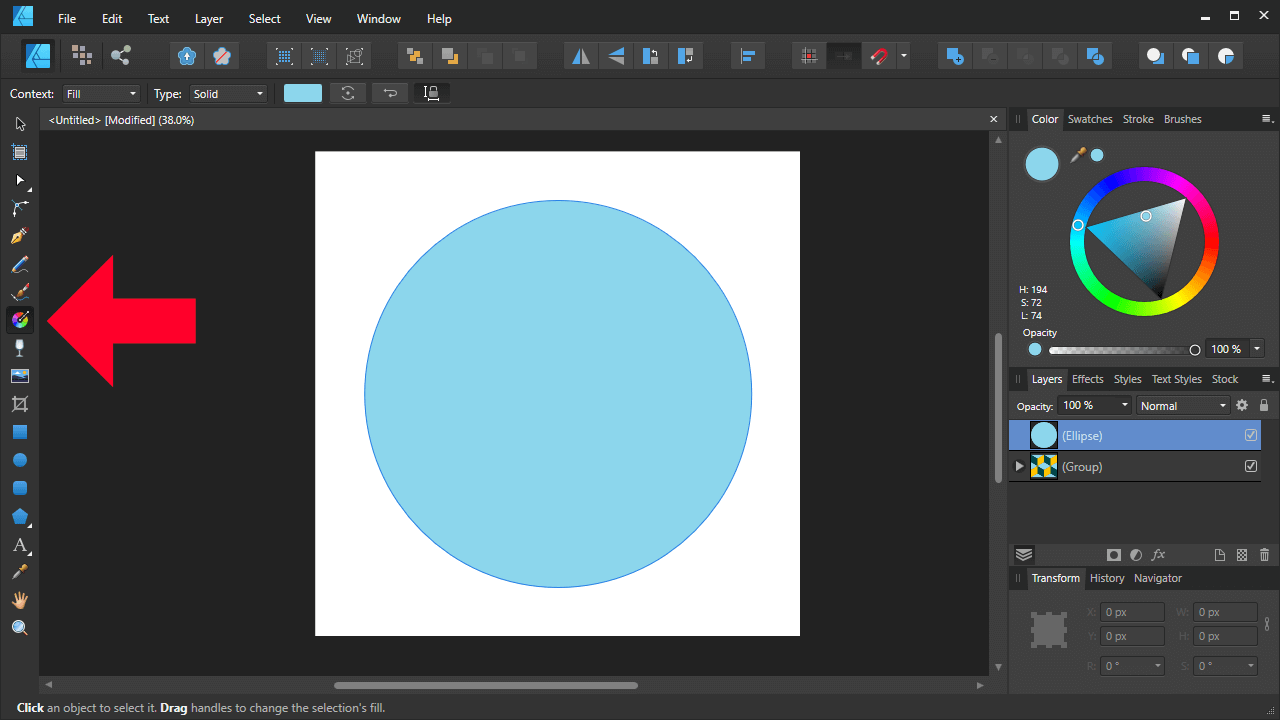
The Fill Tool is a multi-color icon on the left of the screen.
In the tool settings menu, you’ll see a setting labeled as “Type”.
The tool settings are located just above the workspace.
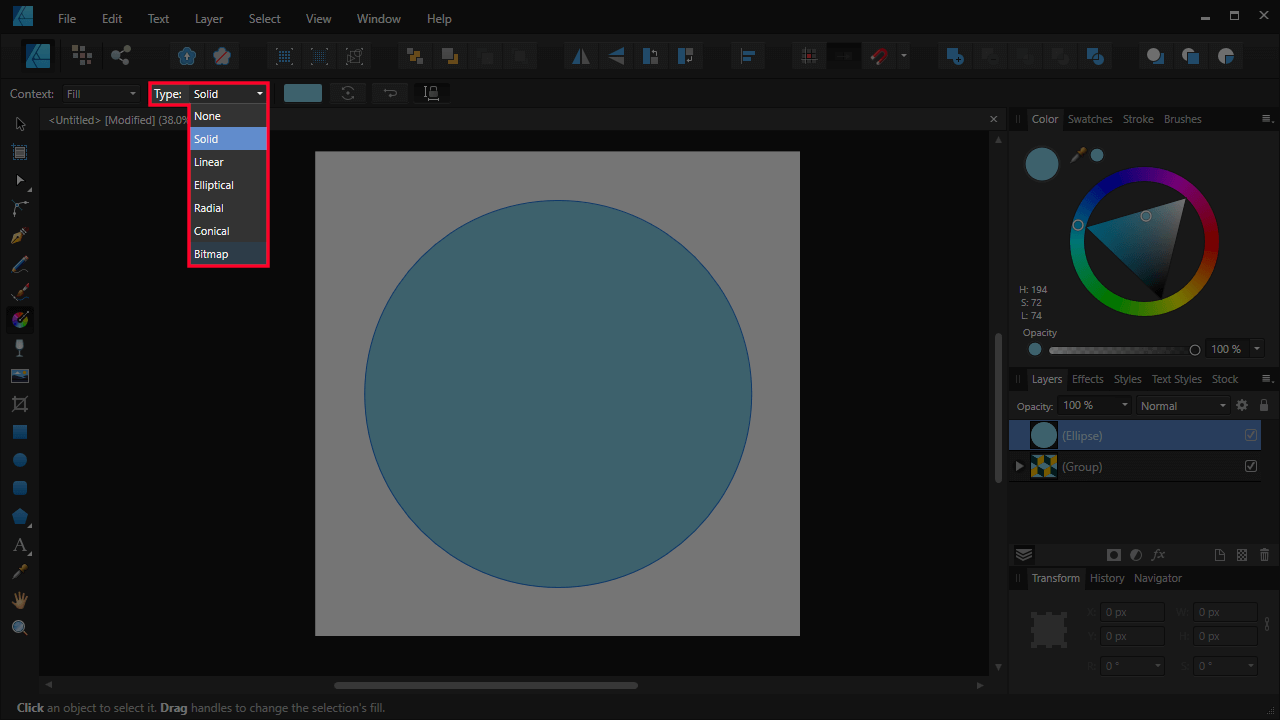
From the dropdown menu next to it, choose Bitmap from the list.
You will then be prompted to choose a bitmap file to use as your pattern fill.
Locate your pattern on your hard drive and click OK to import it. It should be noted that only PNG and JPG formats are compatible.
Your object should now be filled with the chosen image:
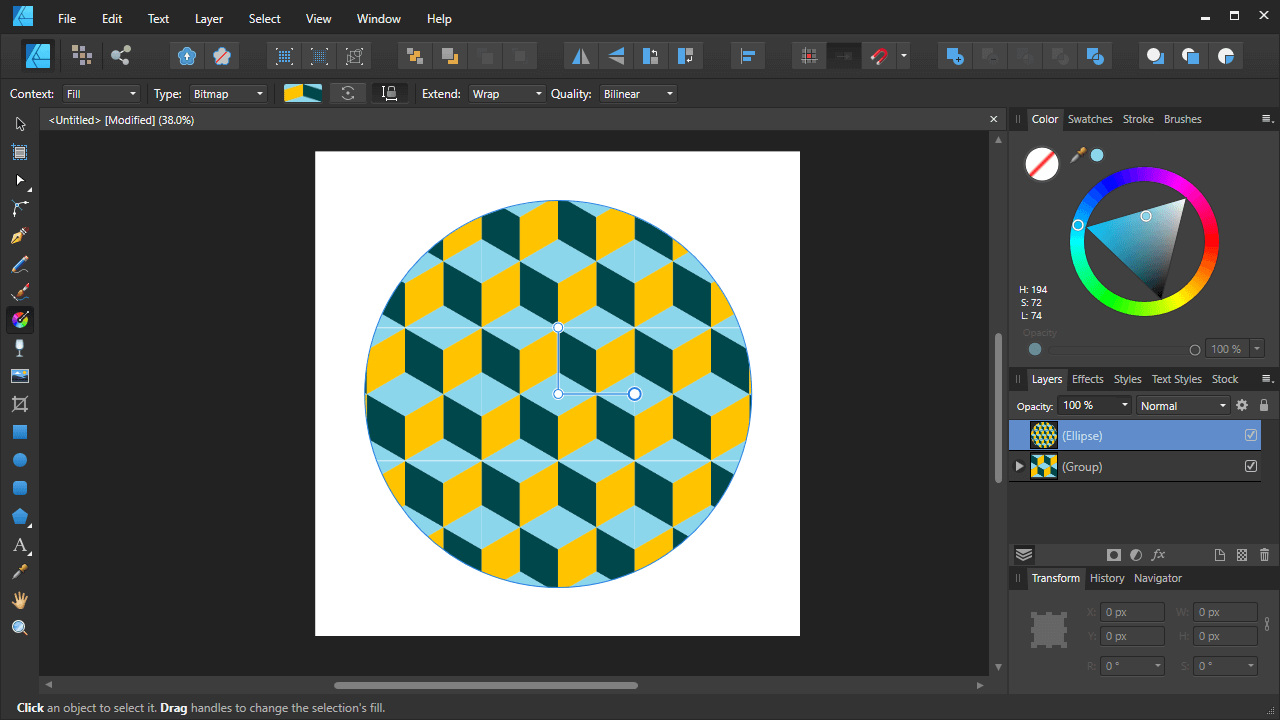
Here’s how the circle looks once filled with a pattern.
Step 3: Adjust Your Pattern As Needed
Now that you have applied your pattern, it’s time to adjust it as needed.
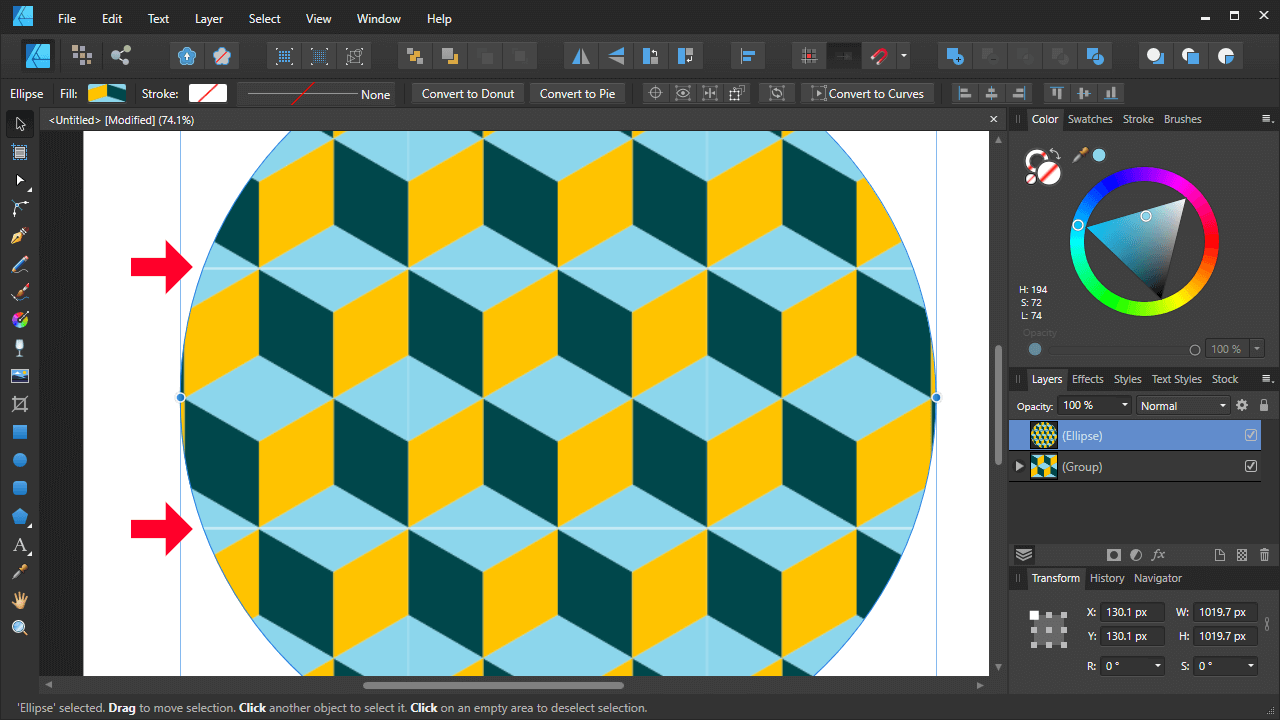
Once the pattern fill is applied, you’ll notice that some adjustment handles and nodes populate over the object.
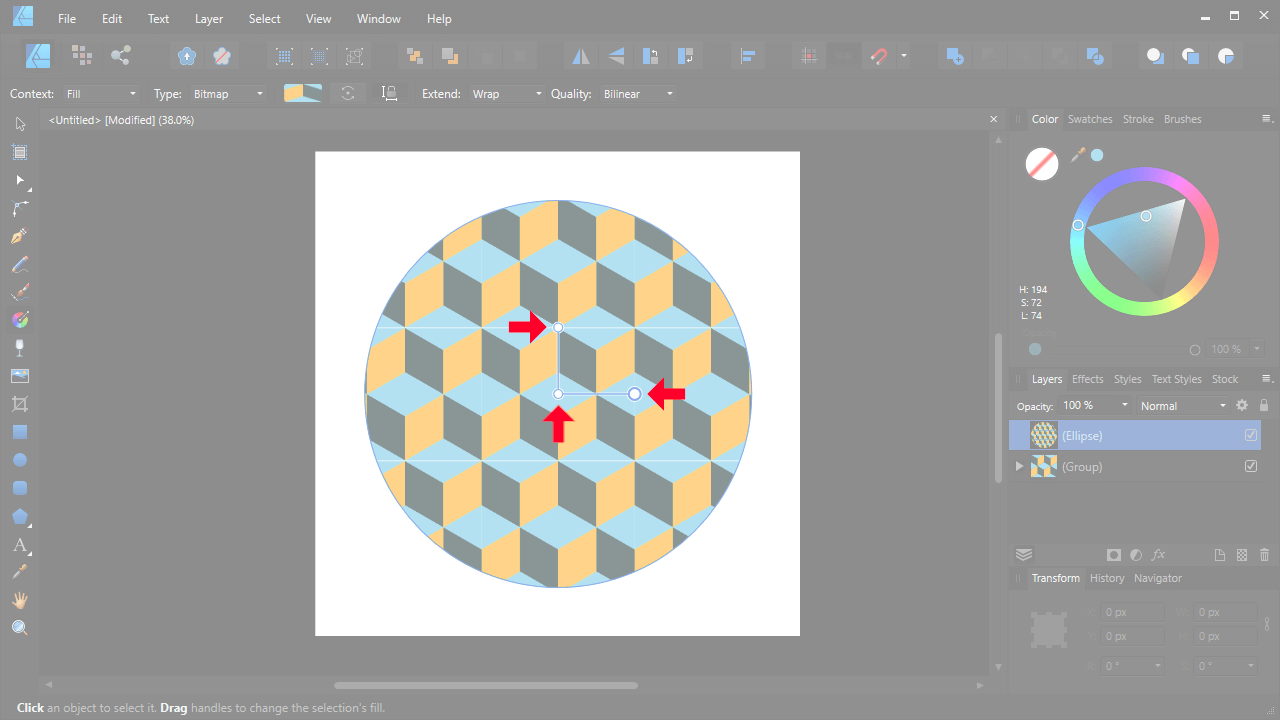
These handles can be used to adjust your pattern in a variety of ways.
The center node of the handle represents the position of the pattern. Moving this will in turn move the location of the pattern within the object, but without moving the object:

Changing the pattern’s position.
The other two handles represent the scale and rotation of the pattern.
Moving them in and out will allow you to scale the pattern down and up respectively:
Scaling the pattern up and down.
Rotating them around will allow you to rotate the pattern:
Rotating the pattern.
When making transformations with the adjustment handles, you can hold the Shift key at any point to lock movement on the vertical and horizontal axis, and to lock the rotation into 15 degree increments.
Gaps Between Pattern Tiles
If you’re working with a pattern that has a lot of contrast, you may notice that there are white gaps between the pattern tiles:
Depending on your pattern’s composition, you may notice gaps between the individual tiles — typically white gaps.
This has more to do with the mathematical nature of vector design and less to do with Affinity Designer itself, and it’s an unfortunate downside to working with vectors in general. In fact, this problem is common in Inkscape and Illustrator as well.
A workaround for this problem is to simply create another copy of your object, then fill it with one of the colors from your pattern:
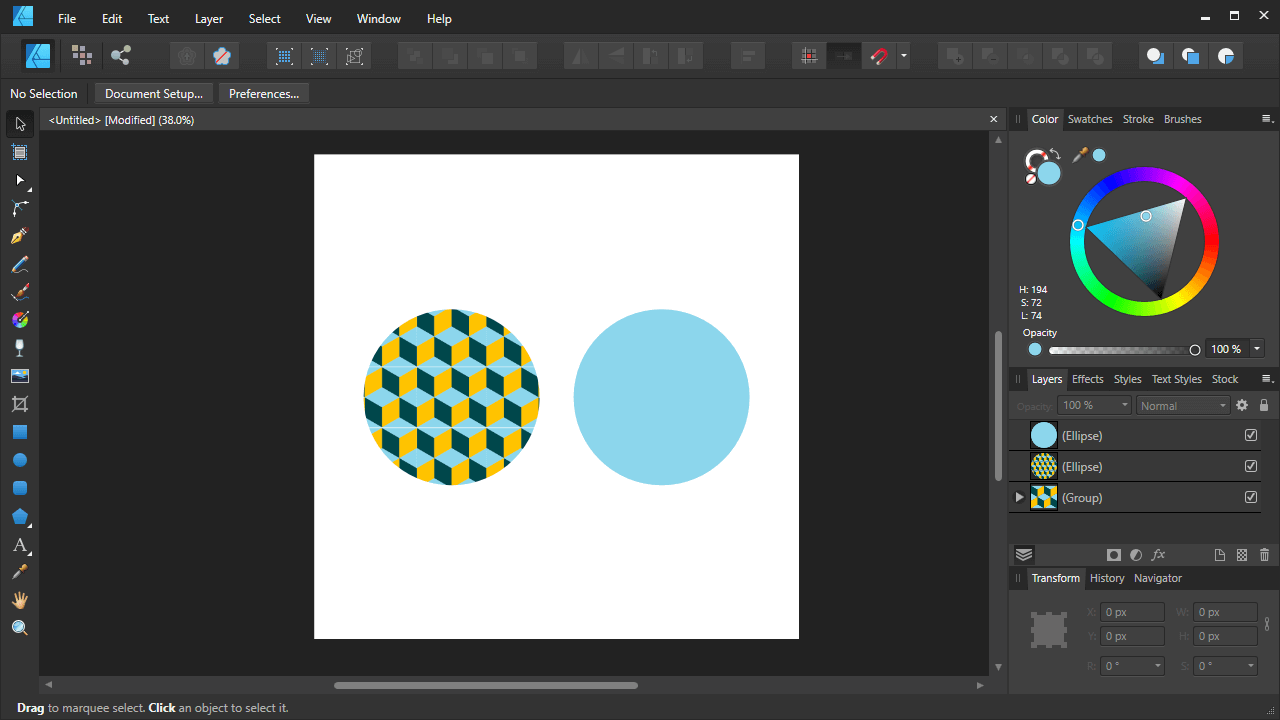
Create a duplicate copy of the object and fill it with a solid color that is present in your pattern.
You can use the Color Picker tool to do this (keyboard shortcut: i). The chosen color doesn’t matter. You can choose whichever color you’d like, as long as it’s used in the pattern image.
Once filled, lower the duplicate copy beneath the original copy and align them vertically and horizontally.
The white gaps should now be gone:
Once applied, the gaps between the tiles are no longer visible.
The reason why this works is because it fills the gap areas with the color you chose, which basically makes them invisible to the human eye.
Export Your Work
Once you are finished you can use the Export Persona to create a new slice from your pattern-filled object and then export it in any format you’d like. You may also want to save a native vector copy (.afdesign format) in case you’d like to edit the pattern at any point in the future.
I have a tutorial on exporting your work with Affinity Designer if you need assistance with that.
Conclusion
Giving an object a simple pattern fill with Affinity Designer is an easy process that only takes a couple of clicks. The downside is that it doesn’t come with any pattern designs built-in, so you’ll have to use your own. This isn’t a big deal in my opinion though. I don’t think I’ve ever used a preset pattern in any other design application personally, so I like that Affinity cuts right to the chase and prompts you to use your own.
If you have any questions or if any part of this lesson was unclear, simply leave a comment below. As always, thanks for visiting!
Learn To Master The SoftwareGain a complete understanding of your favorite design apps with my comprehensive collection of video courses. Each course grants access to our private community where you can ask questions and get help when needed.
|
||||||||||||||||||||||||||||||||


Thanks for that Nick.
Is there a way to create transparency as one can do with a normal fill or gradient fill?
Not directly. There might be a way to pull this off by playing around with layer masks though.
Cool….thanks for your reply.
Jumped onto Affinity Designer from Inkscape taking advantage of the 50% discount.
I enjoy the Pixel Persona feature.
Nice to see Inkscape continuing development.
Great, very helpful, thanks!
Hi Nick, so, I created the pattern as per the video in Affinity Designer using Ver 1.10.4. Once completed, I decided to zoom right in and I notice that cube lines are pixelated indicating a NON Vector graphic. Should it be this way, or should the cube edges be straight and not stair stepped as you see in bitmap images. Maybe I did something wrong. I do not notice at normal % levels.
Hi Mike, the image it is filled with is a raster image, or a “bitmap”, meaning it won’t be vector.
Thank you very much, this was very useful!.
Take cere, bro.
Glad to help!