
Why Merging Layers In Affinity Designer Is So Complicated
Why Merging Layers In Affinity Designer Is So Complicated https://logosbynick.com/wp-content/uploads/2021/03/merge-layers-affinity-designer.png 800 470 Nick Saporito Nick Saporito https://secure.gravatar.com/avatar/d9a1bc4f29b2352da1ce14ad033328ab?s=96&d=mm&r=gIn this tutorial I’ll be addressing a rather confusing and frustrating aspect of working with Affinity Designer — merging layers. I’ll be going over how to merge vector layers and how to merge pixel layers as well. Unfortunately, this isn’t as simple as it sounds, and will require some workarounds based on exactly what it is you’re trying to accomplish.
Despite all of the differences between the various graphic design applications that exist in the world, one of the things they all have in common is that they handle layers and layer merging in a relatively similar way. Merging layers with Affinity Designer is complicated though, because Designer handles layers in a fundamentally different way.
Types Of Layers
Before we begin going over how to merge layers in Affinity Designer, we first need to have an understanding of the three different types of layers that exist in Affinity Designer. The reason why is because the way you should go about merging your layers will depend entirely on the type of layer you’re working with.
There’s also rules for working with each layer type, and not knowing what they are will likely be a frustrating experience for you if you’re trying to do something that isn’t possible.
That being said, there are three types of layers in Affinity Designer:
- Vector layers
- Pixel layers
- Adjustment layers
There’s also layer masks, which allow you to do things like add texture overlays, but they’re technically not layers, so we’ll be disregarding them for this lesson.
Let’s go over each in more detail.
Vector Layers
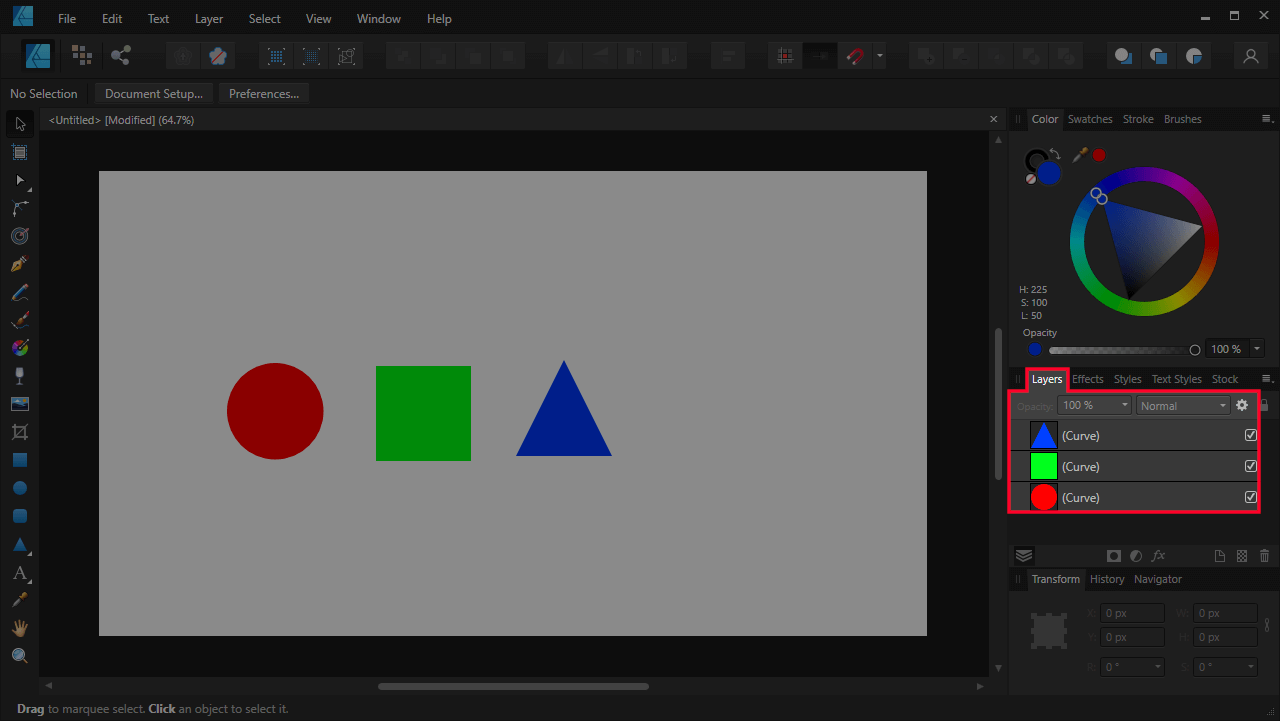
Vector layers exist in the Designer Persona. Every time you create an object in the Designer persona, it is placed on its own vector layer:
Contrary to how other vector design applications work, each vector object that you create can only exist on its own layer. There is no way to merge vector layers together so that multiple objects can exist on one vector layer (unless you combine them into a single object via Boolean operations.)
Vector layers can be grouped together into layer groups, but they cannot be merged.
So, vector layers, in essence, aren’t really layers in the traditional sense. They’re just an indication of where the vector objects in your document are positioned relative to each other (above and below, for example.) For them to exist together on a single layer, as would be the case in other applications, would require you to create layer groups with them.
What you think of as a layer in other applications is really just a layer group in Affinity Designer.
Pixel Layers
Pixel layers exist in the Pixel Persona. Every time you generate a pixel drawing using one of the tools in the Pixel Persona, it will be placed on its own pixel layer.
Pixel layers function in a slightly different way than vector layers do, mainly because of the fundamental differences in how vectors and pixels are created.
While it’s true that multiple vector objects cannot exist on the same layer in Affinity Designer, that isn’t exactly the case with pixel layers. You can indeed create multiple pixel-based drawings and designs on a single pixel layer by adding to the existing layer. However, there’s no way to directly merge pixel layers that have already been created on separate layers (there is a simple workaround though, which we’ll be going over shortly.)
Adjustment Layers
Finally, there are Adjustment Layers. Adjustment layers allow you to change the appearance of an object in a non-destructive way that can easily be undone.
So, let’s say you’ve incorporated a photo into your design work, and you want to see how your design would look if you made the photo black and white. You could make the photo black and white, which would be a permanent change; or you could simply select the layer that the photo is located on, then add a new adjustment layer, choosing “black and white” from the list of available adjustments.

The benefit of using an adjustment layer is that it can easily be deleted, allowing your photo to have color again. Adjustment layers can also be applied to multiple layers and objects, applying the black and white effect to all of them.
Adjustment layers can be added to vector layers or to pixel layers, and in either the Designer or Pixel persona.
Much like vector layers and pixel layers, adjustment layers cannot be merged. They can, however, be segmented into layer groups.
Merging Layers In Affinity Designer
Despite the unique nature of how layers work in Affinity Designer, we still have a problem to address. Let’s explore some workarounds for those of you who may be looking to merge layers in Affinity Designer.
Merge Vector Layers In Affinity Designer
| There is no way to directly merge vector layers in Affinity Designer. Instead, you must segment them into layer groups. |
As we previously discussed, every vector object in Designer exists on its own layer, and it’s not possible for multiple vector objects to exist on a single layer. Therefore, if you want to organize your artwork using layers, you must place the layers into layer groups.
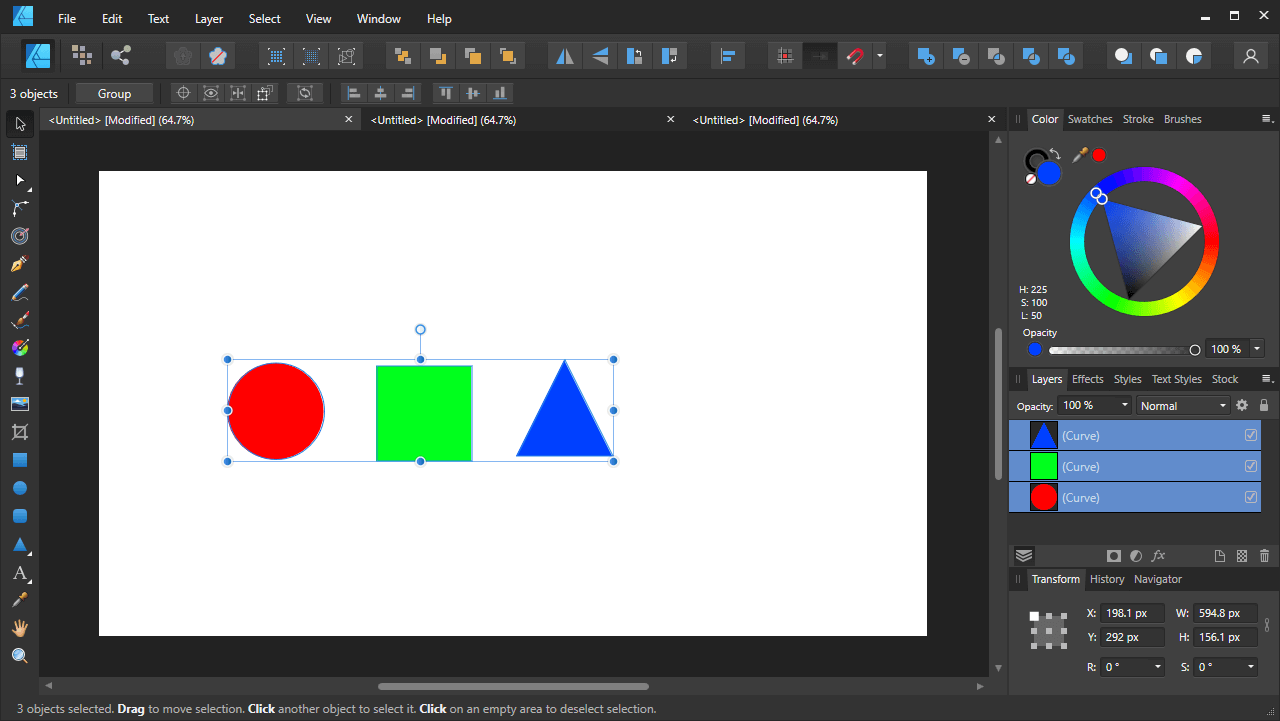
To place your vector layers into layer groups, hold Shift on your keyboard and click each layer in order to select them all. You may have to rearrange the position of your layers accordingly. This can be done by simply clicking and dragging them into the desired position.
With your layers selected, right-click them and select Group.
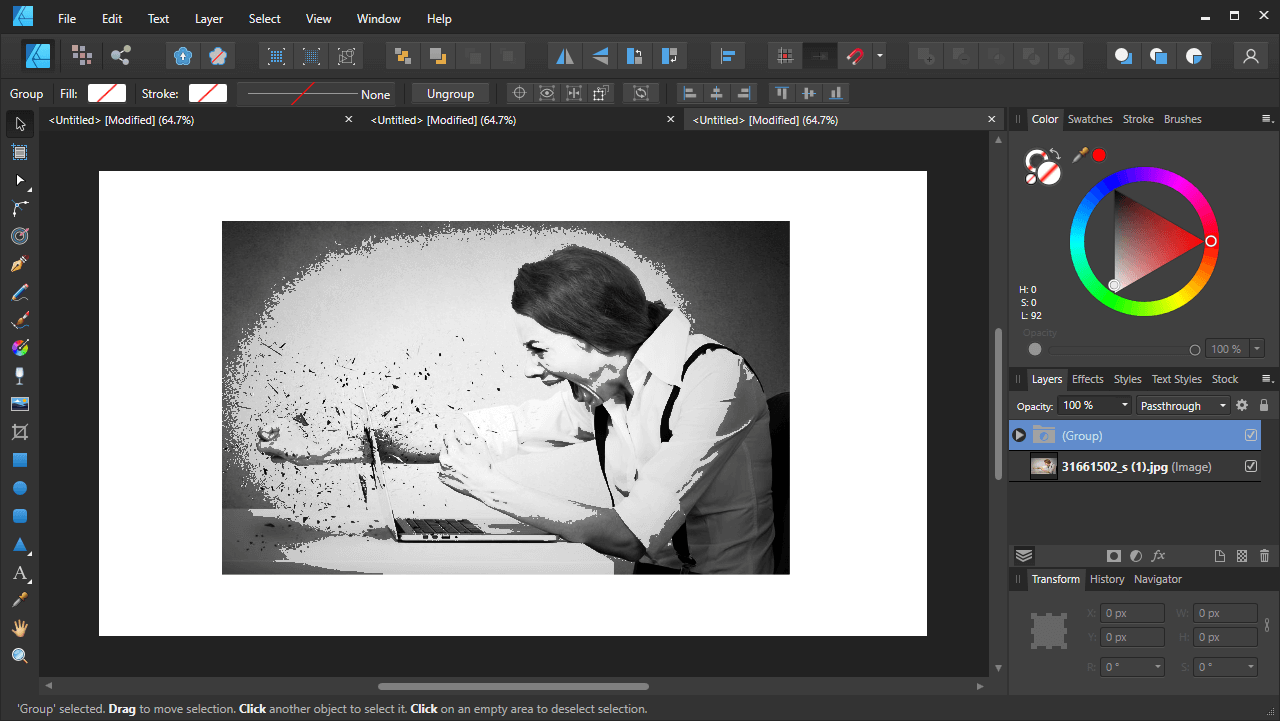
Your layers will then be merged into a single layer group:
The group will then function in the same ways that an individual layer would function, making it easy to organize your work. And unlike merging, layer groups are non-destructive and can be undone at any time.
Merge Pixel Layers In Affinity Designer
| To merge pixel layers in Affinity Designer, select the layers you’d like to merge, group them together, then rasterize the group by right-clicking it and selecting Rasterize from the dropdown menu. |
If you’re looking to merge pixel layers in Affinity Designer then you may be pleased to hear that there’s more of a direct way to do so than there is for vector layers.
Much like merging vector layers, you can segment pixel layers into groups. However, if you’d like to merge them into a single layer, you can do so by grouping them together, and then by rasterizing the group.
First, select all of the pixel layers you’d like to merge by holding Shift on your keyboard and clicking each:
Now, group them together by right-clicking them and selecting Group from the dropdown menu:
Once they’re grouped, you can right-click on the group and select Rasterize from the dropdown menu. This will rasterize the entire group, turning your group of pixel layers into a single pixel layer, effectively merging them:
It would be nice if Affinity added a shortcut that combines both of these actions so that it could be done directly, but regardless, this workaround is just as effective as a traditional merge function (for pixel layers anyway.)
Merge Adjustment Layers In Affinity Designer
| There is no way to directly merge adjustment layers in Affinity Designer. Instead, you must segment them into layer groups. |
Although adjustment layers are raster/pixel in nature, they behave more like vector layers in that there’s no way to directly merge them. Instead, we’ll have to segment them into groups.
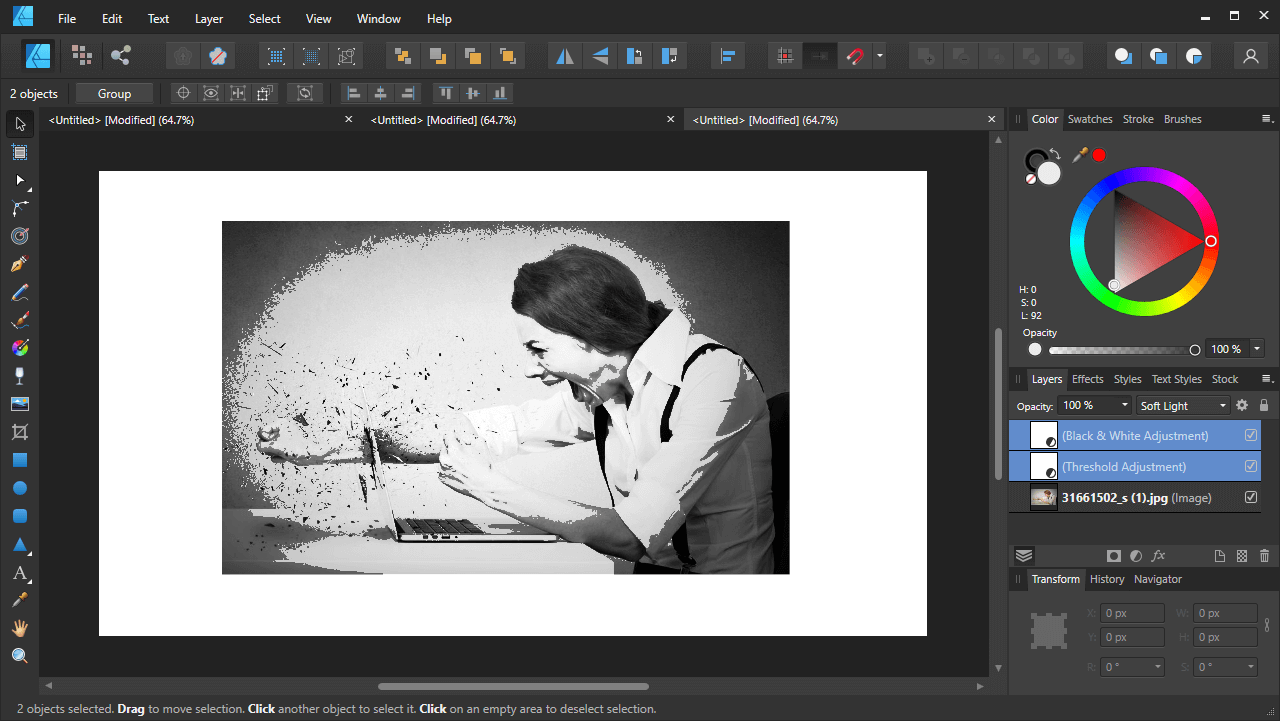
To merge your adjustment layers, select the layers you’d like to merge by holding Shift on your keyboard and clicking on each:
Next, right-click on the layers and select Group from the dropdown menu. This will place your adjustment layers into a layer group:
The group will then function in the same ways that an individual layer would function, making it easy to organize your work. And unlike merging, layer groups are non-destructive and can be undone at any time.
Tips & Precautions
Here are some pointers to keep in mind when working with layers and groups in Affinity Designer:
- Vector layers and pixel layers cannot be merged together, but they can be grouped together.
- Adjustment layers can be applied to and grouped together with vector layers and pixel layers.
- Adjustment layers function in both the Designer Persona and the Pixel Persona.
Conclusion
Seeing as how layer groups can be just as effective as merging layers in Affinity Designer, you could make the argument that layer merging is an outdated concept, and that Affinity is being innovative and forward-looking by doing away with it. The primary benefit of working with layer groups is that they’re non-destructive, meaning they can be undone at any time. However, when layers are merged in the traditional sense, the change is permanent.
There is one downside to this approach though, mainly in regards to vector layer groups. When grouped together, the vector objects will no longer be editable independent of each other. They will have to be released from the group in order to do so.
If you’re an Illustrator or Inkscape user then you may struggle with these fundamental differences in how Affinity Designer functions, but with some time and patience you may find that Affinity’s way of handling these tasks makes more sense.
If you have any questions, or if any part of this lesson was unclear, simply leave a comment below.
Learn To Master The SoftwareGain a complete understanding of your favorite design apps with my comprehensive collection of video courses. Each course grants access to our private community where you can ask questions and get help when needed.
|
||||||||||||||||||||||||||||||||
- Post Tags:
- Affinity
- Posted In:
- Affinity
- Affinity Designer
- Tutorials
Nick Saporito
Hi, I'm Nick— a Philadelphia-based graphic designer with over 10 years of experience. Each year millions of users learn how to use design software to express their creativity using my tutorials here and on YouTube.
All stories by: Nick SaporitoYou might also like
6 comments
-
-
Will
If pixel layers need to be rasterized to group, what the heck are they before rasterizing?
I’m trying to understand how Affinity works here. Thanks. -
-
Matt Franklin
I found that you can edit an object in a layer group, however you must select it in the layer list, as the individual objects in a group aren’t selectable via the canvas.
BTW, I keep looking for Affinity tutorials as consistently clear as yours but I haven’t found any. Trying not to be obsequious here, but you seem to have no real competition that I’ve seen.
-
Logos By Nick
Well the audience for Affinity tutorials is pretty small (had to learn that the hard way,) so I assume that’s probably why. Glad you like the content though.
-
Tauridean
To edit a vector object in a group just double click it. All items in a group are then editable individually until you collapse the group again. No need to release any of the objects from the group.
-





tom
To put curves on the same layer select layers and right click Geometry- Merge curves