SOLVED: How To Edit Text In Procreate
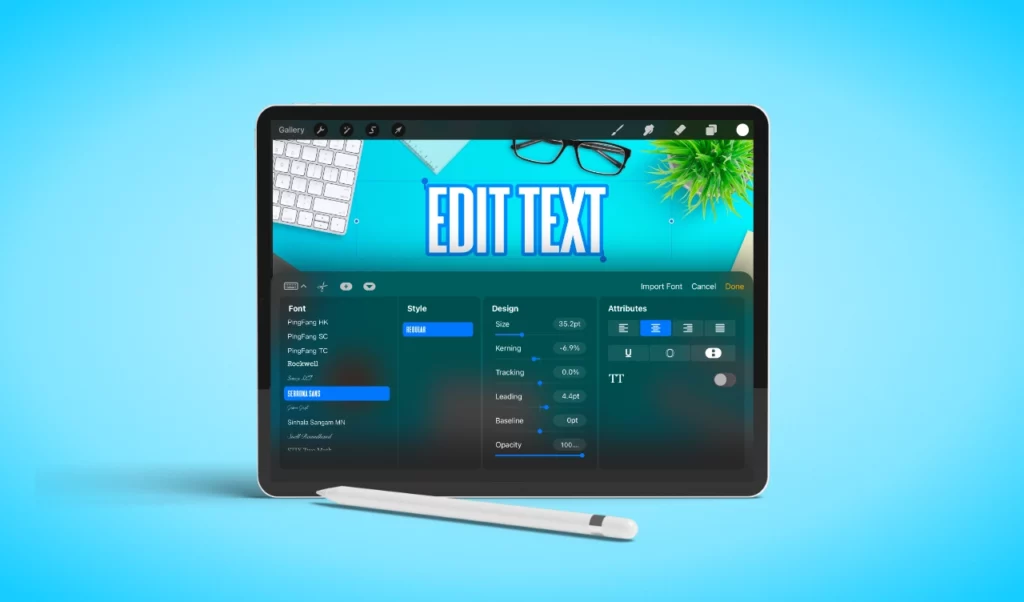
SOLVED: How To Edit Text In Procreate https://logosbynick.com/wp-content/uploads/2023/04/edit-text-procreate-1024x602.webp 1024 602 Nick Saporito https://secure.gravatar.com/avatar/8e31bf392f0ba8850f29a1a2e833cdd020909bfd44613c7e222072c40e031c34?s=96&d=mm&r=gIn this tutorial we’ll be addressing a common problem new users may encounter when working with text in Procreate for the iPad. There will often be times where you want to edit the style of your text after it’s been created, but don’t know how to get back into text-editing mode. Let’s have a look at how you can edit text in Procreate after its style properties have already been set.
The Problem: Text Isn’t EditableMost design apps have dedicated text tools that allow you to both generate and edit text. If you want to edit your text later on, all you have to do is grab the designated text tool and make your edits. However, this isn’t exactly the case with Procreate for the iPad. In Procreate, there’s a menu option for adding new text and applying style options, but it doesn’t let you edit text later on, after you’ve already set its style. Instead, you’ll have to select the text using the Layers menu. |
In short, to get back into text-editing mode in Procreate all you have to do is open the Layers menu, select the text layer, then close the menu. At that point your text will become editable again.
Let’s have a closer look.
How To Edit Text In Procreate
The following video tutorial will walk you through the entire process of editing your text:
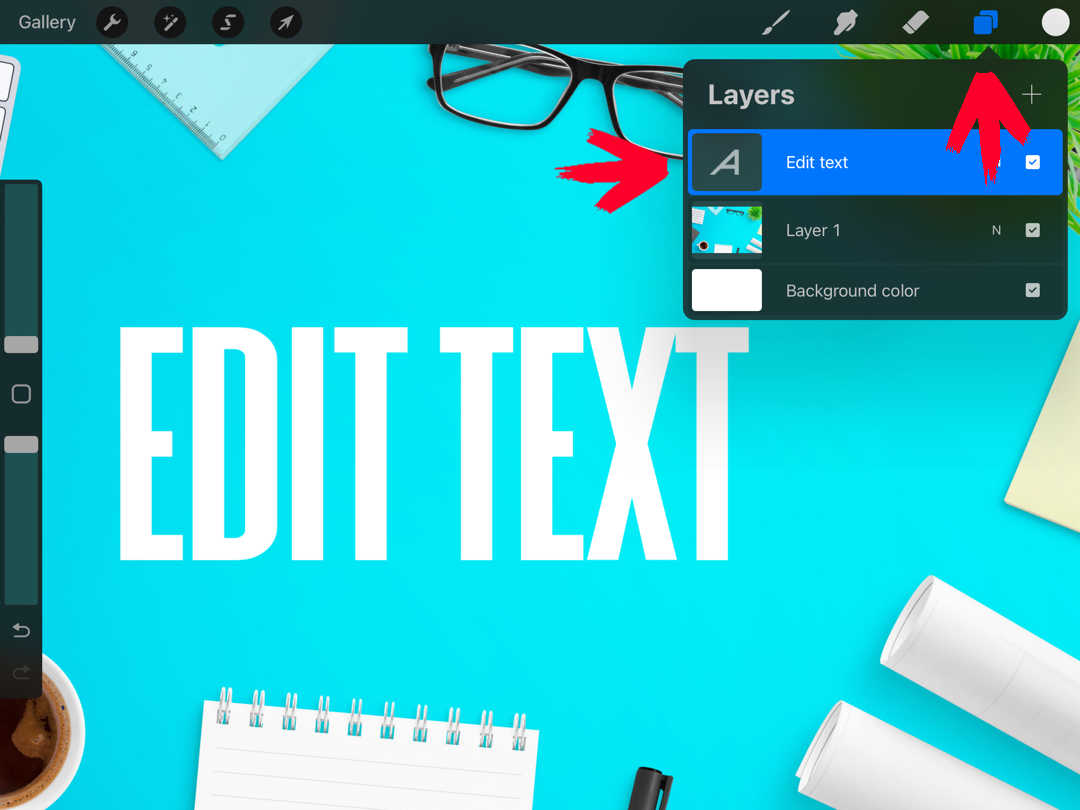
First, you must open the Layers menu in the top-right corner of the screen and tap on the text layer to select it. You will know it’s selected once it is highlighted in blue:
Click to enlarge.
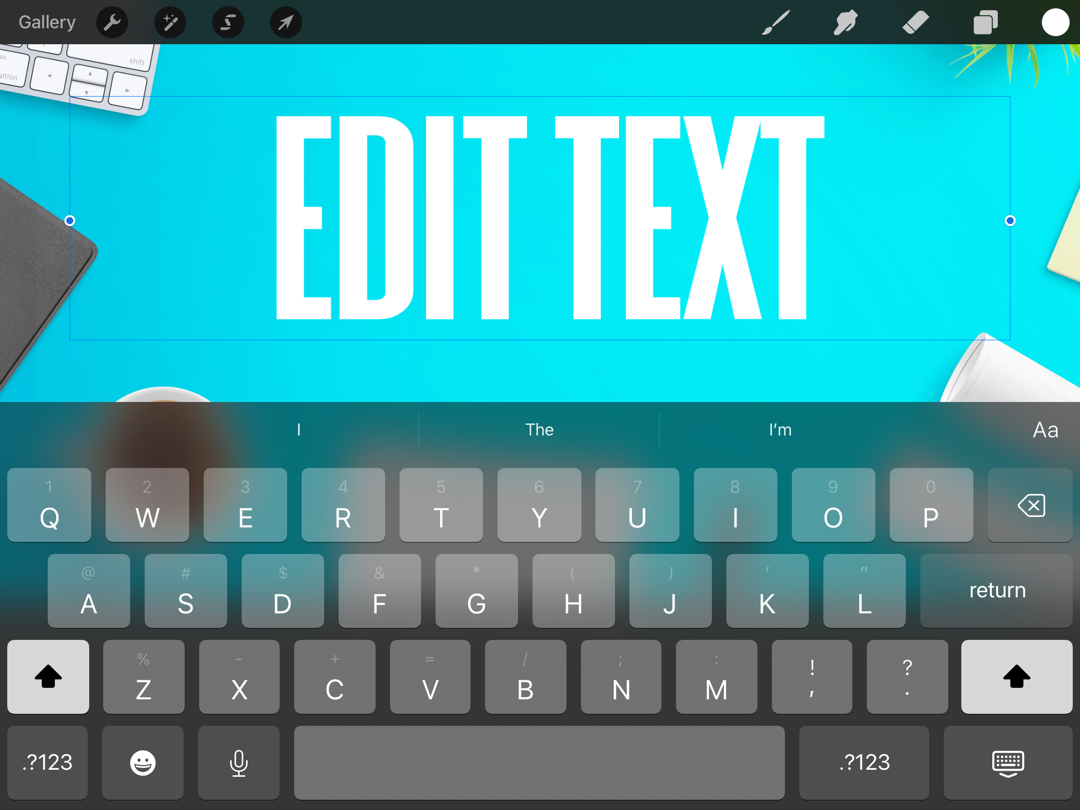
With the text layer selected, close out of the Layers menu by tapping the icon again. Once closed, your text will be selected with a blinking cursor and a system keyboard for making your edits:
Click to enlarge.
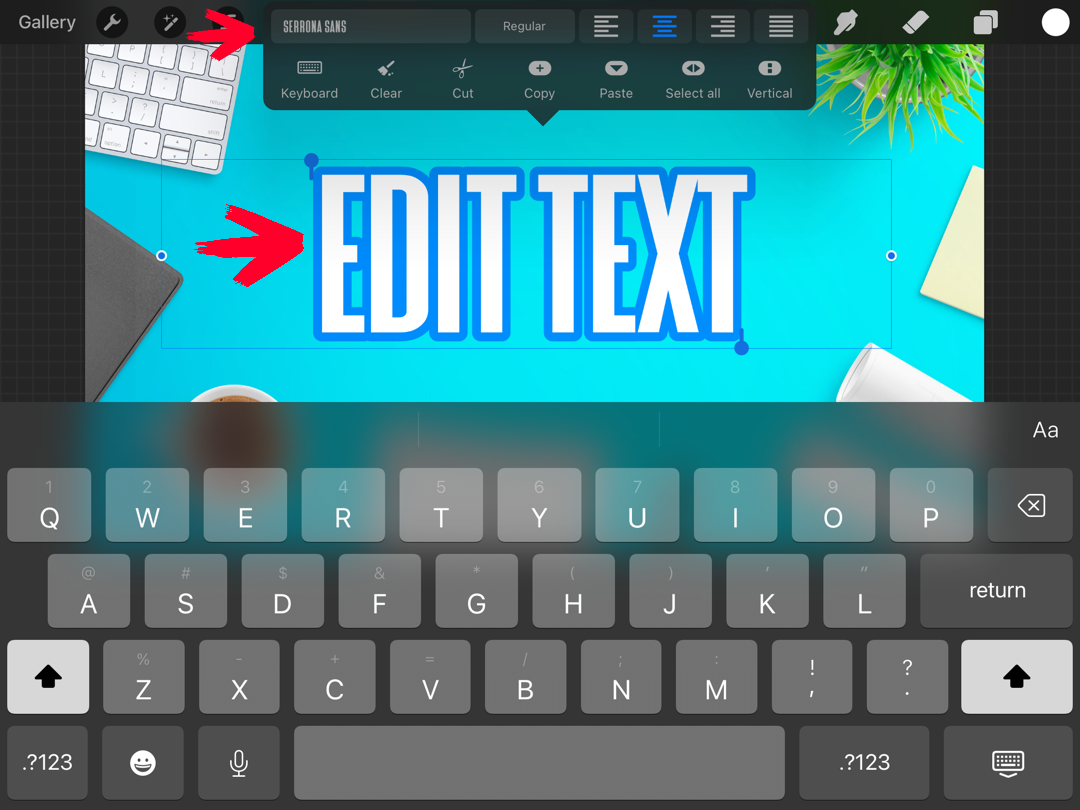
At this point the text is editable, but the style options are still missing. To get them back, all you have to do is highlight the text by triple-tapping it:
Click to enlarge.
A small menu will appear just above the text. Simply tap on the font label within that menu and the full text-editing menu will populate on the bottom of your screen:

Click to enlarge.
Here you can edit all of the properties of your text, including:
- Font
- Style (bold, italics, underline)
- Text size
- Spacing between letters (“kerning”)
- Spacing between lines of text
- Alignment
- And more
Once you are finished making your edits you can tap the Done button to apply them and the menu will clear from your screen.
If you need to access it again at any point in the future, simply follow the same steps of selecting the text in the Layers menu and triple-tapping it to highlight it.
In Conclusion
Procreate’s tools for generating and editing text are as good as they need to be, but accessing them can be a little tricky. Familiarizing yourself with the menu system and some basic navigational workflows is essential for knowing how to edit text in Procreate.
Learn To Master The SoftwareGain a complete understanding of your favorite design apps with my comprehensive collection of video courses. Each course grants access to our private community where you can ask questions and get help when needed.
|
||||||||||||||||||||||||||||||||


