How To Change The Opacity Of A Layer In Procreate For The iPad
How To Change The Opacity Of A Layer In Procreate For The iPad https://logosbynick.com/wp-content/uploads/2021/09/change-layer-opacity-procreate.png 800 470 Nick Saporito https://secure.gravatar.com/avatar/8e31bf392f0ba8850f29a1a2e833cdd020909bfd44613c7e222072c40e031c34?s=96&d=mm&r=gDespite my newfound love for Procreate’s iPad app and the world of mobile design it has opened me up to, the app does have some quirks that can be perplexing at times. One of which would be changing the opacity of a layer. All you have to do to change the opacity of a layer in Procreate is tap on the layer with two fingers, which will activate an opacity slider. However, this feature is somewhat hidden in that it’s not indexed in any of the menus or interface in any obvious way.
You would likely expect to see the layer opacity effect indexed with all of the other layer options that populate when tapping on the layer, such as rasterize and alpha lock. Or maybe in the Adjustments menu with various other effects, such as the case with Procreate Pocket. Unfortunately, that isn’t the case for the iPad version of the app.
Change Layer Opacity In Procreate for iPad
There’s two different ways to change the opacity of a layer in Procreate’s iPad app. Let’s go over each.
Method #1: Tap The Layer with Two Fingers
The following video tutorial will walk you through the entire process in less than a minute:
Open the Layers menu in the top-right corner of the screen:
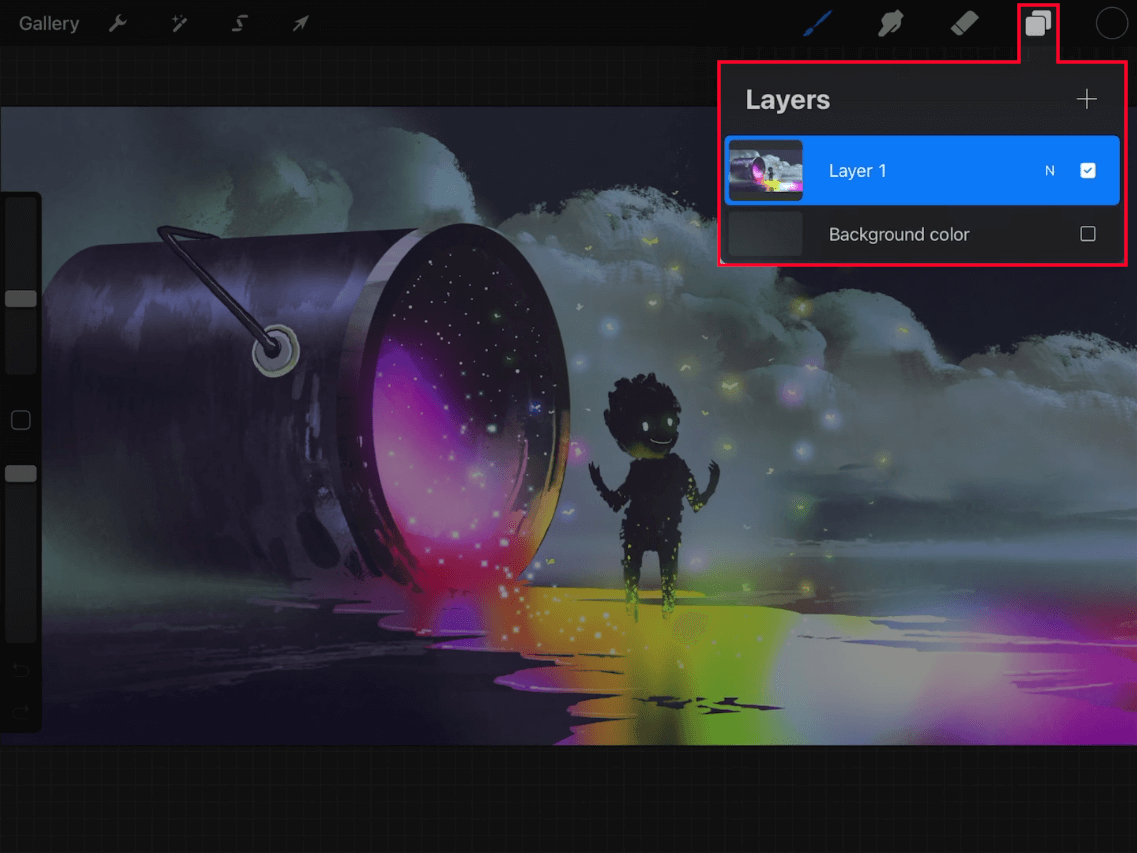
Open the Layers menu, highlighted in red above.
Using two fingers (your index finger and middle finger of the same hand,) tap on the layer in order to change its opacity. A blue Opacity slider will populate at the top of your screen:
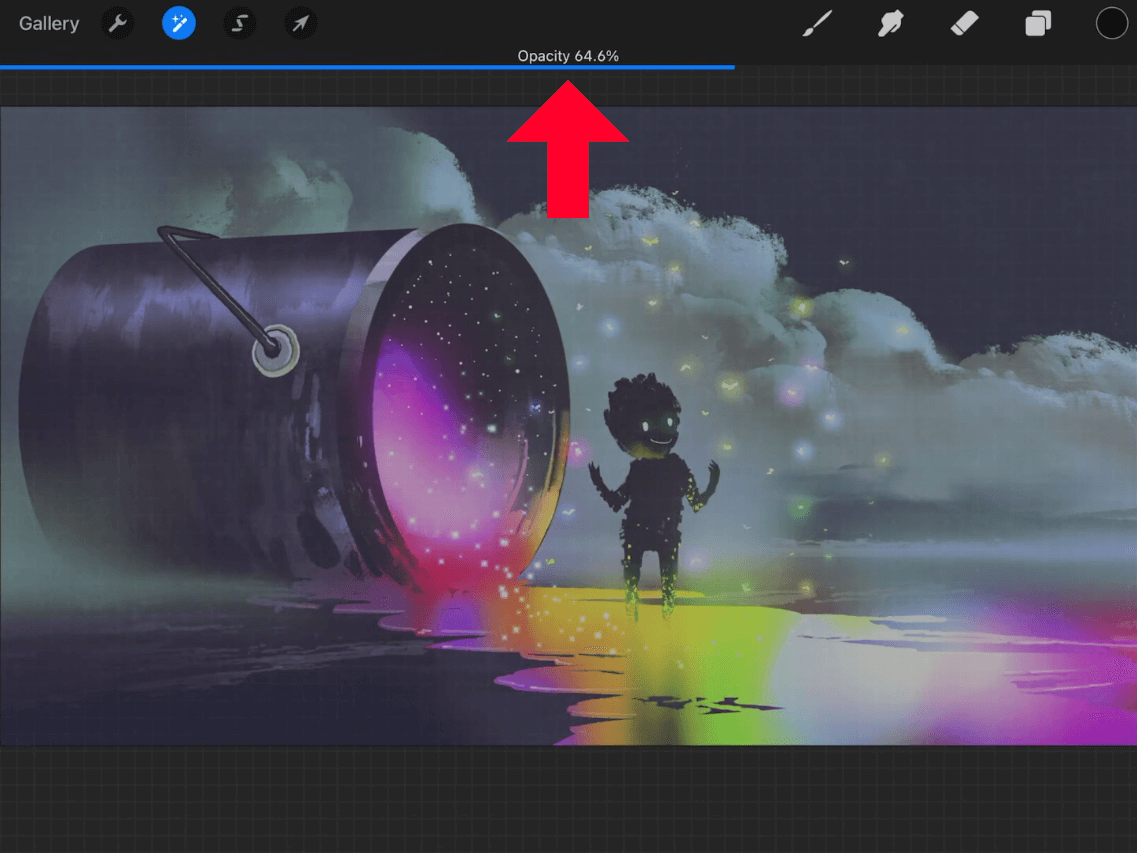
Simply tap on your layer with two fingers and an opacity slider will populate.
To reduce the opacity of your layer, tap and slide to the left. To increase the opacity, tap and slide to the right.
When you are finished you can finalize these changes by tapping the Adjustments menu icon in the top-left area of the screen.
Method #2: Tap The Letter N Next To The Layer Name
The other way in which you can access the opacity controls for a layer is by tapping the letter N located to the right of the layer’s name in the Layers menu:
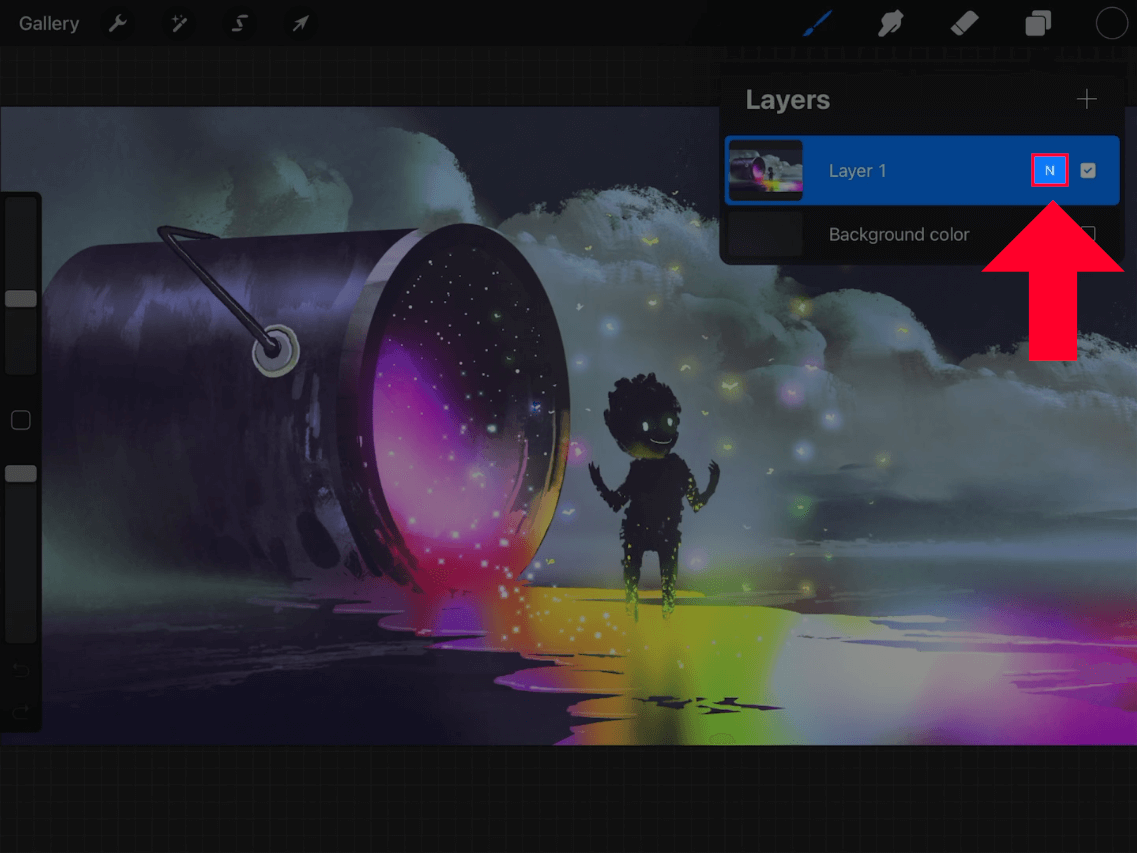
For whatever reason, the Opacity effect is represented by a letter N.
Much like the two-finger method, this will open up the Opacity effect, where you can adjust the layer’s opacity.
Once again, sliding to the left makes the layer more transparent whereas sliding to the right makes it more opaque.
Conclusion
The opacity controls of a layer are easier to find in the iPhone app, but it shouldn’t be so complicated for the iPad. I think it would beneficial to the end user if this feature were a little more obvious. Maybe it can be added to the layer opens menu, the Adjustments menu, or maybe even find a better way to represent it than a letter N. Perhaps an icon that represents transparency and opacity in some way.
If you have any questions or if any part of this lesson was unclear simply leave a comment below.
Learn To Master The SoftwareGain a complete understanding of your favorite design apps with my comprehensive collection of video courses. Each course grants access to our private community where you can ask questions and get help when needed.
|
||||||||||||||||||||||||||||||||


