How To Make A Simple Color Overlay In Illustrator
How To Make A Simple Color Overlay In Illustrator https://logosbynick.com/wp-content/uploads/2021/09/color-overlay-illustrator.png 800 470 Nick Saporito https://secure.gravatar.com/avatar/8e31bf392f0ba8850f29a1a2e833cdd020909bfd44613c7e222072c40e031c34?s=96&d=mm&r=gDon’t let the vector environment that Illustrator operates in fool you: this software can also handle many photo editing tasks. One of which would be adding color overlays to images, and in this tutorial we’ll be using blend modes to make a simple color overlay in Illustrator. This is something that can be done in mere seconds.
In short, the approach we’ll be using to create a color overlay in Illustrator is to first convert the image to grayscale (much like we did in a previous tutorial,) then generate a rectangle over the image and use the Transparency menu to set the blend mode of the rectangle to Overlay.
Once applied, you can change the color of the rectangle to whatever color you’d like your overlay to be. Let’s dig in!
Make A Color Overlay In Illustrator
The following video tutorial will walk you through the entire process in less than 3 minutes:
Continue on for complete step-by-step instructions.
Table of Contents |
Step 1: Open your image and convert it to grayscale
To make a color overlay in Illustrator the first thing you’ll need to do is open your image. You can either open or import it, either way works.
Just to clarify, this method doesn’t just work with images. It’s work with vector artwork too.
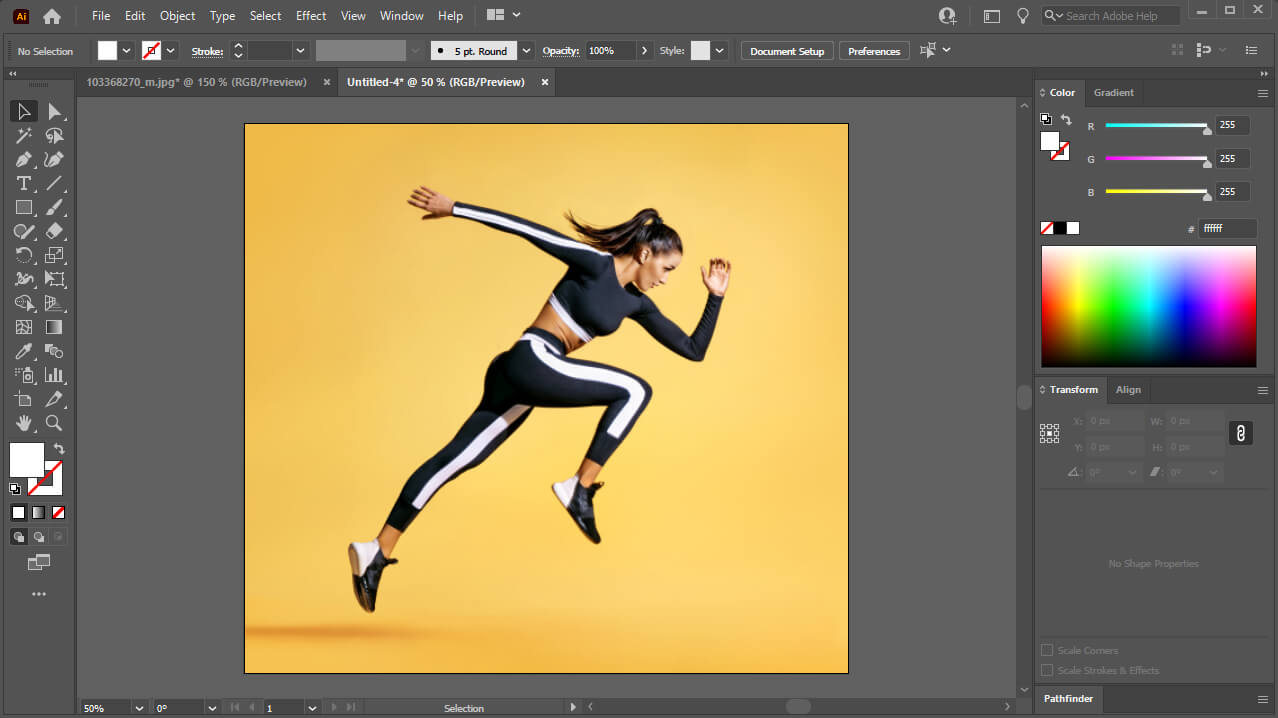
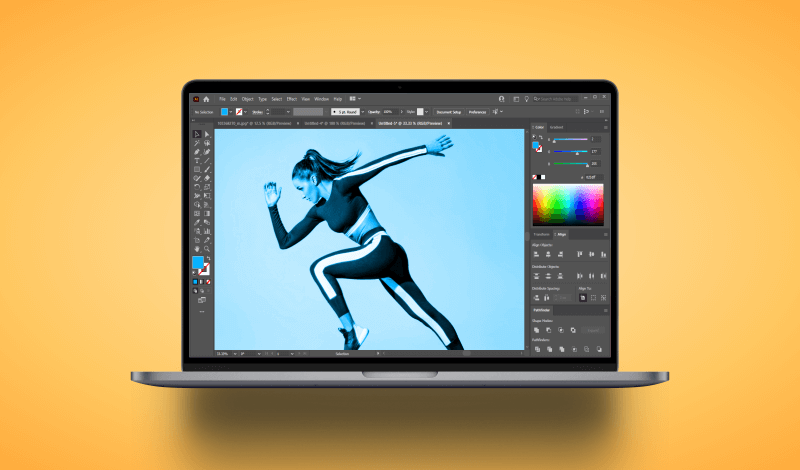
For this demonstration I will be applying a color overlay to the photo above.
Select your image/subject/artwork and convert it to grayscale by navigating to:
Edit > Edit Colors > Convert to Grayscale
This will make your image black and white:
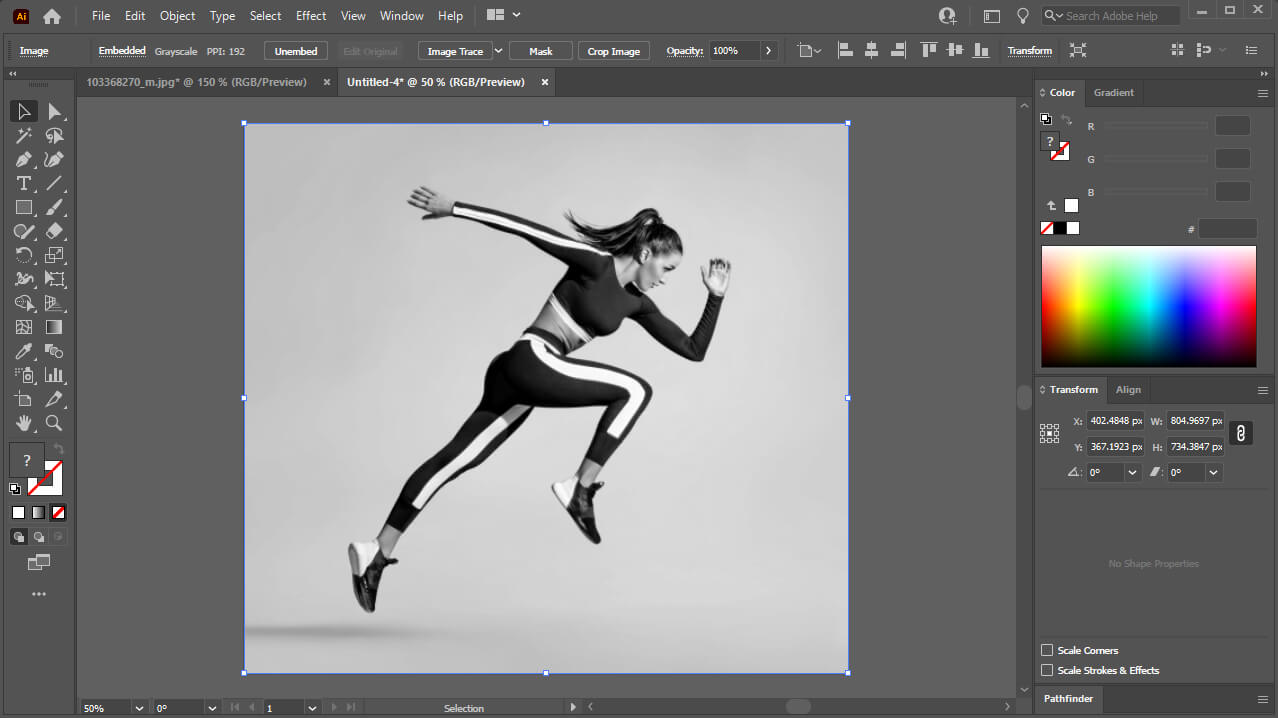
Before we can apply a color overlay we must first strip away the color data of the photo so that it doesn’t clash with the overlay we’re going to create.
This step is important because it gives up a neutral base to work from. If you leave the image’s colors as they are then this method will not work because the colors will clash with the overlay we’re going to create.
Step 2: Create a rectangle and place it over your image
With your image now in grayscale, grab the Rectangle Tool and create a rectangle over your image:

Place a rectangle over your image. The color doesn’t matter for now.
It doesn’t matter what color your rectangle is right now. You can just leave the default color for the time being.
This rectangle will be what’s used as the color overlay, so it’s important that it matches the size of your image and is placed directly over it.
You can ensure that your rectangle is the same size as the image by copy and pasting the width and height or by enabling snapping and smart guides while drawing it, as demonstrated in the video tutorial.
Step 3: Change the blend mode of the rectangle to “Overlay”
Next, we’ll change the blend mode of the rectangle we’ve created to change how the rectangle interacts with other objects on the canvas.
To do this, open the Transparency menu, which can be accessed by navigating to:
Window > Transparency
Within the Transparency menu you will see a dropdown menu for the blend modes. It should have “Normal” enabled by default:
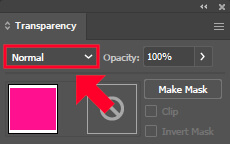
Change the blend mode dropdown to “Overlay”
To turn the rectangle into a color overlay, simply click on the dropdown menu and select the Overlay option.
Your image will partially show through the rectangle:

Changing the blend mode will make the image show through the colored rectangle.
Step 4: Apply color to the overlay by adding a fill color to the rectangle
At this point all you have to do now is change the color of the rectangle to whatever color you’d like your overlay to be:

You can now change the color of the rectangle to make the color of your overlay whatever you’d like.
As you change the fill color, the color of the overlay will change accordingly.
And that’s it! That’s how you can quickly create a color overlay in Illustrator.
Conclusion
As I’m sure you could imagine, this technique can be used to make all kinds of unique designs and stylizations, not just overlays. The trickiest part about making a color overlay in Illustrator is locating the blend modes, which for whatever reason is hidden in the Transparency menu. Typically, this feature is located in the Layers menu of most design applications.
If you have any questions or need clarification on any of the steps taken in this lesson simply leave a comment below.
Learn To Master The SoftwareGain a complete understanding of your favorite design apps with my comprehensive collection of video courses. Each course grants access to our private community where you can ask questions and get help when needed.
|
||||||||||||||||||||||||||||||||


The overlay just brightens my image when I make it greyscale. Are there additional settings I need to turn on?
Grayscale needs to be applied to the image, not the overlay/rectangle.