
How To Make An Image Black and White with Illustrator
How To Make An Image Black and White with Illustrator https://logosbynick.com/wp-content/uploads/2021/06/make-an-image-black-and-white-illustrator.png 800 470 Nick Saporito https://secure.gravatar.com/avatar/8e31bf392f0ba8850f29a1a2e833cdd020909bfd44613c7e222072c40e031c34?s=96&d=mm&r=gDespite the vector environment in which Illustrator operates, there’s various ways that you can edit photos and rasterized images. One of those ways would be making an image black and white — or more accurately, grayscale. In this tutorial we’ll be going over how to make an image black and white with Illustrator so that you don’t have to launch Photoshop to make this simple edit.
There’s actually two different ways in which you can make an image black and white with Illustrator. You can do so using the Convert to Grayscale feature, or by using the Saturate feature to remove the saturation. Both of these features can be access within the Edit Colors section of the Edit menu.
Unfortunately, if you’d like to edit the properties of the black and white image further — such as color curves and levels — you’ll have to use another application like Photoshop. Unlike Affinity Designer, Adobe Illustrator doesn’t let you adjust the color curves and levels of images.
Make An Image Black And White with Illustrator
| To make an image black and white with Illustrator, select the image and navigate to Edit > Edit Colors > Convert to Grayscale. Alternatively, you can also use the Saturate tool to bring down the saturation of the image to zero, which will also make it black and white. |
To get started you’ll need to import (or “place”) your image onto the workspace by pressing Control + Shift + P, or open the image with Illustrator by Control + O.
For this demonstration I will be using the following example image:
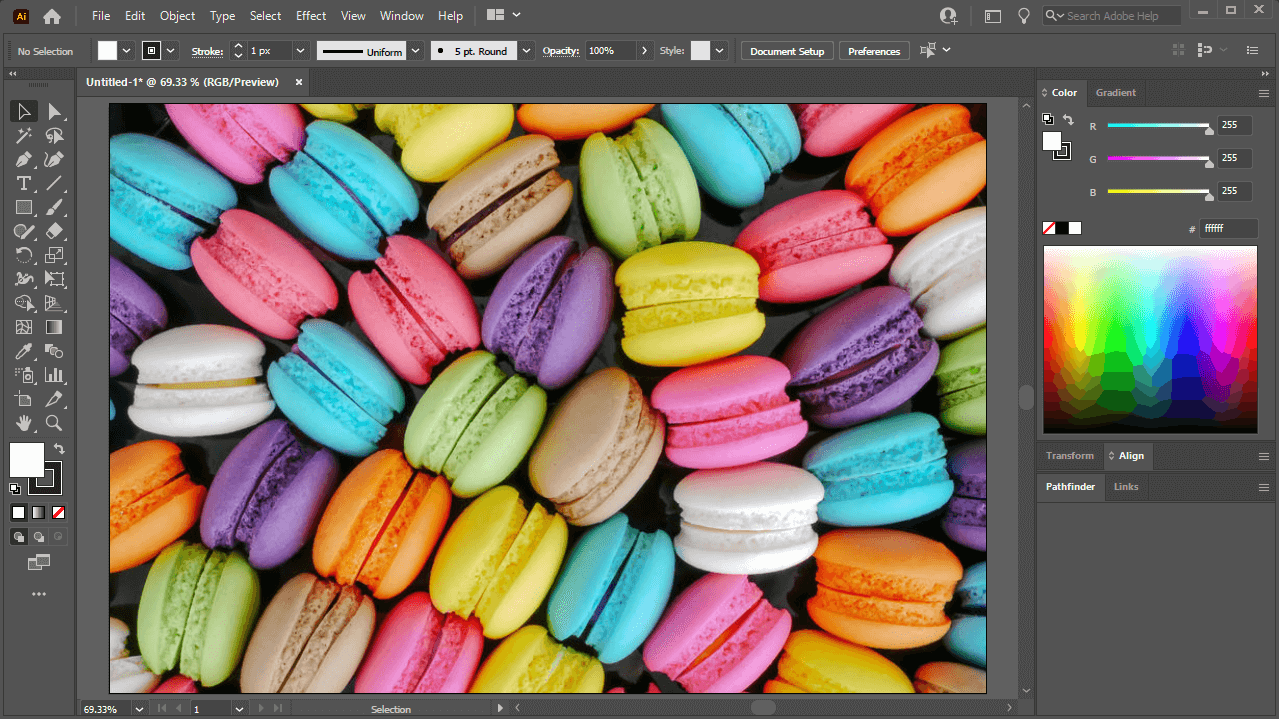
I’ll be removing the saturation from this example image to make it black and white.
Method 1: Convert To Grayscale
The first way in which you can make an image black and white with Illustrator is by selecting it with the Selection Tool and navigating to:
Edit > Edit Colors > Grayscale
Once selected, the color information (or saturation) will be completely removed from your image, making it black and white:
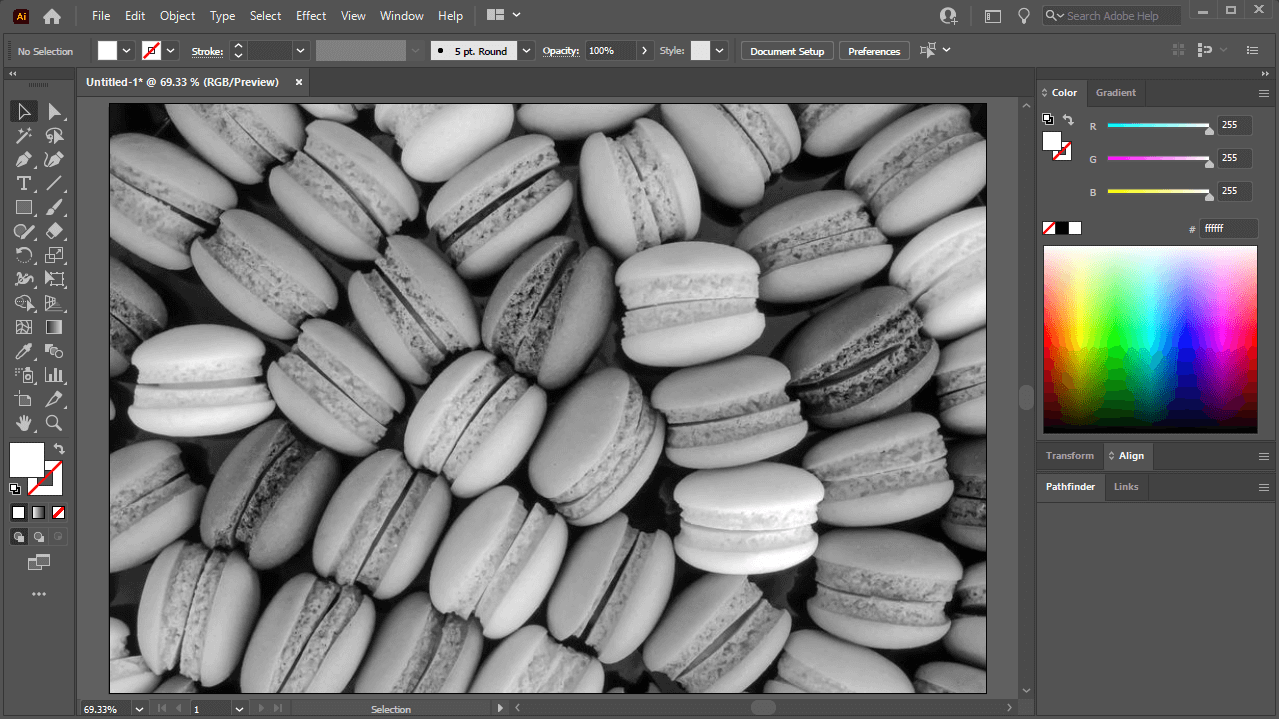
How the example image looks when converted to grayscale.
This is probably the quickest and easiest way to convert your images to grayscale.
It should be noted that this method will work on vector objects as well, not just images.
Method 2: Remove Saturation
The second way in which you can make an image black and white with Illustrator is by using the Saturate feature. This can be located by navigating to:
Edit > Edit Colors > Saturate
Once selected, a menu will populate allowing you to manually adjust the saturation of your image:

Moving the slider to the right will increase the saturation of the image, making the colors more vibrant and intense. However, decreasing the saturation will remove the color from your image, making it black and white:
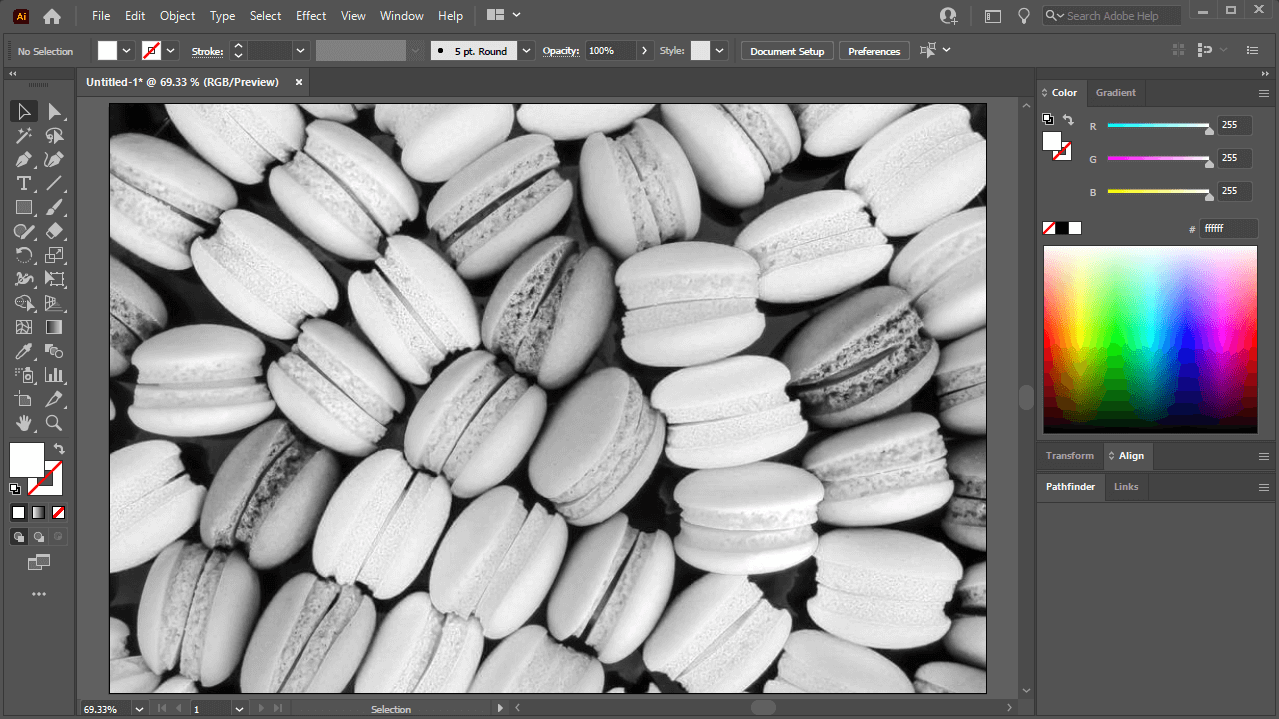
As you can see, removing the saturation from the image creates a slightly different appearance than converting it to grayscale.
As is the case for the Convert to Grayscale feature, this method will also work on vector paths; not just images.
Although this method is slightly more complicated (because it involves an extra step,) the benefit of using the Saturate tool is that you can control the level of saturation in the image.
The Convert to Grayscale feature completely removes the saturation, but if you just want to lower the saturation to the point that the image looks nearly black and white, but with a subtle splash of color (for artistic effect,) you can do so by bringing the saturation down to nearly zero, but not quite.
In short, the Saturate setting gives you more control.
Conclusion
The trickiest part about making an image black and white with Illustrator is finding the location of the tools in the menu. Other applications have dedicated menus just for color-related edits, which would be preferable to having it obscured within the Edit menu.
If you regularly need to make common edits to images while working [primarily] in a vector environment, you may be better served with Affinity Designer. As I went over in my breakdown of Affinity Designer vs Illustrator, Designer allows for far more image-editing abilities, such as color curves and levels via adjustment layers. So not only would you be able to make your images black and white, but you could edit the grayscale spectrum (or range) as well.
If you have any questions or need clarification for any of the steps in this tutorial, simply leave a comment below.
Learn To Master The SoftwareGain a complete understanding of your favorite design apps with my comprehensive collection of video courses. Each course grants access to our private community where you can ask questions and get help when needed.
|
||||||||||||||||||||||||||||||||


When I select my image, which was placed into Illustrator, all of these options are grayed out, any suggestion? thanks
Hi Steve,
I had the same problem and realized you can go to Object>Rasterize. Then it worked.
Hope it helps!
Alfredo
Thanks alot this helped alot.i was stuck