
How To Export A PNG With A Transparent Background In Affinity Designer
How To Export A PNG With A Transparent Background In Affinity Designer https://logosbynick.com/wp-content/uploads/2021/06/export-png-with-affinity-designer.png 800 470 Nick Saporito https://secure.gravatar.com/avatar/8e31bf392f0ba8850f29a1a2e833cdd020909bfd44613c7e222072c40e031c34?s=96&d=mm&r=gOne of the most common ways that you’ll use a vector design application like Affinity Designer is to design things like logos, icons, badges, and various other types of graphics. In order to work with these isolated graphics though, you’ll need to know how to export them in a usable format, which is what we’ll be covering today. In this tutorial we’ll be going over how to export a PNG with a transparent background in Affinity Designer.
There’s actually two ways of exporting PNG (and other formats) files in Affinity Designer:
- Using the Export Menu
- Batch exporting them from the Export Persona
This lesson will focus on exporting individual PNG files. If you’d like to know how to batch export multiple objects as separate PNG files all at once, be sure to check out the tutorial I made on batch exporting with Affinity Designer.
Export A PNG With A Transparent Background In Affinity Designer
| To export a PNG with a transparent background in Affinity Designer, select the object you’d like to export and navigate to File > Export. In the Export Menu, choose PNG as the file type and choose Selection Only from the Area dropdown menu. |
The following video tutorial will walk you through the process of exporting a single PNG graphic with Affinity Designer, as well as the three different types of export options you can use:
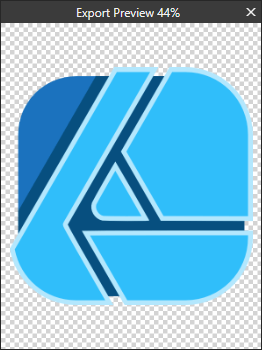
Continuing on with the written tutorial, I’ll be exporting the following example design for this demonstration:
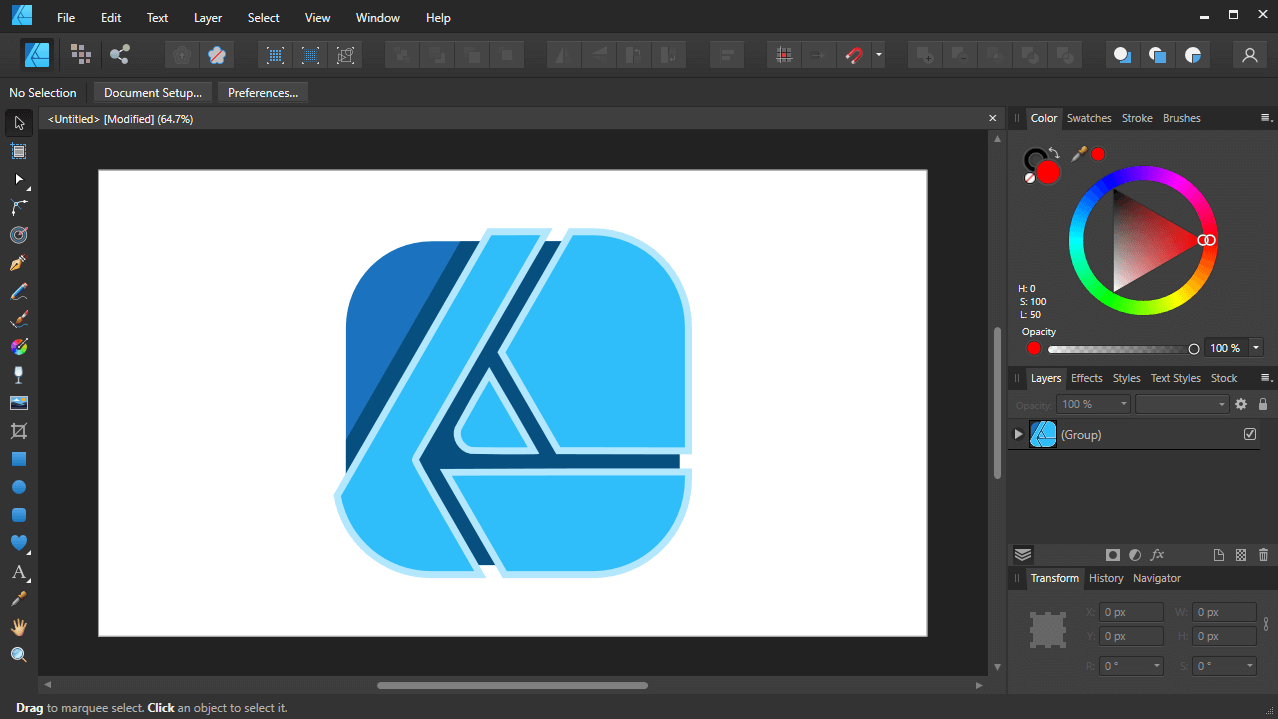
Note how the document consists of the graphic within a larger canvas (represented by the white rectangle.)
As depicted, the graphic I want export is the Designer app icon that I have placed in the center of the canvas.
In order to export a PNG with a transparent background in Affinity Designer, you first need to select the object you’d like to export using the Move Tool. You’ll know you have it selected when you see the blue bounding box around it:
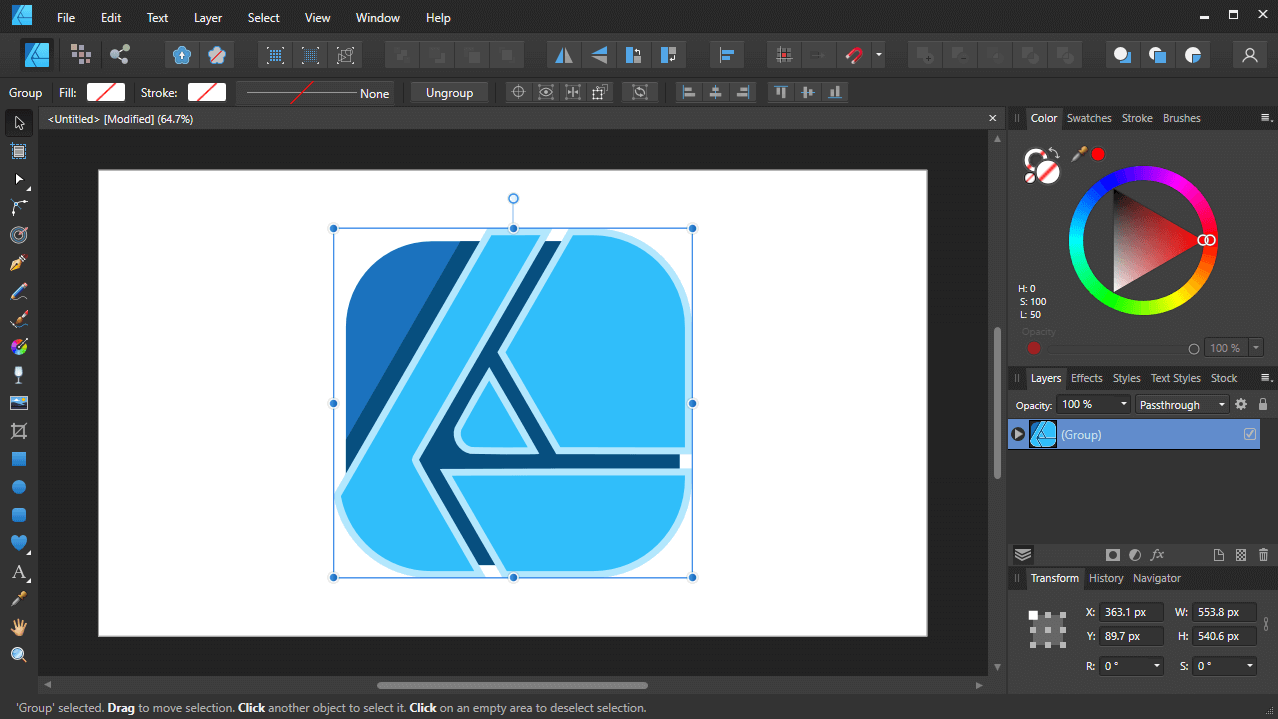
The blue bounding box around the object indicates that the object is selected.
You can select a single object, multiple objects, or a group of objects. It all works the same way.
With the object(s) selected, navigate to:
File > Export
This will open up the Export Menu, from which you will be presented with a variety of file formats to export your work as. Choose the PNG option, which is the very first option on the left-hand side:

Click to enlarge
Next, direct your attention over to the dropdown menu labeled Area. You will see three different options for exporting your PNG:
- Whole document
- Selection Area
- Selection Only
Let’s briefly go over the difference between these options.
Export Whole Document
Choosing the Whole Document option will export not just the graphic, but the entire canvas, along with all of its contents. It’ll also export the background color of the canvas.
You can press the Preview button to see a preview of what will be exported:
Seeing as how this PNG won’t have a transparent background once exported, this would be the wrong option to use for this lesson.
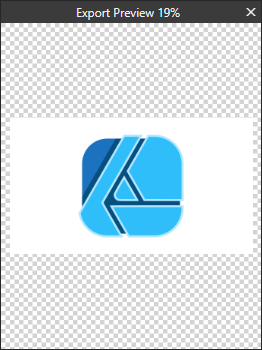
Export Selection Area
When selected, the Export Selection Area option will only export the selected graphic (as opposed to the entire canvas,) but it’ll also export any other elements that may sit within the bounding box of the selected object, as well as the canvas color.
Here’s a preview of what that would produce:
Note how the white background of the canvas is included in the export area, meaning it won’t have a transparent background.
As you can see, it exported the selected graphic, but it included the white background.
This option would be good for exporting an area of a design, but seeing as how we’re looking to export a PNG with a transparent background, this would also be the incorrect option to choose.
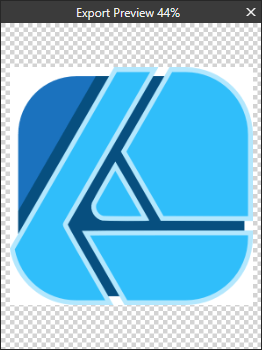
Export Selection Only
In order to export a PNG with a transparent in Affinity Designer, you must choose the Export Selection Only option from the Area dropdown.
Selecting this option will ensure that the only thing exported is the graphic you have selected. Other elements, including the color of the canvas, will be disregarded. The background of the exported PNG will be transparent, as indicated by the checkerboard pattern in the preview window:
Note how the background consists entirely of a checkerboard pattern, which represents transparency.
Once selected, simply click on the Export button. You will then be prompted to choose a location on your hard drive to export the PNG to. Once saved, you can navigate to that location to find your PNG with its transparent background.
Conclusion
Thankfully, exporting a PNG with a transparent background in Affinity Designer is a simple and seamless process. And thanks to some of the menu options, it’s easy to dictate exactly what (and how) you’d like your graphic exported. In fact, if you’re familiar with how other vector applications (like Inkscape and Illustrator) work, then it’s probably self-explanatory for you.
If you have any questions or need clarification for any of the steps taken in this lesson, simply leave a comment below!
Learn To Master The SoftwareGain a complete understanding of your favorite design apps with my comprehensive collection of video courses. Each course grants access to our private community where you can ask questions and get help when needed.
|
||||||||||||||||||||||||||||||||


Thanks for making this tutorial. It still works, but the screenshots are outdated and don’t match the current version of Affinity.
Thanks for letting me know. I’ve just updated the screenshots.
Thnx for sharing. It often helps me back on track as a newby with affinity.
In this situation I found out this way works but doenst make sense as a work flow in combination with the export persona / slices.
Making a logo / watermark, the transparent background for PNG in de patch exporter would be nice.
After searching the web for a while, I found a simple solution: File > Document Setup > Colour > and check ‘Transparent background’
(it makes sense to put it here, when setting up a new document from the start).
Maybe it helps others.
Thanks for sharing!
Nick,
I just love watching your videos.
You have a smooth delivery and a very clear method of instructing your listeners.
You are my “go to guy” whenever I’m momentarily stymied by Afiinity.
Thanks for all you do.
Keep up the wonderful work. We appreciate you!
Glad I could help!
I was used to PNGs always being transparent by auto settings in Adobe Photoshop, but the more I figure out the workflow in Affinity Photo I really like it – even more in comparison.
Thank you for this very helpful post.
Cheers, EFE.