
Cut Out A Shape From An Image with Inkscape
Cut Out A Shape From An Image with Inkscape https://logosbynick.com/wp-content/uploads/2021/06/cut-out-shape-inkscape-1.png 800 470 Nick Saporito https://secure.gravatar.com/avatar/8e31bf392f0ba8850f29a1a2e833cdd020909bfd44613c7e222072c40e031c34?s=96&d=mm&r=gOne of the most common ways users look to utilize Inkscape is using it as a means of fitting an image to a shape. This is a rather simple process that can be accomplished with clipping paths, and thanks to the non-destructive nature of working with clipping paths, this effect is completely reversible. Today’s tutorial will guide you through all of this as we explore how to cut out a shape from an image with Inkscape.
Cutting out a shape from an image with Inkscape is simply a matter of placing your shape over the image, then creating a clipping path using both the shape and the image. There’s a few pointers to keep in mind that will help make this a smoother process though. Let’s dig in.
Cut Out A Shape From An Image with Inkscape
| To cut out a shape from an image with Inkscape, place your shape over the images, select both the shape and the image at the same time, then create a clipping path from it by navigating to Object, Clip, Set. |
The following video tutorial will walk you through the entire process of using Inkscape to cut out a shape from a rasterized image
It should be noted that this tutorial is for making your image fit a specific shape. If you’re looking to cut a hole in your image using a shape, check out the tutorial I made for that here.
Table of Contents |
Step 1: Import your image into Inkscape
In order to cut out a shape from an image with Inkscape, we first need an image to work with.
To import your image into Inkscape, drag and drop the image file onto your canvas or navigate to:
File > Import
When asked if you want to link or embed the image, choose embed and leave the rest of the settings as their default.
For this demonstration I will be using the following image:
Import the image you’d like to cut by dragging and dropping it onto your canvas or pressing Control + I to import it.
Although this example image was created as a vector illustration, it is indeed a rasterized image, meaning it’s made of pixels and is in PNG or JPG format.
Step 2: Place your shape over the image
Now we will create the shape you’d like to use to cut out your image with.
For this demonstration I will be using a silhouette version of the Inkscape logo. You can use whatever shape you’d like though. In fact, you can even use text if you’d like!
Place the shape over your image. In order to make this an easier process:
- Make the shape a color that contrasts with the image. This will make it easier for you to distinguish your shape from the image.
- Reduce the opacity of the image. This will make it so that you can see the area of your image that will be cut out with the shape over it. Otherwise you have to guess where they line up.
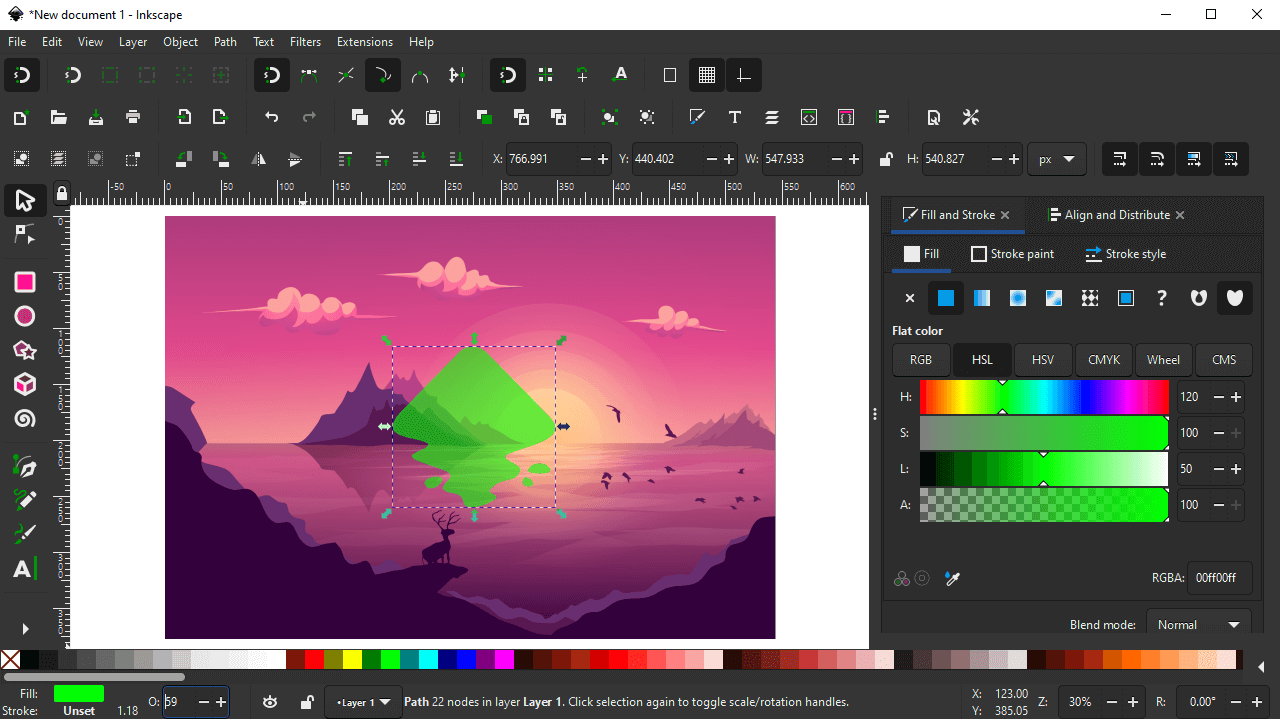
For my example I made the shape green because it contrasts nicely against the colors used in the image.
You can reduce the opacity of your object using the O: input field in the bottom-left corner of the screen:
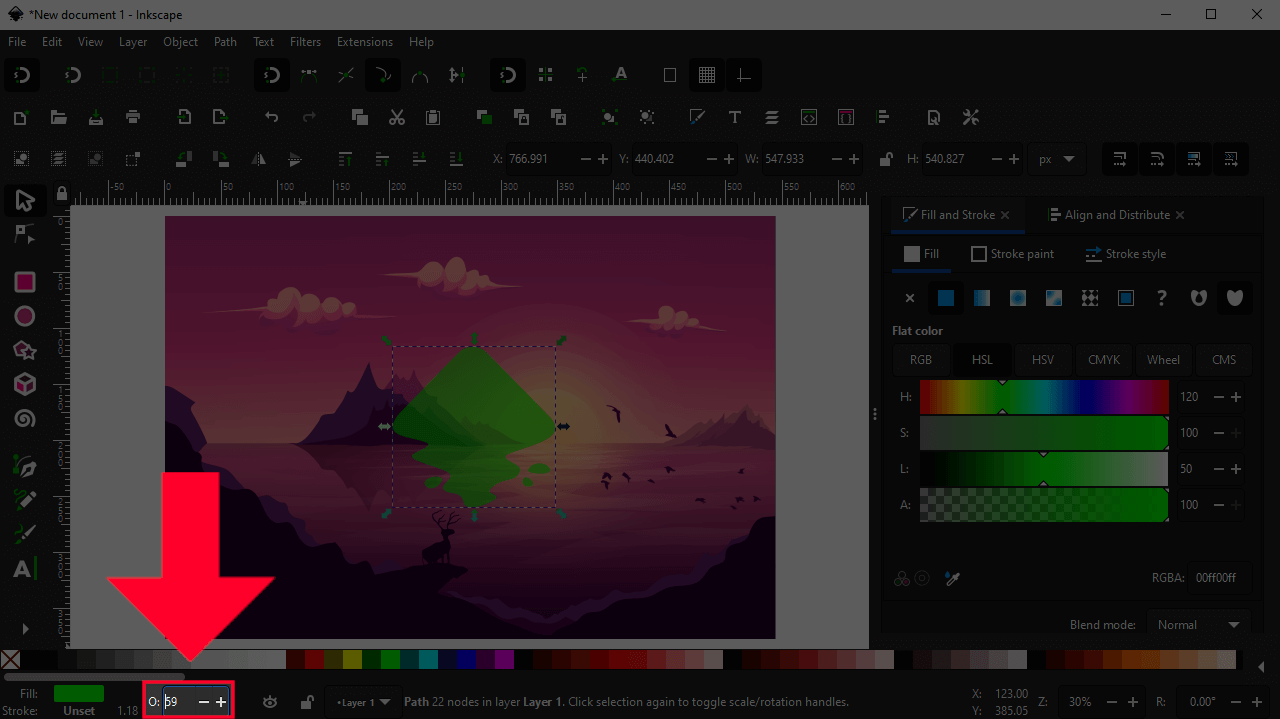
The opacity setting is located in the bottom-left corner of the screen.
For this image I have the opacity set at 59, but the value you should use will depend entirely on your image’s composition.
The goal is to make it so that you can see through the shape well enough to know where it aligns with your image, but also keep it opaque enough that you can still see it against your image.
Step 3: Adjust the size and position of the shape relative to the image
Now it’s time to adjust the shape so that we are only cutting out the portion of the image that we want cropped.
Using the Select Tool, scale your shape up or down according to your image and move it on top of the area of the image that you’d like to cut out.
For my example image, I wanted to include the deer silhouette, the mountains, the sun, the sky, and one of the birds, so I scaled and positioned my shape accordingly:

Click to enlarge.
Step 4: Select both objects and make a clipping path with them
This final step is where the magic happens. We will be using the handy clipping path feature to cut out a shape from an image with Inkscape.
To do this, first make sure that you have both objects selected at once — the shape and the image. You can select both objects at the same time by holding Shift and clicking on them, or by clicking and dragging a selection over both of them using the Select Tool.
With both objects selected, navigate to:
Object > Clip > Set
This will effectively cut out your image according to your shape:
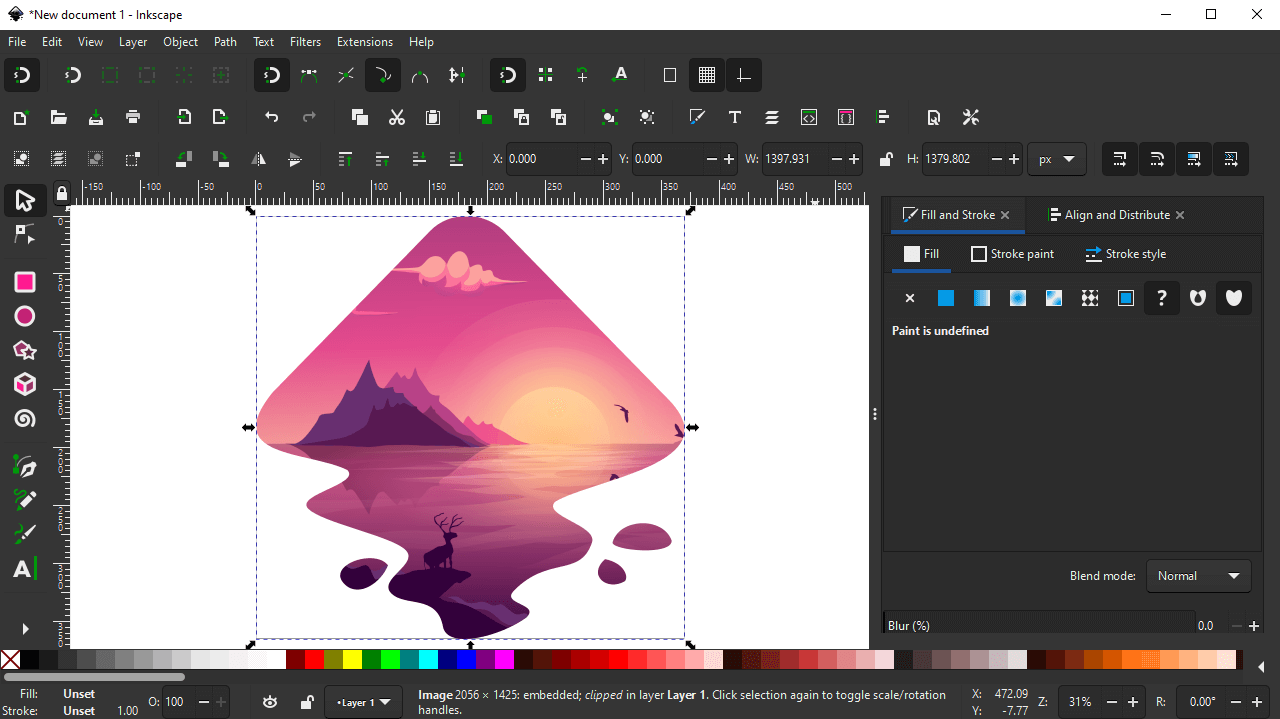
As depicted, we were able to use the clipping path feature to cut out a shape from the image.
And it’s that simple!
Remove Image From The Shape
One of the benefits of working with clipping paths is that it’s completely reversible.
If at any point you’d like to remove the image from your shape, you can do so by selected it and navigating to:
Objects > Clip > Release
This will release the clipping path, placing you back to where you left off in step 4.
Conclusion
As we’ve gone over in previous tutorials such as cropping images with Inkscape, the clipping path feature can be used for lots of different things. You can even use it to cut out a shape from an Image with Inkscape. It’s a handy tool that allows you to work with images as well as vectors.
If you have any questions or need clarification on any of the steps in this lesson, simply leave a comment below.
Learn To Master The SoftwareGain a complete understanding of your favorite design apps with my comprehensive collection of video courses. Each course grants access to our private community where you can ask questions and get help when needed.
|
||||||||||||||||||||||||||||||||


Hi,
I have an object/picture made by 3 colours (red, black, white). How can I only extract for example the red part of the object?
Inkscape wouldn’t be the best tool for this. Try using the Select By Color tool in GIMP.
I want to do it the other way around, remove an object or path from the image, so that the text (or inkscape logo in your example) is cut out from the image. How would I do that?
It’s the same process, you’d just have to create a negative of the clipping mask. So instead of using the Inkscape logo as the clipping mask, create a rectangle in the size of the image, place it directly over the image, then subtract the Inkscape logo from the rectangle (select both and go to Path > Difference) and then use that remaining object as the clipping mask.
Wow, thanks a ton for the quick reply, this worked like a charm – and your already followed up with a new video on it! 😀
You had great timing. I had that video planned for a while.
I was also trying to accomplish this and your video https://logosbynick.com/delete-part-of-an-image-in-inkscape/
held my hand through it, just in case anyone else is searching.
Thanks for the great videos!
Glad you found it helpful, Pat.
I have a circle drawn on the canvas (BTW I am using Inkscape 1.2 with Windows 10) and I have imported a Black Silhouetted image (with a transparent background) of New York State. I would like to punch that shape out of the circle. I am using the following procedure :
1. Placing the NYS image over the circle.
2. Making sure NYS logo is within circle and is on top level.
3. Object > Clip > Set Clip
After that the circle and the NYS image both disappear, but it shows the selection for the circle.
The circle needs to be on top of the NYS image.
After I do the Clip -> Set, both images delete. The image is a jpg and the shape to cut to is a png. Is that why? Does the cut shape file need to be a vector?
Figured it out. I think that was the issue…I had to use a vector format for the cut shape.
Yes, the clipping object must be a vector object in order for this to work.
What if you then want to bevel the edges of the image you created. As is you can only bevel the square around the image.
You would need to use a pixel-based editor like GIMP for that.
Can you do this with another imported image? Like can you import a heart to cut out of an imported image?
Yes, but only if it’s a vector object.
Thank you so much for your tutorials on how to use Inksape. They help me a lot during my projects.
This may be a strange inquiry. At the end of the vid you made the statement “this is nondestructive”, that’s great. Is there a way to make it permanent, i.e. “destructive”?
Yes, select it and go to Edit > Make A Bitmap Copy
Thanks Nick! Im also learning my way through Inkscape. Keep up the great work man!
What if I want to Clip multiple squares/shapes from the same image? Do I have to just keep importing the picture for each Square I want to Clip?
You can unify the squares together, or group them, and then use that as the clipping mask.
Thank you for this clear tutorial. A difficulty with that approach is that we cannot do that twice: a second clipping just “release” the first clipping. Is there a way to cut out a shape irreversibly?
After clipping the object you can group it (control + g) and then you’ll be able to do additional clips on top of the original.
Sometimes when I clip an image, Inkscape doesn’t print it … it acts like it’s not even there. It doesn’t even show up in print preview. Why and what can I do ? Thank you.
Trying making a bitmap copy of the clip first. Select it and go to Edit > Make a bitmap copy. That will give you a rasterized version that will probably print.