How To Delete A White Background with Procreate for The iPad
How To Delete A White Background with Procreate for The iPad https://logosbynick.com/wp-content/uploads/2021/06/delete-white-background-procreate-2.png 800 470 Nick Saporito https://secure.gravatar.com/avatar/8e31bf392f0ba8850f29a1a2e833cdd020909bfd44613c7e222072c40e031c34?s=96&d=mm&r=gOf all the useful tools and capabilities Procreate comes with, one of its most noteworthy utilities is its ability to delete backgrounds from images. There’s various different ways of doing so, but in today’s tutorial we’ll be focusing on how to use Selections to delete a white background with Procreate, leaving a transparent background behind. Then, we’ll be exporting our work in PNG format to preserve its transparent background.
In short, the way that we’ll be deleting the white background in Procreate is by creating an automated selection around the white area and then cutting it out. There’s a few minor details you’ll need to pay attention to along the way though, such as deleting the negative space areas as well, and deleting any leftover white areas that may remain because of discoloration (from a shadow that your object may be casting, for example.)
Delete A White Background with Procreate
| To delete a white background with Procreate, use the Selection tool to create a selection around the white area of your image. Then, tap the wrench icon in the top-left corner of the screen to open the Add menu and tap Cut. |
The following video tutorial will walk you through the entire process, step-by-step, and with voice narration from Yours Truly:
Continue on for the written instructions.
Step 1: Open your image and turn off the visibility of the background layer
To get us started we’ll first need to open our image with Procreate. For this demonstration I will be using the following example image:
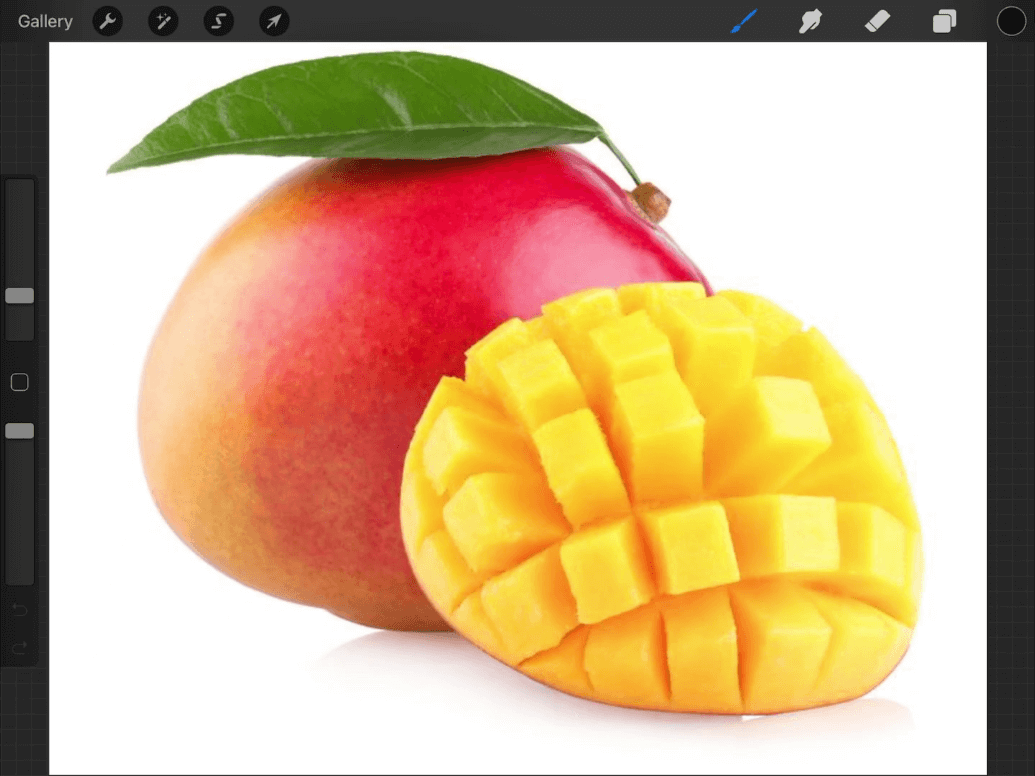
This photo of a mango is a good example for this demonstration, because of the negative space between the stem, leaf, and mango, as well as the gray discoloration from the shadow it’s casting.
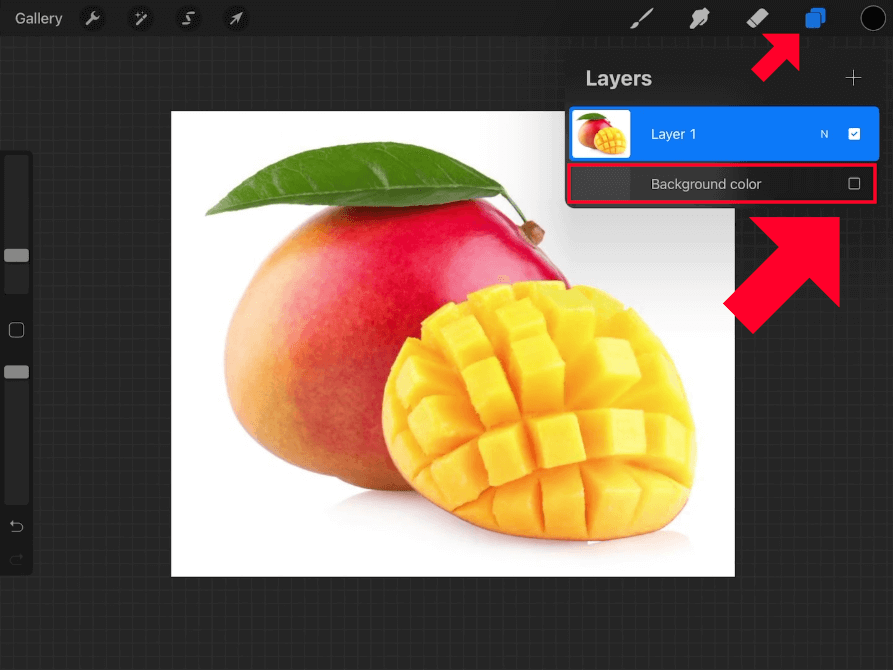
Now let’s turn off the visibility of the background layer by tapping the Layers icon in the top-right corner of the screen.
At the bottom of the Layers menu you will see a layer labeled as Background. Uncheck the background layer’s box to turn off its visibility:
Click to enlarge.
It’s especially important that you turn off the visibility of the background layer when deleting a white background from an image because if left visible then the background will be deleted to transparency, but the white background of the document will be showing through, which would create no visible change on your document.
If your image doesn’t have a background layer then you can ignore this step.
Step 2: Create a selection around the white area of the image and delete the background
In order to delete a white background with Procreate we need to create a selection around the white area, which we’ll be doing in this step.
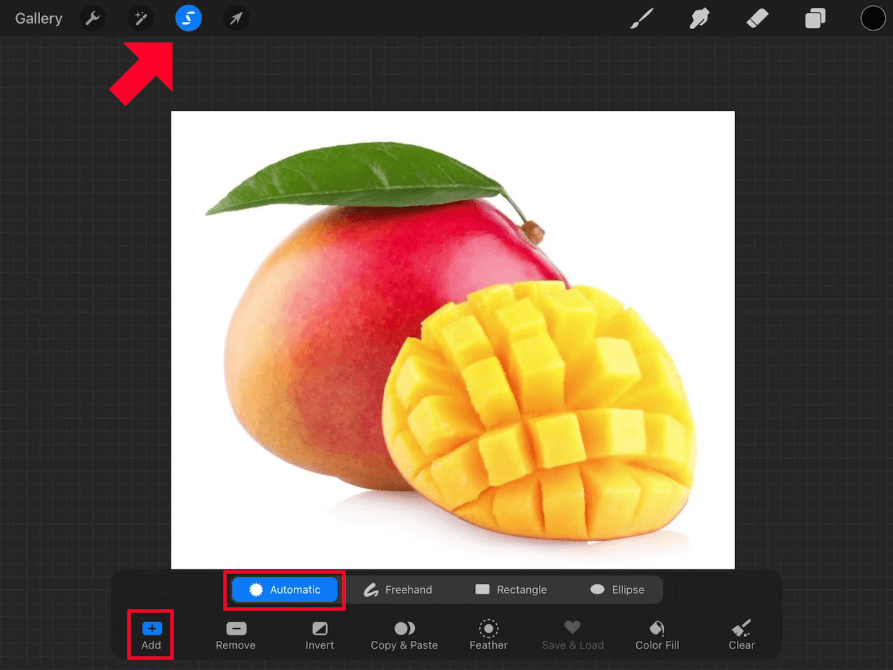
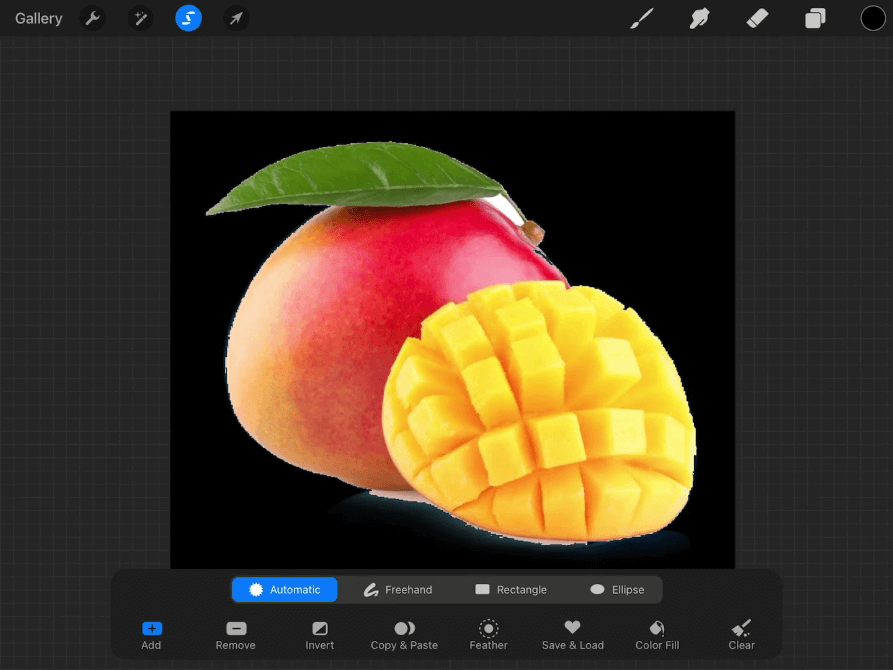
Open the Selection menu by tapping the round icon with an “S” in it towards the top-left corner of your screen. The Selection menu will open at the bottom of the screen:
Click to enlarge.
In the Selection menu, choose Automatic and Add. Then, hold a tap over any portion of the white background in your image to create your selection.
Moving your finger/stylus to the right will increase the threshold of the selection. Moving it to the left will decrease the threshold:
It’s important to ensure that your selection fits accurately around your subject. If the threshold is too low then much of the white background around the subject will remain. If too high, portions of the subject will also be deleted in addition to the background.
Adjust the threshold until the selection area on the screen lines up accurately with the edges of your subject:
The selection threshold will be different for every image, so be sure to adjust it until it fits accurately.
It’s okay if there are minor areas of the white background that still show through. This is to be expected if the subject of your image is casting a shadow, as it is in my example image. The shadow consists of grayscale pixels, and we’ll be addressing that in the next step.
With your selection still active, tap the wrench icon in the top-left corner of the screen, navigate to the Add menu, and tap on Cut. This will effectively delete the background from your image, as indicated by the dark gray grid pattern showing through:
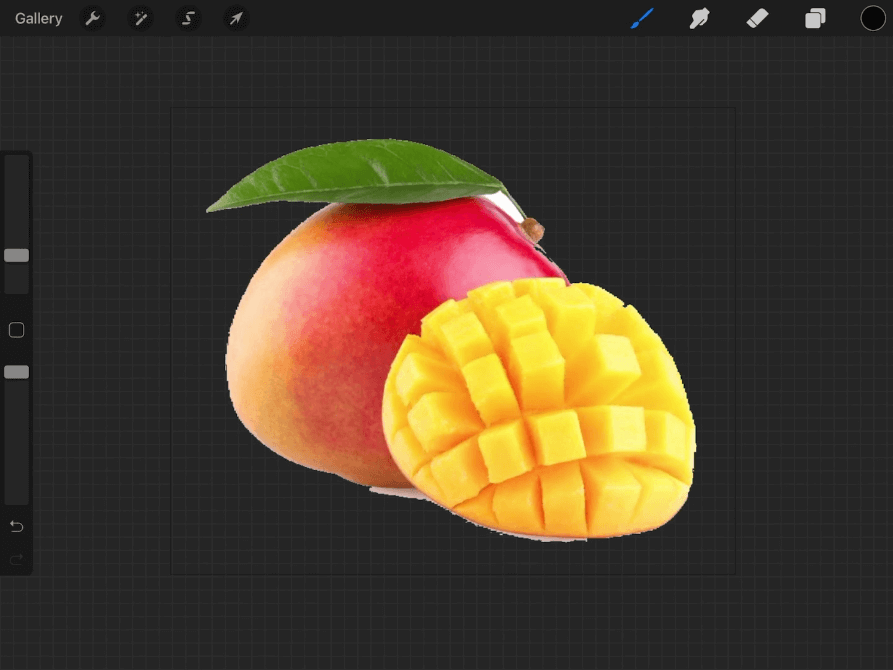
Now you can release the selection by tapping on the Selection menu icon again.
Step 3: Repeat the process for negative space areas and clean up stray pixels with the Eraser
Whenever you delete a white background with Procreate there is always a chance that there are some stray pixels leftover, as is the case with the shadow at the bottom of the mango in my example image:

Repeat the process from step 2 on those areas until they’re removed.
Additionally, you may have to grab the Eraser and manually erase out some stray pixels if you have any.
Finally, don’t forget to repeat the process from step 2 on any negative space areas your image may contain, as is the case for my example image between the stem, leaf, and mango.
Step 4: Export your work as a PNG file to preserve transparency
Once you are finished deleting the background from your image it is time to export your work into a usable file format.
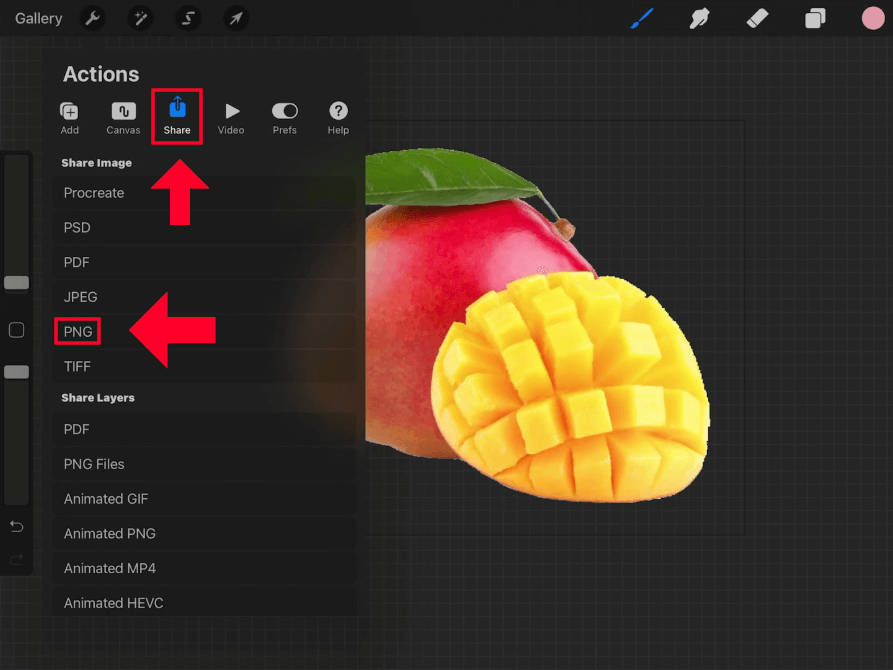
We’ll be exporting this image as a PNG file in order to retain its transparent background. Other formats — such as JPEG — do not support transparency. So, if you save your work in once of those formats then a white background will be added to your image by default.
To export your work as a PNG, tap the wrench icon in the top-left corner, navigate to Share, and select PNG from the list:
You now have a usable image file with a transparent background! The image can be placed onto any kind of backdrop — such as a website, app, or another application’s workspace — and it will show through around your subject.
Conclusion
Thanks to certain features that allow users to create automated selections with a single tap of the finger, deleting a white background with Procreate is a quick and seamless process that even a first-time user could follow along with.
If you have any questions or need clarification on any of the steps from this lesson, simply leave a comment below.
Learn To Master The SoftwareGain a complete understanding of your favorite design apps with my comprehensive collection of video courses. Each course grants access to our private community where you can ask questions and get help when needed.
|
||||||||||||||||||||||||||||||||


Works like a charm! Thanks!
This is great for those PDF color pages.
That was really helpful.
Thanks