Create An Isometric Maze with Adobe Illustrator
Create An Isometric Maze with Adobe Illustrator https://logosbynick.com/wp-content/uploads/2019/06/maze-adobe-illustrator-1024x602.png 1024 602 Nick Saporito https://secure.gravatar.com/avatar/8e31bf392f0ba8850f29a1a2e833cdd020909bfd44613c7e222072c40e031c34?s=96&d=mm&r=gIn today’s tutorial I’ll be demonstrating how to create a vector, isometric-style maze with Adobe Illustrator CC.
The following is just a brief overview of the steps taken to achieve this effect. For complete step-by-step instructions, please refer to the video tutorial at the top of the page. And if you’d like more Illustrator tutorials, be sure to check Illustrator For Beginners on YouTube — my second YouTube channel dedicated solely to Illustrator tutorials.
Creating A Maze
The first thing we’re going to do is create a new canvas sized at 1,280 x 1,280 pixels.
We’re going to create a series of rectangles that are sized at 50 x 50 pixels and create an array of them. We’ll be using the Duplicate feature to generate 20 on the horizontal axis and 20 on the vertical.
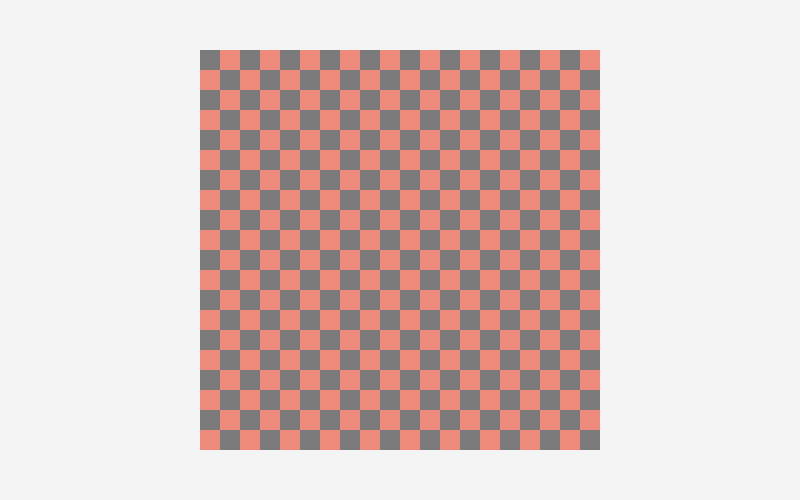
Now we’ll go through and manually delete squares to form the pathways of our maze.
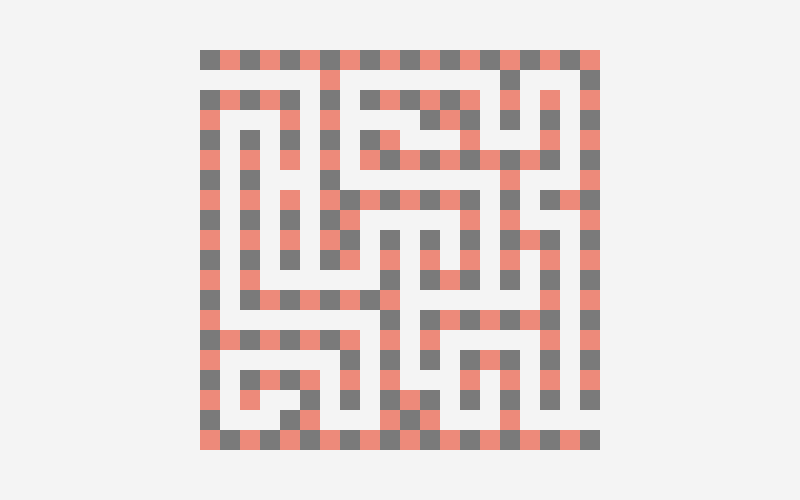
Don’t worry about whether or not the maze makes logical sense. It’s just meant to be an aesthetic design; not an actual puzzle for users to solve.
Once we’re finished creating our pathways, we’ll use the Shape Builder tool to unify the squares together, then we’ll make a Compound Path out of them by going to Object > Compound Path > Make.
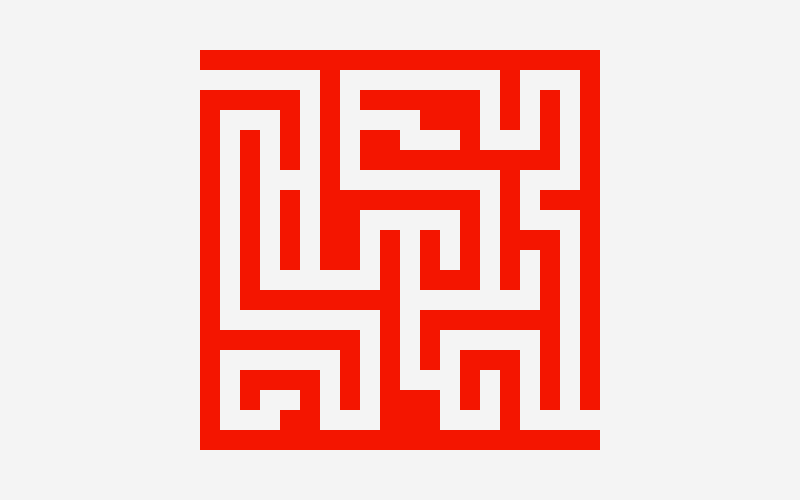
This is where the magic begins. Select the entire design, then go to Effect > 3D > Extrude and Bevel. The following menu should appear…
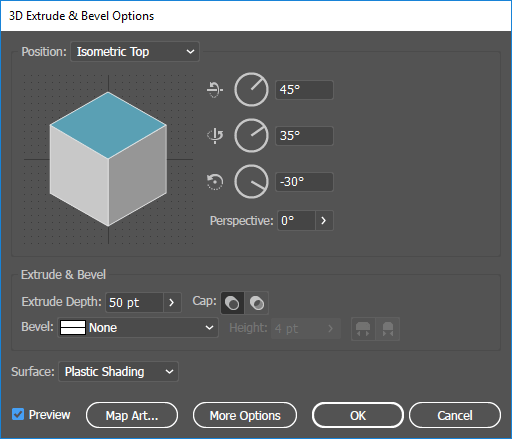
Set Position to Isometric Top and leave the default values for everything else. I would double check that your values match the screenshot above just to make sure. Then go ahead and click OK to generate a 3D isometric maze…
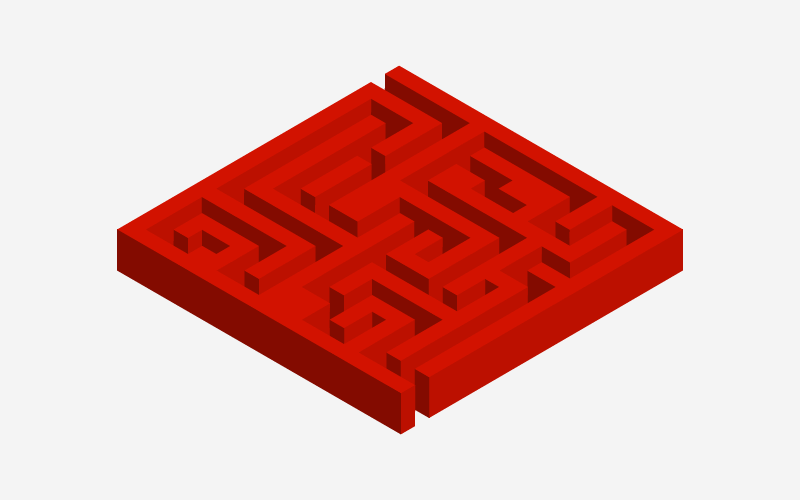
By default, the colors this feature generates are kind of washed out and don’t contrast very well with each other, so we’re going to manually set the colors.
Select the object and go to Object > Expand Appearance, then ungroup it twice by going to Object > Ungroup (twice). Once you’ve done that, you should be able to select all of the individual pieces of the maze icon so you can manually color them in.
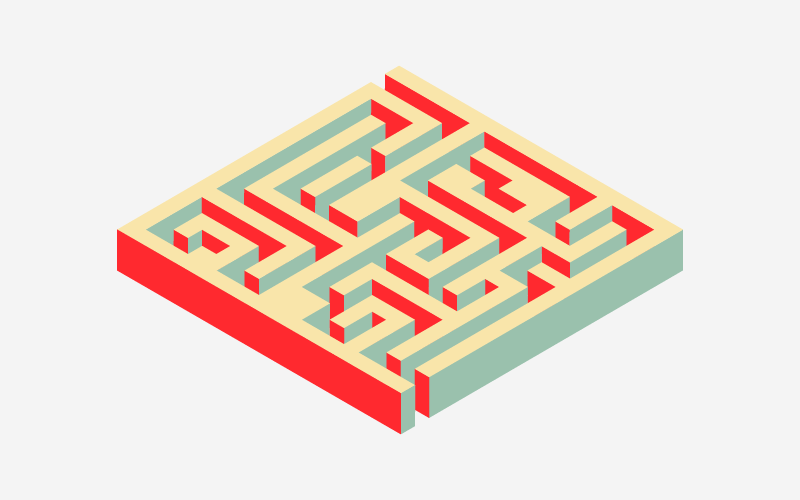
And with that, we are finished! We’ve successfully created an isometric maze with Adobe Illustrator. If you have any questions or run into any problems, simply leave a comment below. As always, thanks for watching!
Learn To Master The SoftwareGain a complete understanding of your favorite design apps with my comprehensive collection of video courses. Each course grants access to our private community where you can ask questions and get help when needed.
|
||||||||||||||||||||||||||||||||


You might also like


5 comments
-
-
-
-
Roger Garlin
That was fun, thanks a lot! I like how you broke it down into logical simple steps.
(Minor point – that ain’t a rectangle, dat boy’s a square, technically! 😅) -
clipping way
Thanks for sharing nice infomation.