How To Create A Distressed Effect in GIMP
How To Create A Distressed Effect in GIMP https://logosbynick.com/wp-content/uploads/2019/12/gimp-distressed-effect.jpg 800 470 Nick Saporito https://secure.gravatar.com/avatar/8e31bf392f0ba8850f29a1a2e833cdd020909bfd44613c7e222072c40e031c34?s=96&d=mm&r=gIn this tutorial I’ll be demonstrating how to use layer masking to apply textures to objects in GIMP in order to create a distressed effect. This is good for giving your designs an aged, worn, vintage sort of appeal.
The following is just a brief overview of the steps taken to apply this distressed effect with GIMP. For complete step-by-step instructions please watch the video tutorial below:
Create A Distressed Effect
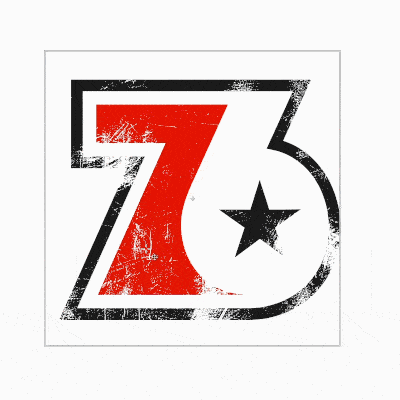
For this tutorial the example design I’ll be using is the following logo. If you’d like to follow along with what I’m doing you can click the image to download a full size copy.
Click for full size image
In order to apply a distressed effect to this logo we’ll have to use a texture image. For this tutorial I’ll be using the following texture…

I recommend using texture images that are in black and white due to how layer masking works in GIMP. I’ve created a free bundle of 15 textures that you can download here.
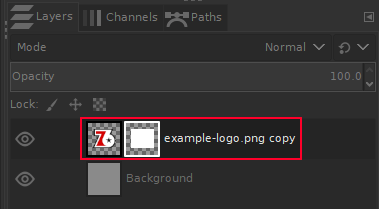
To apply this texture to the logo, simply right-click the layer that the logo is on and select Add layer mask and choose White (full opacity). You will notice a second preview box in the layers menu appear to the right of the original preview box. This box represents the layer mask, so you’ll need to have this box selected in order to apply your texture.
A layer mask allows you to manually create transparency in selected segments of a layer based on a grayscale. Dark shades create transparency and lighter shades preserve opacity.
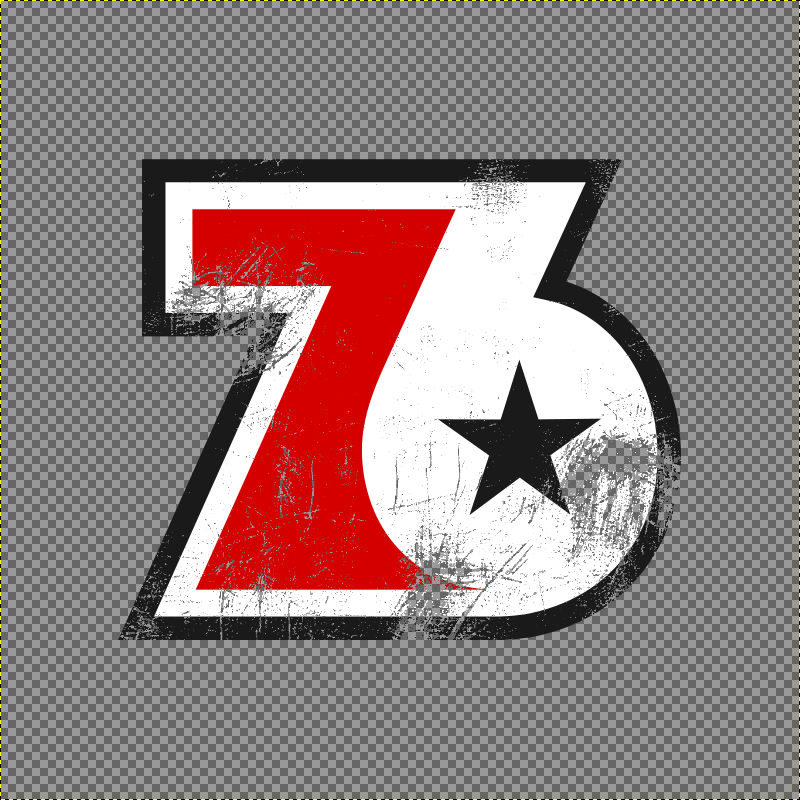
Copy and paste your texture image into the layer mask and you will see exactly how it works. The black areas of the texture become negative space/transparency on the logo and the white areas remain visible.

As you can see, the texture makes for a nice distressed effect. And what I love most about layer masking is that it’s non-destructive! You can manually move the texture, scale it, invert the colors, etc. and the effects will carry over to the distressed effect…
If you turn off the visibility of your background you will notice the transparency in the negative space of the design.
And that is how you can quickly add a distressed effect to your designs in GIMP! If you have any questions leave a comment below, and as always, thanks for watching!
Learn To Master The SoftwareGain a complete understanding of your favorite design apps with my comprehensive collection of video courses. Each course grants access to our private community where you can ask questions and get help when needed.
|
||||||||||||||||||||||||||||||||


You might also like


3 comments
-
-
-
Anonymous
Ok I am trying to do the Text around the circle on gimp for the top of the circle I did exactly what you said where i click the flipping tool click paths click the circle switch back to layets and when i go to text along path it goes wacky is there a way i can contact you
Anonymous
Why not just use the erase overlay?