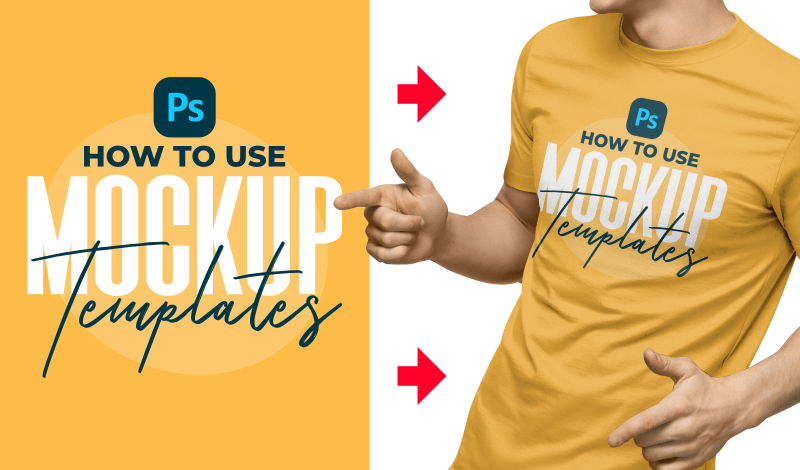
How To Edit Mockups with Photoshop in 3 Simple Steps
How To Edit Mockups with Photoshop in 3 Simple Steps https://logosbynick.com/wp-content/uploads/2020/12/how-to-edit-mockups-with-photoshop-2.png 800 470 Nick Saporito https://secure.gravatar.com/avatar/8e31bf392f0ba8850f29a1a2e833cdd020909bfd44613c7e222072c40e031c34?s=96&d=mm&r=gMockup templates are widely available for download throughout the internet, and they’re a great way to demonstrate how your designs look in a real world context. I use them quite often myself, and in this tutorial I’ll be demonstrating how you can do the same. To edit mockups with Photoshop, all you have to do is open the Smart Object layer and place your own design where the placeholder design is. This is something that does not require design skills or a comprehensive understanding of Photoshop. You can follow along with this lesson even if you’re new to Photoshop, and even if you don’t have Photoshop (more on that later!)
What Are Mockup Templates?
Mockup templates are premade design files that can be edited to place your designs in a real world context.

Mockup templates allow you to see how your designs would look when applied to real world scenarios.
These templates come in a variety of different applications. Here are some of the things you can depict with mockup templates:
- How a logo looks when embroidered onto a hat
- How a tri-fold brochure will look once printed
- How a store sign will look once hung above a storefront
- What a vehicle will look like with a vehicle wrap applied
- How a design looks once printed onto a t shirt
- & many more!
To edit them, you’ll need to use Photoshop or some other equivalent, such as Photopea.
Mockup templates add a layer of professionalism to your work because they help in “selling” the viewer on not just the design, but the utility of the design as well. Or in other words, what can this design do for me?
In my experience, clients and customers are very receptive to this sort of thing because it helps them imagine their own branding being used in a similar way, which in turn gets them even more excited about contracting your services. Needless to say, knowing how to edit mockups with Photoshop (or some equivalent) can have profound benefits to you as a designer. And it’s always neat to see your own work in application too!
How Mockup Templates Are Used
Mockup templates are traditionally used by designers to show off their design work. My own logo design portfolio uses them in abundance:
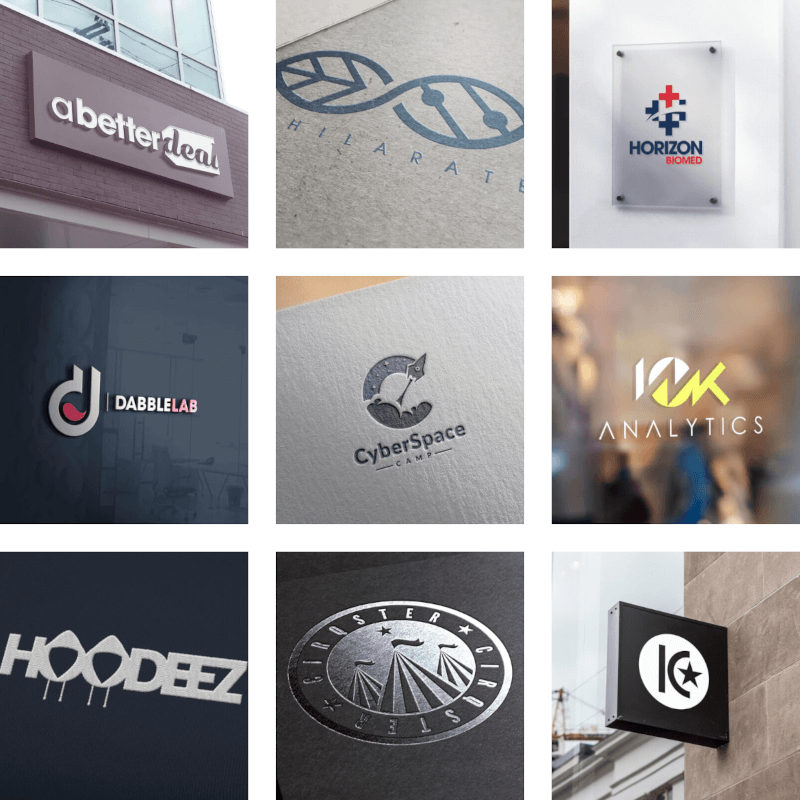
I’ve used mockup templates for my own logo design portfolio.
These templates are also great to use if you’re working with design clients and you want to give them a better sense of how their logo, brochure, flyer, or vehicle wrap will look once applied.
Seeing as how these are just fictitious mockups, it probably wouldn’t be a good idea to use them for depicting some kind of merchandise you are selling because it wouldn’t be an honest depiction. Mockup templates are best used in the context of a designer who wants to show off his or her work.
Where To Find Mockup Templates
Mockup templates are widely available throughout the internet. They sometimes go by “PSD mockups” with “PSD” representing the .psd extension that the templates typically end in (which means that it’s an editable Photoshop file.) This means that you’ll have to edit mockups with Photoshop after you’ve downloaded them.
With a simple search, you will quickly see that there is an abundance of mockup templates out there. You can find them free for download, or if you’re looking for a more professional touch, you can find premium mockups as well.
Free Templates
Here are a few websites where you can find mockup templates that are free for download and will cost you nothing:
- Graphic Burger: This is my favorite site for free mockup templates personally. They have a great selection, lots to browse through, they’re very realistic looking, and they’re easy to download. No account or registration is required.
- Freepik: Probably the most well known website for free photos, designs, and templates; Freepik also hosts a wide variety of free mockup templates. Just make sure to provide attribution as required if you use a template from this website.
- Free-Mockups: As the name suggest, this is a website that is seemingly dedicated to providing free mockup templates. I’ve never used them personally, but it looks like they have an enormous library to browse through, and much like Graphic Burger, I didn’t need to register for an account to download a mockup.
- PSD Mockups: This website is more of a curation service in that they don’t actually host any mockup templates, but rather they link out to the website where a particular mockup can be downloaded.
It should be noted that although a mockup template may be free for download, that doesn’t always mean that it’s free for commercial use, so make sure to always check the license that came with your download.
Premium Templates
As great as the free mockup templates are, sometimes you can’t quite find what you’re looking for in the free libraries. I can think of one particular instance when I was looking for a gift card mockup and, at the time, couldn’t find a free one anywhere. So I purchased a premium template and went on my merry way.
Premium templates would also be a good fit for you if you’d rather not deal with the ambiguous attribution requirements that often come with free templates. A premium template offers the peace of mind of knowing that you paid for a license and use the mockup however you’d like.
Here are some good places for finding premium mockup templates:
- Creative Market: Just to be clear, I am an affiliate of Creative Market, but only because I like their platform and I buy stuff from them regularly. Creative Market is the best place for premium mockup templates in my opinion because of how enormous their library is and how reasonable the prices are. I always find exactly what I’m looking for on Creative Market, so I’ve never had to look elsewhere.
- Eymockup: A lesser-known website, Eymockup seems to have a nice variety of premium mockups to choose from, and the prices are very reasonable. If you’re looking for higher quality templates but have a small budget, you may want to browse through their library.
How To Edit Mockup Templates with Photoshop
Once you’ve found a mockup template you like, it is now time to begin our process to edit mockups with Photoshop.
Although there are free alternatives that work, most mockup templates are designed with and for Adobe Photoshop, so it is recommended that you use Photoshop to edit them. This will ensure that you avoid any potential cross platform compatibility issues.
There is a video tutorial you can follow along with below just in case you find it easier to learn by video rather than written instructions:
Step 1: Open your mockup template
Once you’ve downloaded your mockup template, you should receive a zipped folder. Open the zipped folder and look for the file that ends with .psd. This is the editable mockup file. Once located, double-click the file to open it with Photoshop.
For this demonstration I will be using this printed paper mockup by Pune Design.
If there are multiple PSD files in your folder then all that means is that you’ve received several mockups. Just pick one of them for now. You can explore the others later on if you’d like.
Step 2: Place your design in the Smart Object layer
Once opened, we’re going to look for something called a Smart Object. A Smart Object is a layer that you can edit independent of the rest of the image, so that any changes made to it are non-destructive and can be continued working on if needed.
It’s kind of like painting your house, but retaining the ability to change the color of the paint at any time — even after it has dried! This specific feature is what makes it so simple to edit mockups with Photoshop.
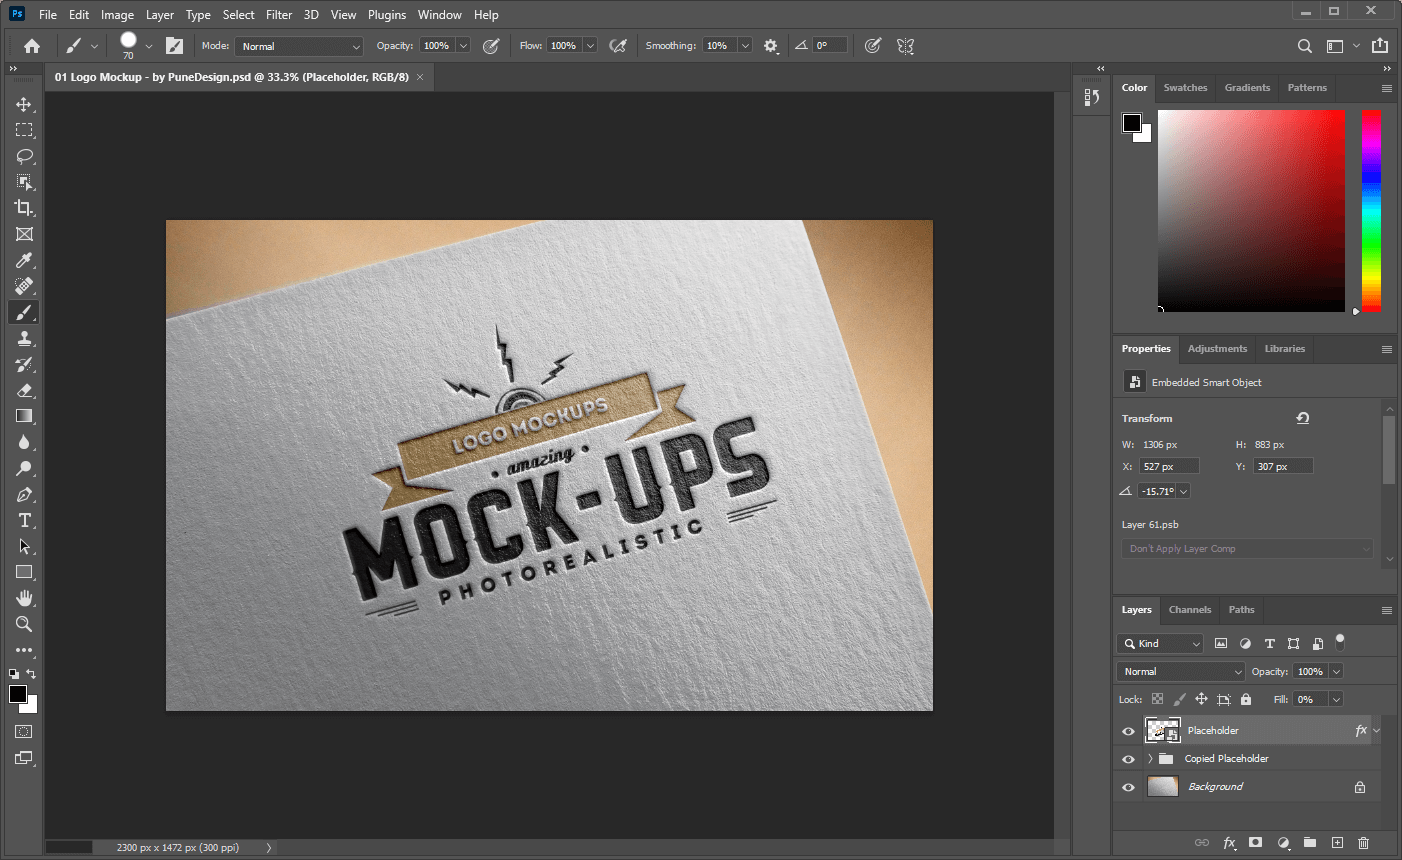
To locate the layer with the Smart Object, we’re going to pay attention to the Layers menu at the bottom-right of the screen. It will be the layer that is labeled with something like “placeholder,” “add your design here,” “change this layer,” or some other indication that this is the layer to place your design on.
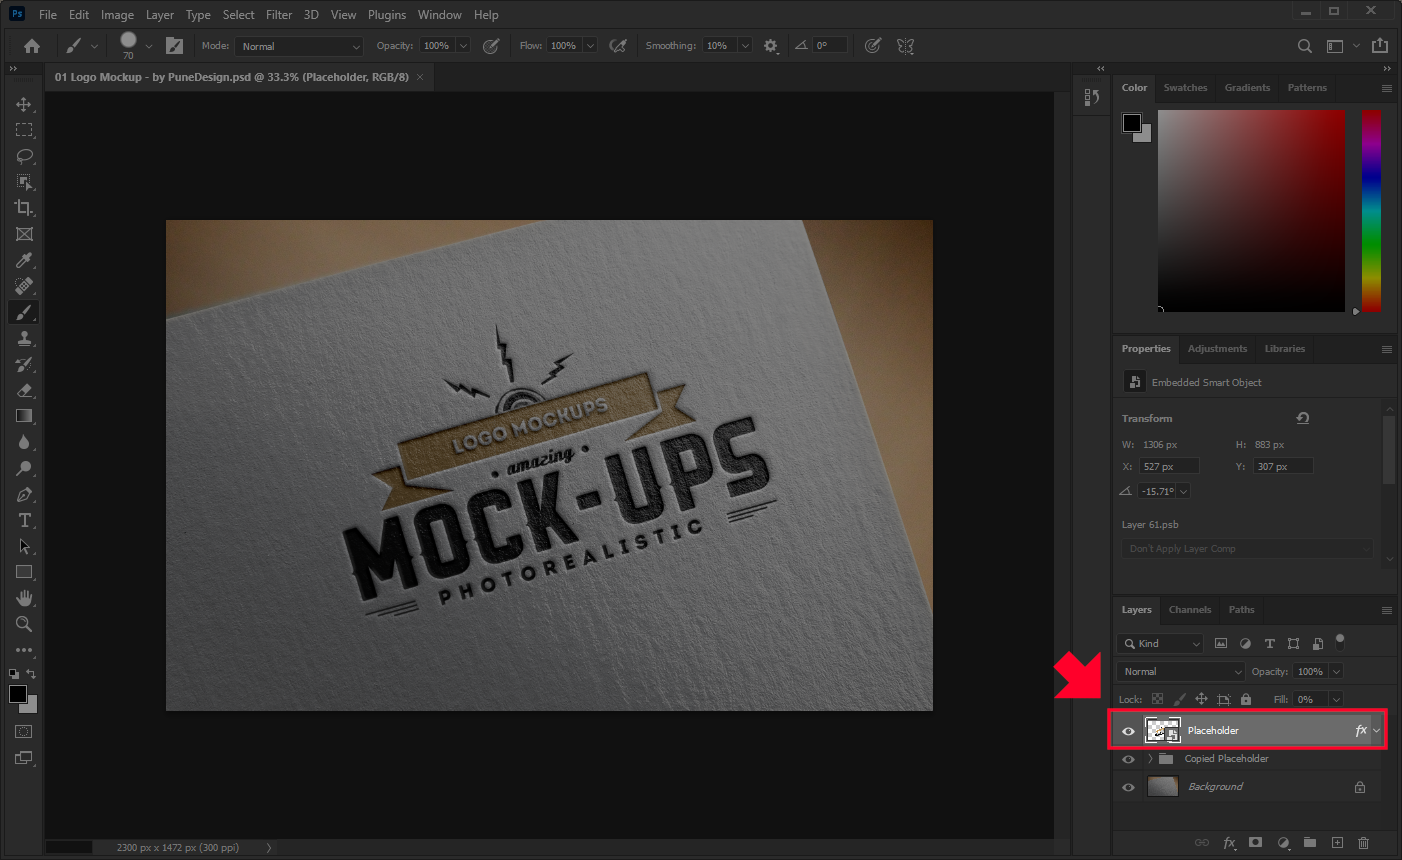
The Smart Object layer should be labeled with something to make obvious what it is.
As a side note, your Smart Object layer may be hidden in one of the collapsible sub menus, so make sure to look through there if you can’t find it.
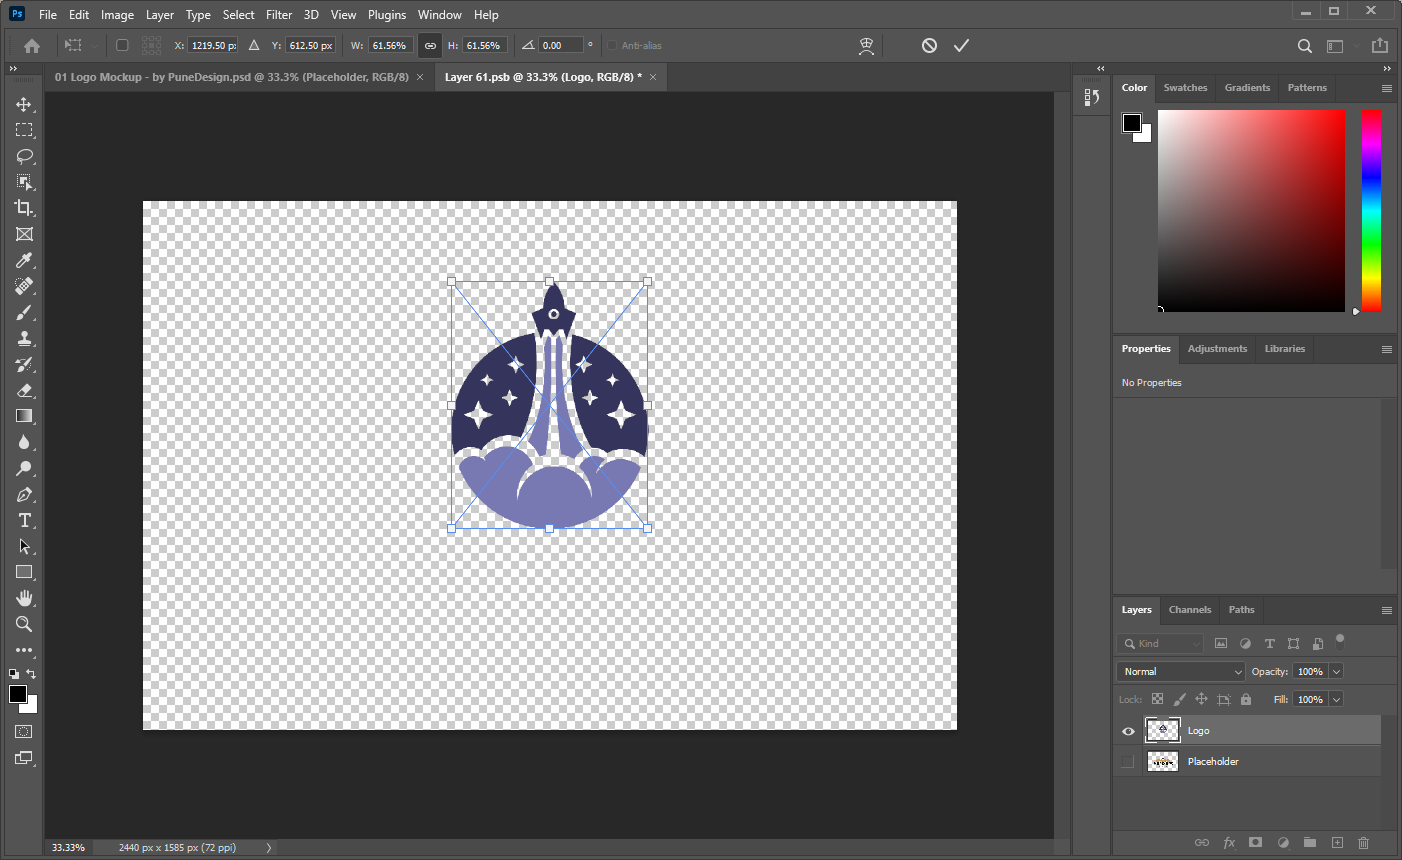
Simply double-click on the thumbnail preview of the Smart Object layer to activate it. It should open in a separate tab, with the placeholder design visible in its raw form.
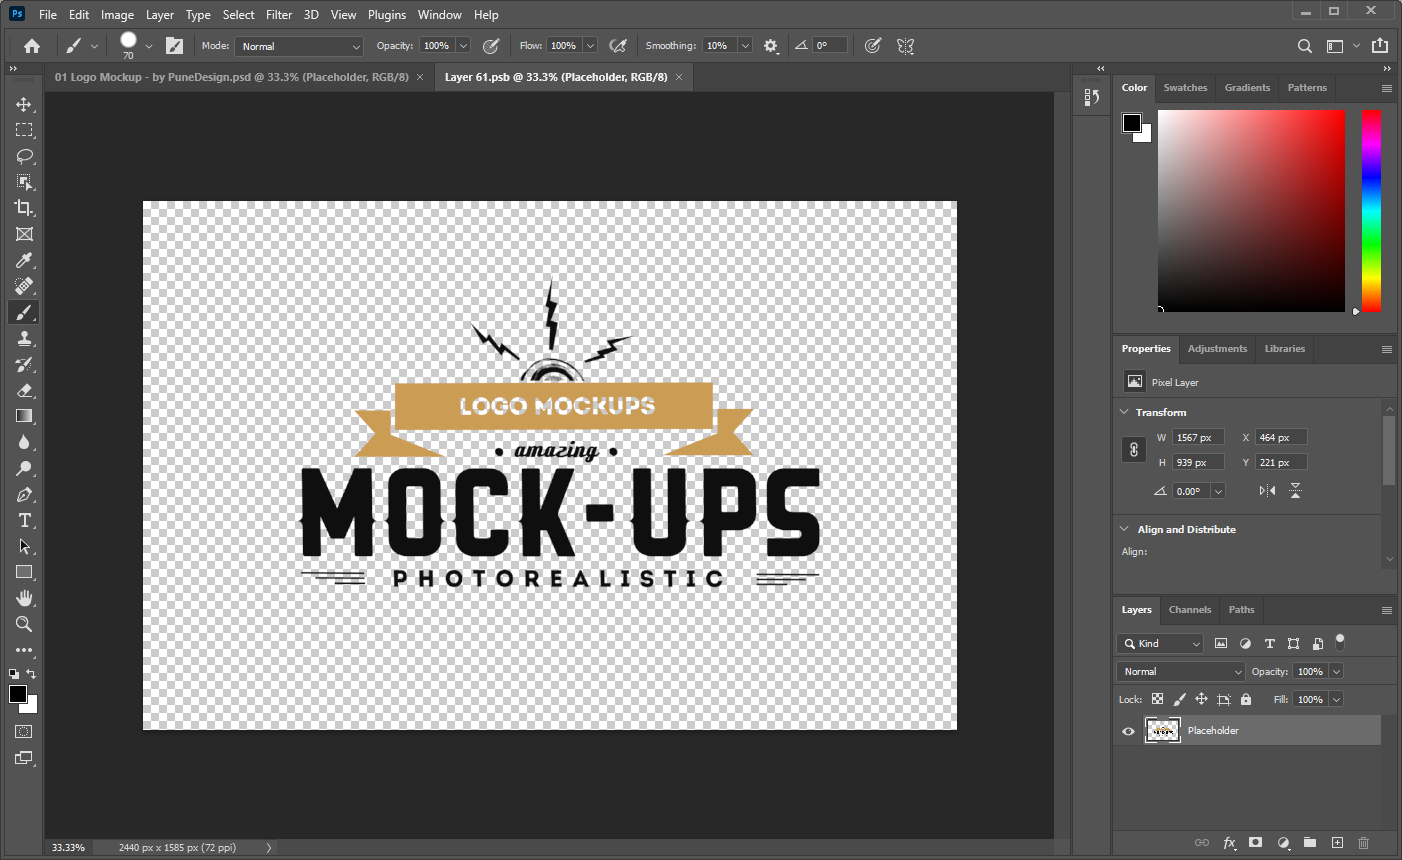
Your Smart Object will open in a new tab.
Next, we have to get rid of the placeholder design. To do that, click the eyeball icon next to the layer to turn off its visibility.
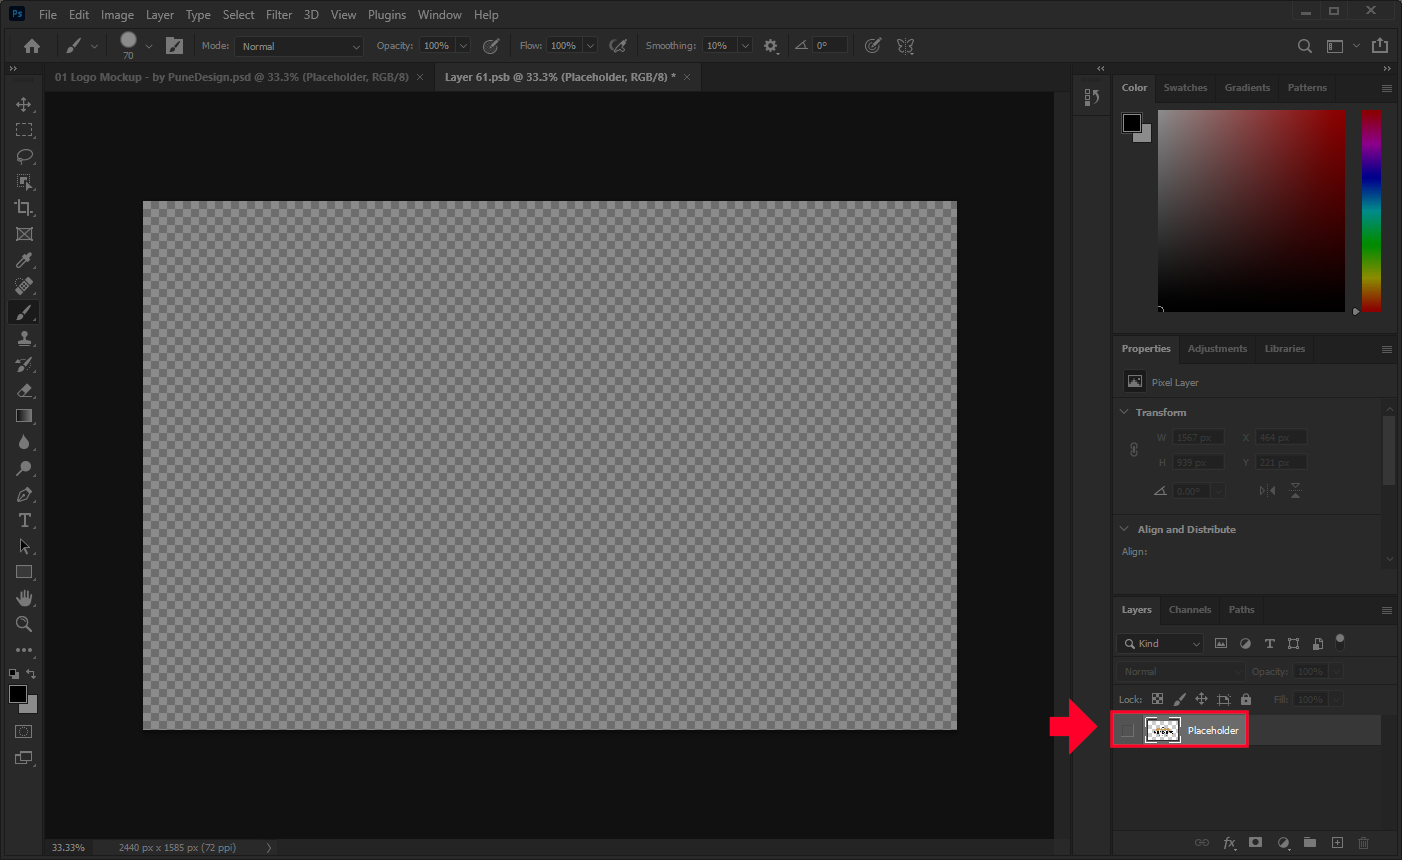
Disabling the visibility of the placeholder design will remove it and allow you to place your own design on a separate layer.
Now we’re going to import our own design. To do this, open up the folder where your design is located, then click and drag it onto your canvas. Scale and position your design as needed, then once you are happy with its size and placement, go ahead and press Enter on your keyboard to place it.
Adjust your design as needed and then press Enter to place it.
It is recommended that you import either a PNG or JPG file. Or you could simple import another Photoshop file that you may have been working on.
Once your design is in place, navigate to File > Save to apply it to the template design. Don’t worry about this overwriting your template! You’re only saving the Smart Object layer; not the actual template file.
After you’ve hit save, navigate back to the original template tab (tabs are located towards the top of the screen) to see how your design looks once applied to the mockup template.
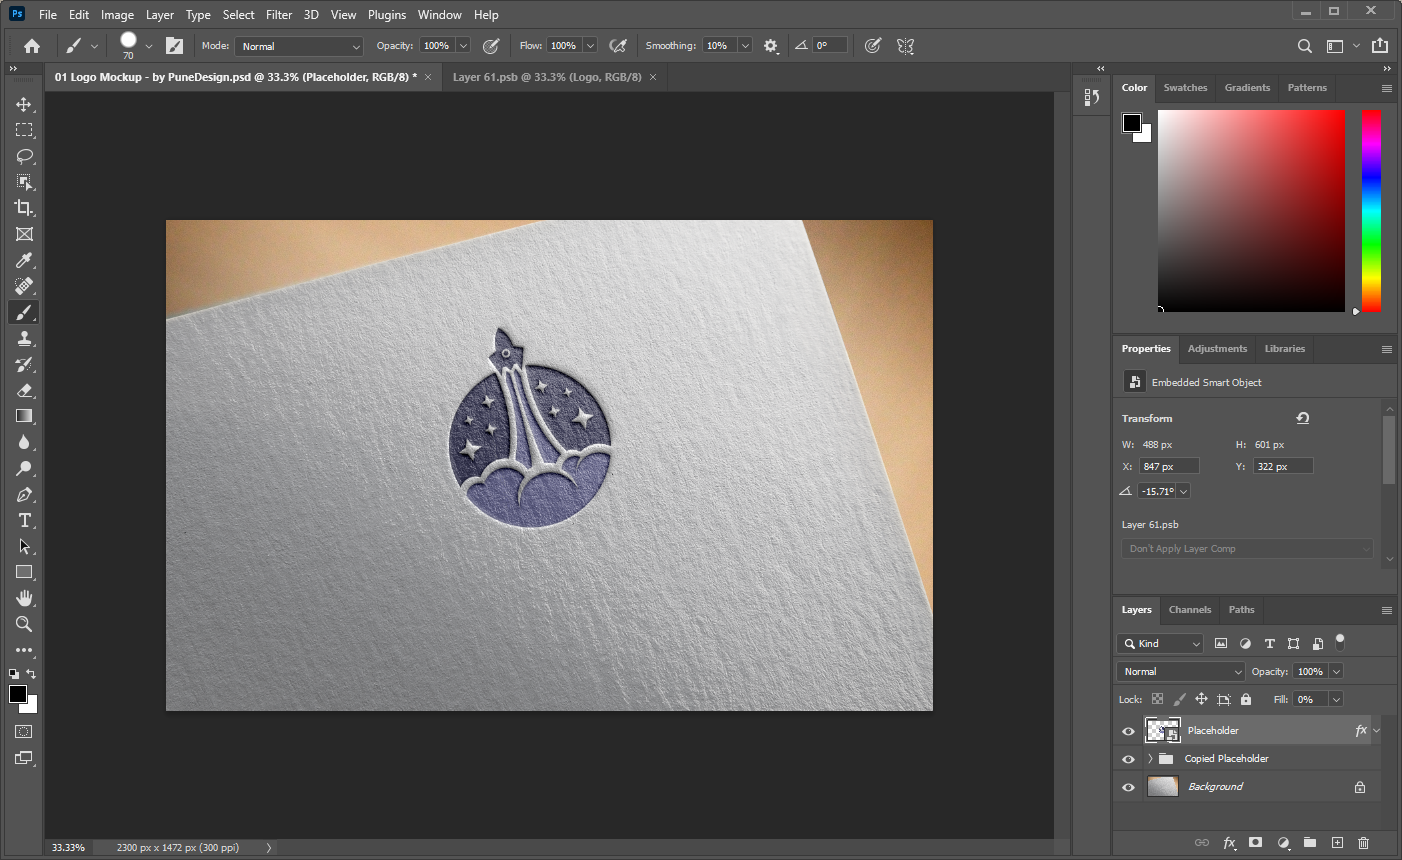
How the design looks once applied to the mockup template.
One of the benefits of working with Smart Objects is that none of this is set in stone. You can go back to the Smart Objects layer and adjust the design further if you’d like.
If you’re satisfied with the result then you can move on to the next step.
Step 3: Save and export your work
Now that your design has been applied to the mockup template, it’s time to save and export our work.
First, it is recommended that you save an editable copy of your mockup template so you can go back and make changes later on if need be. To do this, simply navigate to File > Save As and choose a place on your hard drive to save the file. Make sure to use the .psd file extension.
Next, you can save your mockup as a usable image in either .png or .jpg format. If your mockup contains a transparent background that you’d like to retain then you’ll have to choose .png because the .jpg format does not support transparency.
Much like we did for saving the editable copy, we can save the usable copy by navigating to File > Save As and choosing a location to save it to.
How To Edit Mockup Templates WITHOUT Photoshop
Now that you know how to edit mockups with Photoshop, let’s talk a little bit about what your options are if you don’t have access to Photoshop!
You may be under the impression that something like GIMP or Krita — two of the largest free alternatives to Photoshop — would have the ability to work with mockup templates; especially considering that they can open PSD files. However, neither of these applications can edit mockup templates because unfortunately, neither has the ability to work with Smart Objects.
To edit mockup templates without Photoshop, you will need an alternative that has the ability to work with Smart Objects. The only free application I know of that fits this criteria would be Photopea.
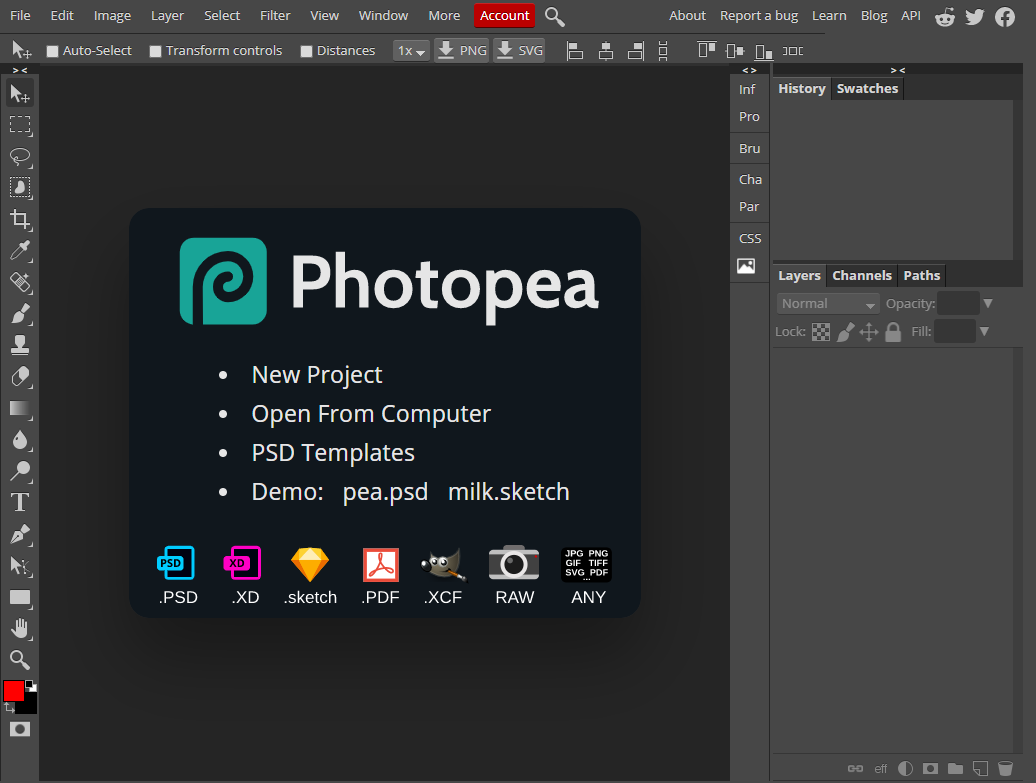
Photopea is a free, web-based alternative to Photoshop.
Photopea is a free alternative to Photoshop that looks, feels, and functions exactly like Photoshop. It includes the Smart Objects feature, and best of all, it’s web-based! This means that you don’t need to download anything to use it. Just navigate to the Photopea website and you will be greeted with a free alternative right within your browser.
Since the two are nearly identical, mockup templates are edited using the same process that was used for Photoshop. A while back I made a tutorial on using Photopea to edit PSD mockups without Photoshop if you’d like instructions to follow.
Conclusion
Mockup templates are a powerful tool to keep in your arsenal as a designer, and they’re also a great investment if you’re willing to shell out a little extra for premium templates. Knowing how to edit mockup templates with Photoshop (and without Photoshop) can help you depict your design work in the best light possible by giving it some real world context. Just make sure to use them as intended and always give attribution if required.
If any part of this tutorial was unclear — or if you have any questions, comments, or concerns — simply leave a comment below.
Learn To Master The SoftwareGain a complete understanding of your favorite design apps with my comprehensive collection of video courses. Each course grants access to our private community where you can ask questions and get help when needed.
|
||||||||||||||||||||||||||||||||