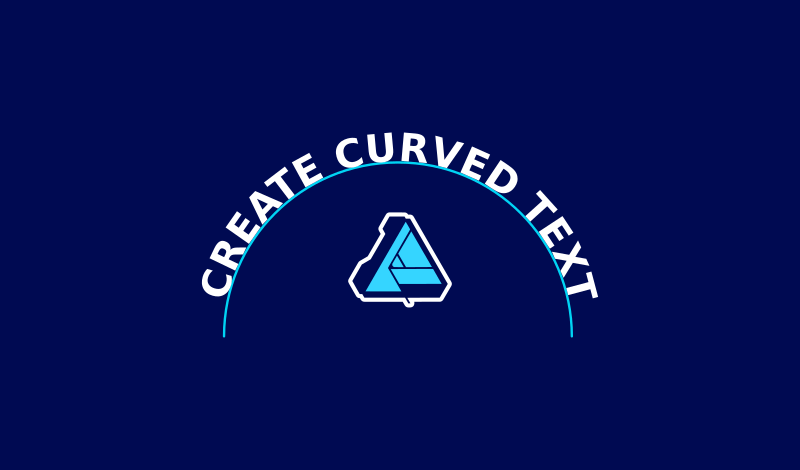
Curve Text with Affinity Designer | The Complete Guide
Curve Text with Affinity Designer | The Complete Guide https://logosbynick.com/wp-content/uploads/2021/01/curve-text-affinity-designer.png 800 470 Nick Saporito https://secure.gravatar.com/avatar/8e31bf392f0ba8850f29a1a2e833cdd020909bfd44613c7e222072c40e031c34?s=96&d=mm&r=gIn this tutorial I’ll be demonstrating how to curve text with Affinity Designer so that you can wrap your text around a circle or place it on any other path. Knowing how to do this can enhance your ability to design logos, emblems, and badges. And thanks to Affinity Designer’s Artistic Text tool, this sort of thing can be accomplished relatively quick.
Wrapping text around a circle with Affinity Designer is very similar (in function) to the process you would use to do the same with Adobe Illustrator. However, it does appear to be more consistent in its behavior, and it’s much easier to work with your text once put on a path than it would be in Inkscape.
The following is a written overview of all the different ways you can place text on a path with Affinity Designer. However, you may find that a video tutorial is more suitable for this sort of lesson. If that is the case for you then there is a video tutorial below where I walk you through each of the steps laid out below.
Curve Text with Affinity Designer
| To curve text with Affinity Designer, select the path that you’d like to flow the text along, then grab the Artistic Text tool and click on the path to add your text. |
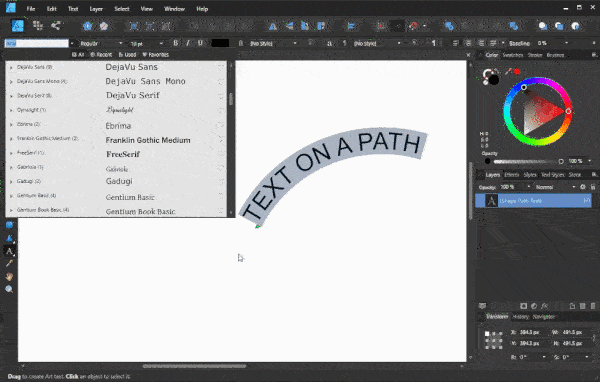
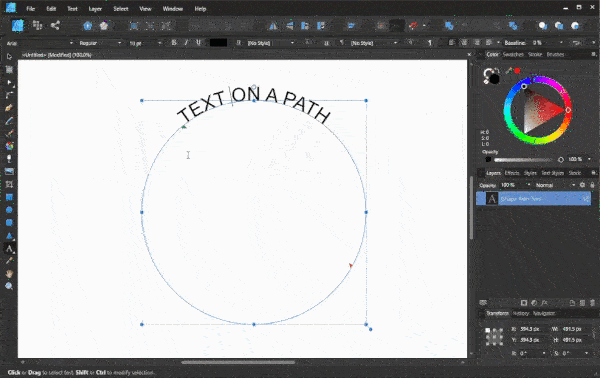
For this demonstration I will be wrapping the text around a circle with Affinity Designer. However, this method works the same with any other path.
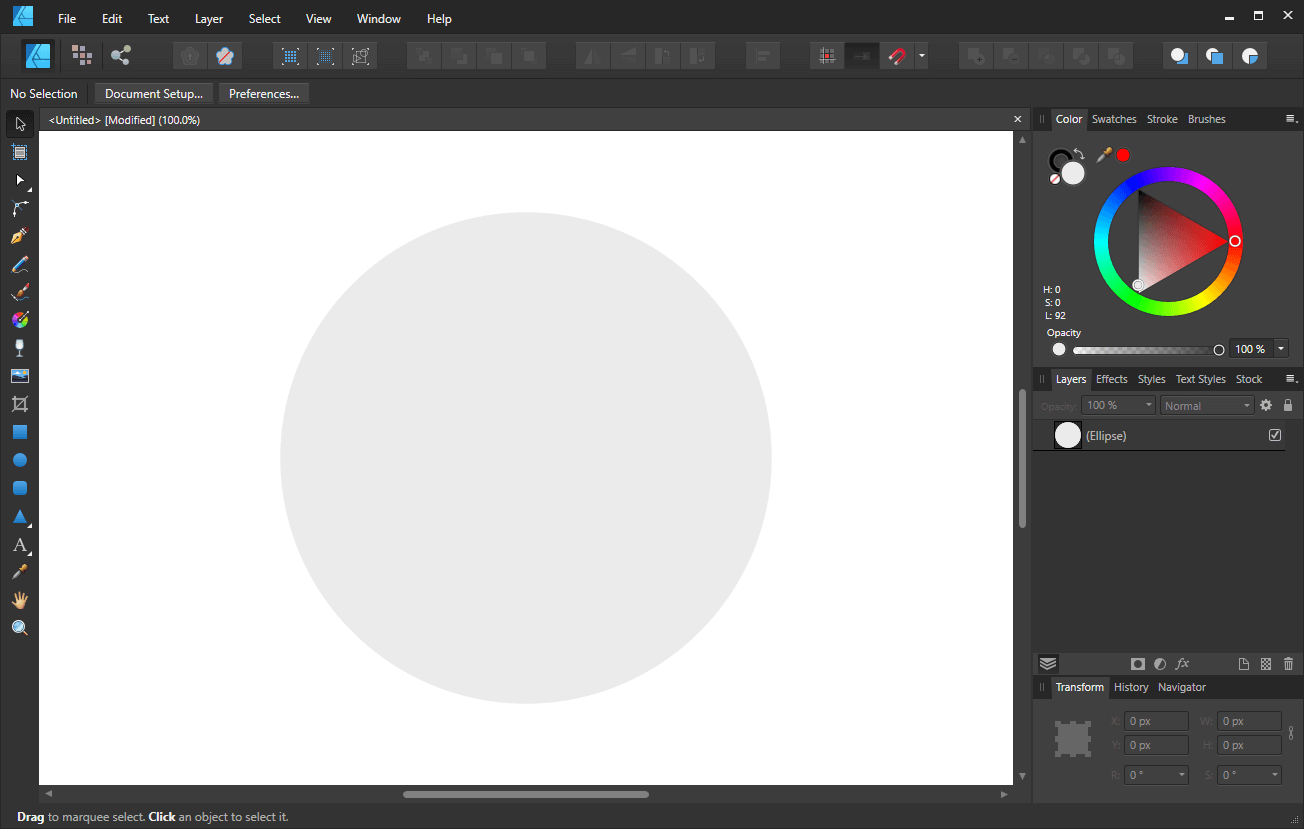
For this tutorial I will be wrapping text around a circle with Affinity Designer.
Once you’ve identified the path that you’d like to curve your text around, make sure it is selected. If your path is not selected then you will not be able to place text along it.
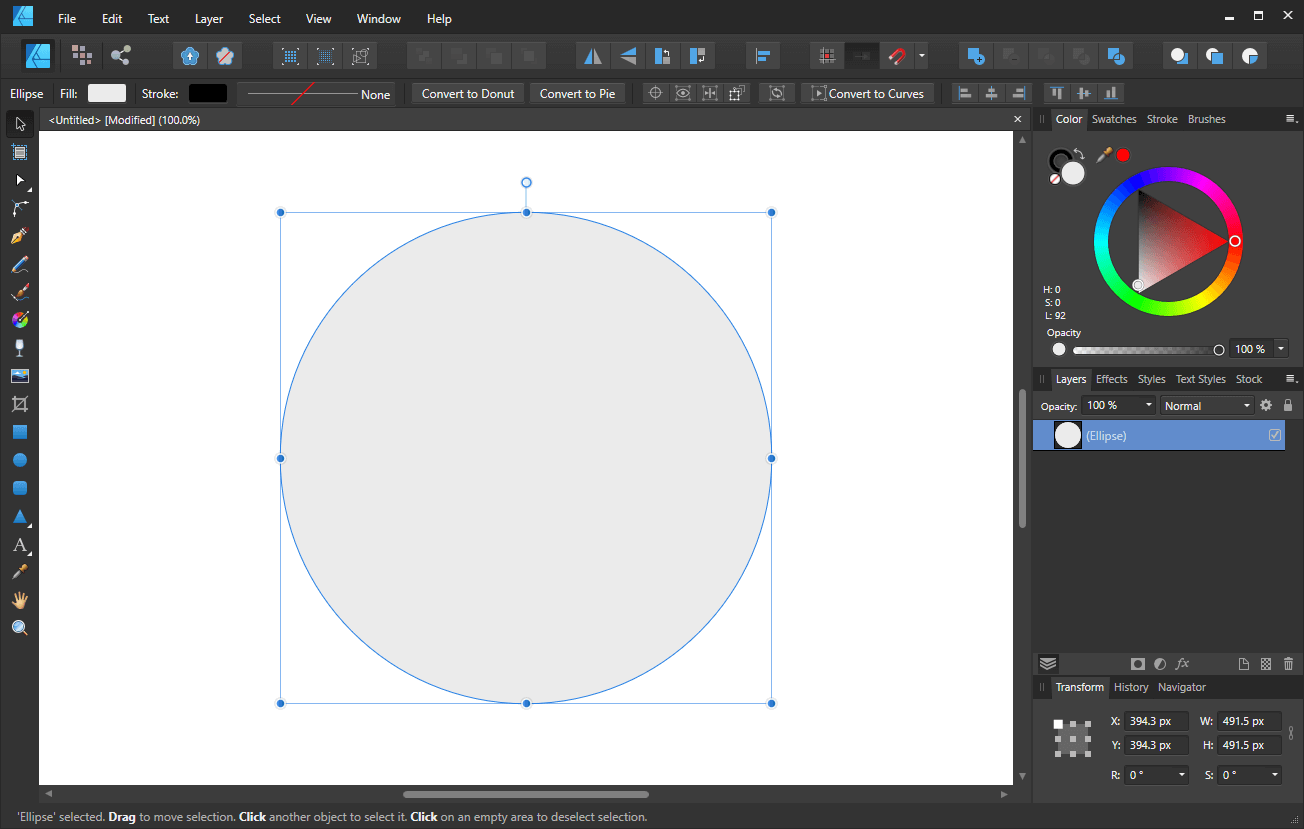
Once your path is selected, it will be outlined with a blue bounding box.
Place Your Text On A Path
With your path selected, grab the Artistic Text tool and hover your cursor over the path that you’d like to flow your text along. Once the cursor has been placed over a valid path, you will notice the cursor changes from a letter A to a letter T with a squiggly line under it.

The cursor change is confirmation that you are clear to place your text along the path. Go ahead and click the path. You will notice a blinking cursor that appears on the path indication that you can begin typing.
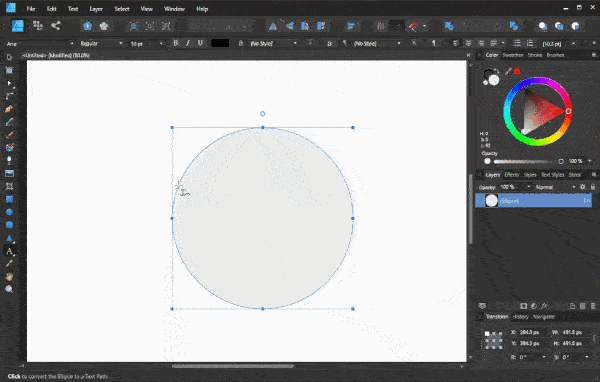
Simply click on the path with the Artistic Text tool and begin typing.
Adjusting The Font, Size and Color
At this point you can add your own stylings. Simply triple-click the text to select it, then choose your font and size using the settings in the toolbar just above the artboard.
With your text selected, go ahead and apply your chosen font, color, and size.
You can also change the color using the Color menu to the right of your screen.
Place Text On The Inside Of The Path
When you first curve text with Affinity Designer, the text will be placed either along the inside or the outside of the path. This depends entirely on what part of the path you initially clicked on.
If you’d like to place your text along the inside of the path, you can simply click the Reverse Text Path button in the toolbar at the top of the screen after it’s been added.
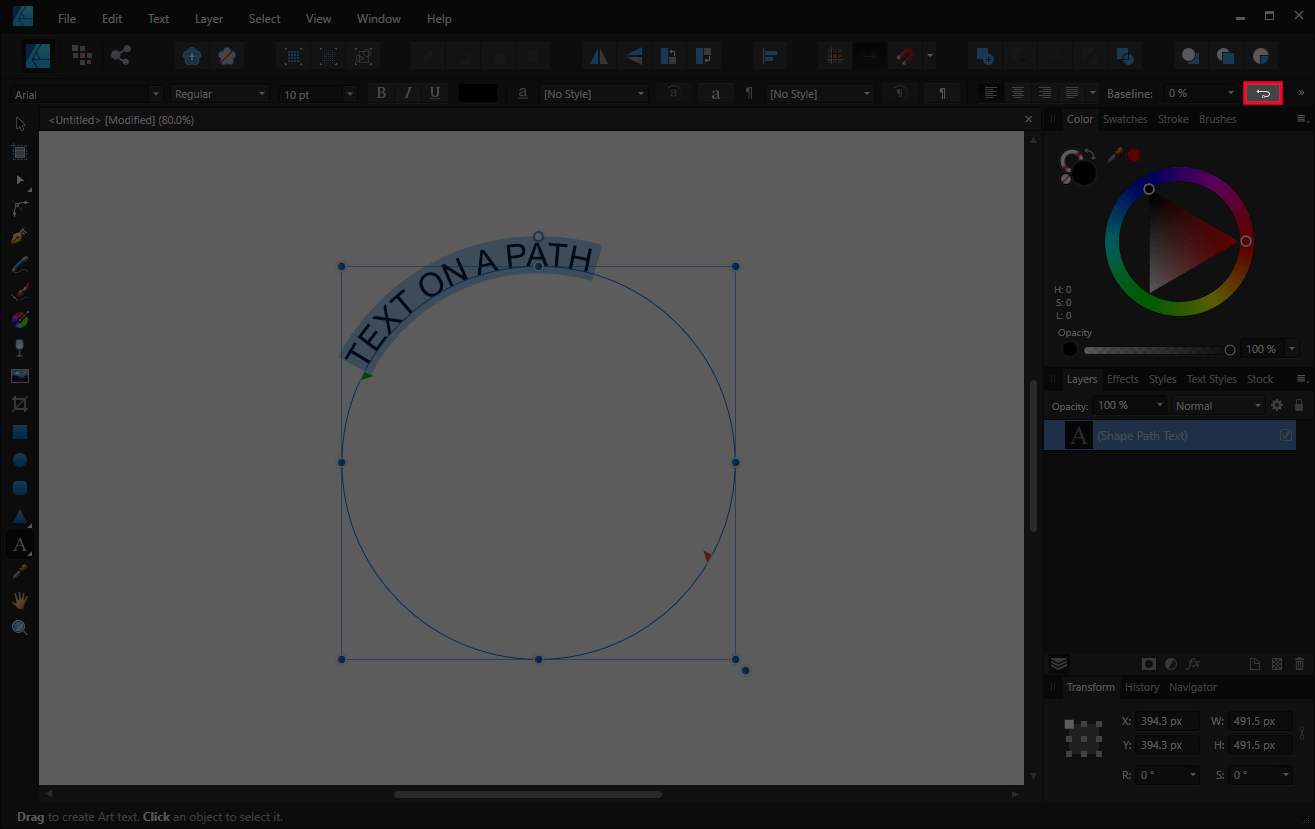
The Reverse Text Path button allows you to dictate whether the text with flow on the inside or outside of your path.
This will reposition your text from the outside of the path to the inside of the path. This works in reverse as well. The Reverse Text Path button can also change the position of the text from the inside of the circle to the outside of the circle.
You can easily toggle back and forth between each by clicking the button repeatedly.
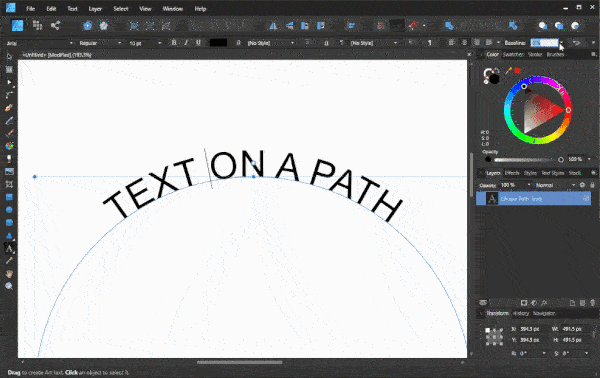
Change The Position Of The Text On The Path
Now let’s address changing the position of the text as it relates to the path itself.
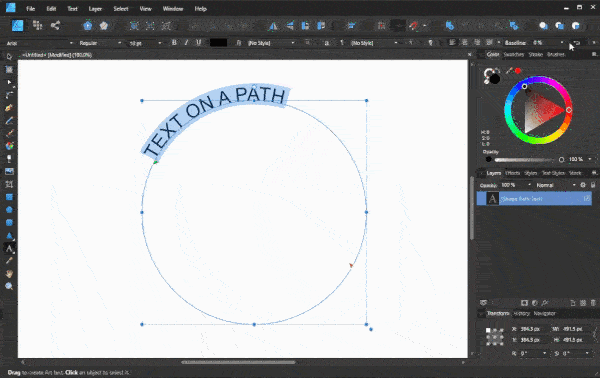
After you’ve wrapped your text around the path, you’ll notice two handles that appear — a green handle and a red handle. They’re both triangle-shaped.
The green handle dictates where the text begins, and it can be moved manually:
Moving the green handle allows you to determine where the starting point of your text is, relative to the path.
The red handle represents the endpoint of the text.
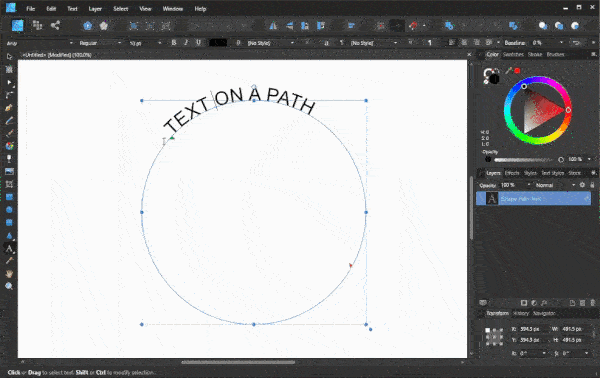
So if you’d like to place your text in the center of the top half of the circle, all you have to do is snap the green hand to the left side, the red handle to the right side, and then give your text a Center alignment using the menu at the top of the interface.
Placing the handles on the left and right sides allows you to center your text on top of the circle.
Change The Text Baseline
When you curve text with Affinity Designer, you may notice that the base of the text is where the text will be placed on the path. This can be adjusted by changing the value of the Baseline input in the toolbar above the artboard.
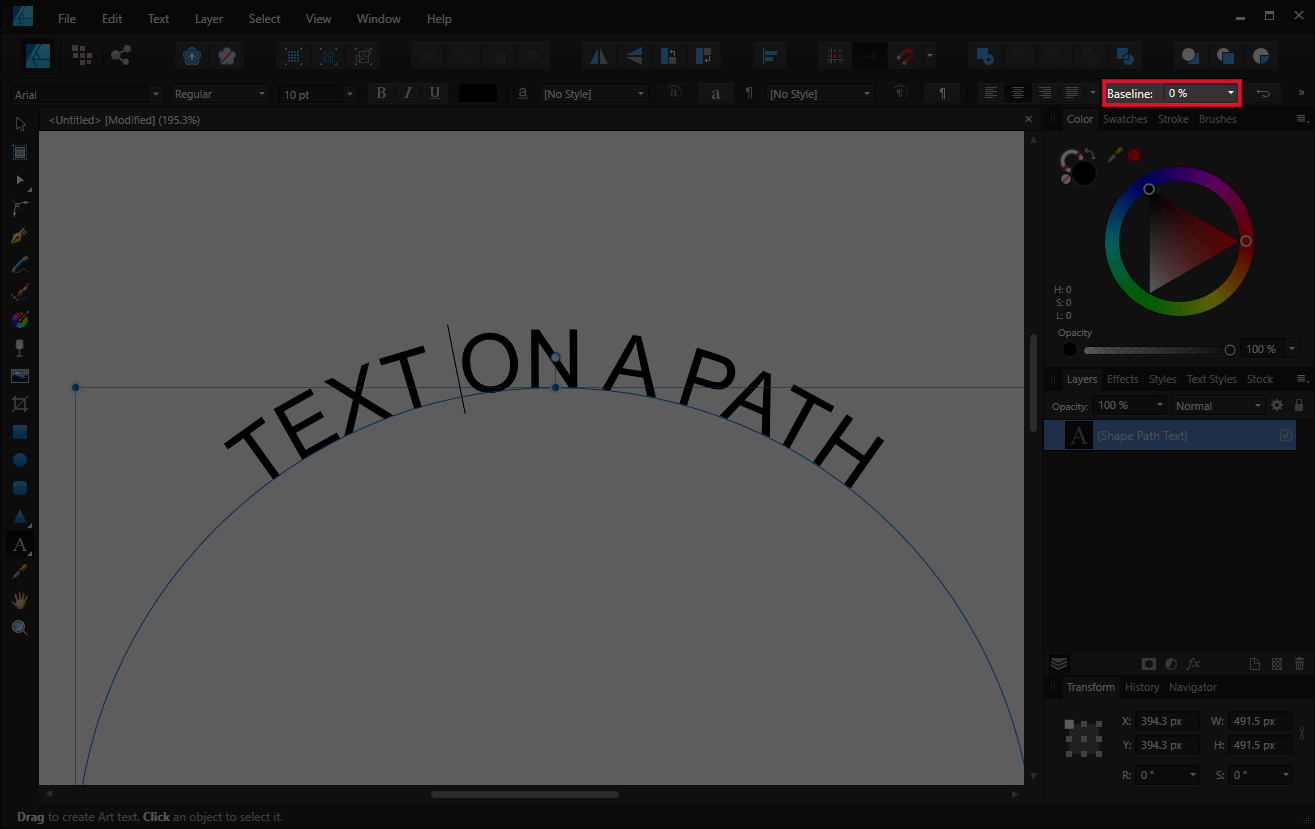
The baseline input is located in the toolbar, just above the workspace.
The slider can be used to manually adjust the baseline so that the text is placed along the outside of the path, but relative to the top of the text rather than the bottom:
Adjusting the baseline of the text allows you to dictate which part of the text makes contact with the path.
Change The Spacing Between Letters
Whenever you place text along the inside of a path, you may notice that the reduction in space results in a reduction of space between the letters as well. Fortunately, this can be easily fixed.
To adjust the spacing between the letters of your text, triple-click the text to select all of it, then hold Alt on your keyboard and use the left and right arrow keys to increase and decrease the spacing between the letters.
The left arrow reduces spacing between the letters, whereas the right arrow increases the spacing:
To change the spacing between the letters, hold Alt and use your arrow keys.
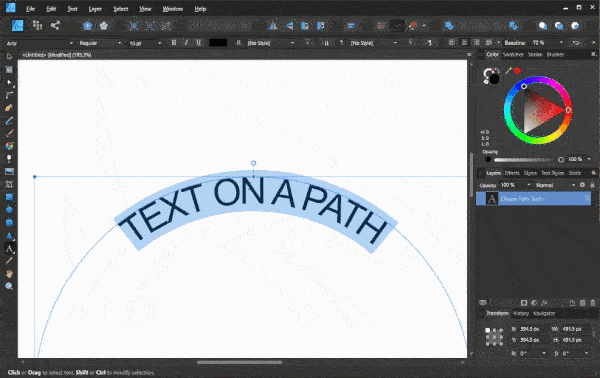
Finalize
Once you’re satisfied with your text, you can finalize it by clicking the Convert to Curves button at the top of the page.
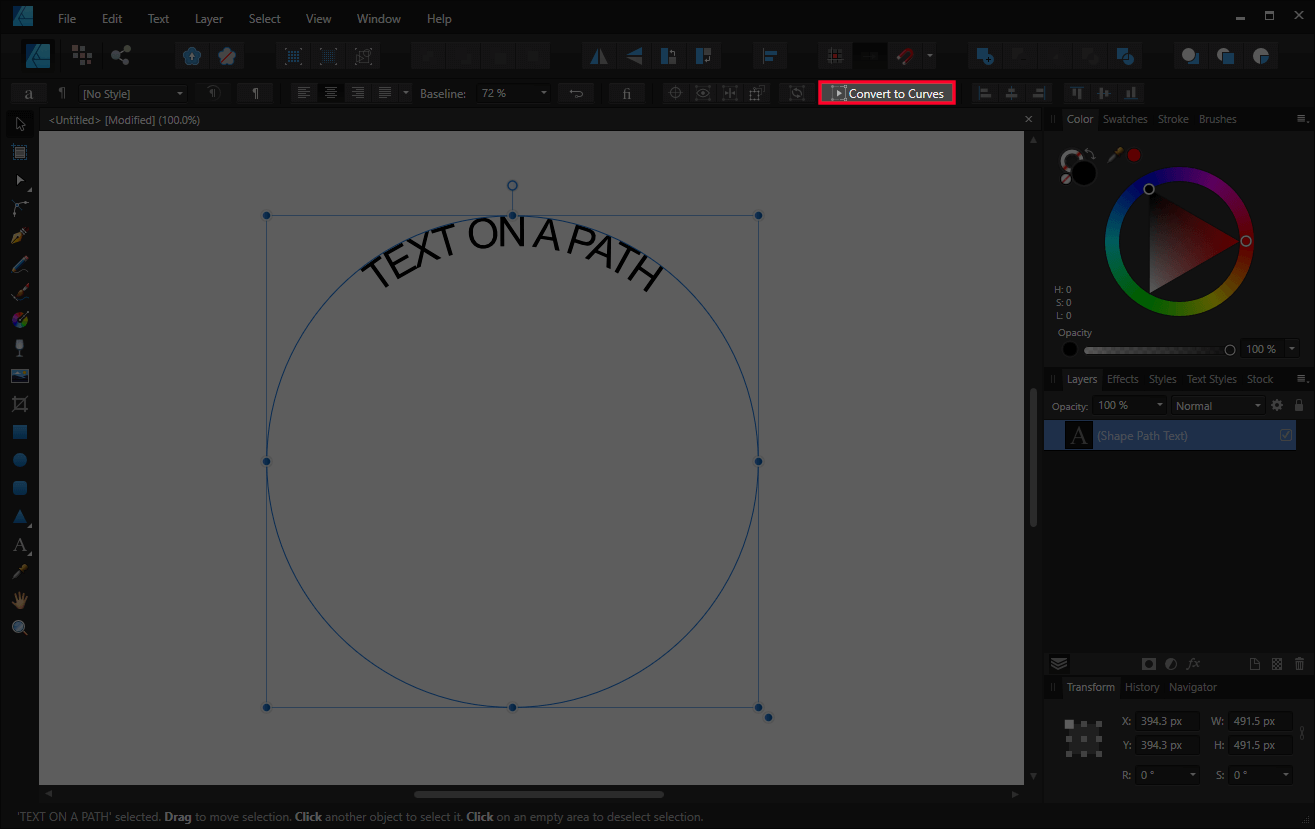
Converting to curves will finalize your text.
This will change the text from a text object to a vector path (or “curve” as they’re sometimes called.) This may be required if you plan editing the vector document with another application at a later point. Unfortunately, retaining the editability of the text cross-platform isn’t currently possible.
Finally, it should be noted that once you convert your text to curves, you can no longer edit it. All changes will be final, so make sure you’re satisfied with the text styling beforehand. Alternatively, you can also save a copy of the design with the text editable and one without.
Conclusion
Knowing how to curve text with Affinity Designer is simply a matter of using the built-in text tool, and then adjusting the handles accordingly. In my experience, it’s much easier to work with text in Affinity Designer than it is in other vector programs, like Inkscape and Adobe Illustrator (although the process for wrapping text around a circle with Illustrator is very similar.)
Once you’ve gotten the hang of placing your text on a path and adjusting it as needed, you’ll find that it complements logo design, emblem design, badges, monograms, icons, etc. quite nicely.
If you have any questions, or if any part of these instructions are unclear, feel free to leave a comment below.
Learn To Master The SoftwareGain a complete understanding of your favorite design apps with my comprehensive collection of video courses. Each course grants access to our private community where you can ask questions and get help when needed.
|
||||||||||||||||||||||||||||||||


You might also like


13 comments
-
-
Nick Saporito
Hi Brenda, the best way would be to make separate text items for both the outside and the inside of the circle and apply them individually.
-
-
Jeremy Felkel
Hello Nick, I was wondering if you might help me place a curve along the bottom of the text, but still have the top be straight? I am also curious about how one might place gradient fill in the text. I am attempting to edit a strong black font and use it with an automotive theme.
-
Nick Saporito
Hi Jeremy, you would need to use a different tool for that. Check out the tutorial I made here: https://youtu.be/oG3ptu7HLgk?si=qWoF3w_UzAtol-zh
-
-
Pete
Hello …I tried the text on a path but then decided no, i don’t want it on the path anymore, so tried to delete just the text by highlighting it & pressing delete!
But now my original line doesn’t react to anything …i can’t change the colour of thickness …any ideas-
Nick Saporito
That’s because once you place the text on the path, the path no long exists as an editable line. It’s just an invisible path for the text to follow. By highlighting the text and deleting it you didn’t actually remove the text object, just the writing.
So what this boils down to is that you’ll have to either undo everything (all the way back to before you placed the text on the path) or re-create the line.
-
-
Indi
Hi! awesome tutorial thankyou,
just wondering if there is a way to make the text on the outside of the circle, but at the bottom, not be upside down?
thanks!-
Nick Saporito
Yes. Place it on the inside of the path and then change the text baseline so that the path is placed towards the top of the text instead of the bottom.
-
-
-
-
Mario Lurig
Seconded! Every time I had a next question, “but now I need…” it was the very next step in your tutorial!
-
-
-
Anonymous
Hi Nick
I’m using Affinity Designer on a 2020 iPad Pro and selecting the Artistic Text tool changes the focus from the object I want to wrap my text around to the toolbar. I don’t seem to be able to Place My Text On The Path. Do you know if this functionality is available in the iPad version of Affinity Designer?
Thanks!
Julie-
Nick Saporito
Hi Julie, I’m not sure what you mean by changing the focus to the toolbar. Could you elaborate on that?
-
Brenda Nicholas
Hi Nick. Can you please tell me how to curve text in a circular way, but keeps wrapping around inside the circle. I want to place a long Bible verse in a circular pattern.
Thanks
Brenda