How To Quickly Make A Pattern In Photoshop
How To Quickly Make A Pattern In Photoshop https://logosbynick.com/wp-content/uploads/2022/02/photoshop-pattern.png 800 470 Nick Saporito https://secure.gravatar.com/avatar/8e31bf392f0ba8850f29a1a2e833cdd020909bfd44613c7e222072c40e031c34?s=96&d=mm&r=gPhotoshop comes packed with tons of stock patterns that you can use as a fill property. There’s also no shortage of pattern designs available for download throughout the internet. What if you want to make your own pattern though? In today’s tutorial we’ll be going over how to make a pattern in Photoshop using your own design or another object of your choosing.
In order to make a pattern in Photoshop we will first have to define our design as a pattern. Then, we’ll be able to use it as a fill property.
More importantly though, we’ll need a design that we can turn into a pattern. And it will need to be designed in such a way that it can be repeated seamlessly and infinitely — all of which we will be covering in this tutorial. Let’s get started!
Make A Pattern In Photoshop
The following video tutorial will walk you through the entire process of creating a colorful polka dot pattern in Photoshop, then using it as a seamless pattern tile:
The following is a brief overview of the steps taken in the tutorial video. Please watch the video for the complete instructions.
Table of ContentsMake A Pattern
Working With Patterns |
Make A Pattern
Let’s first have a look at how to make a pattern in Photoshop, then we’ll go over all of the details of working with your pattern further.
Step 1: Create a new document sized at 600×600
In this tutorial we will be creating our own pattern. To do this, it is recommended that you open a new document and size it at 600 x 600 pixels:
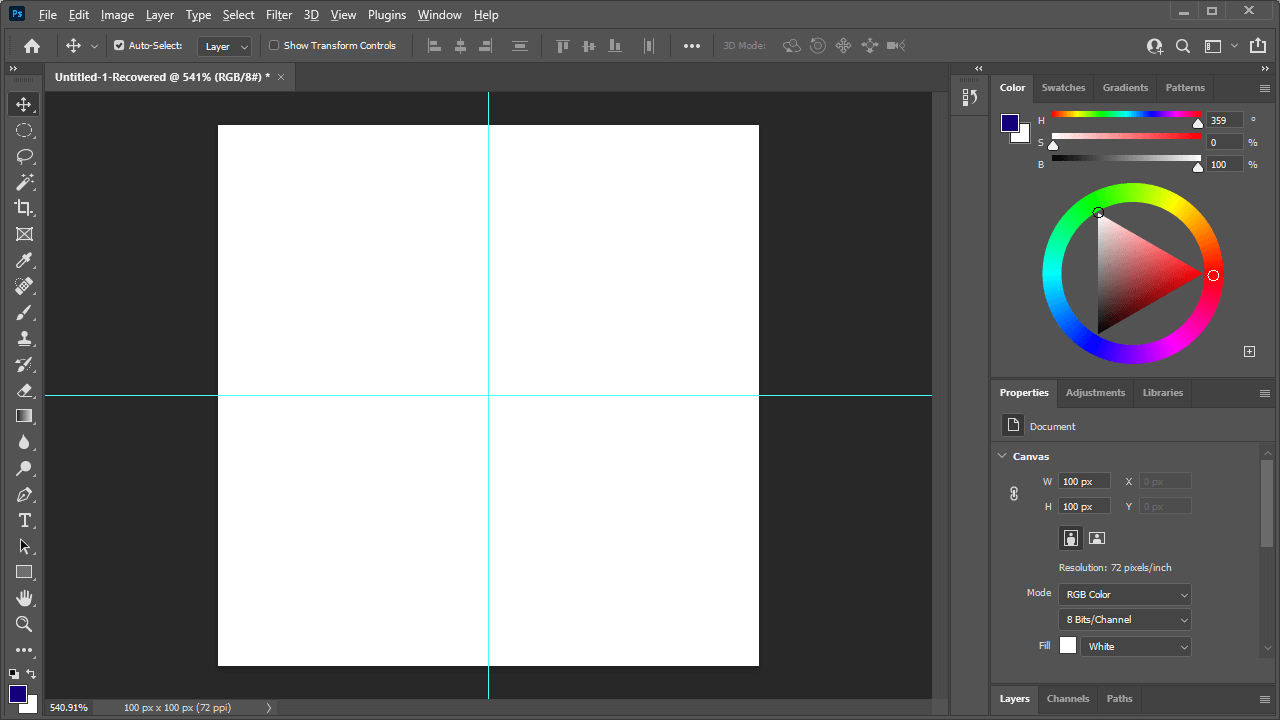
For this lesson we will be applying guides on the vertical and horizontal axis.
We’ll also want to ensure that we have snapping enabled.
Finally, add a vertical and horizontal guide — both at 50% — to your canvas.
If you don’t know how to do any of this then refer to the video tutorial above.
Step 2: Create the pattern design
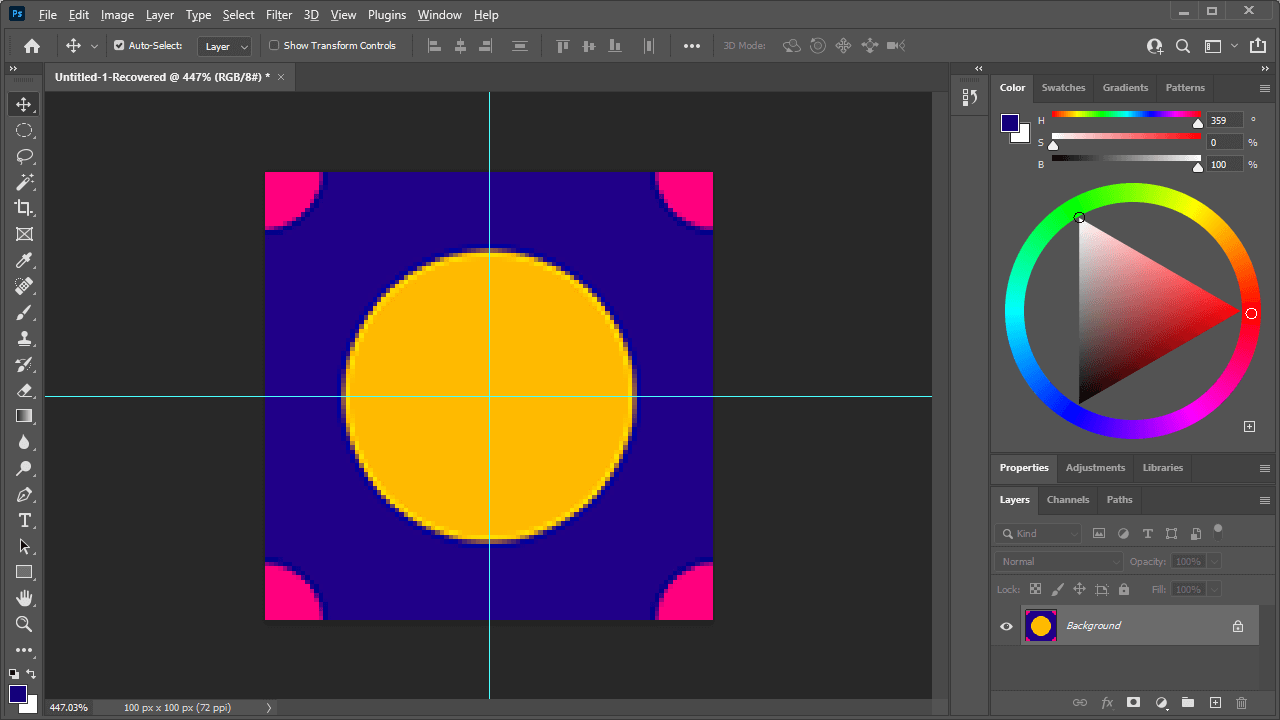
In this part of the tutorial we will be creating the actual pattern design. The design will be a single square pattern tile that can be repeated infinitely, and it will consist of colorful polka dots. To accomplish this, we will need to arrange the elements of the design carefully.
The background of the design is set to purple, and a large yellow circle is placed directly in the center of the page:
Follow the video tutorial to see how to make this polka dot pattern design.
Having snapping enabled and guides on your canvas will allow you to place the circle directly in the center.
Then, four identical quarter circles will be placed at each corner of the document. This makes it so that you can stack copies of this square design above, below, and on the sides of each other and it will create a seamless, repeated pattern design.
Refer to the video tutorial for step-by-step instructions on how to make this design.
Step 3: Flatten the image and select the Define Pattern option
We will need to flatten the entire image in order to make a pattern in Photoshop from this design. Flattening will take all of the individual layers and combine them into one.
The reason why we need to do this is because of how the Define Pattern feature works. When selected, the pattern will be defined either by a selection you have enabled, or by the current active layer if no selection is present.
We want all of the layers to be included in the pattern design, so we must flatten the image. To do so, simply right-click on any layer and select Flatten Image, but only do so once you are finished with the design and are ready to define it as a pattern.
With the image flattened, all we have to do now to make it into a pattern is simply navigate to:
Edit > Define Pattern
You will then be prompted to designate a name for the pattern:
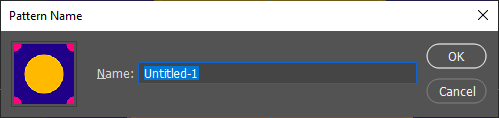
Choose a name for your pattern.
Type in any name you’d like and press OK.
Fun fact: this can also be used to install third-party patterns in Photoshop as well! So, for example, if you have a pattern tile that you’ve downloaded elsewhere, all you have to do to use it as a pattern in Photoshop is paste it as a new image and use the Define Pattern function.
Step 4: Test your new pattern by applying it as a fill property
Now it is time to test out your newly-created pattern!
Whenever you make a pattern in Photoshop, it will be indexed in the Patterns menu:
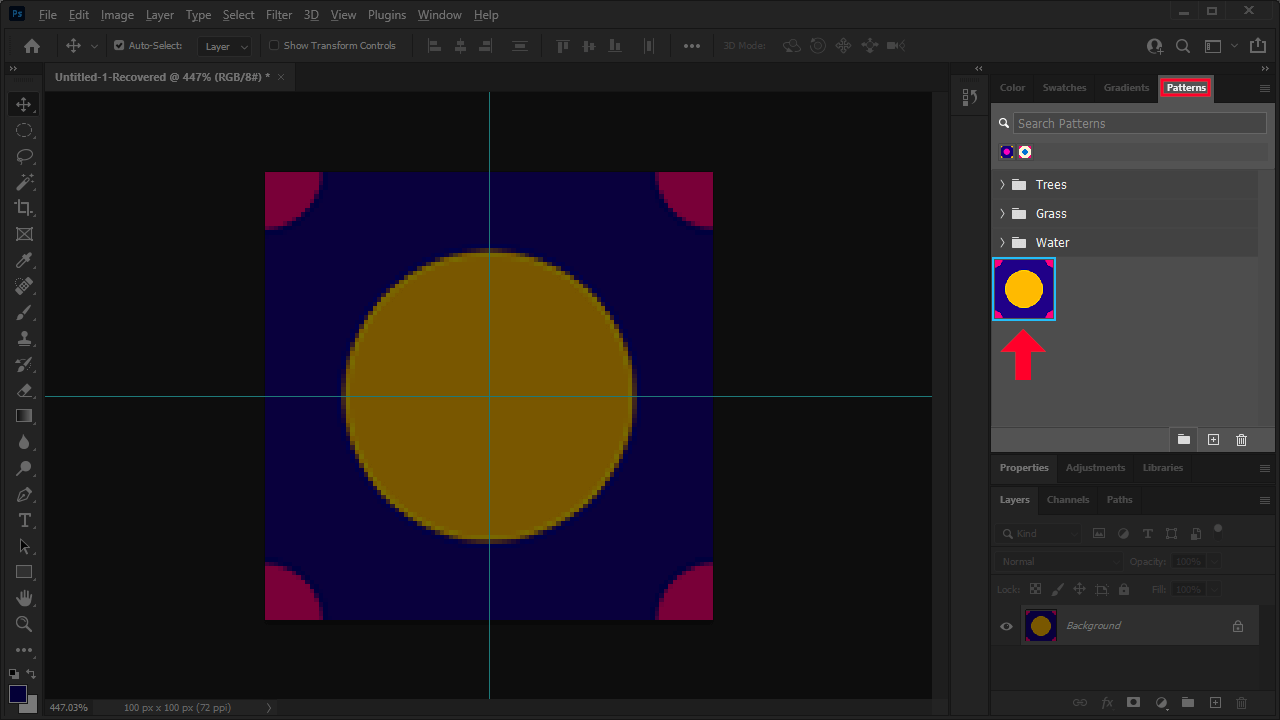
The Patterns menu will have your newly-created pattern ready to use.
All you have to do now to use it is simply click and drag it onto a selection and it will be applied as a fill:
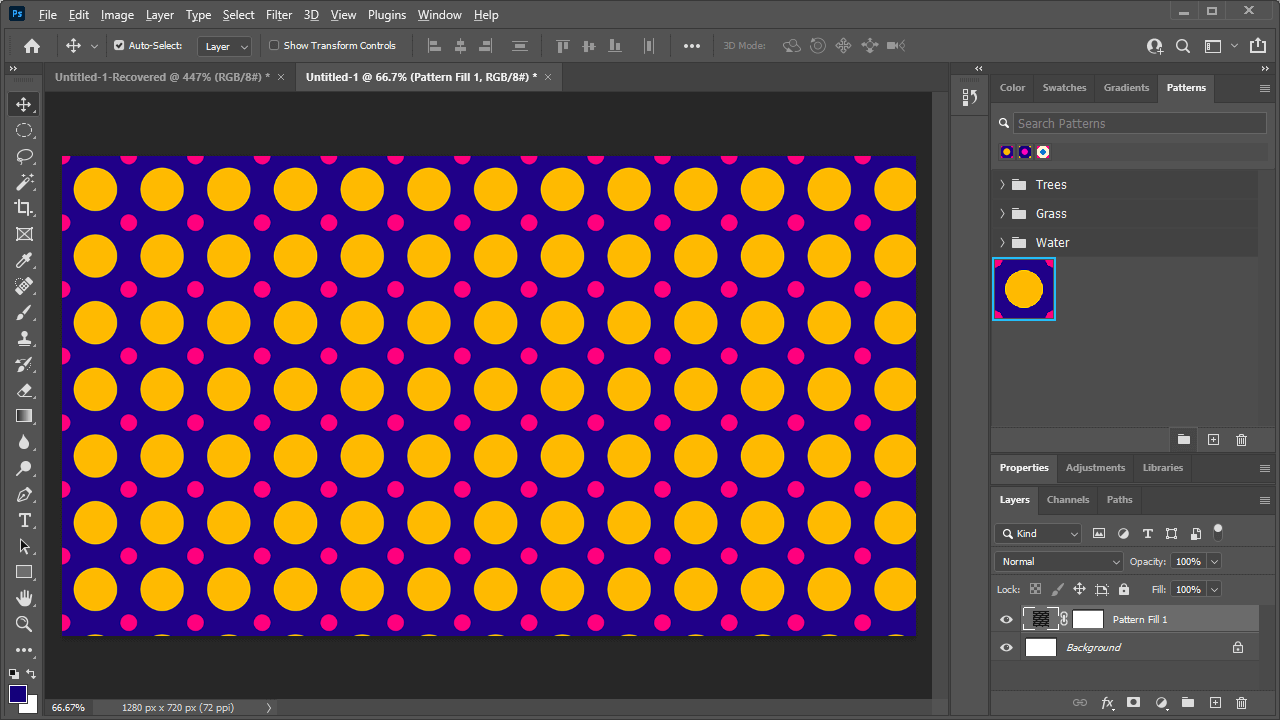
How the pattern looks once used as a fill property.
If you do not currently have a selection enabled then the entire layer will be filled, as is the case in my example above.
Working With Patterns
Now that we’ve gone over how to make a pattern in Photoshop, let’s take a look at some of the ways in which you can manage this pattern (as well as other patterns.)
How To Rename Your Pattern
When making your pattern, maybe you left the default name in haste and now want to change it. No problem!
In order to change the name of your pattern, locate it in the Patterns menu, right-click it, and select Rename. You will then be prompted to choose a new name for your pattern.
How To Delete Your Pattern
Don’t like the pattern you’ve created? Want to get rid of it to declutter your index and make space for nicer patterns? Not a problem either!
To delete a pattern in Photoshop, locate it in the Patterns menu, right-click it, and select Delete.
You will be asked if you are sure you want to delete it, and after confirming it will be gone and out of your life forever.
Create New Pattern Groups
When browsing through the Patterns menu you may notice that all of the stock patterns are organized neatly into folders, or groups.
Whenever you make a pattern in Photoshop though, it is sort of left floating in space. To create a new group/subfolder for your pattern, click the little folder icon in the bottom-left corner of the Patterns menu. You will then be prompted to choose a name for your new group. Name it whatever you’d like.
The group will now be active, and all you have to do to add your pattern to it is simply click and drag it on top of the group folder:
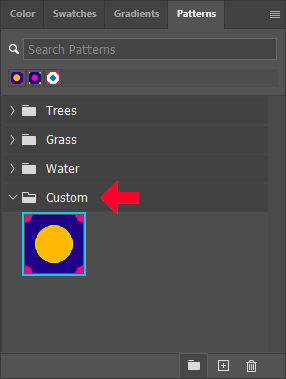
A pattern group named “Custom” was created for this pattern design.
And as is the case with individual patterns, you can rename and delete patterns groups the same way you would for individual patterns.
Conclusion
Don’t let the complexity of the software intimidate you — knowing how to make a pattern in Photoshop is a relatively simple process that can be accomplished in a matter of clicks. As we’ve gone over in this lesson, the challenging part is actually creating the pattern design itself. Once that’s out of the way though, it’s just a matter of a few clicks.
Regardless of whether you’re designing your own patterns or importing a third-party design element to use as a pattern, the workflow we’ve gone over in this lesson should be suitable.
If you have any questions or need clarification on anything we’ve gone over in this lesson, just leave a comment below.
Learn To Master The SoftwareGain a complete understanding of your favorite design apps with my comprehensive collection of video courses. Each course grants access to our private community where you can ask questions and get help when needed.
|
||||||||||||||||||||||||||||||||