How To Crop A Layer In Photoshop | The Non-Destructive Way
How To Crop A Layer In Photoshop | The Non-Destructive Way https://logosbynick.com/wp-content/uploads/2022/06/crop-layer-photoshop.png 800 470 Nick Saporito https://secure.gravatar.com/avatar/8e31bf392f0ba8850f29a1a2e833cdd020909bfd44613c7e222072c40e031c34?s=96&d=mm&r=gIf you’ve ever tried using the Crop Tool in Photoshop then you’ve probably noticed that it works by applying the changes to the entire document, which includes all of its layers. This means that the Crop Tool cannot be used to crop layers. That’s okay though because there’s various workarounds, and in this tutorial we’ll be going over one of the ways to crop a layer in Photoshop. The method we’ll be employing in this lesson will allow you to crop manually or by inputting numerical values. Furthermore, it is non-destructive, meaning you can go back and edit the changes later on if need be.
There’s several workarounds that will allow you to crop a layer in Photoshop, but none are as comprehensive as Clipping Masks— a feature that allows you to use the contents of one layer to dictate the boundaries of another layer. We’ll be executing this by creating a new layer, filling it with black, positioning it beneath the layer you’d like to crop, then applying a clipping mask using that layer. Let’s dig in.
Crop A Layer In Photoshop
The following video tutorial will walk you through the entire process step-by-step, and in less than 2 minutes:
Continue on for the written instructions.
Table of ContentsCropping Layers
Working With Cropped Layers |
Cropping Layers
First let’s go over how to crop individual layers independent of the canvas. Then, we’ll have a look at how you can edit and work with cropped layers.
Step 1: Create a new layer and position it beneath the layer you’d like to crop
The first step in cropping a layer in Photoshop is to create a new layer and add it to the image. This can be done by clicking the little plus (+) icon in the bottom-right corner of the Layers menu, or by navigating to:
Layer > New > Layer
Important: use the Layers menu to click and drag the new layer beneath the layer you’d like to crop.
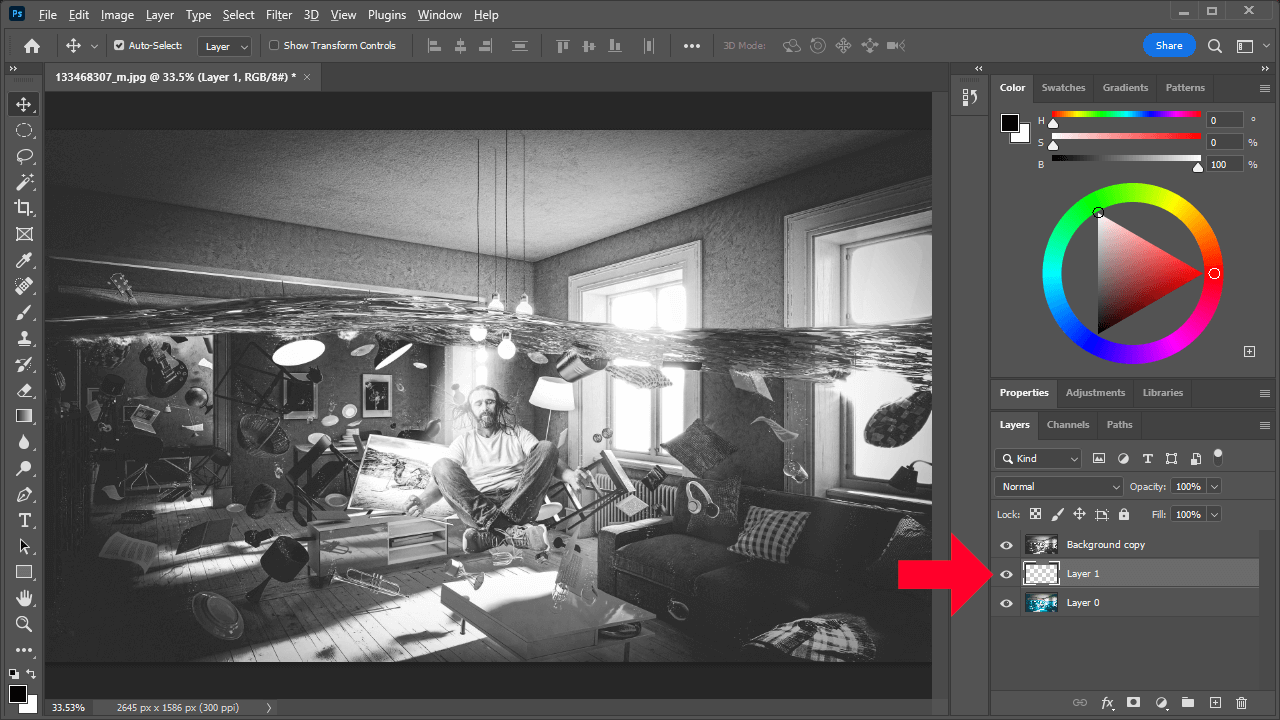
For this demonstration I have an example image with two layers– the original image in full color, then a duplicate copy of the image layer in black and white:
Click to enlarge.
I will be cropping the black and white layer, so I made sure to position the new layer directly beneath it.
Step 2: Fill the new layer with black
With the new layer selected, fill the entire layer with black.
This can be done in a variety of ways, but the simplest would be to navigate to:
Edit > Fill
In the Fill menu, choose “Black” from the Contents dropdown and click OK to apply the changes.
The layer should now be filled with black, although it may not be visible as it is positioned beneath the layer you’d like to crop. It should be noticeable in the layer thumbnail though:

The entire layer should be filled with black, as indicated by the layer’s thumbnail.
Step 3: Create a clipping mask using the layer you’d like to crop
Now it’s time to create a clipping mask using the layer we’d like to crop and the new black layer we’ve just created. To do this, simply right-click on the layer you’d like to crop and select Create Clipping Mask.
Nothing will visibly change on your workspace, but you should notice layer’s thumbnail is now indented and has a downward-pointing arrow next to it:
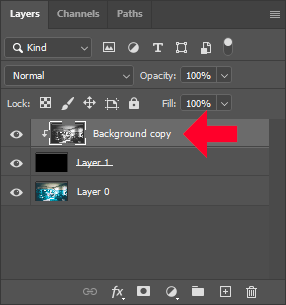
The indented layer thumbnail indicates that a clipping mask has been applied.
Step 4: Select the black-filled layer and use the Free Transform Tool to adjust the crop
All you have to do now to crop your layer is click on the black-filled layer to select it, then open the Free Transform Tool by pressing Control + T on your keyboard.
With the Free Transform Tool enabled, you will now have two ways in which you can crop a layer in Photoshop:
- Manually, by click and dragging, and…
- Numerically, by inputting numerical values using the tool options menu
Let’s have a look at each.
Cropping Manually With Handles
Once you have the Free Transform Tool enabled, you should notice transformation handles at the sides and corners of your layer. Click and drag those handles to crop your layer:
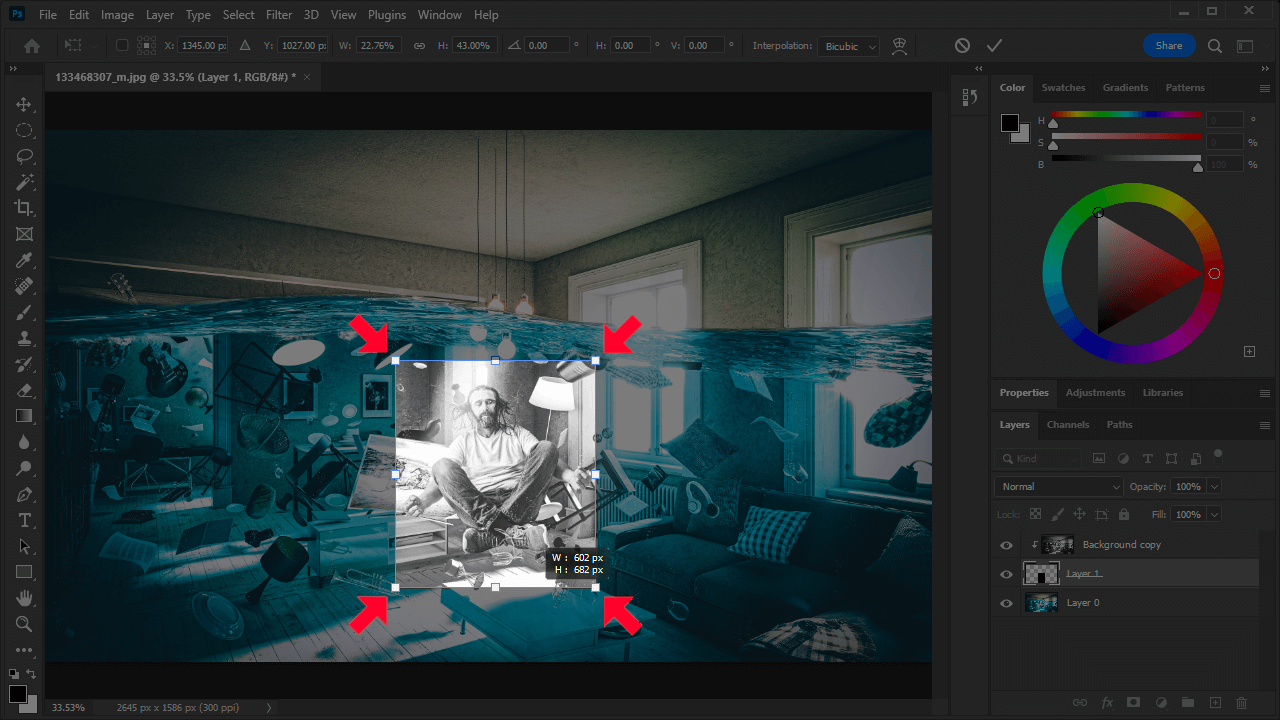
Click and drag the transformation handles to crop your layer.
If your aspect ratio is locked while scaling then simply deselect the little chain link icon between the width and height values in the tool settings menu (top of screen.)
Cropping Numerically With Specific Measurements
Now let’s go over how to crop a layer using numerical values in case you need it to be a specific size.
With the Free Transform Tool enabled, you should see a tools options menu towards the top of the screen:
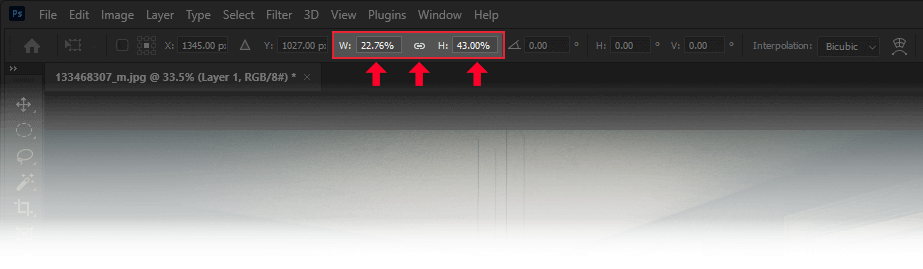
Use the input values in the tool options menu to crop your layer using numerical values.
Within that menu are two values:
- “W” which represents the width, and
- “H” which represents the height
To crop your layer, simply input your desired numerical values and press the Enter key to apply your changes. If you’d like to maintain the aspect ratio then leave the chain link icon between the two input fields enabled. Disable it to distort the proportions.
Note: if you’d like to use different units of measurement when cropping, simply type in their abbreviated letters alongside the numbers:
- For pixels use “px“
- For inches use “in“
- For centimeters use “cm“
- For millimeters use “mm“
Once entered, the layer will be cropped in your specified dimensions, and you can reposition the crop by clicking and dragging it on your canvas.
Working With Cropped Layers
Now that we’ve gone over how to crop a layer in Photoshop, let’s have a look at working with cropped layers further.
Adjust/Edit Your Cropped Layer
Let’s say you’ve cropped your layer, but now you realize you made a mistake and need to adjust the crop.
The magic of using clipping masks to crop layers is that they’re non-destructive, meaning you can go back and adjust and edit your cropped layer at any point.
To do this, simply click on the black layer and activate the Free Transform Tool (Control + T) once again. The transformation handles will reappear, allowing you to adjust the crop of the layer. What’s more, areas of your layer that were previously cropped out will still be there if you need them again!
Finalize Your Changes
Once you’re satisfied with the layer’s crop, you can finalize these changes by right-clicking on the mask layer (which would be the original layer that you cropped and not the black layer,) and selecting Merge Down.
This will merge the clipping mask with the black layer, effectively finalizing your changes. Please note that once this is done, you will not be able to edit the crop properties again unless you undo the merge.
Undo Your Changes
If at any point you’re unhappy with your cropped layer and would like to undo it, you can do so by right-clicking the mask layer and selecting Release Layer Mask. Then, select the black-filled layer in the Layers menu and press Delete to remove it.
Since clipping masks are non-destructive, your layer will return to its previous state, as it was before applying these changes.
Conclusion
As I’m sure you could imagine, this isn’t the only way to crop a layer in Photoshop. There’s other methods as well, but none offer the versatility, control, and non-destructive nature of clipping masks. Let’s hope that in the future Adobe implements some kind of tool setting to the Crop Tool that will allow you to choose between cropping the entire image or just the selected layer, as other applications do.
If you have any questions or need clarification on any of the steps taken in this lesson then leave a comment below!
Learn To Master The SoftwareGain a complete understanding of your favorite design apps with my comprehensive collection of video courses. Each course grants access to our private community where you can ask questions and get help when needed.
|
||||||||||||||||||||||||||||||||