
How To Mirror In Inkscape | Drawing With Symmetry
How To Mirror In Inkscape | Drawing With Symmetry https://logosbynick.com/wp-content/uploads/2022/02/inkscape-mirror.png 800 470 Nick Saporito https://secure.gravatar.com/avatar/8e31bf392f0ba8850f29a1a2e833cdd020909bfd44613c7e222072c40e031c34?s=96&d=mm&r=gIn today’s tutorial we’ll be going over a more obscure feature in Inkscape, which is the ability to draw in “symmetry mode”, where transformations made to one object are mirrored and copied on the other side of the axis. In order to mirror in Inkscape we will need to use a designated path effect.
Upon first impression it may appear that you are unable to mirror in Inkscape as this isn’t a feature or option anywhere to be found in the standard application menus at the top of the screen. There is, however, a Path Effect that was added to Inkscape retroactively that allows you to draw in symmetry mode.
This path effect can be tricky to locate though. What’s more, there appears to be no official documentation on it either! So let’s uncover this mystery once and for all.
How To Mirror In Inkscape
The following video tutorial will walk you through the entire process, step-by-step:
Continue on for the written tutorial.
Table of Contents |
Step 1: Designate an object or group of objects to mirror
In order to mirror in Inkscape we will first need to designate an object (or a group of objects) to mirror. If you’d like to mirror multiple objects then make sure to group them first (refer to the video tutorial if you don’t know how to do this.)
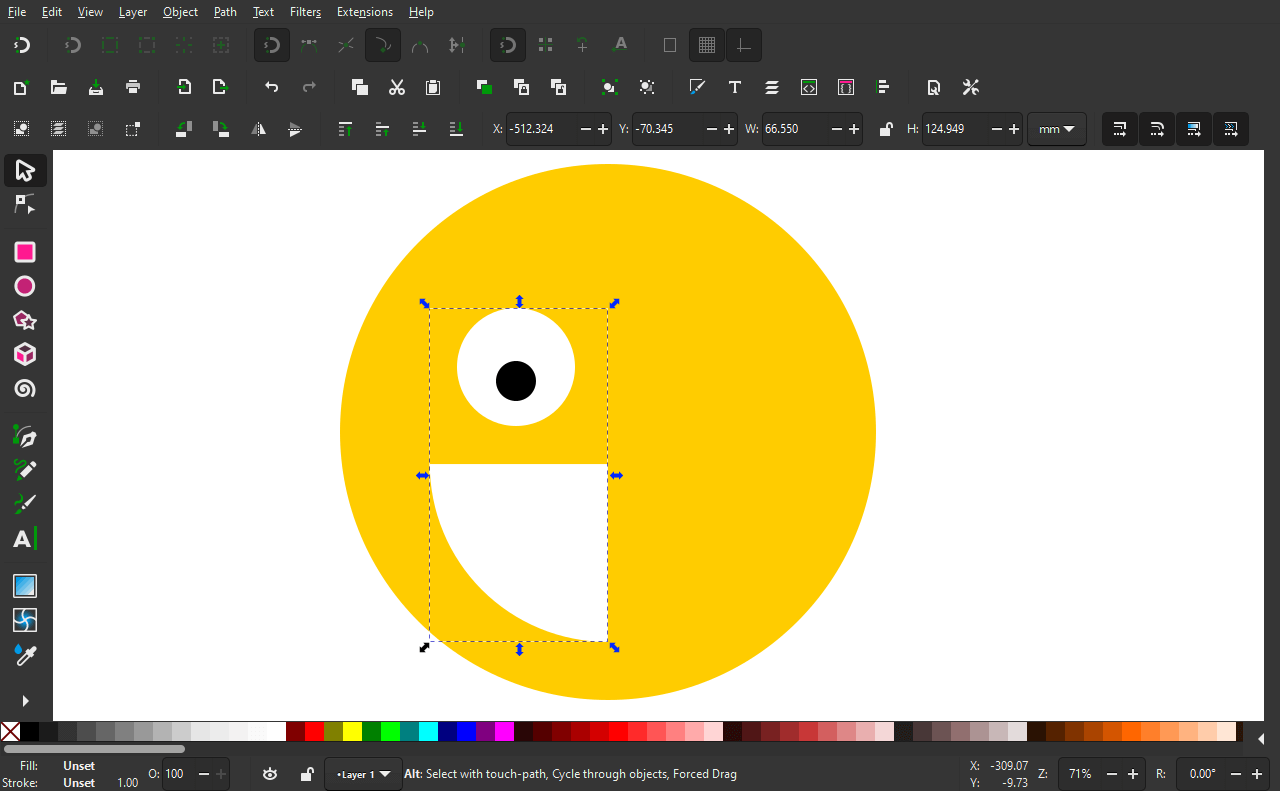
For this demonstration we will be making a simple smiley face, so I made the following objects:
Click to enlarge
The quarter circle on the bottom represents the left half of the mouth. The circles up top represent the left eye. This grouping of objects will be duplicated and mirror across the vertical axis to make a smiley face.
Important: the mirror symmetry setting we’re about to apply only works on objects that are paths, so make sure to convert your object(s) to paths before proceeding.
Step 2: Apply the Mirror Symmetry path effect
Make sure you have your object(s) selected by clicking on them, then open the Path Effects menu by navigating to:
Path > Path Effects
As a shortcut, you can also access this menu via the keyboard shortcut, which is Control + Shift + 7.
The Path Effects menu should now be active on the right-hand side of your screen as a docked menu:

Click the plus (+) icon in the bottom corner of the menu to apply a new path effect. If the button is grayed out then you either do not have your object(s) selected or they are not vector paths.
Once you click the plus icon, you should be prompted with a menu of path effects to choose from:
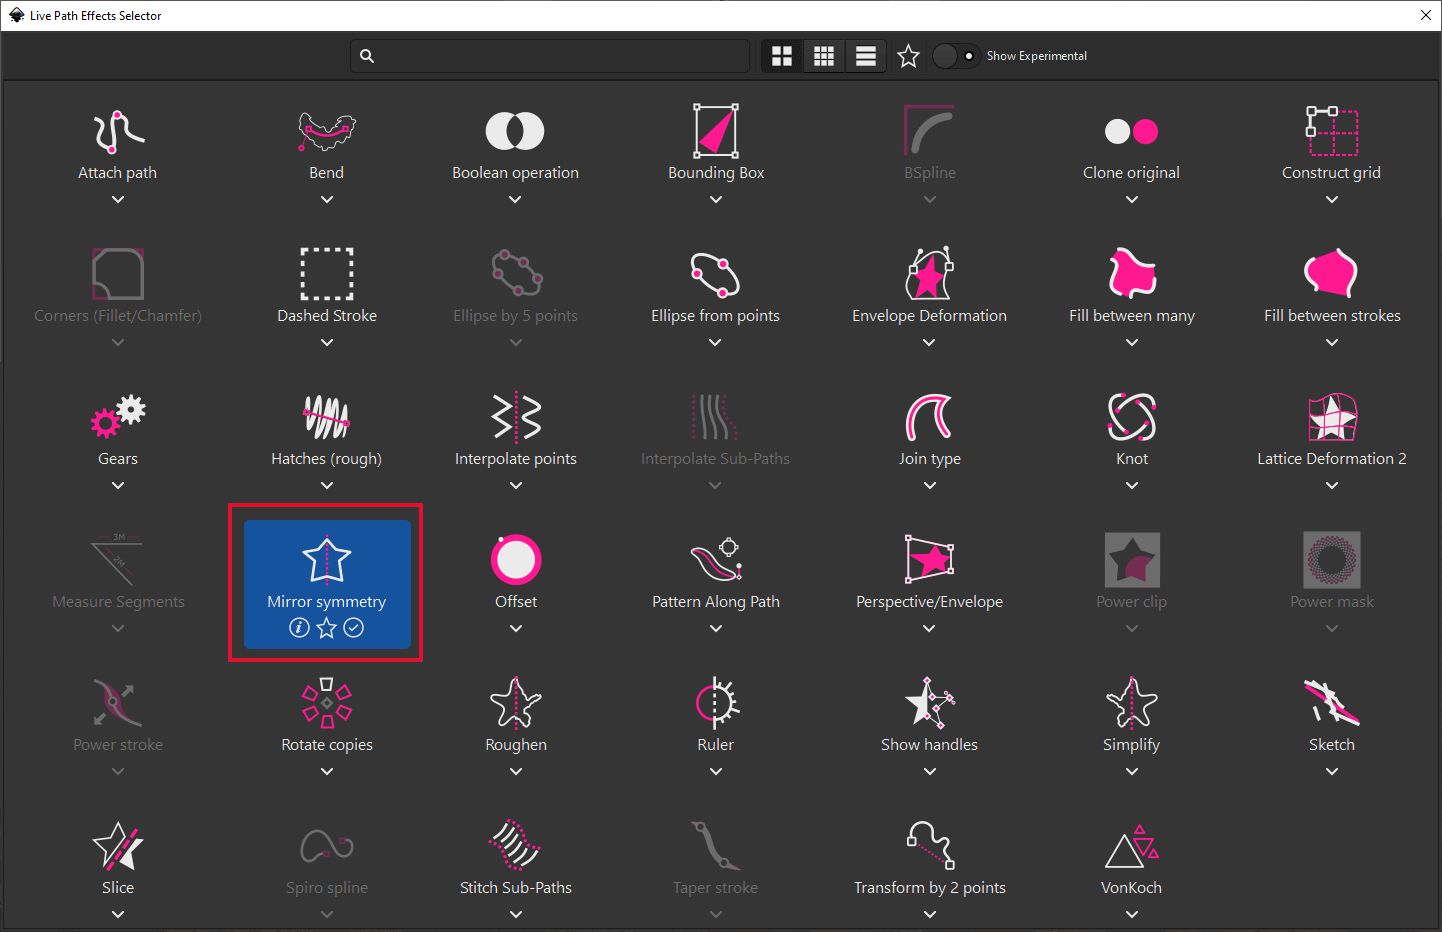
Outlined in red.
Select Mirror Symmetry from the list. If you are having trouble locating it then you can type the name into the search bar at the top of the screen.
Step 3: Adjust the mirror settings according to your preferences
Once you apply the Mirror Symmetry path effect, your selection should be mirrored across the vertical axis:

You can change the axis (either vertical or horizontal) using the Mode dropdown towards the bottom of the path effect settings menu.
If you’d like to change the distance between the mirrored copies, or rotate the mirrored copy, you can do so by activating the Edit Paths By Nodes tool (keyboard shortcut: N). Once activated, handles should populate on the canvas that will allow you to move and rotate the mirror:

Step 4: Transformations made will now be mirrored across the axis
Now that you’ve set up your mirror in Inkscape, you can continue working on your design and any transformations made will be copied to the other side:

If working with multiple objects, as is the case in my example, then you’ll want to use the Edit Paths By Nodes tool to make these transformations.
This can be a little tricky if you aren’t yet familiar with working with nodes, so refer to the video tutorial at the beginning of the post for detailed instructions on what to do.
Conclusion
It doesn’t take much to mirror in Inkscape, but it does require you to navigate through a menu system and apply an effect that was added later on. This suggests that there was never really any way to mirror draw in Inkscape, which is unfortunate. Hopefully in the future this will be made into a more standardized feature.
If you have any questions or need clarification on anything from this lesson then just leave a comment below.
Learn To Master The SoftwareGain a complete understanding of your favorite design apps with my comprehensive collection of video courses. Each course grants access to our private community where you can ask questions and get help when needed.
|
||||||||||||||||||||||||||||||||


You are awesome 🎉..
Hi Nick –
I have Inkscape 1.3.2 and it does have simple mirror menu options on the Object menu. They are Flip Horizontal and Flip Vertical. Might want to update the intro here, I spent a lot of time with the mirror symmetry feature before discovering the simpler approach. Thanks for your tutorials, they are great!
Bill
Hi Bill, those are just for flipping objects, they’re not a proper mirror function. Mirroring is when your actions are duplicated on an opposing axis.
An easier shortcut for flipping so you don’t have to use the Object menu every time: the keyboard shortcuts (“h” or horizontal and “v” for vertical).