
How To Crop An Image To A Shape with Adobe Illustrator
How To Crop An Image To A Shape with Adobe Illustrator https://logosbynick.com/wp-content/uploads/2020/12/crop-an-image-to-a-shape-with-illustrator.png 800 470 Nick Saporito https://secure.gravatar.com/avatar/8e31bf392f0ba8850f29a1a2e833cdd020909bfd44613c7e222072c40e031c34?s=96&d=mm&r=gAlthough Illustrator is a vector graphics editor, it offers plenty of features for working with photos and images as well. Today’s tutorial will be a demonstration of how to crop an image to a shape with Adobe Illustrator. This is done using Clipping Masks. The benefit of using this approach is that it’s non-destructive and it can be easily undone if need be.
Crop An Image To A Shape with Adobe Illustrator
| To crop an image to a shape with Adobe Illustrator, place a shape of your choosing over your image, select both the object and the image at the same time, then use the menu to navigate to Object, then Clipping Mask, and select Make. |
The following steps will walk you through the process of using a shape to crop a photo with Adobe Illustrator. If you’d like a more immersive and easy to follow lesson then it is recommended that you watch the video tutorial below:
Contents
- Step 1: Open your image with Illustrator
- Step 2: Place your shape over the image
- Step 3: Create a clipping mask using the shape
- Step 4: Resize the artboard to fit the cropped image
- Step 5: Save and export your work
Step 1: Open your image with Illustrator
Before we can crop our image, the first thing we have to do is open our image with Illustrator.
To do this, navigate to File > Open and locate your photo on your hard drive.
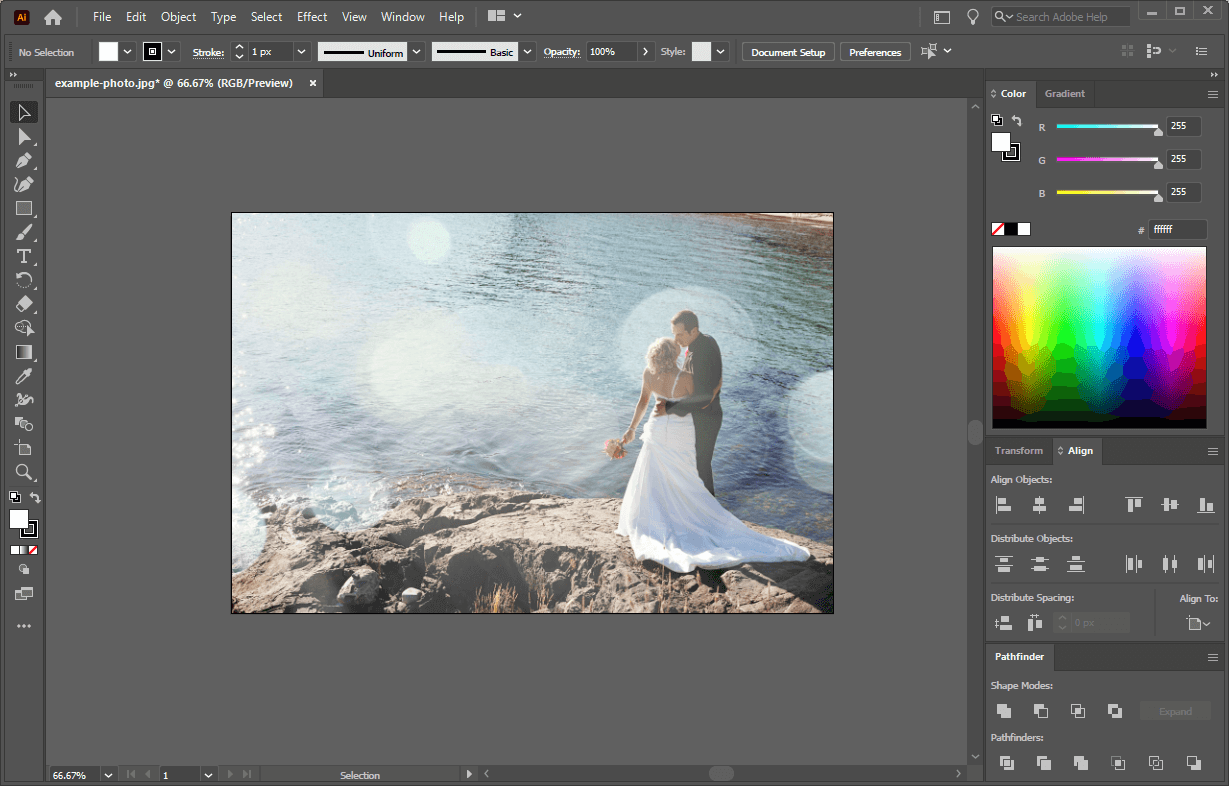
For this tutorial I’ll be using the example photo depicted above.
Do not worry if your photo opens up with added padding (represented as the white space around the image.) We will be adjusted the artboard so that it fits the cropped image later on.
Step 2: Place your shape over the image
Next, generate a shape of your choosing and place it over your image. For the example below I will be using a heart shape, but you can use whatever shape you’d like, whether it be a circle, square, star, or polygon. You can also use the Pen Tool to manually draw your own shape.
Use the Select Tool to scale the object as needed. It is recommended that you also give the shape a fill color that contrasts well with the composition of your photo, and then reduce the opacity of it to 50%. This will make it so that you can easily see where the object lines up in reference to your image.
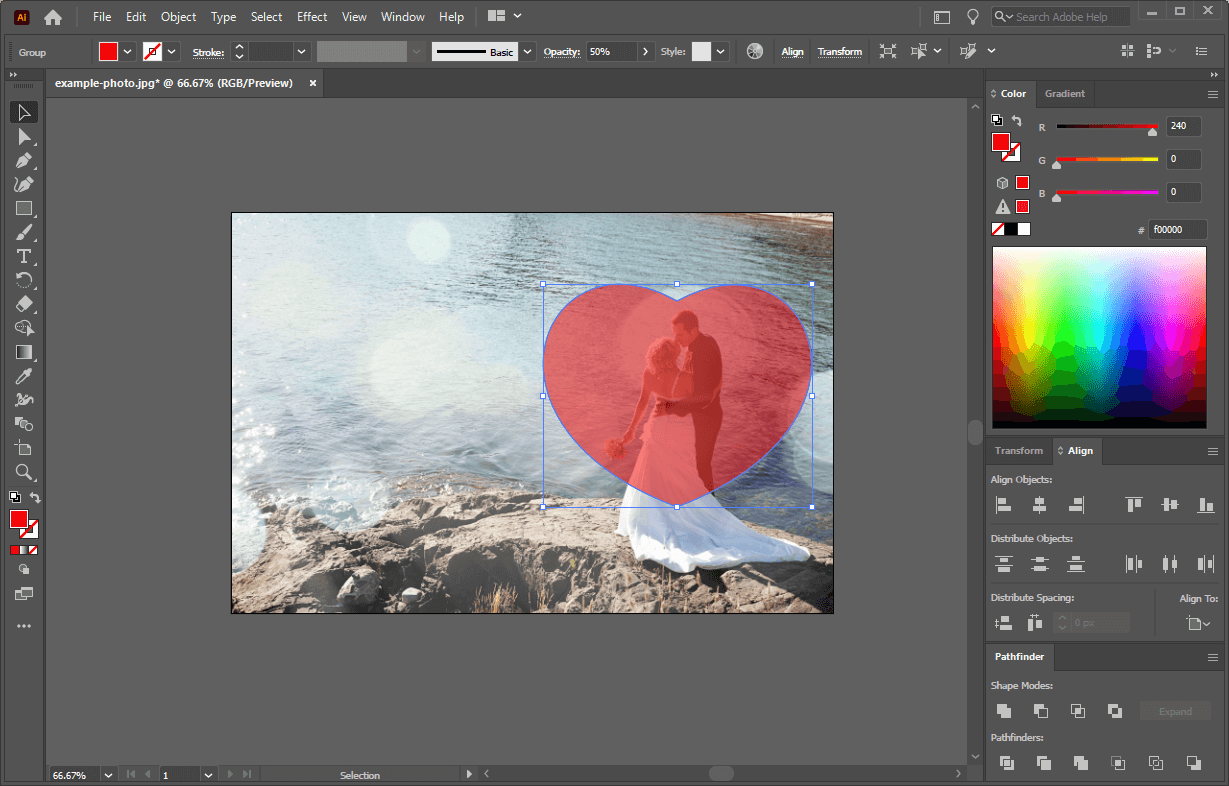
Reducing the opacity allows you to see the inner areas of the image that will be cropped.
Step 3: Create a clipping mask using the shape
Now we will be using a Clipping Mask to crop the image. Clipping masks allow you to take a rasterized image, or a grouping of various objects, and make them fit within the shape of another object. It’s similar to how a cookie cutter allows you to make cookie dough fit the shape of the cutter.
To do this, we must select both the shape and the image at the same time. This can be done by holding Shift and clicking on each, or by clicking and dragging a selection over both objects. When choosing the latter just be sure not to accidentally select other objects as well, otherwise this step will not work.
To crop your image to the shape, all you have to do now is use the menu at the top of the screen to navigate to Object > Clipping Mask > Make. This will cause your image to take the shape of the object placed over it.
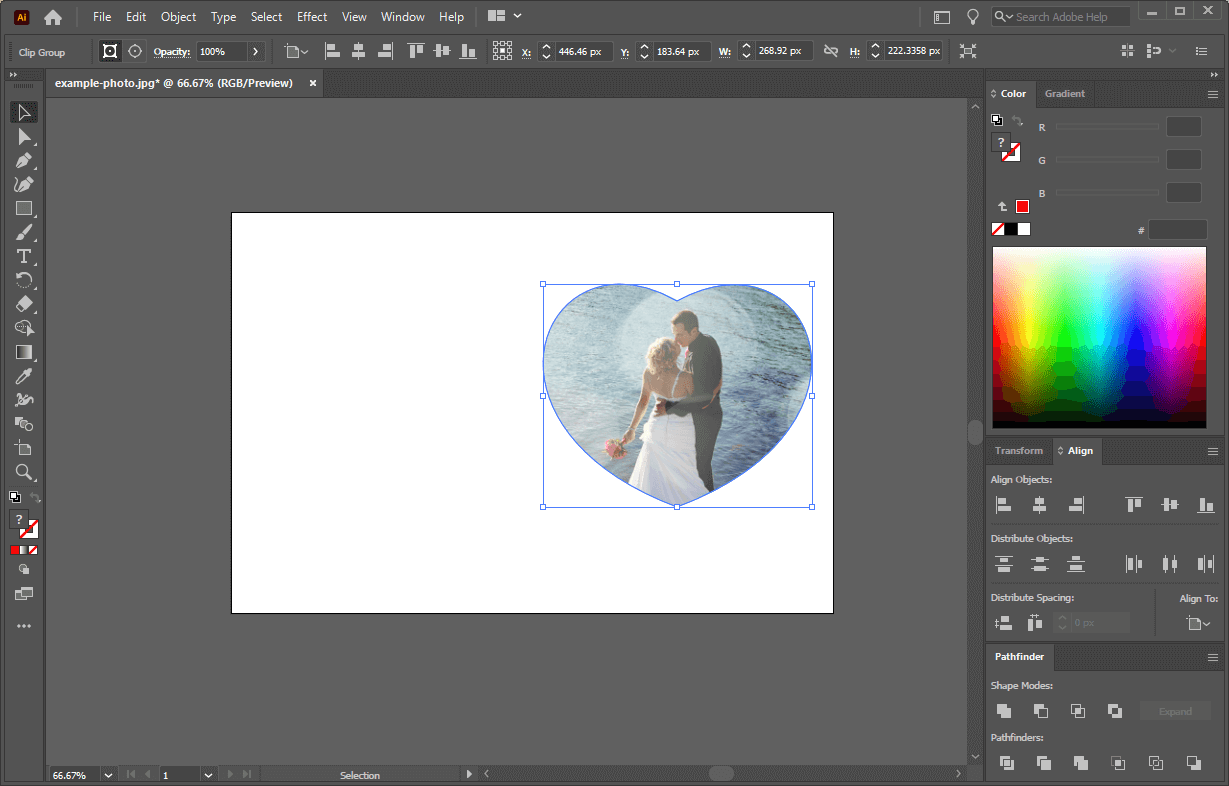
Clipping masks allow you to make an image take the shape of another object of your choosing.
If you’re unhappy with the result, you can undo the clipping mask by pressing Control + Z on your keyboard. Or you can navigate to Object > Clipping Mask > Release, and then adjust your shape and/or image accordingly.
If you’d just like the edit the image inside of the shape, without releasing the clipping mask, navigate to Object > Clipping Mask > Edit Contents. This will allow you to transform the image independent of the shape and the mask.
Step 4: Resize the artboard to fit the cropped image
Now that you have used a clipping mask to crop an image to a shape with Adobe Illustrator, we must resize the canvas (otherwise known as the artboard) so that it fits the newly-cropped image. What we will actually be doing is removing the original artboard and creating a new artboard around the newly-cropped image.
To do this, grab the Artboard Tool (keyboard shortcut: Shift + O) and click on the image. This will place a new artboard around the image.
The Artboard Tool allows us to create a new artboard around the newly-cropped shape.
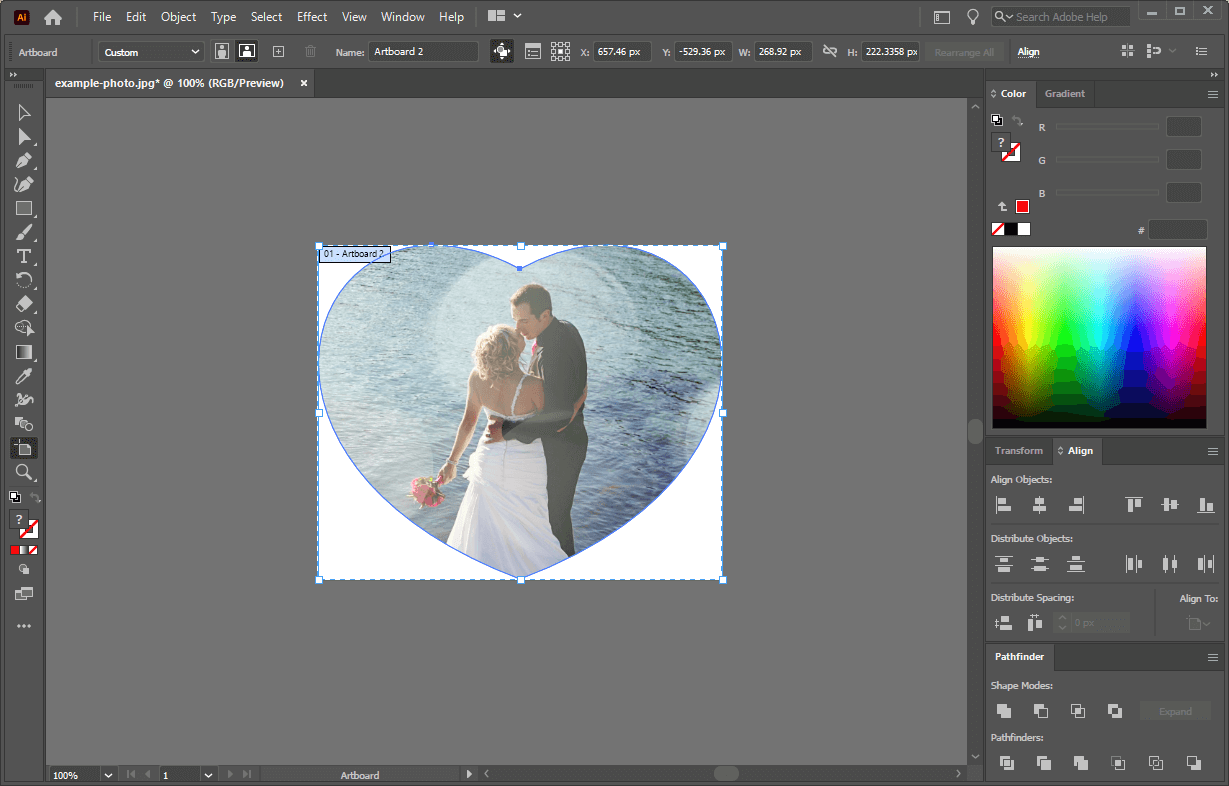
It would be a good idea to move the image off of the original artboard first so that you can differentiate the two.
With the Artboard Tool still enabled, click on the original artboard and press Delete on your keyboard to get rid of it.
Step 5: Save and export your work
Now that we have finished cropping our image, is time to save our work so that we can edit it later if need be, and then export it in a usable format.
Navigate to File > Save As and select a location to save your document. Make sure to save it in its native Adobe Illustrator format (.ai is the file extension.) This will be the editable source file that you can go back to and edit any time you’d like.
Once you have an editable source file saved, we can now export the cropped image as a PNG file. This will give us a usable image file with a transparent background.
To export the image, navigate to File > Export > Export As and choose a location on your hard drive to save it to. Make sure to choose the .png file extension from the file format menu. If you use another format (like JPEG) then you won’t be able to retain the transparent background.

How the image looks once cropped to its respective shape.
And with that, we are finished! That is how you can easily crop an image to a shape with Adobe Illustrator.
Conclusion
Do not let the vector nature of Adobe Illustrator fool you: it comes packed with plenty of tools and features that allow you to edit rasterized photos. It is true that this sort of thing may be better suited for a photo editing application, like Photoshop, but that doesn’t mean that Illustrator isn’t perfectly capable of basic photo editing tasks if that’s the software you’re more comfortable using.
If you have any questions or need clarification about any of the steps outlined in this lesson, simply leave a comment below. Thanks for stopping by!
Learn To Master The SoftwareGain a complete understanding of your favorite design apps with my comprehensive collection of video courses. Each course grants access to our private community where you can ask questions and get help when needed.
|
||||||||||||||||||||||||||||||||


Hi. My question is how did you get the heart shape??
I have a tutorial for that here: https://logosbynick.com/make-a-heart-in-illustrator/