
Designing Stickers In Illustrator | Step By Step Tutorial
Designing Stickers In Illustrator | Step By Step Tutorial https://logosbynick.com/wp-content/uploads/2021/08/design-stickers-in-illustrator.png 800 470 Nick Saporito https://secure.gravatar.com/avatar/8e31bf392f0ba8850f29a1a2e833cdd020909bfd44613c7e222072c40e031c34?s=96&d=mm&r=gOne of the many things you can do with Adobe Illustrator is create sticker designs from logos and various other vector objects. Doing so is merely an exercise in offsetting and drop shadows — both of which we’ve gone over in the past. In this tutorial we’ll be going over all of the steps for designing stickers in Illustrator so that you can put this knowledge to use.
In short, designing stickers in Illustrator is simply a matter of duplicating your logo/subject, converting it to a compound path, applying an offset to represent the white padding around the sticker, and then applying a drop shadow to that offset.
Once the sticker design is finished, you can group it together and stack duplicate copies onto each other as I’ve done for the header of this post.
Designing Stickers In Illustrator
The following video tutorial will walk you through the entire process of turning vector objects into sticker designs with Adobe Illustrator:
Continue on for the step-by-step instructions.
Table of Contents |
Step 1: Make sure that your logo/subject is grouped together
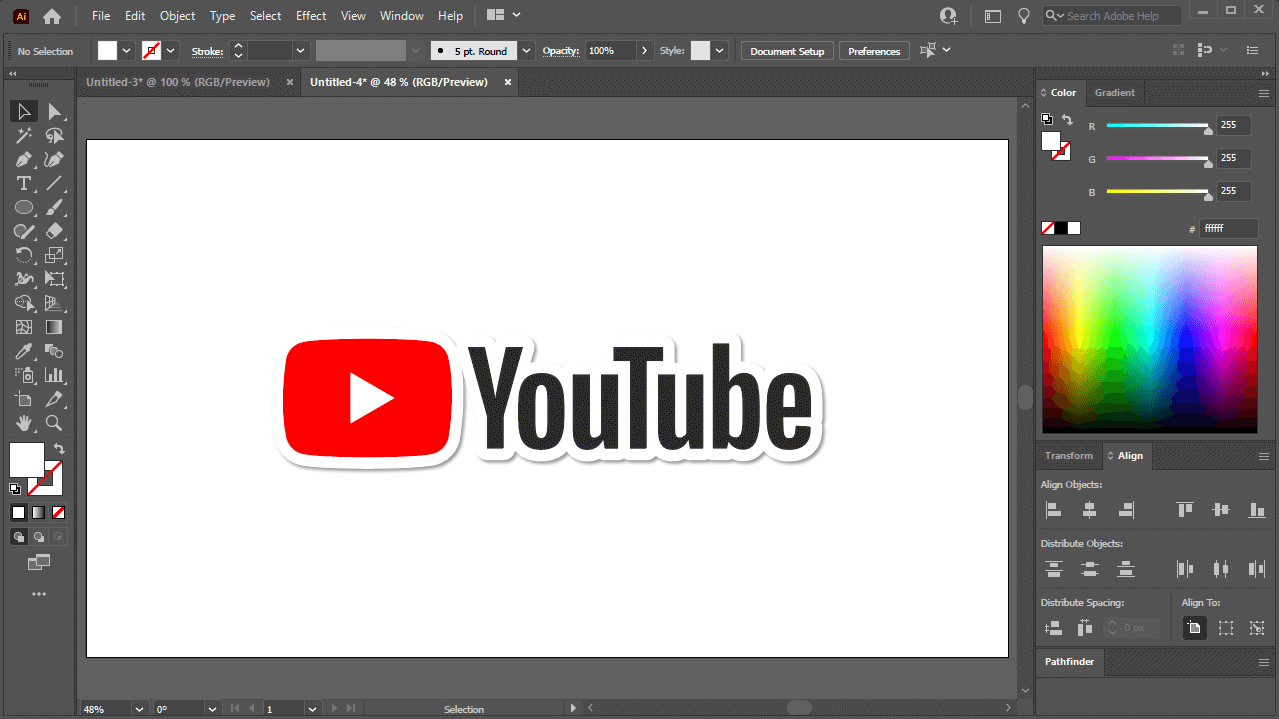
For this demonstration I will be using the YouTube logo as an example:
Your logo must consist of vector objects, otherwise this tutorial will not work.
This is a vector logo in SVG format, that I download off the internet. You can obviously use any logo you’d like, but it must be in vector format, otherwise this tutorial will not work.
By the way, you don’t necessarily have to use a logo, you can make stickers out of any grouping of vector objects.
Once you have your subject in place, make sure it’s grouped together by selecting everything and navigating to:
Object > Group
It’s important that your objects be grouped together, otherwise you won’t be able to follow along with the next steps.
Step 2: Create a duplicate of your logo and convert it to a compound path
Now we are going to make a duplicate copy of the logo.
To do this, click and drag it and then hold Alt on your keyboard. Holding Alt will allow you to make the selected item into a duplicate.
Once you’ve made your duplicate copy, click on the original copy of the logo to select it and make it into a compound path by navigating to:
Object > Compound Path > Make
Alternatively, you can also do this by pressing Control + 8 on your keyboard.
Once made into a compound path, you duplicate logo should look something like this:
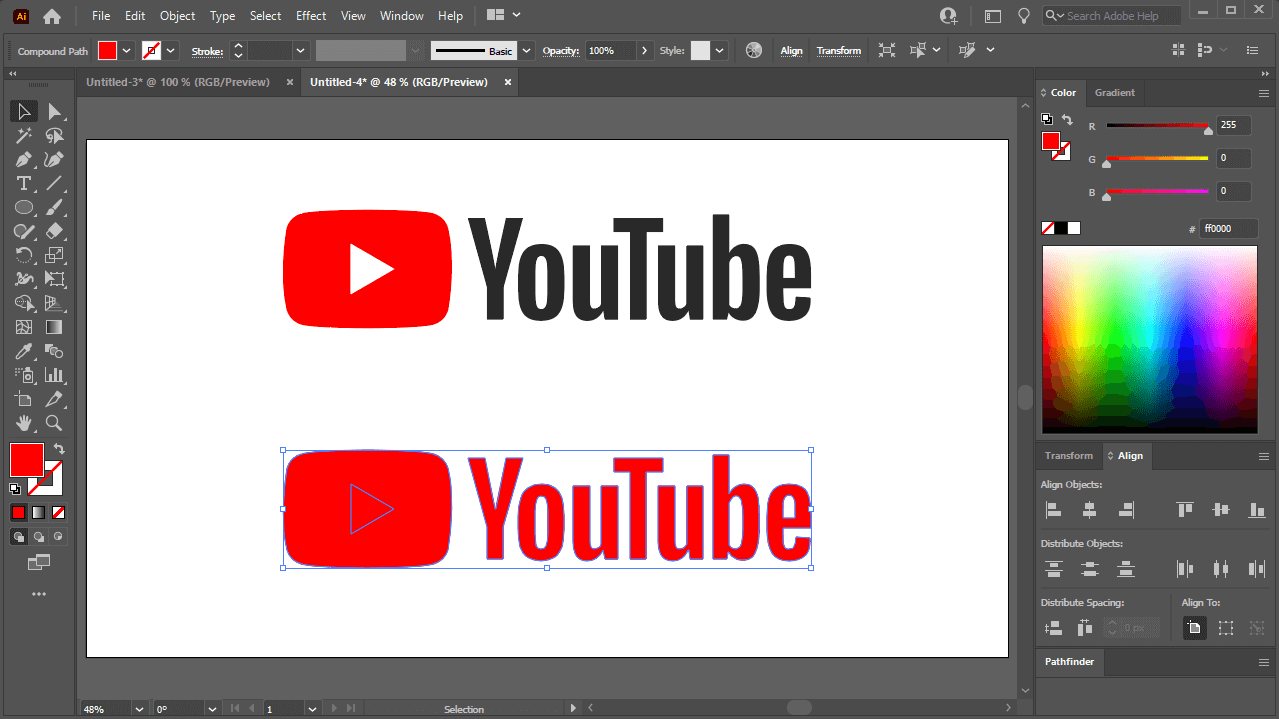
Make a duplicate copy of the logo and make it into a compound path.
If you are unable to make your logo into a compound path then that means one or more of the objects in your group isn’t a vector/path. Your objects must all be paths in order for this to work.
Step 3: Apply a white offset to the compound path
When designing stickers in Illustrator you’ll want to add some white padding around the logo design in order to make it look like an actual sticker. To do this, we’ll be using offsets.
Select the compound path you created in the previous step and navigate to:
Object > Path > Offset Path
The following menu will populate:
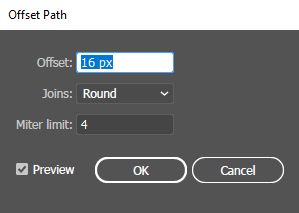
The Offset Path menu.
Use the Offset field to increase and decrease the thickness of your offset.
For the Joins field you will have three options to choose from:
- Miter: Selecting this will make the corners of your offset square.
- Round: This option will make the corners of your offset rounded
- Bevel: Selecting this option will make the corners of your offset have a cutoff appearance
For my demonstration I used the round option. Select the style you prefer for your sticker design and press OK to apply the changes.
At this point your design should look something like this:
How the offset looks once applied to the compound path.
Center align the original logo with the offset on the both the vertical and horizontal axis (refer to the video tutorial if you don’t know how to do this,) and make it white so that it looks like a sticker.
It is recommended that you move the design off of the artboard at this point so you can actually see the white offset:
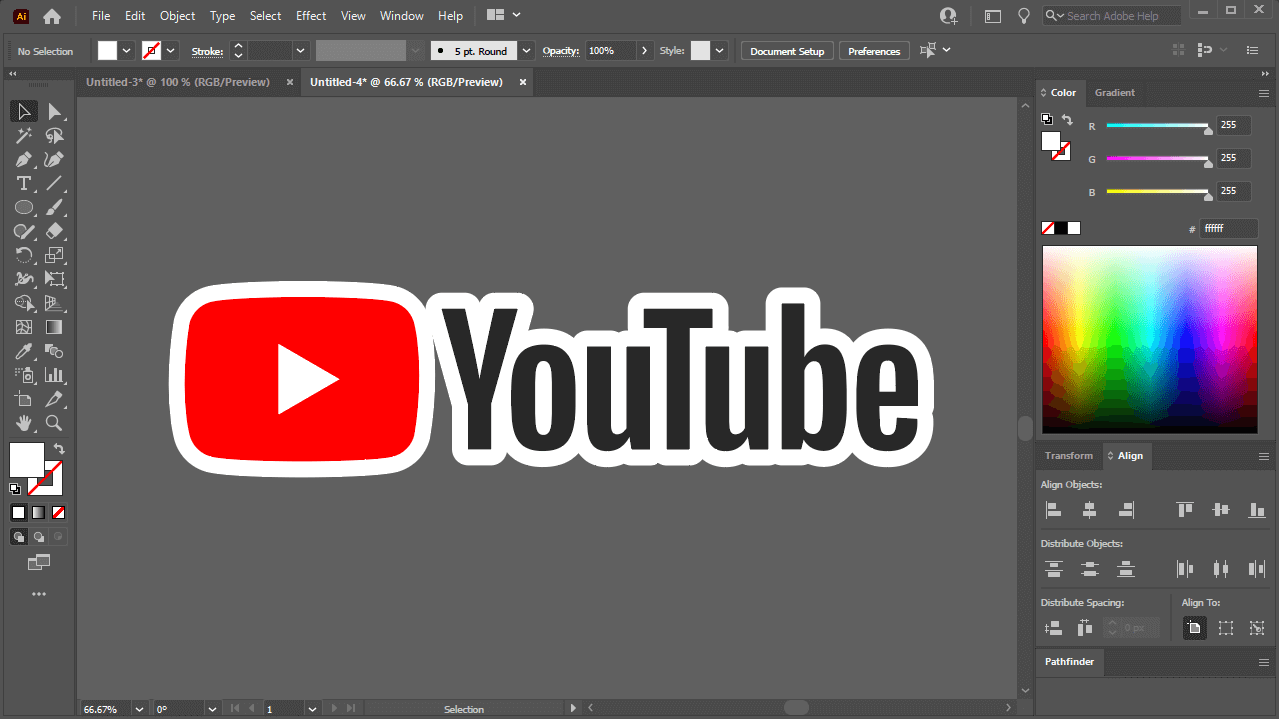
At this point the logo is beginning to look like a sticker.
Step 4: Apply a drop shadow to the offset
The finishing touch when designing stickers in Illustrator is to apply a drop shadow so that the sticker has some depth and photorealistic appeal.
To do this, select only the offset (not the logo) and navigate to:
Effect > Stylize > Drop Shadow
The following menu will populate:
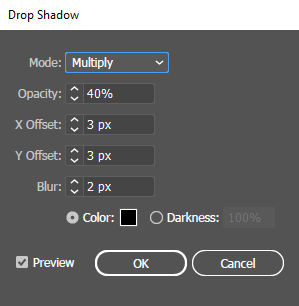
Set your input values to match those in the screenshot above.
As depicted in the screenshot above, set the presets as follows:
- Mode: Multiply
- Opacity: 40%
- X Offset: 3 px
- Y Offset: 3 px
- Blur: 2 px
- Color: Black
Once set, press OK to apply these changes. Your sticker should now look something like this:
Once the drop shadow is applied you can place the design back on the artboard.
Select all of the objects and group them together by pressing Control + G on your keyboard. You will now have a sticker design that can be used however you’d like.
Step 5: Create duplicate copies of your sticker
In the final step of our sticker design tutorial we will be creating duplicate copies of the sticker design and stacking them on top of each other, as presented in the header at the top of the post.
This will really drive home the effect and give it a realistic look and feel.
To create a duplicate copy of the sticker design, simply click and drag on it with the Select Tool and hold Alt on your keyboard while doing so.
Repeat this process several times, until you have a nice little stack of stickers:
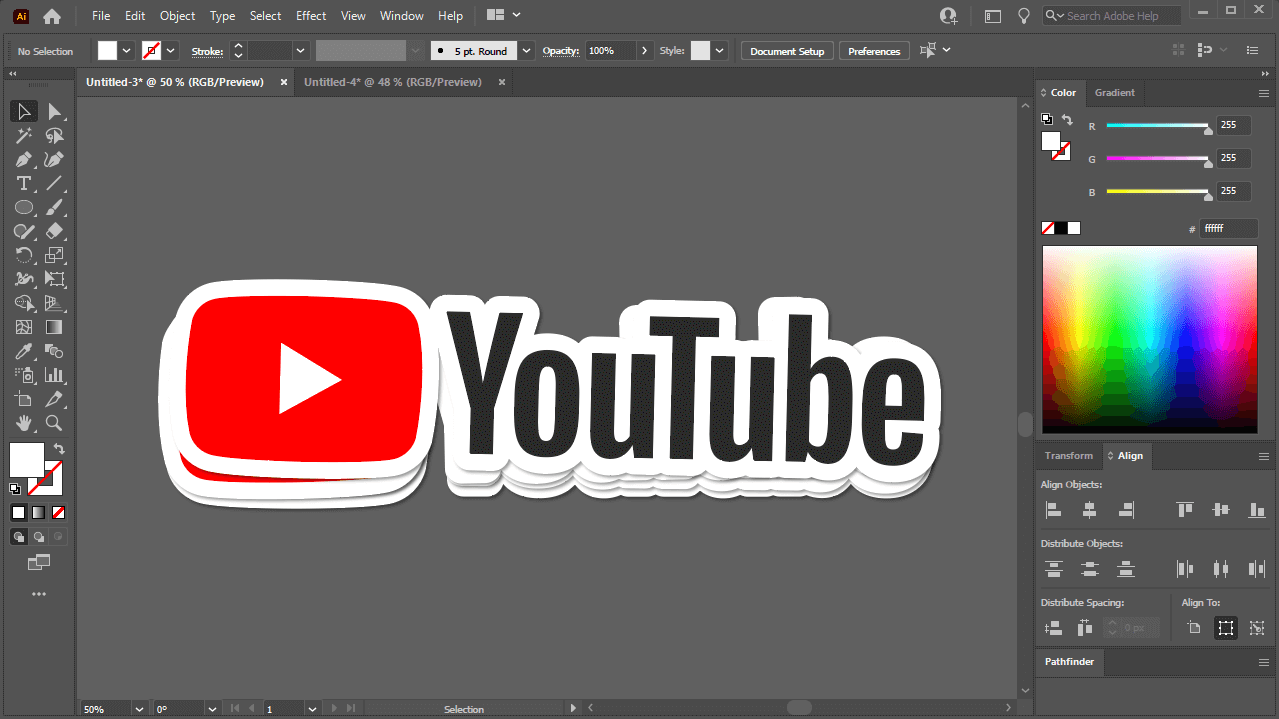
How the stack of stickers looks once finished.
You can even rotate them slightly to give them a natural realistic look.
Conclusion
Designing stickers in Illustrator is something that can be done within minutes if you already know how to use the two primary tools used. Thanks to Illustrator’s ability to offset paths and apply drop shadows, creating sticker designs couldn’t possibly be easier.
If you have any questions or need clarification on any of the steps taken in this lesson simply leave a comment below.
Learn To Master The SoftwareGain a complete understanding of your favorite design apps with my comprehensive collection of video courses. Each course grants access to our private community where you can ask questions and get help when needed.
|
||||||||||||||||||||||||||||||||


Leave a Reply