How To Crop An Image To A Shape with Affinity Designer
How To Crop An Image To A Shape with Affinity Designer https://logosbynick.com/wp-content/uploads/2021/05/crop-image-to-shape-affinity-designer-1.png 800 470 Nick Saporito https://secure.gravatar.com/avatar/8e31bf392f0ba8850f29a1a2e833cdd020909bfd44613c7e222072c40e031c34?s=96&d=mm&r=gToday we’ll be going over yet another way in which Affinity Designer lets you edit photos and raster imagery. As you may already know, Designer’s primary utility is working with vector graphics. However, it has more image editing abilities than any other vector software, making it a versatile tool. In this tutorial we’ll be going over how to crop an image to a shape with Affinity Designer.
This is a lesson that combines several lessons that we’ve done in the past. In order to crop our image to our chosen shape, we’ll be using the shape as a clipping path. Then, we’ll be resizing the document, as we did in last week’s tutorial on resizing images.
Crop An Image To A Shape with Affinity Designer
| To crop an image to a shape with Affinity Designer, move the image layer into your shape’s layer so that it makes a clipping path. Then, use the Artboard Tool to resize your document according to the cropped shape. |
The following video tutorial will walk you through the process of using a shape to crop your images:
Continue on for the written instructions.
Table of Contents |
Step 1: Open your image
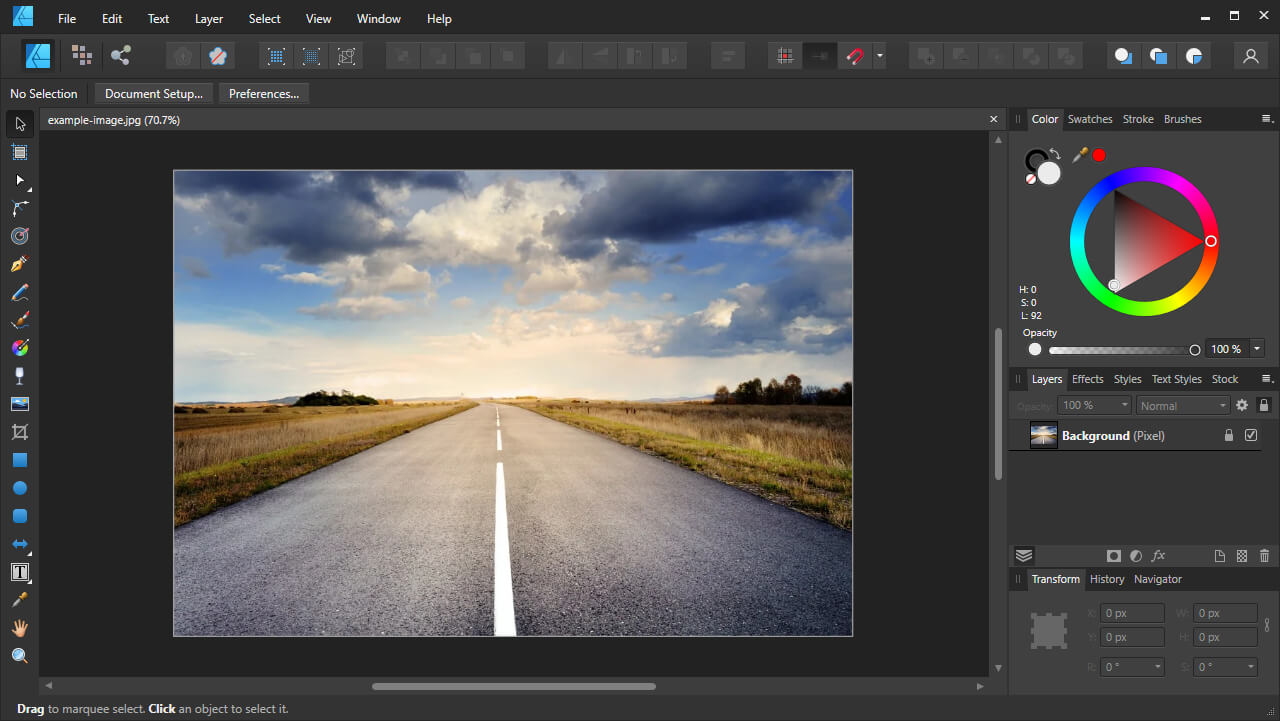
The first step in this lesson is to open your image with Affinity Designer.
Navigate to File > Open and locate your image on your hard drive.
For this demonstration I will be using the following example image:
Click to enlarge
Alternatively, you can simply copy and paste your image onto a new canvas if you’d like. You don’t necessarily need to use the “Open” function.
Step 2: Place your shape over the image
Now we are going to generate the shape that we’ll be using to crop our image. This can be done by manually drawing a shape of your own, or by using the Shapes Tool to generate a shape of your liking.
For this demonstration, I will be cropping my example image to the following arrow shape:
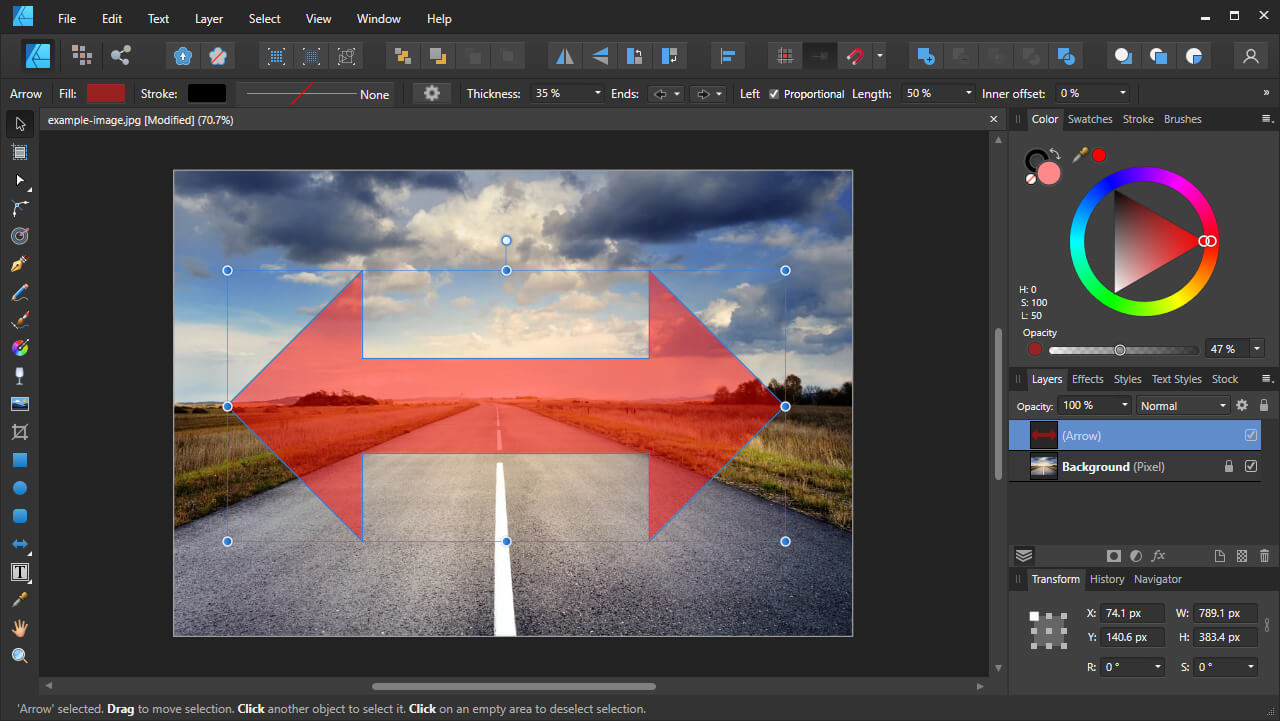
The red color of the shape contrasts well enough with the image that I have no problem distinguishing the two.
It’s important that you place your shape directly over the area of the image that you’d like to crop.
To help visualize this better, it is recommended that you bring down the opacity of your shape so that you can see through it enough to know where the image lines up with it. It is also advised that you use a color that contrasts well with your image so you can see the shape better.
Step 3: Create a clipping path using the image and the shape
In order to crop an image to a shape with Affinity Designer, we’ll need to use the shape as a clipping path.
To do this, simply click and drag the image layer on top of the shape layer. You should see your image fill the shape in real time:
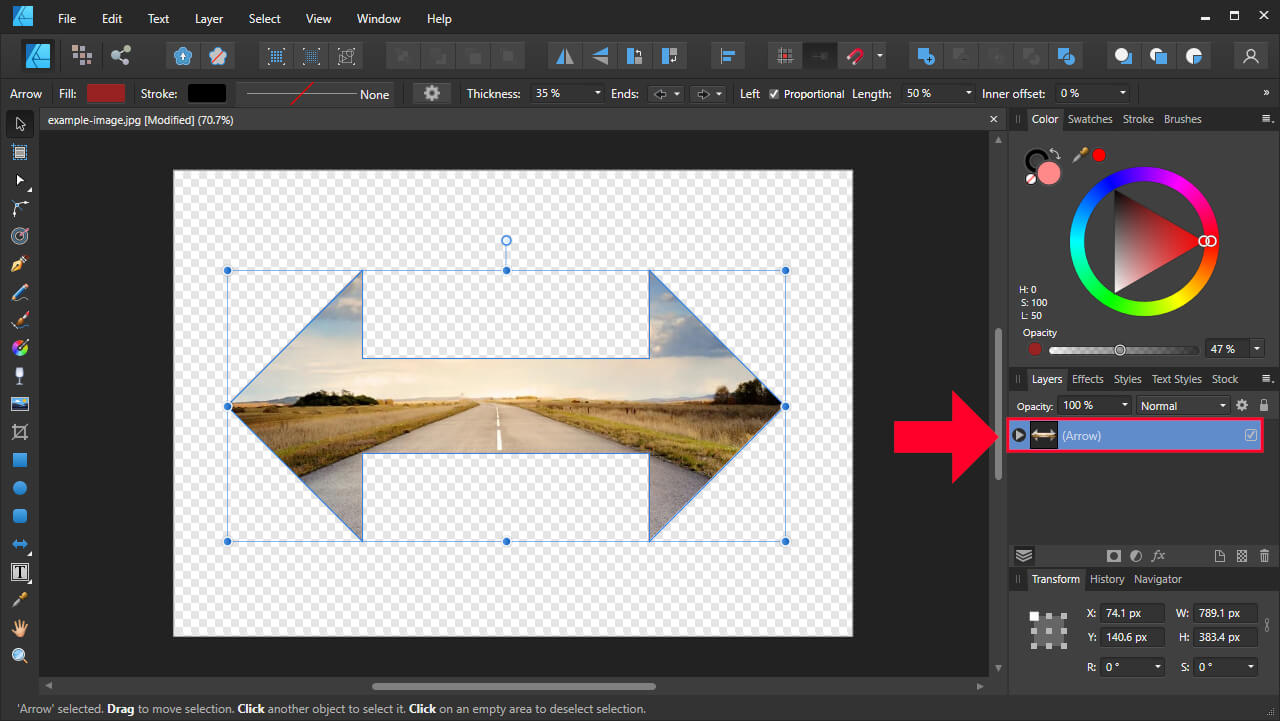
Moving the image layer into the shape layer will effectively crop the image to the shape.
Understandably, this sort of task may be confusing if you’re new to Affinity Designer. Be sure to watch the video tutorial above if you need elaboration on how this is done.
If you’re not happy with the crop you can simply expand the clipping path layer and move the image layer out of the group, then try again.
Step 4: Resize your artboard according to the dimensions of the shape
Now that we’ve finished filling the shape with our image, we must change the document size to accommodate its dimensions.
To do this, we’ll be using the Artboards Tool, but make sure you have your image selected before grabbing it.
With your image selected, open the Artboards Tool and set the “Size” value to Selection. Then, press the Insert Artboard button:
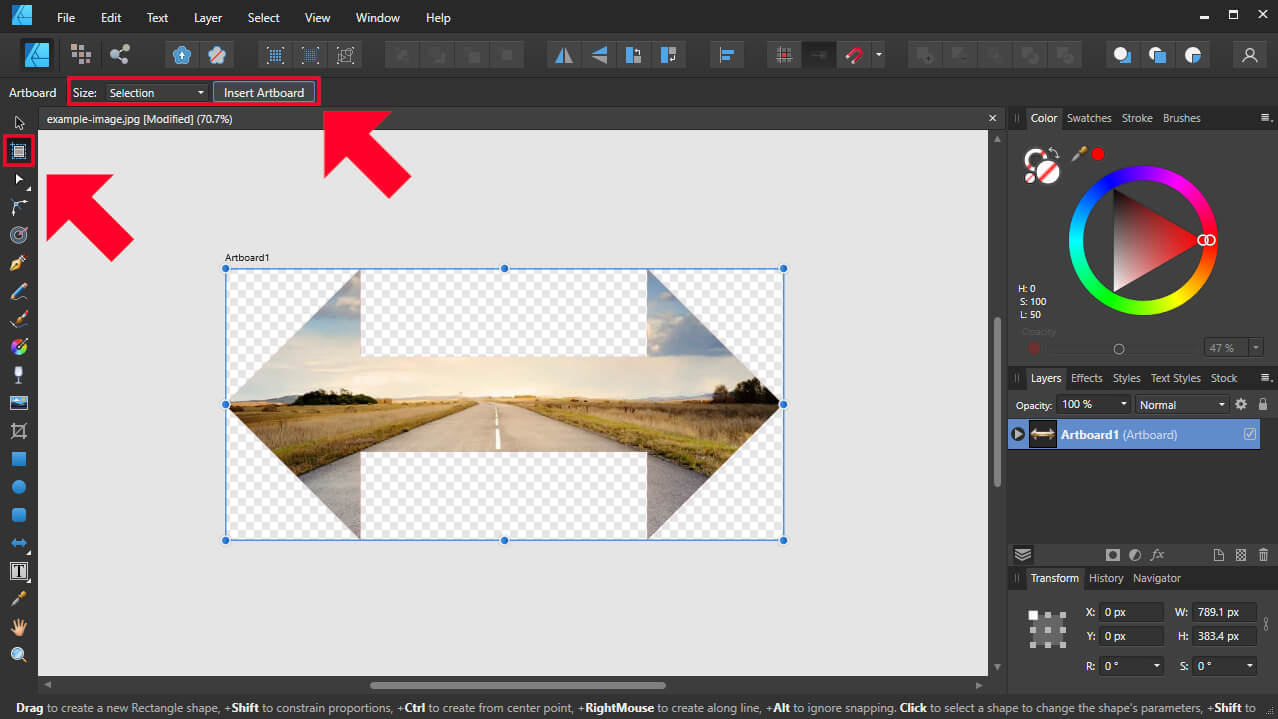
Creating a new artboard using the “selection” preset will ensure that your document’s dimensions match the newly-cropped image.
If done correctly, your canvas should now be the same width and height of your cropped image.
Step 5: Export your cropped image
At this point we are essentially done cropping an image to a shape with Affinity Designer. All we have to do now is save our work. For this, we’ll be using the Export feature.
Simply navigate to File > Export. The Export Menu should populate, prompting you to choose a file format to save your work as:
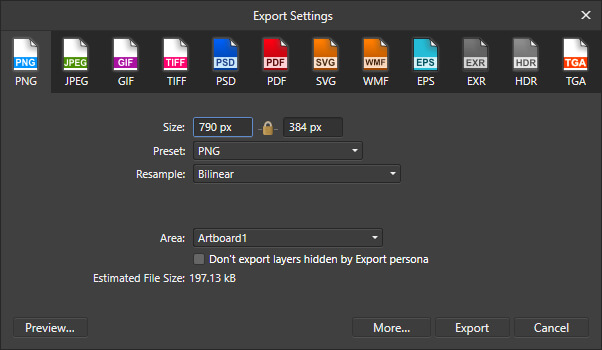
The Export Menu allows you to save your work in a variety of different file formats.
The Export Menu allows you to save your work in a variety of formats, including:
- PNG
- JPEG
- GIF
- TIFF
- PSD
- SVG
- And more
Seeing as how we’ve used a shape as the basis for our image, it’s safe to assume that you’ll want your saved image to have a transparent background so that you can place it on any type of backdrop.
To ensure that your image has a transparent background, make sure to export your work as a PNG file. Other formats (such as JPEG) may not support transparency, and will result in your image having a white background by default.
With the PNG tab selected, simply click the Export button. You will be prompted to choose a location on your hard drive to export the design to, and you’ll be able to name your file whatever you’d like.
Conclusion
Knowing how to crop an image to a shape with Affinity Designer is an exercise in using clipping paths more than anything else. Although vector tools (like Designer) typically aren’t ideal for editing images, when it comes to cropping with shapes, you’re better off using a vector application. The nature of vector software makes it much easier to create shapes and work with them as opposed to raster image editors. And using those shapes as a clipping path is just as seamless a process in your average vector application as it is in any raster editor.
If you have any questions or need clarification on any of the steps outlined in this lesson, feel free to leave a comment below.
Learn To Master The SoftwareGain a complete understanding of your favorite design apps with my comprehensive collection of video courses. Each course grants access to our private community where you can ask questions and get help when needed.
|
||||||||||||||||||||||||||||||||


It seems absurd that you have to export the document to destructively crop an image to a shape. I work with Designer almost daily, but it still makes me tear my hair out.
Not sure what you mean. Clipping masks are non-destructive.
EDIT- If you want the crop to be “finalized” in a pixel format you can simply right-click the layer and go to Rasterized.
Thanks for your vast explanation of every steps It is very impressive and effective.
Glad to help!