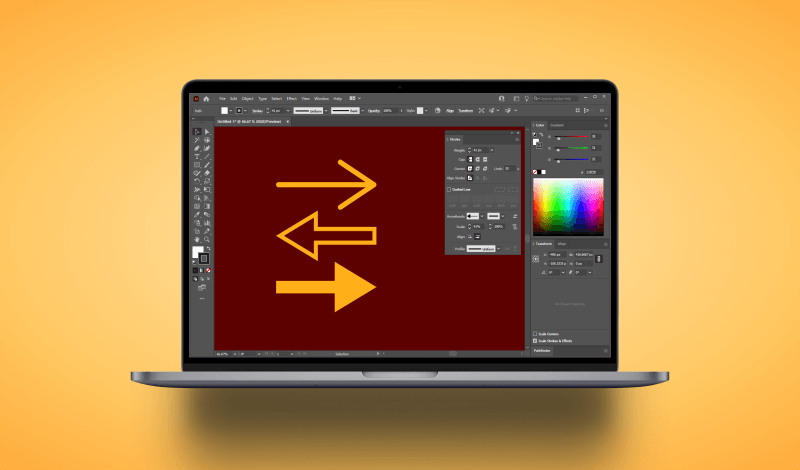
The Easiest Way To Create Arrows In Illustrator
The Easiest Way To Create Arrows In Illustrator https://logosbynick.com/wp-content/uploads/2021/10/illustrator-arrows.png 800 470 Nick Saporito https://secure.gravatar.com/avatar/8e31bf392f0ba8850f29a1a2e833cdd020909bfd44613c7e222072c40e031c34?s=96&d=mm&r=gOne of the many things vector design software can be used for is creating diagrams and infographics — both of which may require you to work with arrows. In today’s tutorial we’ll be drawing pen strokes that can be used to create arrows in Illustrator. This is done via the Stroke menu, and it only takes mere seconds. In this lesson we will be covering this entire process step-by-step.
In short, the way to create arrows with Illustrator is to first draw a stroke with the Pen Tool. Then, use the Stroke menu to arrowheads to either the start or endpoint of the stroke, resulting in a usable arrow that can be transformed in any way you desire.
Create Arrows In Illustrator
The following video tutorial will walk you through the entire process for making arrows in Illustrator in less than 4 minutes:
Continue on for the written instructions.
Table of ContentsCreating Arrows
Working with Arrows |
Creating Arrows
In this first part of the lesson we will be going over how to create arrows in Illustrator. Changing the arrow’s properties — such as size, color, and position — will be covered in the latter part of the tutorial.
Step 1: Grab the Pen Tool and draw the path that you’d like your arrow to follow
In order to make arrows in Illustrator we must first draw the path that we’d like the arrow to follow. This will create a line, or a “stroke” object that can be edited further to generate an arrow.
Grab the Pen Tool (keyboard shortcut: P) and click on your canvas to create a point. Then, hold Shift on your board and move your cursor to the right of your canvas and click again to create the end point of the path. Press the Enter key once completed to close the path.
The result will be a horizontal line:
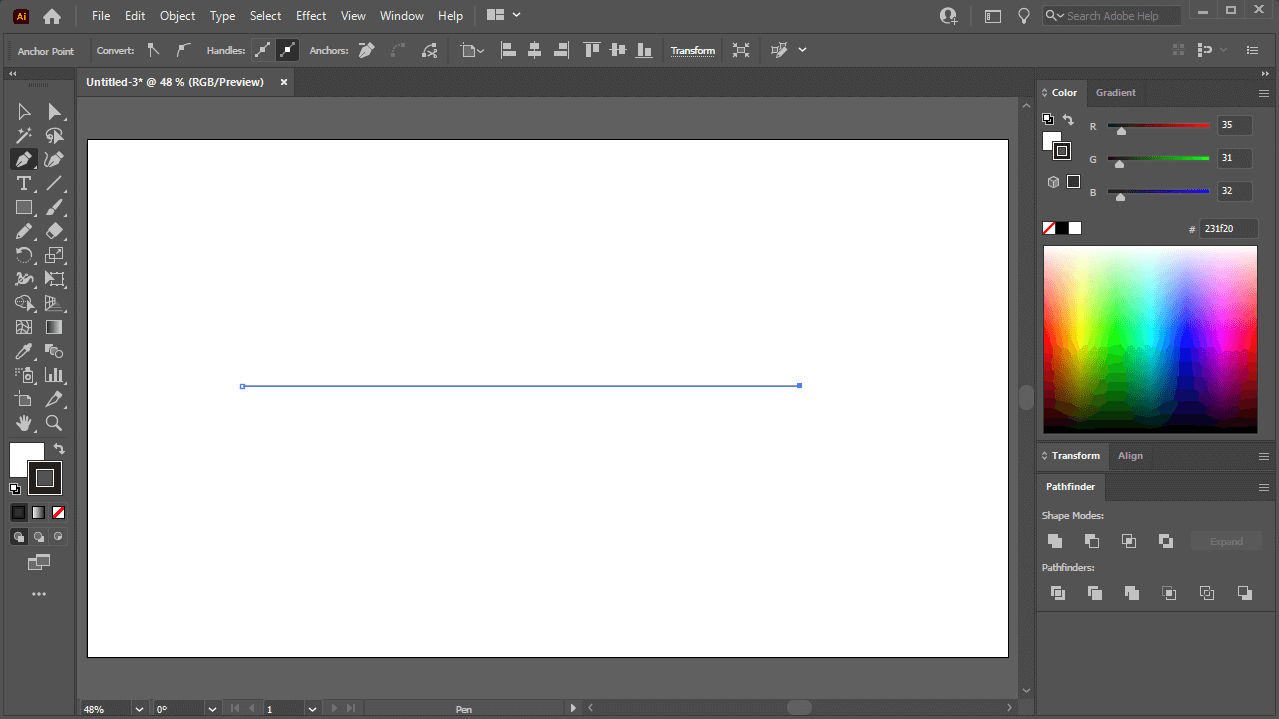
Draw a line on the canvas using the Pen Tool. The line will then be converted into an arrow.
The direction of the arrow will follow the direction of this path. Do not worry if this is not the path you’d like your arrow to follow though. We will be addressing this momentarily.
Step 2: Open the Stroke menu
Now we will turn the stroke object that we’ve created into an arrow, but in order to do that we must first access the Stroke menu.
Open the Stroke menu by navigating to:
Window > Stroke
The menu will look like this:
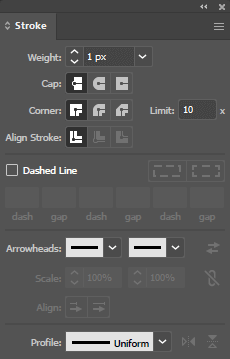
How the Stroke menu looks when opened.
The stroke menu allows you to change all of the properties of a stroke object — including adding ornaments on the ends that can make for arrowheads.
Step 3: Apply an arrowhead to the start and/or endpoint of your path to make it into an arrow
With the Stroke menu open and the line you’ve drawn still still selected, direct your attention towards the bottom of the menu where it says “Arrowheads“, represented by two dropdown boxes:
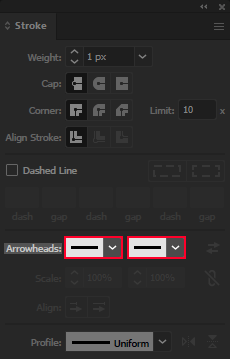
The two boxes outlined in red above allow you to add arrowheads to your path.
The two dropdown boxes represent:
- The start point of the path: represented by the left side of your line, or the first point that you created.
- The endpoint of the path: represented by the right side of your line, or the second (last) point that you created.
If you click on one of the dropdown boxes you will be presented with a list of symbols and ornaments that can be placed on either point of the path. To create an arrow, simply choose an arrowhead design from the list for either point:
How the path looks once made into an arrow.
If you want, you can then add a tail to your arrow by choosing it from the dropdown of the other input value, as I did in the example screenshot above.
You now have a usable arrow that you can work with in Illustrator!
Use the Selection Tool (keyboard shortcut: V) to make common transformations to your arrow as needed, such as scaling, rotating, moving, and shearing.
You can also use the Direct Selection Tool (keyboard shortcut: A) to move around the individual points of the arrow to change where it’s pointing:
Use the Direct Selection Tool to move around the anchor point of the arrow, allowing you to change its position.
What’s more, any path can be made into an arrow — even shapes. All you have to do is first ensure that there is a stroke fill applied, and then you can add arrowheads to the beginning and ends of your path.
Working with Arrows
Now that we’ve gone over how to create arrows in Illustrator, let’s have a look at some of the arrow’s properties that you can change.
Change the arrow’s size
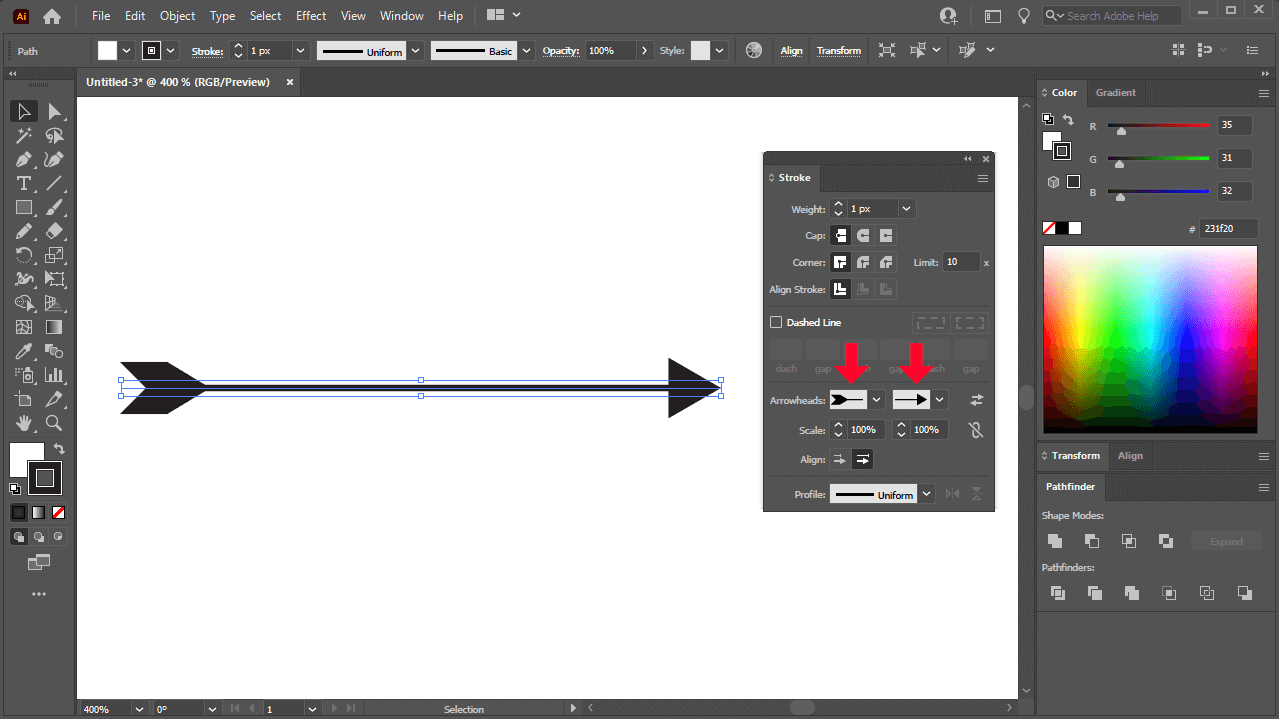
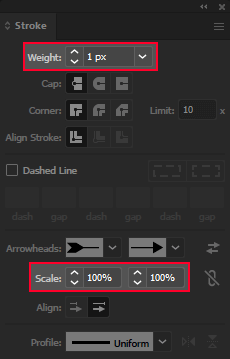
Changing the size of the arrow you’ve created requires that you change two different properties within the Stroke menu:
- The stroke Weight: Increasing and decreasing this will change the thickness of the arrow’s base accordingly.
- The Arrowhead Scale: Increasing and decreasing these values will change the size of the chosen arrowhead on your path.
These two settings are located in the Stroke menu, highlighted in red below:
The Weight input changes the thickness of the arrow’s base, whereas the arrowhead Scale changes the size of the arrowheads.
Tip: To change the input values, simply hover your cursor over the input box and roll up and down on your mouse wheel to increase and decrease them.
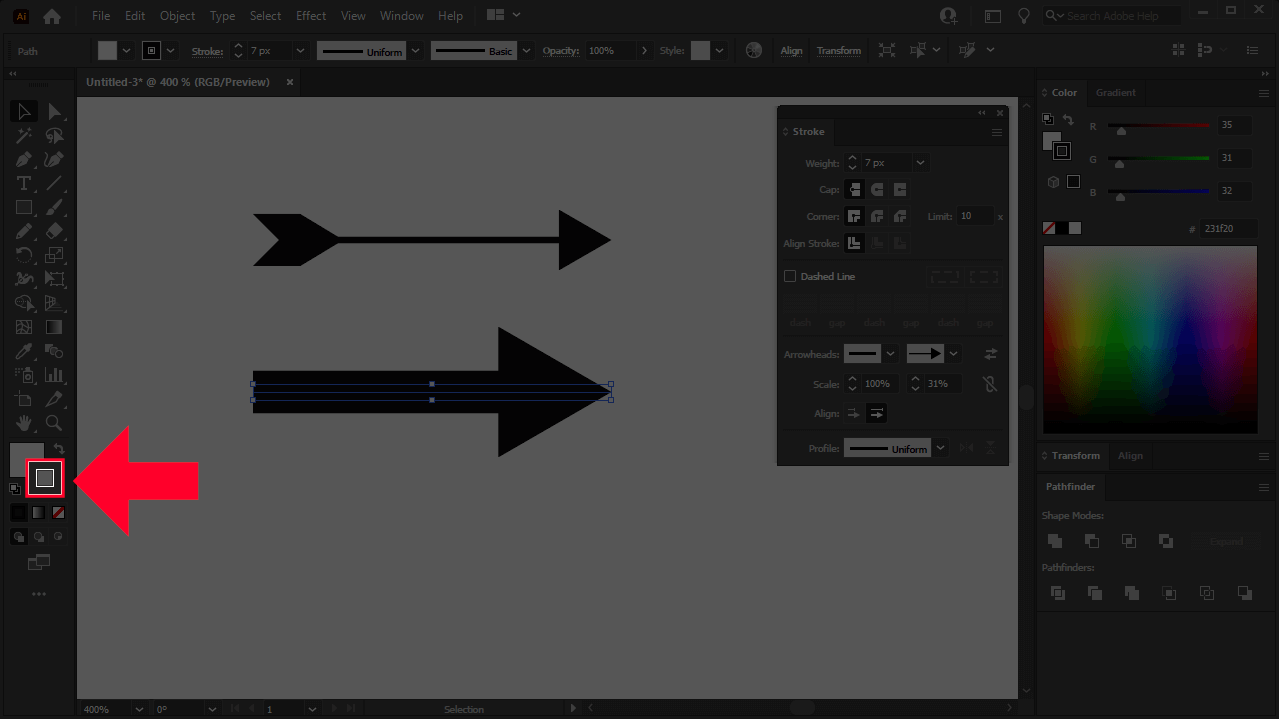
Here’s an example of how you can change the size of an arrow in Illustrator using these settings:
I was able to make two different varieties of arrows using the weight and scale settings. The tail was removed from the bottom arrow.
You may notice that as you increase the stroke weight the arrowhead increases as well. This means that whenever you change the weight, you’ll have to change the arrowhead scale as well to accommodate the change in size.
Change the arrow’s color
Let’s go over how to change the color of an arrow in Illustrator.
Seeing as how arrows (created using this method, anyway) are strokes, to change the color of the arrow you must change the object’s stroke color.
There’s various ways that you can change an object’s stroke color in Illustrator, but one common way would be to use the color dialog just beneath your toolbox:
You can change the color of your arrow by changing the object’s stroke color, highlighted in red above.
Simply double-click the box that reads “Stroke” when you hover your cursor over it. You will then be prompted to choose a color to apply to your stroke:
How the arrow looks with some color applied.
And just like that you have applied color to your arrow!
Change the arrow’s direction
As we’ve previously gone over, you can use the Direct Selection Tool to move the individual anchor points of the arrow to manually change where it is pointing. However, if you’d like to reverse the path so that the endpoints are swapped with each other, this can easily be done using a setting in the Stroke menu.
In the Stroke menu, look for the button that reads “swap start and end arrowheads” when you hover your cursor over it:

Clicking this button will reverse the direction of your path so that you can swap arrowheads.
Clicking that button will reverse the direction of your path so that the endpoint becomes the start point of the arrowhead, and the start point becomes the endpoint.
Clicking this button again will swap the two points once more so that they are back in their original positions.
Make the arrow curved
Let’s say you’d like to make your arrow follow along a curve. No problem!
To make curved arrows in Illustrator, first make sure that you arrow is selected and then grab the Anchor Point Tool (keyboard shortcut: Shift + C).
You can now curve your arrow by simply clicking and dragging on the path:
The Anchor Points Tool allows you to curve and bend your arrows.
You can also use the handles at each endpoint to curve the path with more precision.
Conclusion
Knowing how to create arrows in Illustrator is a simple enough process that even a novice could follow along without issue. However, if you do run into any problems along the way then I am here to help.
If you have any questions or need clarification on any of the steps taken in this lesson, simply leave a comment below.
Learn To Master The SoftwareGain a complete understanding of your favorite design apps with my comprehensive collection of video courses. Each course grants access to our private community where you can ask questions and get help when needed.
|
||||||||||||||||||||||||||||||||


