
Remove An Object In Affinity Photo: It’s Easier Than You Think!
Remove An Object In Affinity Photo: It’s Easier Than You Think! https://logosbynick.com/wp-content/uploads/2021/10/remove-object-affinity-photo.png 800 470 Nick Saporito https://secure.gravatar.com/avatar/8e31bf392f0ba8850f29a1a2e833cdd020909bfd44613c7e222072c40e031c34?s=96&d=mm&r=gGot an unwanted object in your photo that you’d like to remove? Well, you’re in luck! Affinity Photo makes this process as simple as can be, thanks to one of its many handy tools. To remove an object in Affinity Photo we’ll be using the Inpainting Brush Tool, which can be used to paint over objects and fill them with surrounding areas of the image.
The Inpainting Brush Tool is Affinity Photo’s answer to Photoshop’s content aware fill. It works very similarly in that it allows you to sample a selection and fill it with surrounding areas of the image. This results in your image appearing as if the contents of the selection have been removed from the image.
Remove An Object In Affinity Photo
The following video tutorial will walk you through the entire process, step-by-step:
Continue on for the written instructions.
Table of Contents |
Step 1: Open your image in Affinity Photo and make sure the layer is unlocked
In order to remove an object in Affinity Photo we must first open our image and ensure the layer is unlocked.
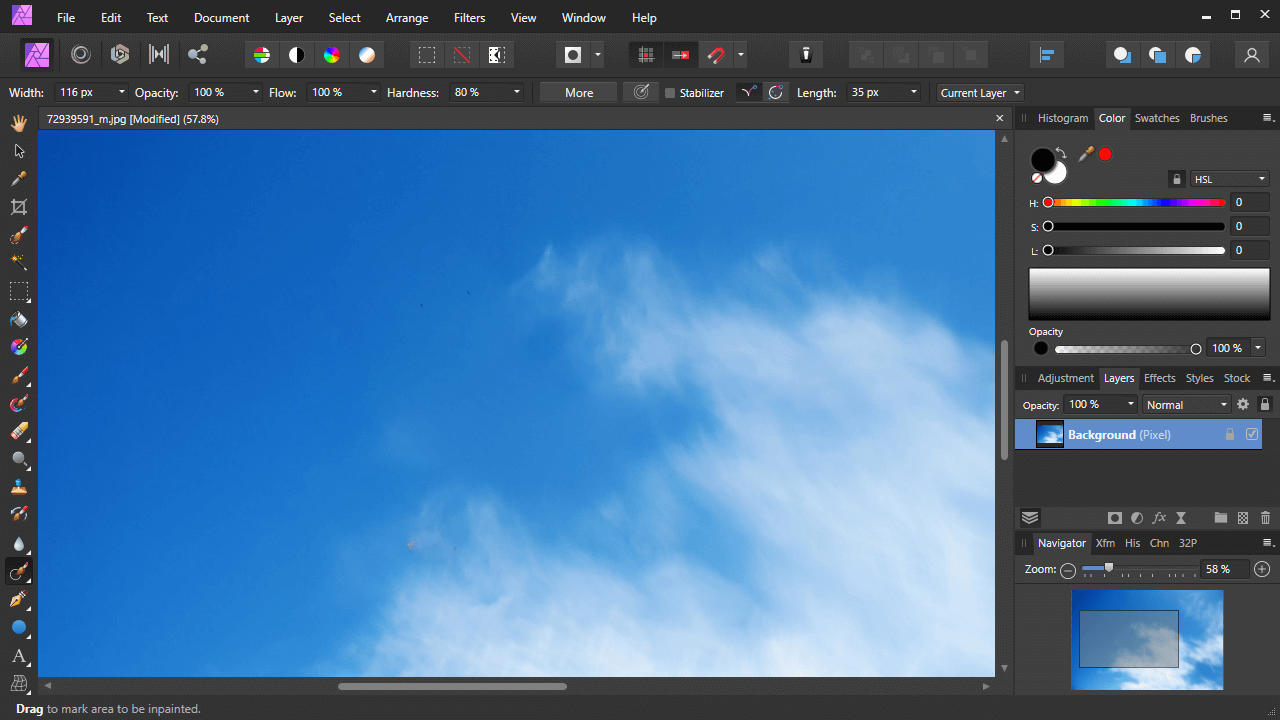
For this demonstration we will be using the following example photo:
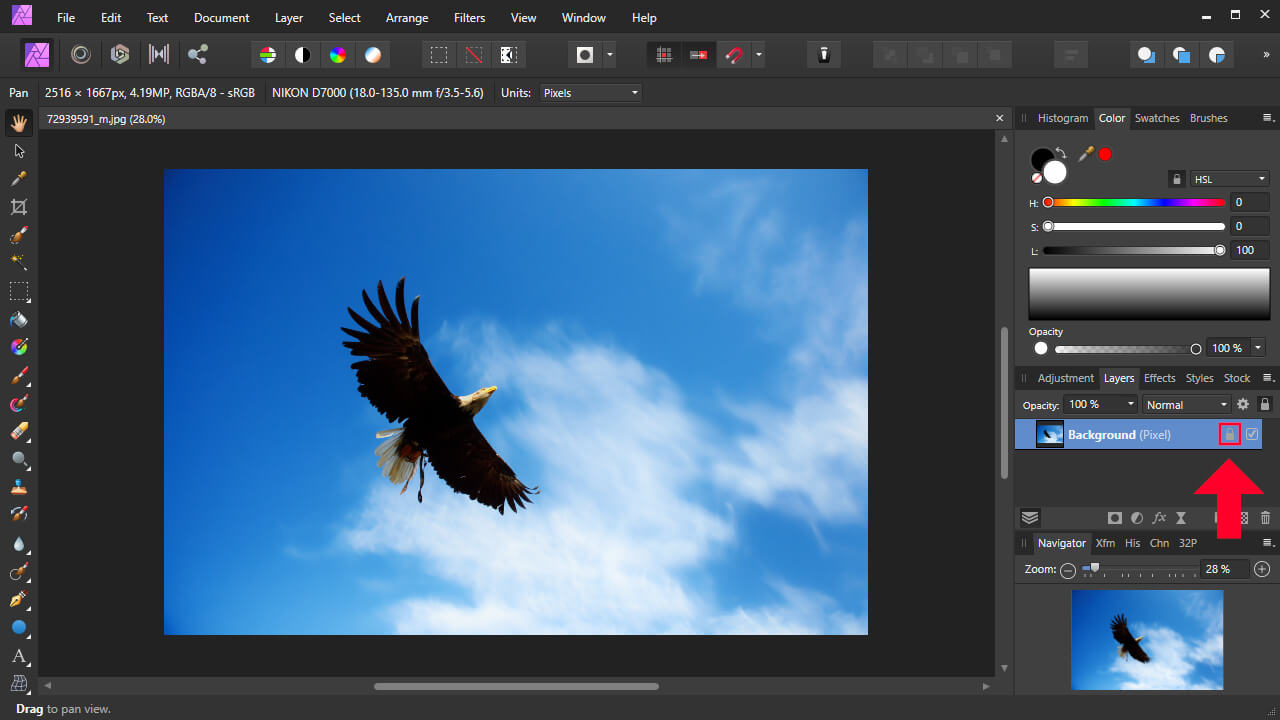
Make sure the layer is unlocked.
You can ensure that the layer is unlocked by deselecting the little lock icon next to the layer’s name in the Layers menu.
Step 2: Use the Zoom Tool to fit the object to your viewfinder
In order for us to use the Inpainting Brush Tool properly we’re going to need to make sure we’re zoomed in on the object you’d like removed first.
Grab the Zoom Tool (keyboard shortcut: Z) and click and drag over the object you’d like removed from your photo:

Use the Zoom Tool to zoom in on your object as much as possible while keeping it within the viewfinder.
The idea is to be zoomed in on the object as much as possible, but while also ensuring that the entire object is visible in your viewfinder.
Step 3: Grab the Inpainting Brush Tool and use it to paint a selection over the object you’d like to remove
The easiest way to remove an object in Affinity Photo is to use the Inpainting Brush Tool, which can be accessed in your toolbox, bundled with the Healing Tool:
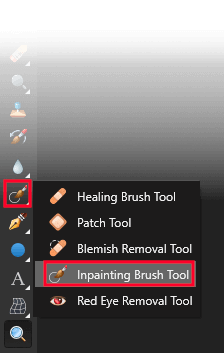
The Inpainting Brush Tool is located towards the bottom of the toolbox.
Alternatively, you can also access the tool by pressing J on your keyboard a few times until it cycles to the Inpainting Brush Tool.
Hover your cursor over the object you’d like to remove from your photo. You should notice the brush size relative to the object in your photo, represented by the round cursor:
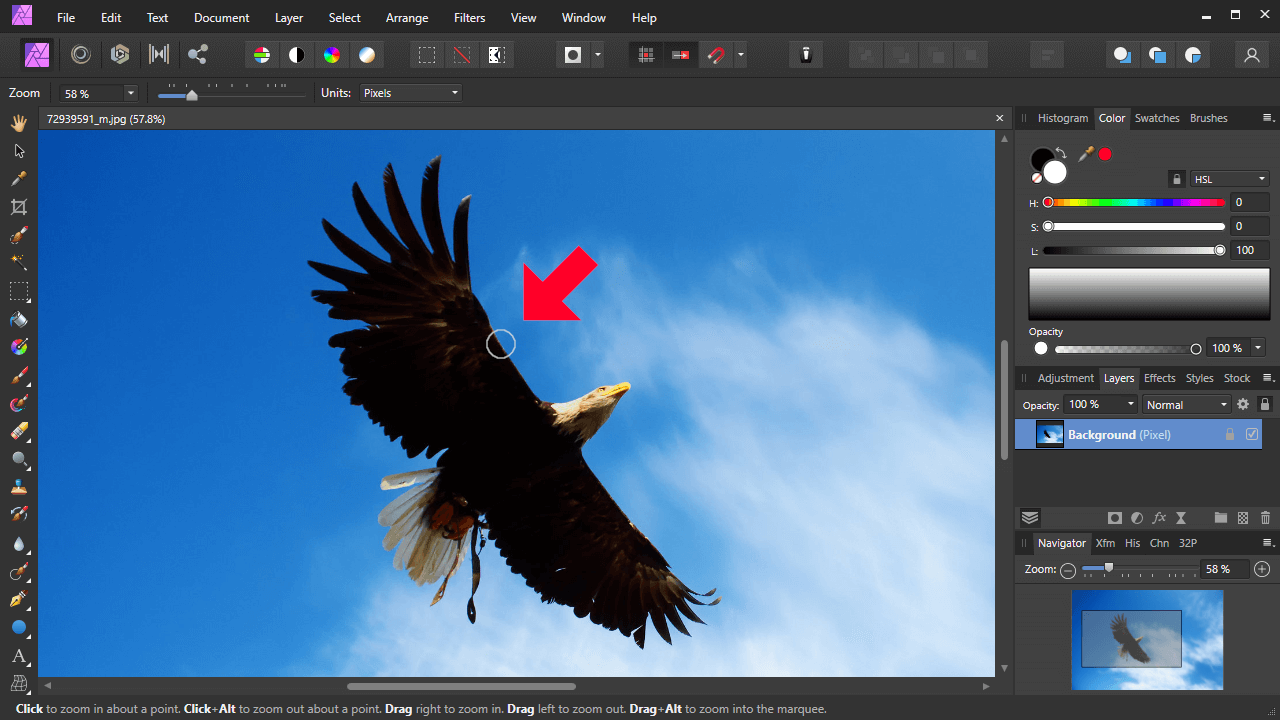
The brush can be resized according to the size of your object.
Use the bracket keys on your keyboard to adjust the size of the brush so that it’s appropriate for painting over your object. Holding the left bracket key ([) will decrease the size of your brush, whereas the right bracket key (]) will increase the brush size.
With your brush size set, go ahead and paint a selection going over your object:
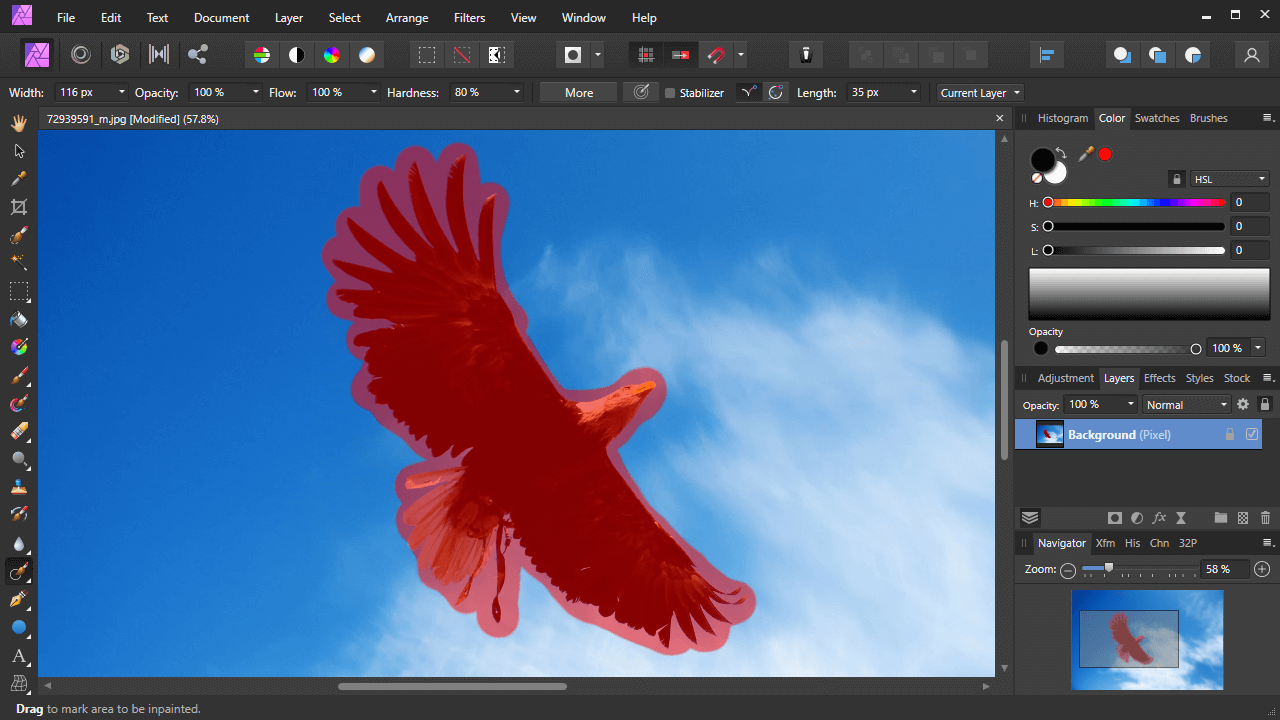
Paint a rudimentary selection over your object.
A few of pointers to keep in mind:
- Make sure to paint over the object entirely.
- It’s okay to paint outside the lines so that your selection overflows the object.
- You can resize the brush at any time, without having the release the click, by using your bracket keys.
Once you are finished painting in your object you can release the click. Affinity Photo will then sample the surrounding areas of your selection to fill it in with:
The object has been removed from the photo.
If you find any stray areas that you may missed then you can simply paint over them to repeat the process.
In this example, the surrounding sky and clouds were used to fill in the selection over the eagle, allowing me to remove an object with Affinity Photo in just a few clicks and swipes.
If you are unhappy with the result you can undo the painting by pressing Control + Z on your keyboard. Alternatively, you can create a duplicate of your layer to apply the changes to so that you can do this in a non-destructive way.
Conclusion
The brilliance of the Inpainting Brush Tool is that it makes it so easy to remove an object in Affinity Photo that even a first-time user of the application can use it. In just a matter of seconds you will be able to quickly remove unwanted objects from any photo you’d like!
Of course, there’s other ways to remove unwanted objects from photos as well, but this tool is the most effective in my experience.
If you have any questions or need clarification on any of the steps taken in this lesson simply leave a comment below.
Learn To Master The SoftwareGain a complete understanding of your favorite design apps with my comprehensive collection of video courses. Each course grants access to our private community where you can ask questions and get help when needed.
|
||||||||||||||||||||||||||||||||


