
Convert Text To A Path In Inkscape | How To Do It And Why It’s Useful
Convert Text To A Path In Inkscape | How To Do It And Why It’s Useful https://logosbynick.com/wp-content/uploads/2022/01/inkscape-text-to-path-3.png 800 470 Nick Saporito https://secure.gravatar.com/avatar/8e31bf392f0ba8850f29a1a2e833cdd020909bfd44613c7e222072c40e031c34?s=96&d=mm&r=gOne of the benefits of working in a vector environment (such as Inkscape) is that you can edit the properties of a text object on a more granular level and transform them in ways you otherwise couldn’t in pixel-based editors. However, you’ll have to convert your text to paths first. Converting text to a path in Inkscape allows you to apply various path effects and edit the nodes of each individual letter.
In this guide we’ll be going over how you can convert text to a path in Inkscape. We’ll also be having a look at why it’s useful as well as a few examples of when it can come in handy.
Convert Text To A Path In InkscapeTo convert text to a path in Inkscape, select the text object with the Select Tool and navigate to:
Alternatively, you can also convert your text to a path by using the keyboard shortcut, which is Control + Shift + C. |
Simple enough, right? Now let’s have a look at exactly what happens when you convert text to a path.
What Is A Path?
To understand when converting text to a path in Inkscape can be useful we first must understand exactly what a “path” is.
In vector design, a path is an object that consists of coordinate points on an X and Y axis. Or, as Inkscape puts it:
“A path is a sequence of straight line segments and/or Bezier curves which, as any other Inkscape object, may have arbitrary fill and stroke properties.” – Inkscape.org
In other words, a path is simply a vector object in its purest form.
Examples Of Paths
The following are all examples of paths:
- A shape that you have generated with one of the shape tools
- A line or shape you have drawn with one of the pen tools
- A tracing generated with the Trace Bitmap tool
The following are examples of objects that are not paths:
- Pixel-based imagery
- Text objects
- Objects with filters and/or path effects applied
In short, paths are objects that consist of a series of coordinate points on the X and Y axis known as nodes. Nodes can be transformed individually, allowing you to shape the object (or path) however you’d like.
Why Convert Text To A Path?
You may be curious as to why it is you would even convert text to a path in Inkscape in this the first place. Let’s address this.
Converting your text to a path allows you to edit the structural properties of each individual letter as if it were a custom shape:
Converting text to a path allows you to edit the nodes of each letter.
It also allows you to add Path Effects — an assortment of advanced transformations that can be made to vector paths that otherwise could not be applied to text objects.
Examples
To put things into context, here are a few examples from tutorials we’ve gone over in the past where converting text objects to paths was a necessity.
When Designing For Print
In a tutorial from last year we went over how to design print-ready book covers in Inkscape:
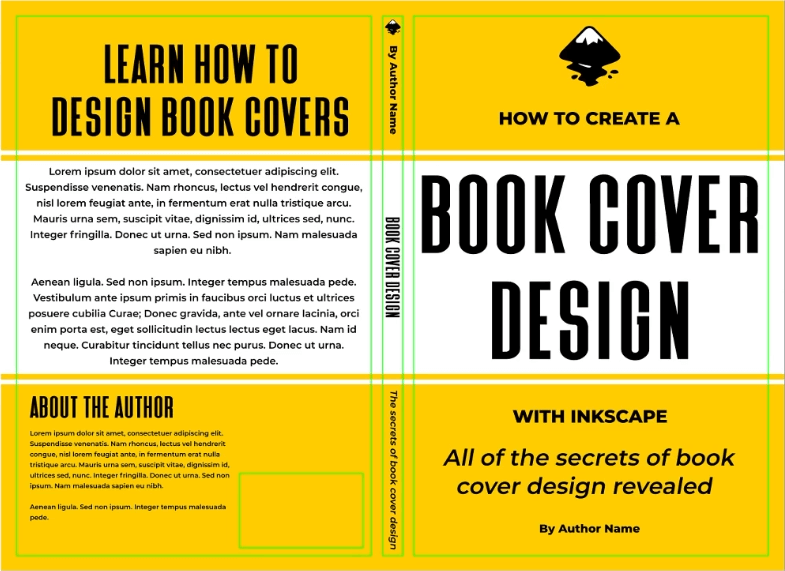
When you are finished with the text portion of the design, and you have proofread everything and are certain that no other edits will need to be made to the copy, converting the text to paths finalizes the “design” of the individual letters.
This means that a third party can open the document and the text will appear the same on their screen as it does on your screen. Otherwise the design may become corrupted if the end user opens the file with the font embedded and they don’t have that font installed on their system.
When Creating Elaborate Text Designs
Converting your text to paths allows you to apply additional effects and alterations that can be used to create unique designs.
One example of such would be a previous tutorial where we went over how to design an esports logo with Inkscape:
![]()
The name in the logo started out as a simple text object. However, after converting it to a path, we were able to alter its perspective and extrude it to make it look 3D.
This sort of thing is only possible once a text object is converted to a path.
When Designing Logos
Another example of when converting text to a path is necessary is when you design a logo that contains text for a client or some other third party.
As we’ve gone over in previous lessons, every font comes with its own usage permissions based on the license it came with. Most fonts explicitly state that you cannot transfer the font file to somebody else.
This means that if you were to save your logo files without converting the text to paths, you could potentially be sending over a document with the font file embedded, which could be a violation of the font license.
Converting your text to path ensures that the letters generated with the font software will become vector shapes and are no longer text objects.
Precautions
Considering all of the benefits of converting text to paths, does this mean you should always convert every text object you create to a path? Absolutely not.
One disadvantage of converting text to a path in Inkscape is that once the text is converted, the text object itself is no longer editable as a text object.
This means that you won’t be able to go back and change things such as:
- Wording
- Letters
- Fonts
- Text styles
- Kerning and formatting
Understand that once you’ve converted your text to a path, it is no longer recognized by Inkscape as a text object. Instead, it is seen as a series of letter-shaped objects.
This is why it’s important to ensure that you will not need to edit your text again before making the conversion. It may even be helpful to create a duplicate copy of your text object and put it aside, just in case you need to go back and make changes later on.
Conclusion
Converting text to a path in Inkscape is a simple process that doesn’t immediately produce any visible changes on your canvas. However, the implications are massive. Working with paths can help you transform your text in ways not possible outside of a vector environment.
If you have any questions or need clarification on anything e’ve gone over in this post, simply leave a comment below.
Learn To Master The SoftwareGain a complete understanding of your favorite design apps with my comprehensive collection of video courses. Each course grants access to our private community where you can ask questions and get help when needed.
|
||||||||||||||||||||||||||||||||


Leave a Reply