How To Draw In Symmetry Mode Using Adobe Illustrator
How To Draw In Symmetry Mode Using Adobe Illustrator https://logosbynick.com/wp-content/uploads/2023/06/illustrator-symmetry-mode.webp 1000 587 Nick Saporito https://secure.gravatar.com/avatar/8e31bf392f0ba8850f29a1a2e833cdd020909bfd44613c7e222072c40e031c34?s=96&d=mm&r=gIn this tutorial we’ll be going over how to draw in symmetry mode in Illustrator. This will make it so that everything you draw is mirrored on an opposing axis, and any changes made to the drawing will also be mirrored.
In short, to symmetry draw in Illustrator we will need to use the Transform Effect (not to be confused with the Transform menu.) However, to mirror your artwork in such a way that allows you to add additional shapes and drawings we will have to use a workflow that includes grouping and Isolation mode as well. Let’s dig in.
How To Mirror Your Work
The following video tutorial will walk you through the entire process of using the Transform effect to create a symmetry drawing in Adobe Illustrator:
Continue on for a step-by-step breakdown.
Draw In Symmetry Mode |
Step 1: Draw an object and place it in a group
Let’s start off by drawing a single shape and placing it in a “group”.
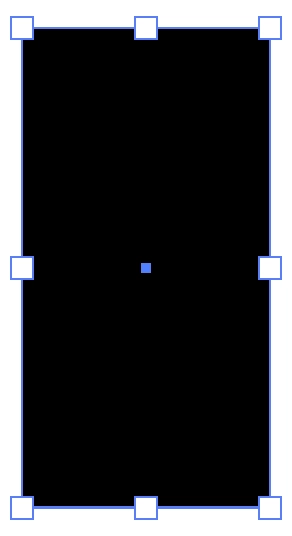
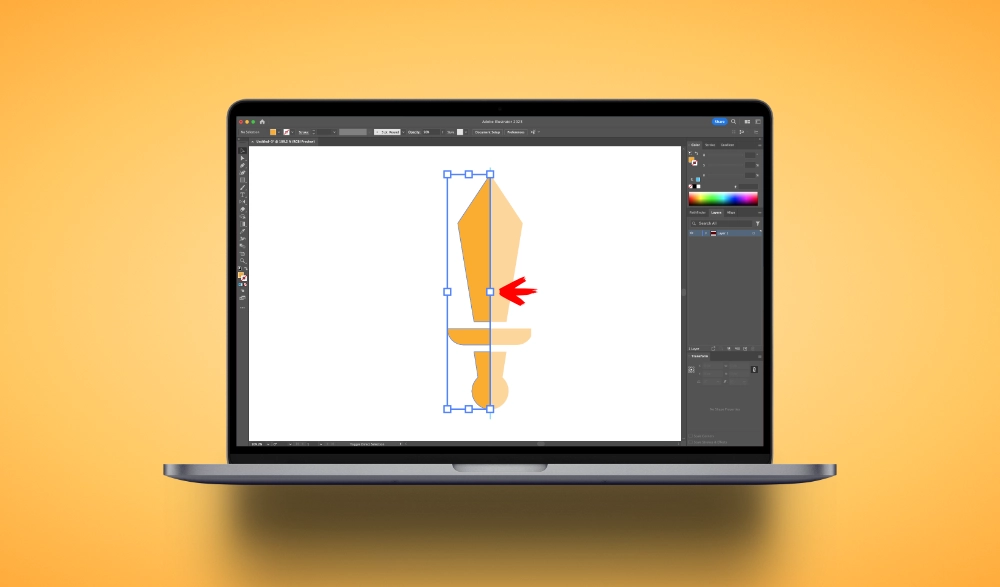
For this demonstration we will be drawing a sword icon, which will start out as a vertical rectangle.
With the shape selected, apply a group by navigating to:
Object > Group
The reason why we’re placing the object in a group is because symmetry drawing in Illustrator only works on a single element. So if you want to mirror multiple objects in such a way that allows you to continue adding new elements, the workaround for that is to apply the mirror effect to a group rather than an individual object. Then new objects can be added to that group retroactively.
Step 2: Use the Transform Effect to mirror the group on the X or Y axis
Now we are going to use the Transform Effect to mirror the group to an opposing axis of your choosing.
With the object selected, navigate to:
Effect > Distort & Transform > Transform
The following menu will populate:

The Transform effect menu can be used to mirror selected objects (click to enlarge.)
The settings we will focus on for this lesson are outlined in red above. They include:
- Reflect X: Selecting this option will mirror your selection on the left and right-hand sides of the original copy.
- Reflect Y: Selecting this option will mirror your selection on the top and bottom sides of the original copy.
- Copies: This represents the number of times you’d like to mirror the selected object
- Selection box: This lets you determine where the mirrored copy is placed.
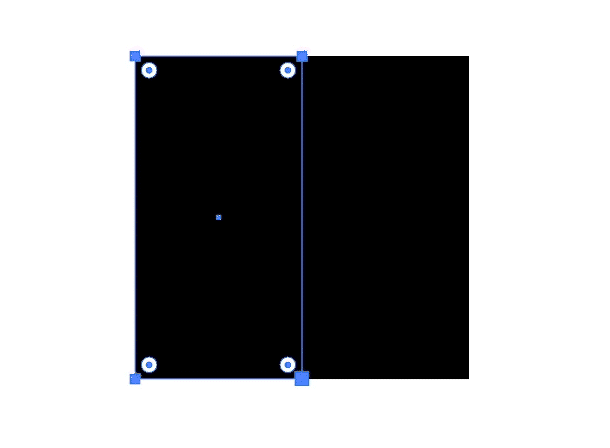
Once the settings in the screenshot above are applied, the object is mirrored to the right of the original copy, and any edits made to it are automatically applied to the mirrored copy:
Changes made to the original copy (using the Anchor Points Tool in this example) are mirrored on the opposing axis.
Step 3: Enter Isolation Mode to continue drawing
Now that we’ve mirrored our drawing to the opposing axis, let’s continue drawing in symmetry mode by adding more design elements. However, we must first enter Isolation Mode to ensure that everything we draw is added to the group.
To do so, navigate to your Layers menu. If you don’t have it open already you can access it by navigating to:
Window > Layers
Within the Layers menu, expand Layer 1 and click on the Group item in the list to highlight it:

Click to enlarge.
Then, click the menu icon in the top-right corner of the menu (outlined in red above) and select Enter Isolation Mode from the list.
Now that you are in isolation mode, any new elements that are drawn onto the canvas will be applied to the group and mirrored on the opposite side of the axis:

Isolation Mode allows us to continue drawing new objects to be mirrored.
Once you are finished applying your changes you can exit Isolation Mode by clicking the arrow icon near the top-left corner of the screen:

Click to enlarge.
You’ll have to click it twice– once to exit the group and again to exit the layer.
Once you are out of isolation mode you will not be able to add new elements to the mirrored design again unless you re-enter it.
Step 4: Expand the appearance of the group to apply the changes
Once you are satisfied with your design you can finalize everything in such a way that the mirrored copy becomes its own individual set of elements by expanding the appearance of the design.
This can be done by selecting your artwork and navigating to:
Object > Expand Appearance
Once applied, your mirrored copy will become editable. You’ll just have to ungroup everything (Control + Shift + G) twice if you want to edit them as individual elements.
In Conclusion
Using symmetry draw in Illustrator is a simple enough process if you’re just looking to mirror and edit a single object. However, if you want to mirror multiple objects, and continue adding more retroactively, then there are a few additional steps to follow.In an ideal world there would be a dedicated feature for doing such, but this workaround works just as well.
Learn To Master The SoftwareGain a complete understanding of your favorite design apps with my comprehensive collection of video courses. Each course grants access to our private community where you can ask questions and get help when needed.
|
||||||||||||||||||||||||||||||||


Thank you for explaining this clearly, in both text/image and video format. Text instructions are easier for me to follow, and I skipped a lot of other web search results to find this one!
Glad you found the content helpful 🙂