How To Round The Corners Of An Image In Affinity Designer
How To Round The Corners Of An Image In Affinity Designer https://logosbynick.com/wp-content/uploads/2023/05/round-corners-affinity-designer.png 800 470 Nick Saporito https://secure.gravatar.com/avatar/8e31bf392f0ba8850f29a1a2e833cdd020909bfd44613c7e222072c40e031c34?s=96&d=mm&r=gAffinity Designer allows you to make various types of edits to pixel-based images. One of the more common edits we’ll be focusing on in this lesson is rounding the corners of an image. In this tutorial we’ll be having a look at how you can do just that using clipping masks.
As it turns out, there is no direct way to round the corners of an image in Affinity Designer. However, there is a workaround that uses clipping masks and the Corner Tool. Let’s have a look.
Round The Corners Of An Image
The following video tutorial will walk you through the entire process of using clipping masks to round the corners of images:
Continue on for a step-by-step explanation.
Table of Contents |
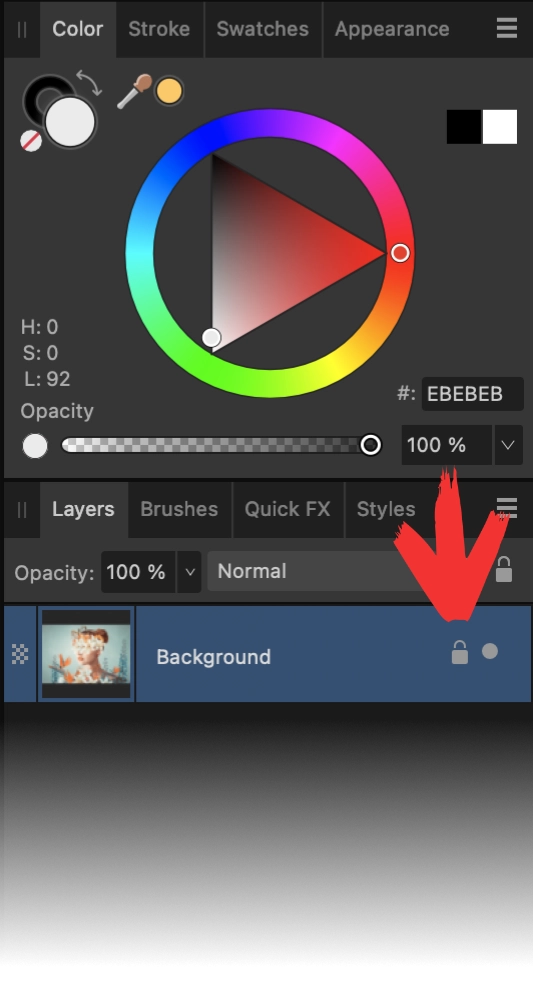
Step 1: Open your image and remove any layer locks
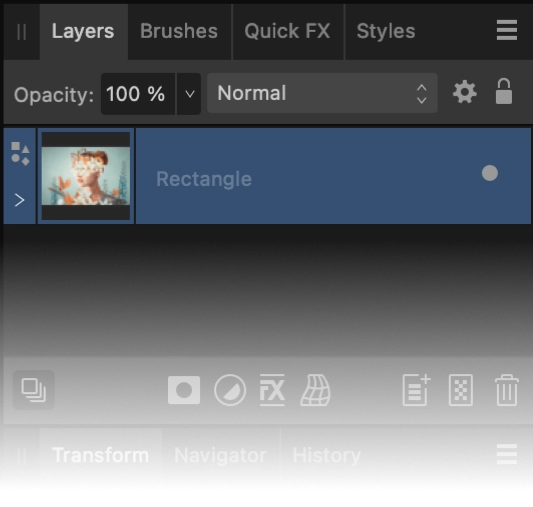
First, open your image and make sure the image’s layer isn’t locked. If it is, there will be a lock icon next to its name in the Layers menu:
Click to enlarge.
Just click on that icon to disable it. If there is no lock icon there then you are good to go.
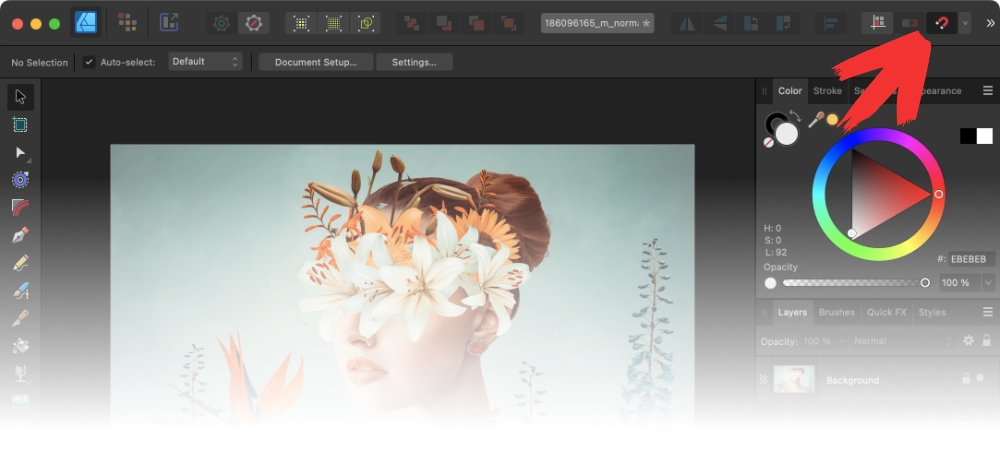
Step 2: Enable snapping
Next, enable Snapping by clicking the magnet icon towards the top-right of the screen:
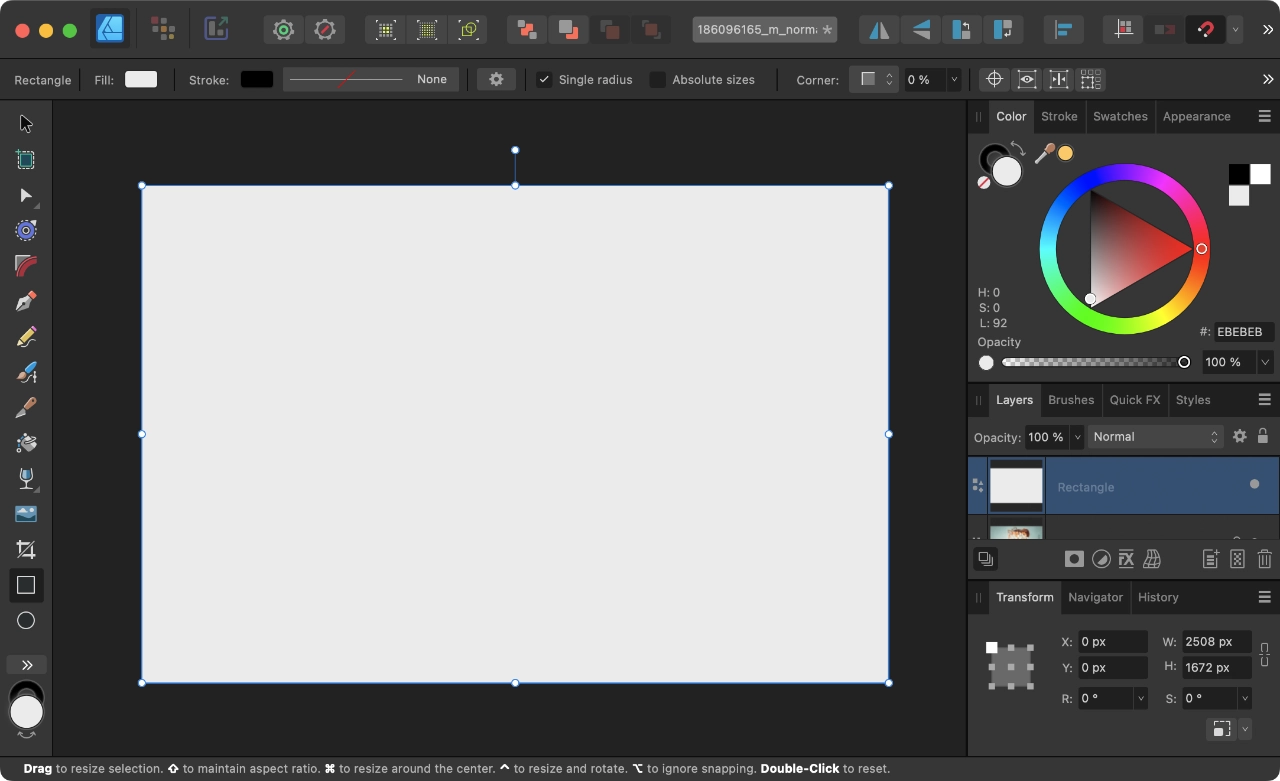
Step 3: Use the Rectangle Tool to create a rectangle over your image
Now let’s use the Rectangle Tool to create a rectangle in the size of the image:
Click to enlarge.
This can be accomplished by snapping the cursor to the edges of the canvas.
Step 4: Use the rectangle as a clipping mask for the image
Bring down the Opacity of the rectangle to 0% using the Color tab:
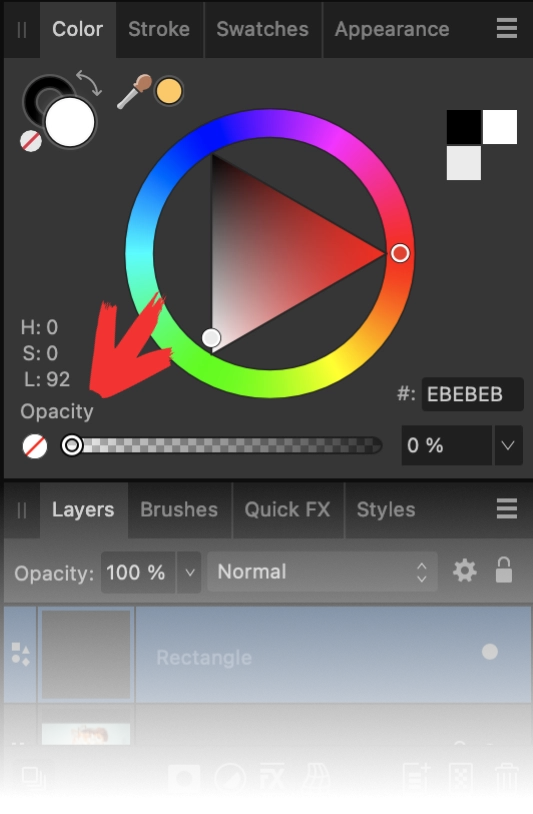
Click to enlarge.
At this point the rectangle should be completely invisible. Now click and drag the image layer on top of the rectangle layer so that it merges into a clipping mask:
Click to enlarge.
Step 5: Use the Corner Tool to round the corners of the clipping mask
All we have to do now to round the corners of the image is grab the Corner Tool (keyboard shortcut: C) and click on the layer to select it.
Once selected, you should see four nodes at the corners of each image. Click and drag over all of them to select them and then drag them in to round the corners:
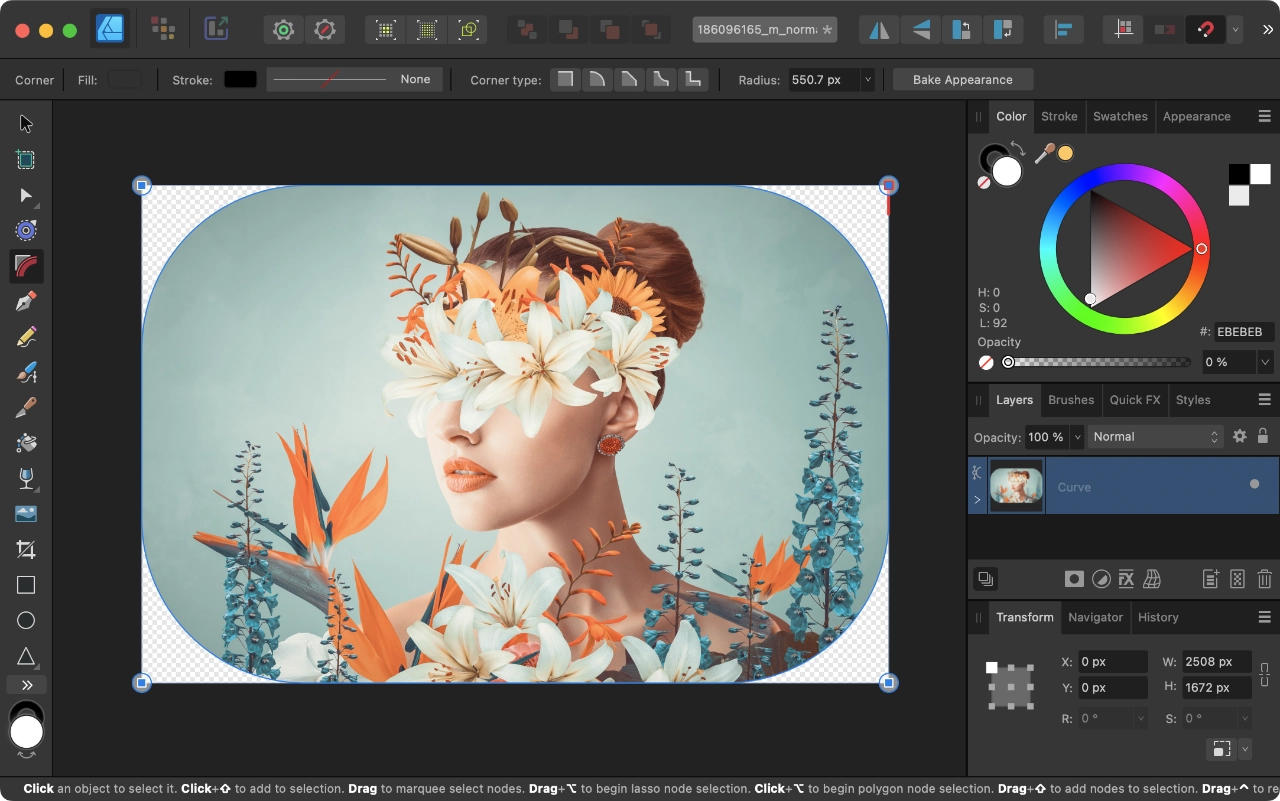
Click to enlarge.
Now all you have to do is export you image as a transparent PNG and you are finished!
In Conclusion
Although there is no direct way to round corners of images in Affinity Designer, the Corner Tool and Clipping Masks make it simple enough workaround.
Learn To Master The SoftwareGain a complete understanding of your favorite design apps with my comprehensive collection of video courses. Each course grants access to our private community where you can ask questions and get help when needed.
|
||||||||||||||||||||||||||||||||


Leave a Reply