
How To Make A Heart In Illustrator | 3 Quick Steps
How To Make A Heart In Illustrator | 3 Quick Steps https://logosbynick.com/wp-content/uploads/2021/04/create-heart-illustrator.png 800 470 Nick Saporito https://secure.gravatar.com/avatar/8e31bf392f0ba8850f29a1a2e833cdd020909bfd44613c7e222072c40e031c34?s=96&d=mm&r=gOne of the benefits of working with Adobe Illustrator is all of the dedicated tools it has for creating common shapes that would otherwise have to be drawn manually. Unfortunately though, there’s no dedicated tool for generating heart shapes. However, you can make a heart in Illustrator by simply combining two rectangles with rounded edges, and then trimming off the excess. This is done using the Shape Builder Tool, which we’ll be going over in this tutorial.
In this lesson we’ll be utilizing some simple geometry by combining two shapes to form another shape. Understanding how to create drawings with this concept is a fundamental skill that you will need if you want to get good at vector design. Knowing how to work with shapes in this way will allow you to design things like logos, icons, and even more elaborate illustrations, like characters and mascots.
Make A Heart In Illustrator
| To make a heart in Illustrator, combine two rectangles with rounded corners so that they form a cross. Then, use the Shape Builder Tool to trim off the excess. The remaining shape will be a heart. |
The following video tutorial will walk you through all of the steps necessary to make a heart in Illustrator:
This isn’t the sort of lesson that is so complicated that you need to follow the video tutorial though, so read on if you’d rather follow the written instructions.
Step 1: Create A Rectangle with Rounded Edges
The first thing we need to do is create a rectangle on the canvas by utilizing Illustrator’s basic shapes tools. Grab the Rectangle Tool by pressing M on your keyboard, and then click and drag on the canvas to create a vertically-oriented rectangle:
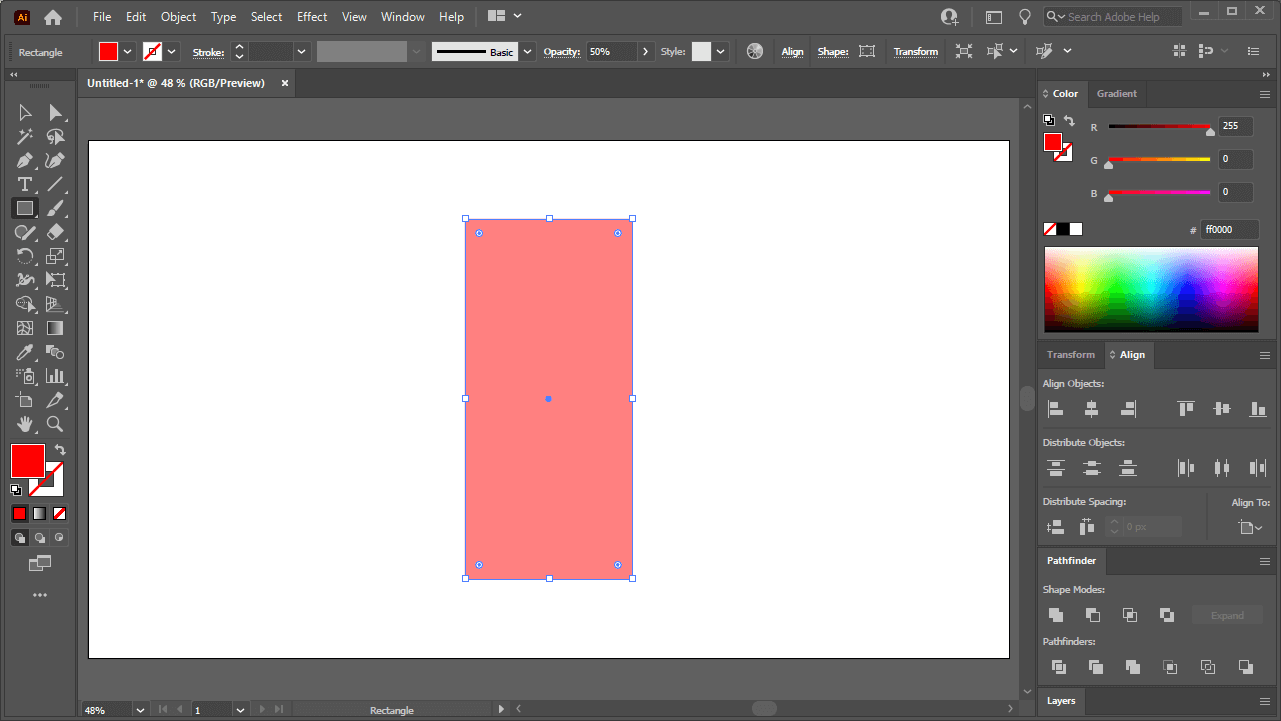
The width and height of the rectangle doesn’t matter as much as the proportions do, so just make sure that it is considerably great in height than it is in width, as I’ve done in my demonstration.
It is also recommended that you give the rectangle a solid fill color, remove the stroke, and reduce the opacity to roughly 50%. This will make it so that we’ll be able to see through the shapes as they overlap each other, which will be really helpful.
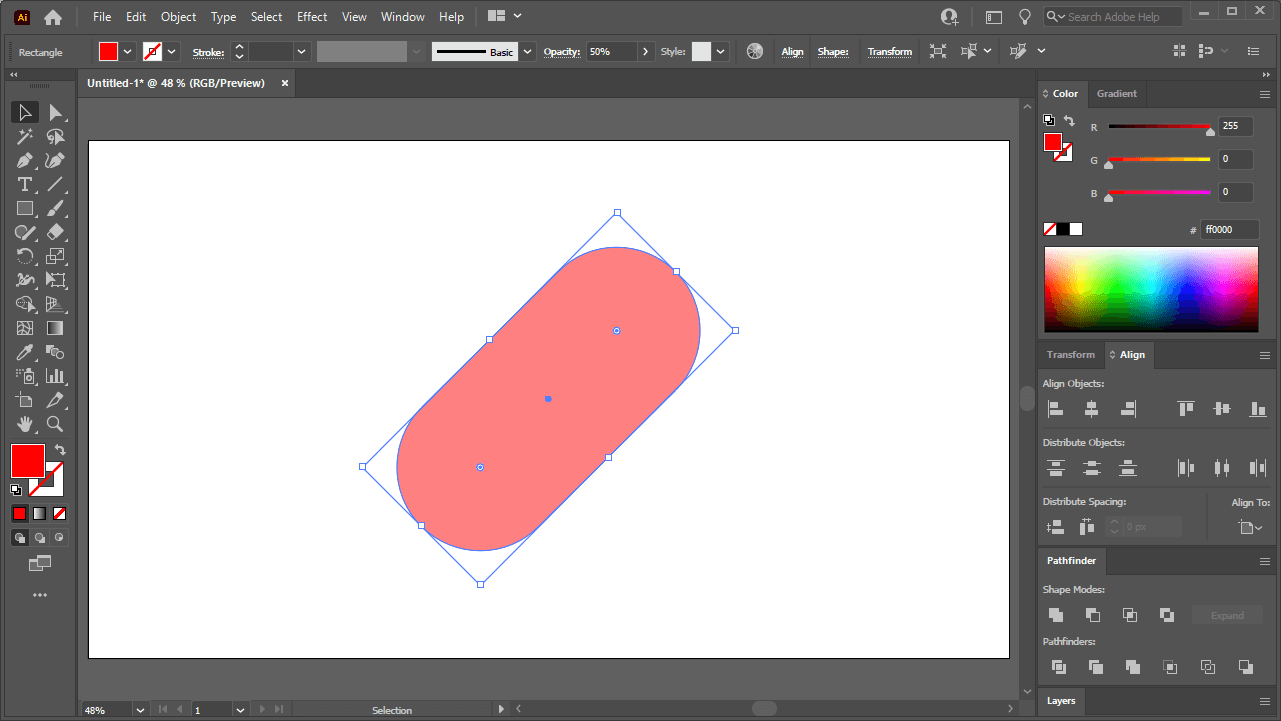
Next, give your rectangle rounded edges by using the Live Corner Widgets in the corners of the rectangle:
Live Corner Widgets all you to give your shapes rounded corners in Illustrator.
Step 2: Create An Adjacent Duplicate Copy Of The Rectangle
Next, we’re going to rotate the rectangle 45 degrees in a clockwise direction:
You can rotate your rectangle using the Select Tool. Make sure to hold Shift while rotating so that it locks it into 45 degree steps.
Now we’re going to create a duplicate copy of the rectangle by clicking and dragging it, and then holding Alt while doing so. This will generate another copy of the rectangle. Hold Shift as well to ensure that the rectangle remains on its horizontal plane.
Rotate the duplicated rectangle so that it is going 45 degrees in the opposite direction (or counter-clockwise) from its original vertical position, and overlap it with the original rectangle:

The result will be a cross-like shape, but if you look closely, you will see that a heart shape has been formed within these rounded rectangles.
Step 3: Use The Shape Builder Tool To Trim Off The Excess Pieces
To make a heart in Illustrator we now need to remove the excess areas of the rounded rectangles so that the remaining shape will be a heart. This is going to be done using the Shape Builder Tool.
First, make sure you have both rectangles selected by clicking and dragging over them. Then, open the Shape Builder Tool by pressing Shift + M on your keyboard.
Hold Alt and click on the excess areas to delete them. Then, simply draw a line through the remaining shapes to unify them together:
You can now bring the opacity back up to 100%. The remaining shape will be a heart:
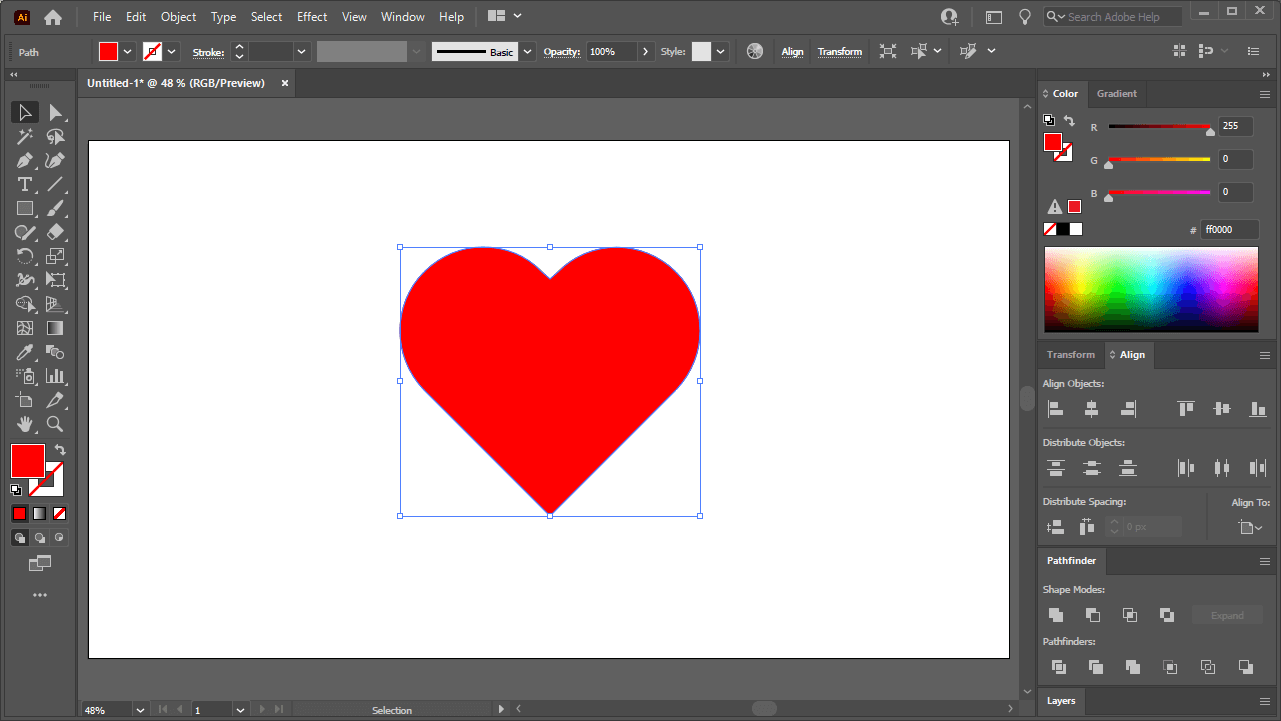
Clipping off the edges of the rectangles will leave you with a heart shape.
And that’s how simple it is to create a vector heart shape utilizing Illustrator’s handy tools!
Conclusion
Considering the usefulness of the Shape Builder Tool, it’s easier and more efficient to make a heart in Illustrator than it is in any other vector design application. To create something similar in Inkscape or Affinity Designer, you’d have to use a series of Boolean operations to accomplish what can be done with Illustrator in mere seconds. All it takes is an Alt-click and a drag. The Shape Builder Tool is a unique feature that makes it stand out from the rest. Hopefully we’ll see something similar incorporated into the alternative applications in the future.
If you have any questions, or if any part of this lesson was unclear, simply leave a comment below.
Learn To Master The SoftwareGain a complete understanding of your favorite design apps with my comprehensive collection of video courses. Each course grants access to our private community where you can ask questions and get help when needed.
|
||||||||||||||||||||||||||||||||


Leave a Reply