
Fit Text To A Shape In Affinity Designer Using The Frame Text Tool
Fit Text To A Shape In Affinity Designer Using The Frame Text Tool https://logosbynick.com/wp-content/uploads/2021/04/fit-text-to-shape-1.png 800 470 Nick Saporito https://secure.gravatar.com/avatar/8e31bf392f0ba8850f29a1a2e833cdd020909bfd44613c7e222072c40e031c34?s=96&d=mm&r=gWorking with text and shapes can sometimes be messy and complicated depending on the software you’re using. However, you can fit text to a shape with Affinity Designer with a single click by using the Frame Text Tool. In this tutorial we’ll be going over just how simple it is.
Flowing text into a shape with Affinity Designer is simply a matter of selecting your shape, then using the Frame Text Tool to apply the text to that shape. As you type, your text will be generated within the confines of the shape, and then you’ll be able to edit the font, style, size, alignment, kerning, and every other property of your text.
Table Of Contents |
Fit Text To A Shape In Affinity Designer
| To fit text to a shape in Affinity Designer, make sure you have your text selected. Then, grab the Frame Text Tool and click on the shape. A blinking cursor will appear within the shape, indicating that you can begin typing. The text you type will be confined to the boundaries of the shape. |
The following video tutorial will walk you through the process of using the Frame Text Tool to wrap your text and flow it into whatever shapes you’d like:
Continue on for the written instructions.
Step 1: Create A Shape
First, we must create the shape that we’d like to flow our text into. For this demonstration I will be using a star:
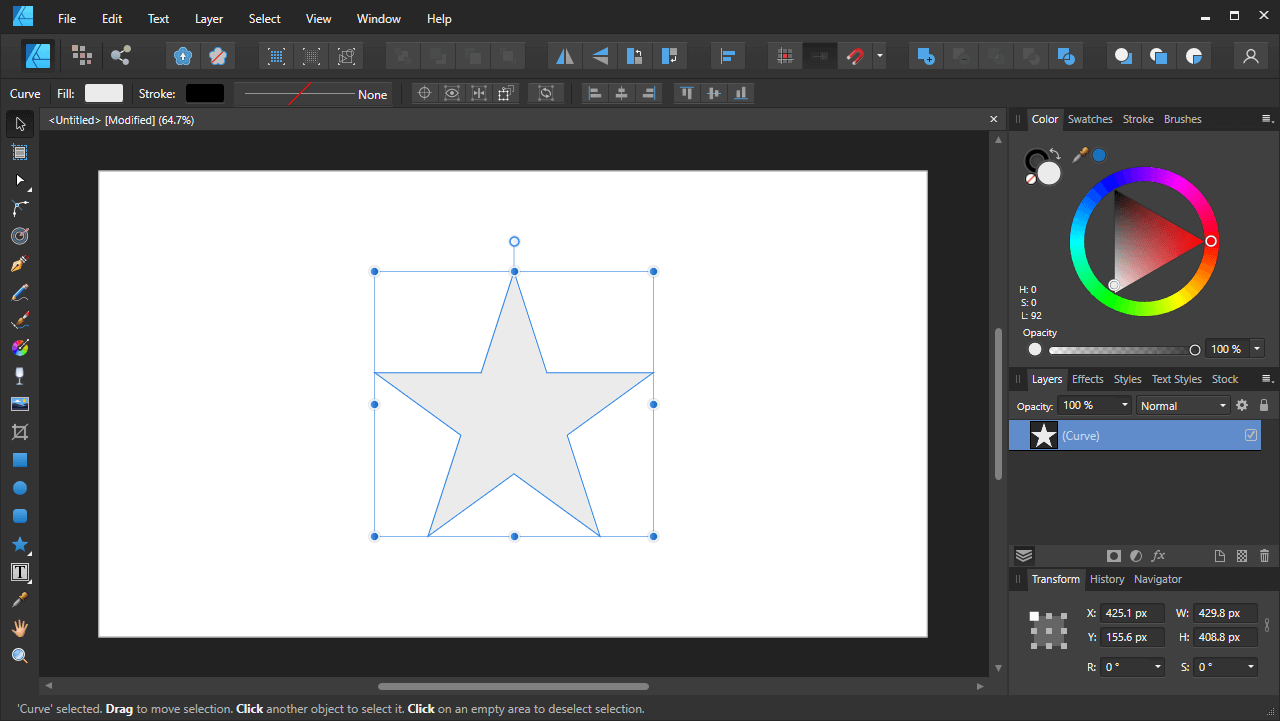
Click to enlarge.
You can use whatever shape you’d like though, as long as its a vector path. This will not work with photos and PNG images.
Step 2: Locate The Frame Text Tool
Next, we have to grab the Frame Text Tool, which will allow us to fit text to a shape in Affinity Designer, but first make sure that you have your object selected. You will know it’s selected when you see the blue bounding box around it, with the transformation handles, as depicted in my screenshot above.
With your object selected, click and hold on the Artistic Text Tool in the tools menu until a little fly out menu appears:

The Frame Text Tool is the tool positioned at the bottom of the list.
You’ll see two tools listed in the menu:
- Artistic Text Tool
- Frame Text Tool
The Artistic Text Tool is great for placing text on paths, but for the text wrapping we’ll be doing in this tutorial, we will be using the Frame Text Tool so go ahead and select it.
Step 3: Fit Your Text To The Shape with The Frame Text Tool
With the Frame Text Tool selected, hover your cursor over your shape. You will notice that the cursor’s icon changes to a letter T inside of a polygon:
All you have to do now is simply click on the shape, then you will be prompted with a blinking cursor, indicating that you can begin typing.
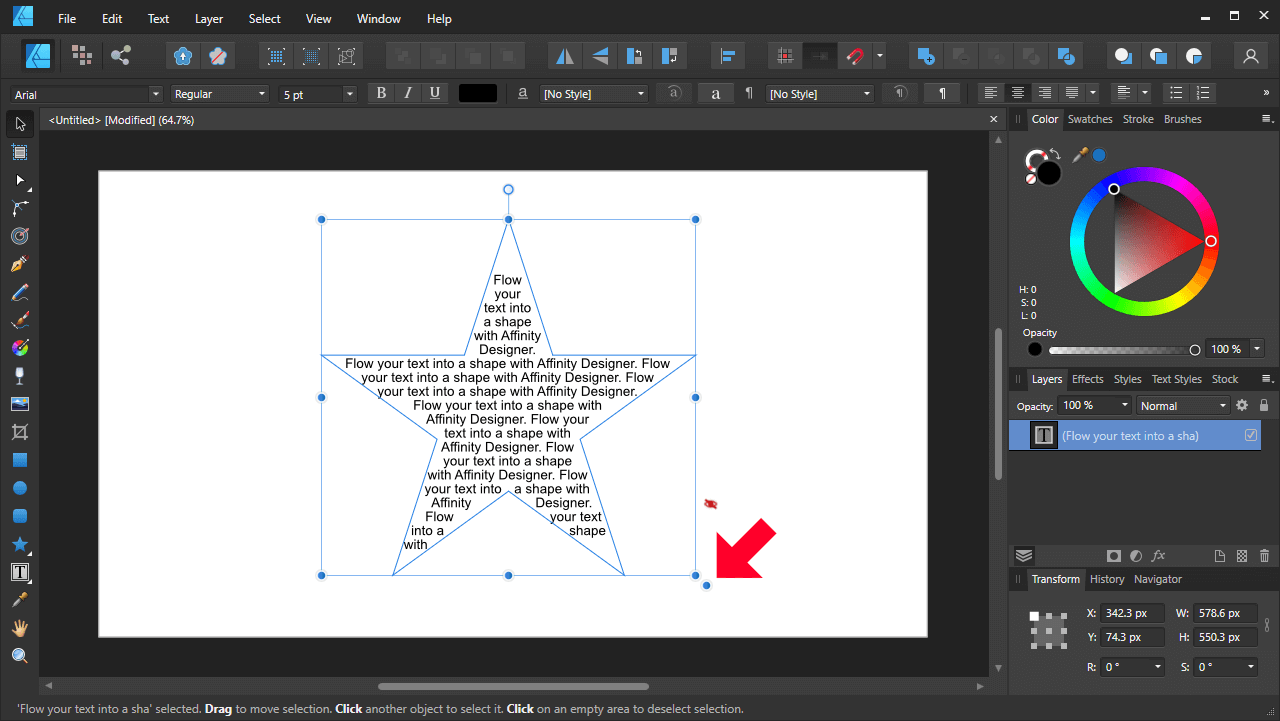
As you type, the text you generate will be confined to the boundaries of the shape:
Clicking the little red eye icon in the bottom-right of the bounding box will toggle the visibility of any overflowing text off and on:

Click to enlarge.
Editing Your Wrapped Text
Once you have finished typing your text, you can begin editing it and styling it to fit your preferences.
Changing The Text Style
To change the size of the text that you fit into your shape, select all of it by pressing Control + A on the keyboard, then hover your cursor over the text size setting in the tool menu. Rolling down on the mouse wheel will decrease the size of the text, whereas rolling up will increase it:
With your text still selected, you can also make adjustments to some of the other properties of your text, such as:
- The font
- The spacing between the letters
- The spacing between lines of text
- The style (bold, italics, underline)
- And more
You can also adjust the justification (or alignment) of the text, which plays a somewhat important role when fitting text to a shape:
- Left align: This will make it so that your text aligns to the left side of the shape. The original shape of the original object will be preserved on the left side, but it may lose some of its shape on the right side to accommodate the size and spacing of your letters.
- Center align: This will center the text within your object, which may cause some loss in its shape on both the left and right sides, but it will at least be even on both sides.
- Right align: This will align your text to the right side, preserving the shape of the object on the right-hand side, but may cause the left side to lose some of its shape.
- Justify: This will force your text to run to the edges of both the left and right-hand sides, which will preserve the shape of the object. However, extra spacing will have to be added between words and letters.
Transforming Your Text
One final tip to keep in mind whenever you fit text to a shape in Affinity Designer has to do with scaling.
If you scale your text object using the standard transformation handles located around the perimeter of the bounding box, the shape itself will scale, but the text will remain the same size:
Using the standard transformation handles will scale the shape, but not the text.
If you’d like to scale your text in such a way that the size of the text scales in proportion with the shape, use the added handle on the outer edge of the bottom-right corner:
The correct handle to use is in the bottom-right of the bounding box, just outside of it.
Using this handle will ensure that the size of your text scales along with the shape:

Finalizing Your Wrapped Text
Once you are finished fitting your text to your shape and stylizing it as needed, you can finalize it by selecting it and navigating to Layer > Convert to Curves.
This will change your text from an editable text object to a series of vector paths that have been grouped together into a single layer. It should be noted though that once you convert your text to curves, you will no longer be able to edit the contents of your text, so make sure you’re satisfied with the design before doing so. In fact, it would be wise to create a duplicate copy of your text to keep on hand in case you end up needing to alter it later on.
Conclusion
Thanks to the Frame text Tool, knowing how to fit text to a shape with Affinity Designer is a quick, simple, and seamless process. One thing I’ve noticed about other vector editors — like Inkscape and Illustrator — is that their method of handling this sort of task is either needlessly complicated and inconsistent (as is the case with Adobe Illustrator,) or it causes bugs, crashes and slowdowns (as is the case with Inkscape.) Working with text is one area where Affinity Designer outshines the rest.
If any part of this lesson was unclear, or if you have any questions, simply leave a comment below.
Learn To Master The SoftwareGain a complete understanding of your favorite design apps with my comprehensive collection of video courses. Each course grants access to our private community where you can ask questions and get help when needed.
|
||||||||||||||||||||||||||||||||


Nick: Thanks for clearing-up this mystery for us.
How can I save this tutorial to my YouTube saved video list for future reference? There’s no SAVE button in the usual space below the screen.
Thanks
Hi Brian, just click the YouTube logo in the video player and it’ll take you to the video on YouTube. Then you should have all of those buttons available.