

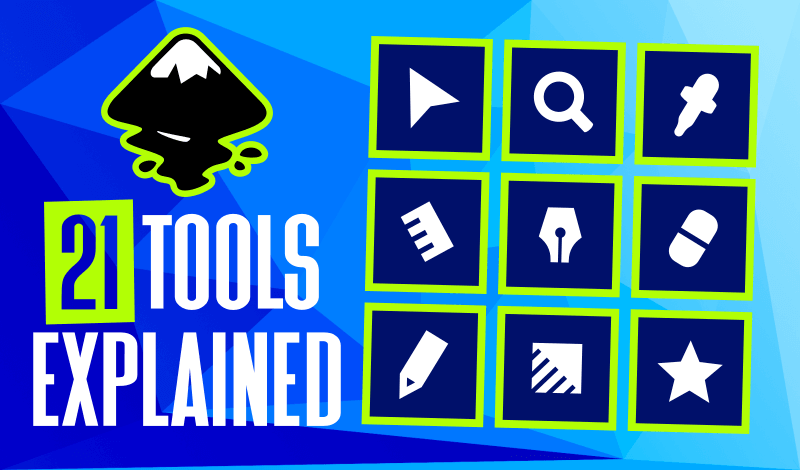
All 21 Inkscape Tools and Uses Explained
All 21 Inkscape Tools and Uses Explained https://logosbynick.com/wp-content/uploads/2019/10/inkscape-tools-explained.png 800 470 Nick Saporito https://secure.gravatar.com/avatar/8e31bf392f0ba8850f29a1a2e833cdd020909bfd44613c7e222072c40e031c34?s=96&d=mm&r=gIn this post I’ll be explaining all 21 Inkscape tools and uses, along with a brief demonstration of how they work. Inkscape is an open source vector graphics application similar to Adobe Illustrator. It has much more to offer than just the 21 tools located in its toolbar, but this guide should serve as a good starting point for understanding the basics of Inkscape if you’re new to the software.
Inkscape Tools and Uses |
|||
| Select and Transform |  |
The Select tool allows you to activate, move, rotate, shear, and scale single or multiple objects at a time. |  |
| Edit Paths By Nodes |  |
The Edit Paths By Nodes tool allows you to alter the properties of a vector object relative to its coordinates on the X and Y axis. Editable properties include nodes (or coordinate points of an object) and lines. |  |
| Tweak Objects |  |
The Tweak Objects tool allows you to make compound alterations to multiple objects, paths, and colors at a time. Alterations include moving multiple objects at once, shrinking, rotating, or duplicating them. It also allows you to make adjustments based on colors and blurs. |  |
| Zoom |  |
The Zoom tool allows you to increase or decrease your view of the canvas. You can zoom in to see fine details, zoom out to get a more complete view of the canvas, or set the view ratio to 1:1 in order to see how the canvas looks at full size. |  |
| Measurement |  |
The Measurement tool allows you to assess the length, width, height, radius, or diameter of specific objects in the following units of measurement: px, mm, pc, pt, in, cm. |  |
| Squares and Rectangles |  |
The Squares and Rectangles tool is used to create 4-sided vector objects, including squares and rectangles. The tool allows you to create rectangles with either perfect right angle corners or rounded corners to varying degrees. |  |
| 3D Boxes |  |
The 3D Boxes tool allows you to quickly create three-sided vector boxes that appear as if they’re three-dimensional. The X, Y, and Z axis can be adjusted indepently in order to determine the box’s width, height, and depth. |  |
| Circles, Ellipses, and Arcs |  |
The Circles, Ellipses, and Arcs tool can be used to create vector objects with curved edges, including circles and ellipses. The tool also allows you to create partial ellipses in pie chart style. |  |
| Stars and Polygons |  |
The Stars and Polygons tool allows you to create both stars and polygons. When creating stars, you’ll be able to determine the number of corners the star has, the spoke ratio between each star, and you can choose to give your star rounded corners as well. When creating polygons, you’ll be able to determine the number of sides/corners and you can choose to make them rounded if you’d like. |  |
| Spirals |  |
The Spirals tool is used to create vector paths that follow a spiral trajectory. The tool allows you to adjust the number of turns the spiral has as well as its divergence from its center point. |  |
| Draw Freehand Lines |  |
The Draw Freehand Lines tool is used to draw vector paths that follow the trajectory of your hand movement. |  |
| Bezier Pen |  |
The Bezier Pen is used to create vector paths by creating a series of individual points known as nodes. The paths can have straight edges or curved edges. |  |
| Draw Calligraphic or Brush Strokes |  |
The Draw Calligraphic or Brush Strokes tool allows you to create freehand vector objects using a classic brush stroke and shape of your choosing. |  |
| Text Objects |  |
The Text Objects tool is used to create vector text and wording of your choosing. It allows you to flow your text into a bounding box, or simply generate it all on one line. You can also adjust the font, size, orientation, spacing between letters and words, as well as various other adjustments. |  |
| Spray Objects |  |
The Spray Objects tool allows you to generate vector objects by spraying them onto the canvas based on a shape of your choosing. |  |
| Erase Existing Paths |  |
The Erase tool is used to delete segments of vector paths in a freestyle technique that is based on the trajectory of your hand movement. |  |
| Fill Bounded Areas |  |
The Fill Bounded Areas tool, commonly known as the bucket fill tool, allows you to fill empty spaces with a predetermined fill color. In order for the tool to work, the area you’re filling in must be completely surrounded by a closed path. It will not work on empty spaces that bleed out into the open canvas. |  |
| Create and Edit Gradients |  |
The Create and Edit Gradients tool allows you to give vector objects multiple colors that fade into each other, otherwise known as gradients. The tool also allows you to edit the gradients based on colors used, number of colors, and the position of the colors relative to the object the gradient is being applied to. The gradients can follow either a linear (straight) or radial (rounded) path. |  |
| Meshes |  |
The Meshes tool is used to give vector objects a gradient that follows a grid (mesh) or a cone shape (conical). |  |
| Pick Colors From Image |  |
The Pick Colors From Image tool, commonly referred to as the dropper, allows you to set an object’s fill and stroke color based on another object’s color. The tool allows you to sample colors from both vector and raster images. |  |
| Diagram Connectors |  |
The Diagram Connectors tool allows you to create diagrams by generating paths and boxes that link objects together. |  |
The Select Tool
Watch the video below for a more in-dept explanation of the Select Tool, which is probably the tool you’ll be using more frequently than any other.
The video above is from my Inkscape Master Class — a series of 50+ videos where I go over every tool and feature in Inkscape and explain what it is and demonstrate how it works. If you’re looking for a more in-depth explanation of all Inkscape tools and uses, including every other feature and function Inkscape has to offer, then feel free to check it out! I’ll be there to help if you have any questions.

You might also like


29 comments
-
-
Nick Saporito
This is one of Inkscape’s annoying quirks. Try setting your preferred units and then saving the document as the default template.
-
-
-
Anusree S
Hi, am your regular follower on youtube. I learned Inkscape and gimp from your tutorials, and now am planning to join your master course. As a blogger, this is really useful to create my own graphics and designs. Thank you.
-
-
Anton
Hi.
I’m looking at the Masterclass but wondering if the course focuses on how each tool and feature works or if there are ‘project’ lessons that accompany the learning so that once a tool or feature is explained in can be put into use during a ‘Now you know what it does, we are going to make this’ type lessonThanks in advance.
-
Nick Saporito
Hi Anton, there aren’t any project lessons. It’s just a series of videos where I demonstrate how each tool works and go over all of the settings and details associated with it.
-
-
Anonymous
Hy I’m a web developer I advice you to take out the load page because it’s taking too long and thanks
-
-
Peace
HI! Thank you so much for your tutorial.
I wanted to request if you could make tutorials on grain texture shading to make
object look 3D. I really like the way you explain things. So it would be really
helpful if you could make a tutorial on that.
Thanks Again!😊


Comments are closed.
JR
You are a pro Nick. So much appreciate all your work
Stupid issues w defaults.
Want Rulers in, inches but it I change both unit boxes in doc properties to inches, then in the fill & stroke box, I continuously have to change the stroke width unit back to px! So frustrating.
So I leave my main doc properties units in mm, then I think the strike width stays as pixels.. does this make sense.
Going to try to alter the default page but don’t think we’ll make a difference