GIMP Pressed Leather Mockup
GIMP Pressed Leather Mockup https://logosbynick.com/wp-content/uploads/2019/06/gimp-pressed-leather-effect-1024x602.jpg 1024 602 Nick Saporito https://secure.gravatar.com/avatar/8e31bf392f0ba8850f29a1a2e833cdd020909bfd44613c7e222072c40e031c34?s=96&d=mm&r=gIn this tutorial I’ll be demonstrating how you can create a pressed leather effect with GIMP. This would work great as a logo mockup template for your portfolio, or as a way of branding product photos.
The following is just a brief overview of the steps taken to achieve the effect. For complete step-by-step instructions, please refer to the video tutorial at the top of the page.
Pressed Leather Effect
The first step is the download the leather texture and open it with GIMP. Click the image below to download the texture…
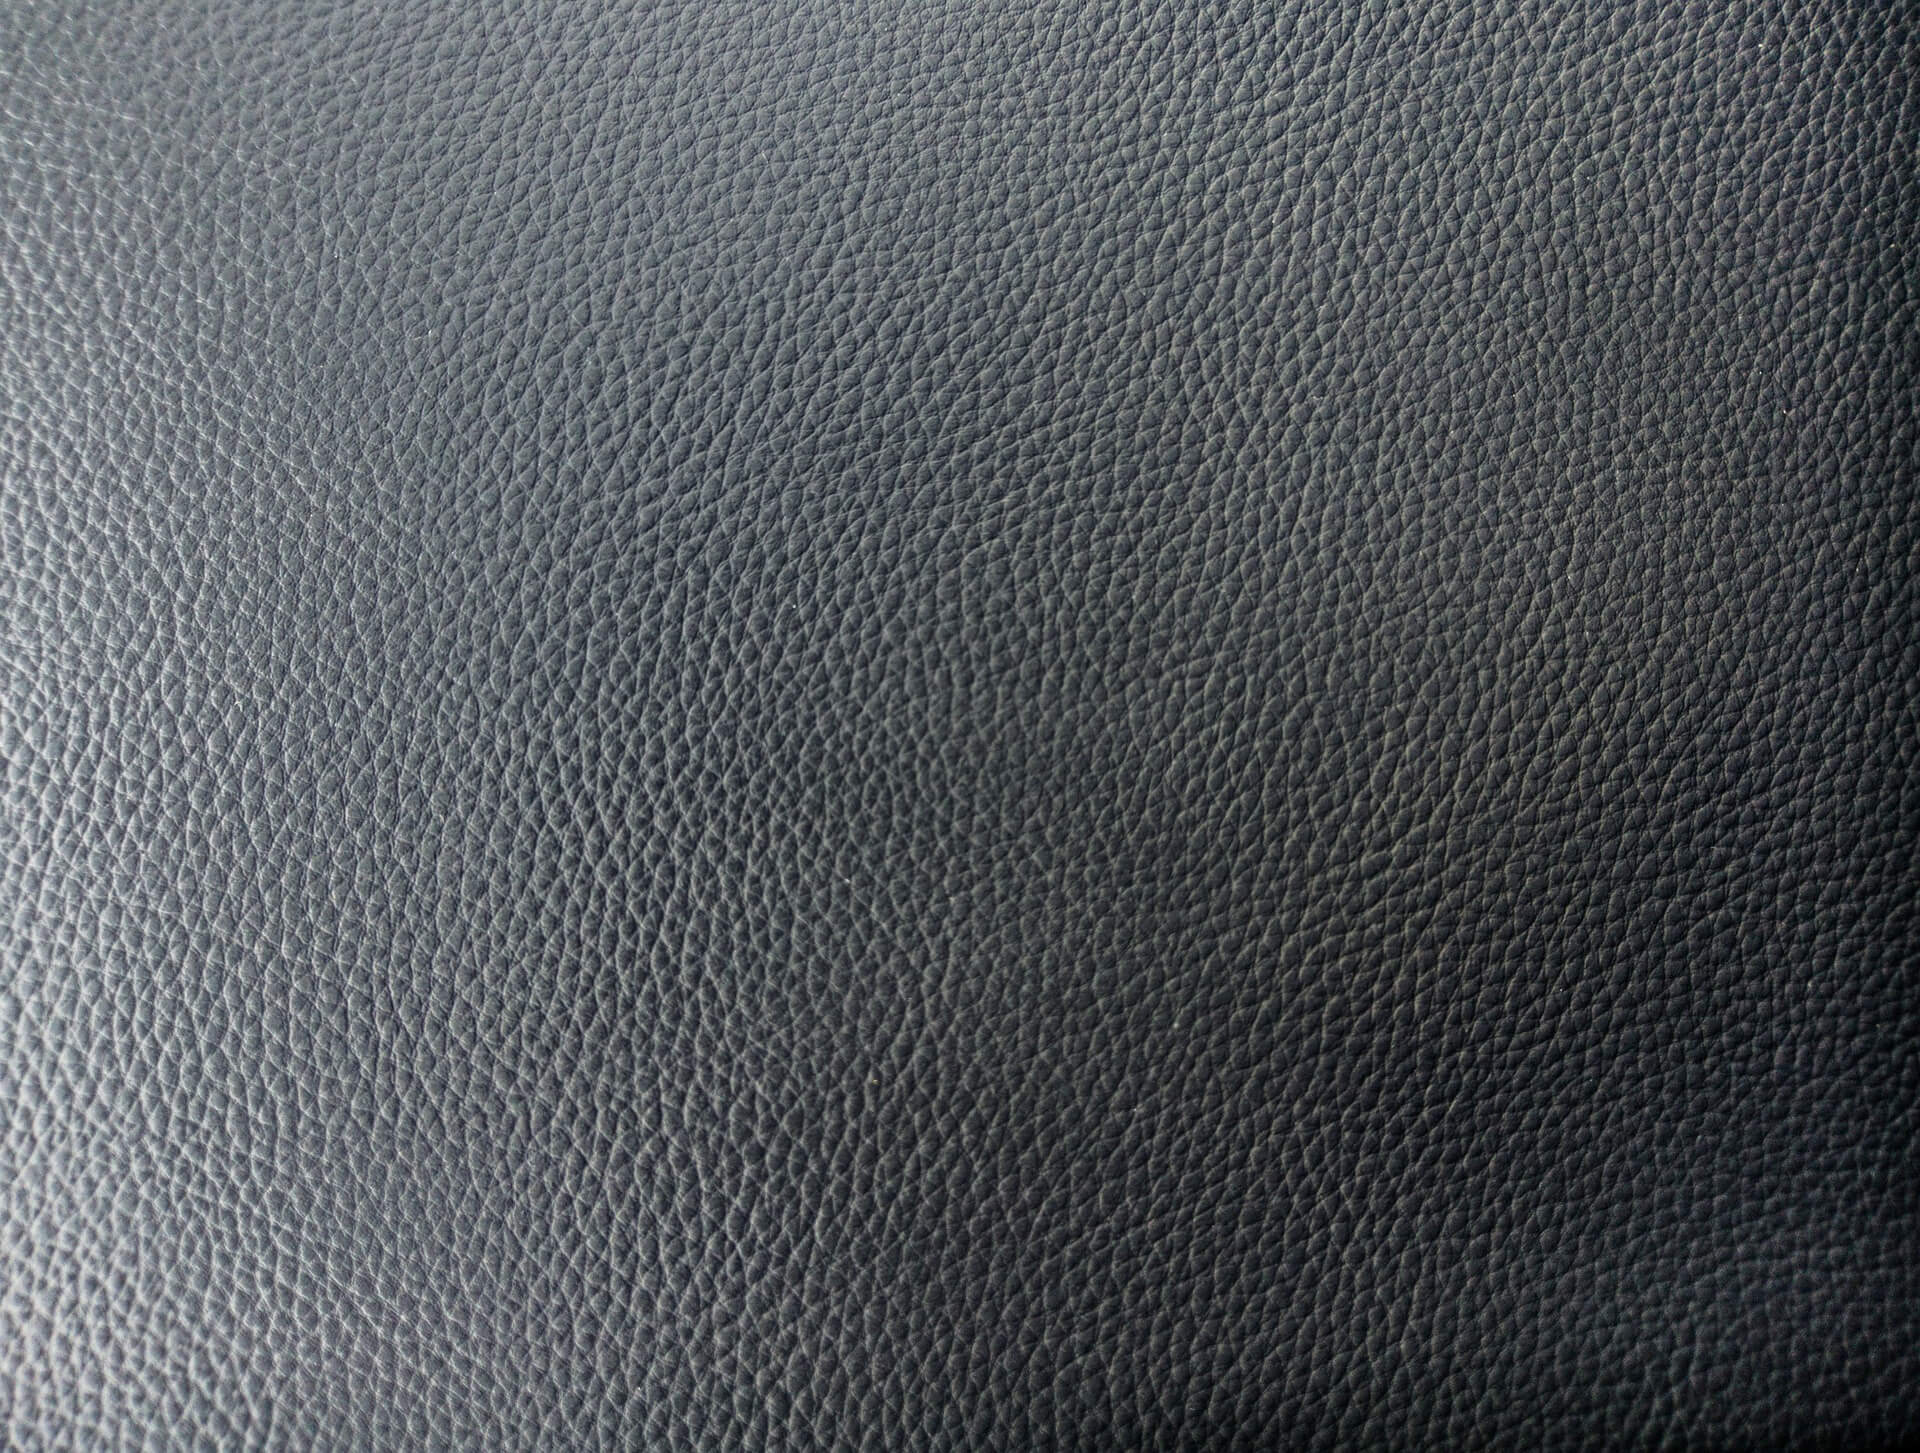
Click for full size image
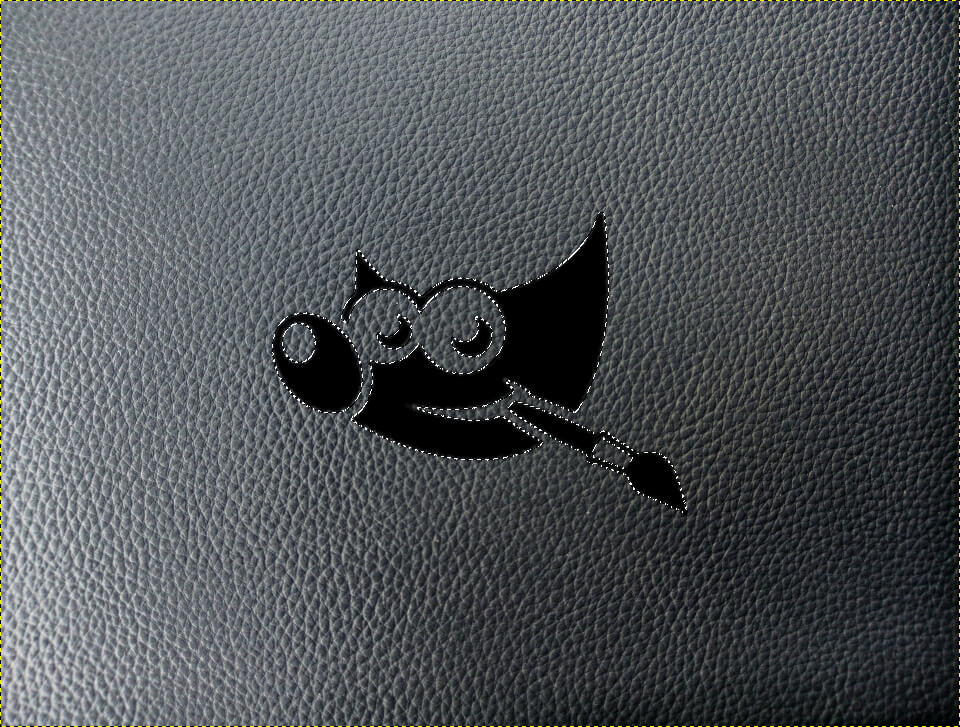
Once you’ve opened the texture with GIMP, place your logo, text, or whatever graphic you’d like to impress into the leather, on top of the texture in a new layer. You just need to make sure that whatever graphic you use has transparency in and around it. If you’re using a JPEG image, it will not work.
For the sake of this tutorial I will be using GIMP’s logo as an example. You can download a copy of it below…
Click for full size image
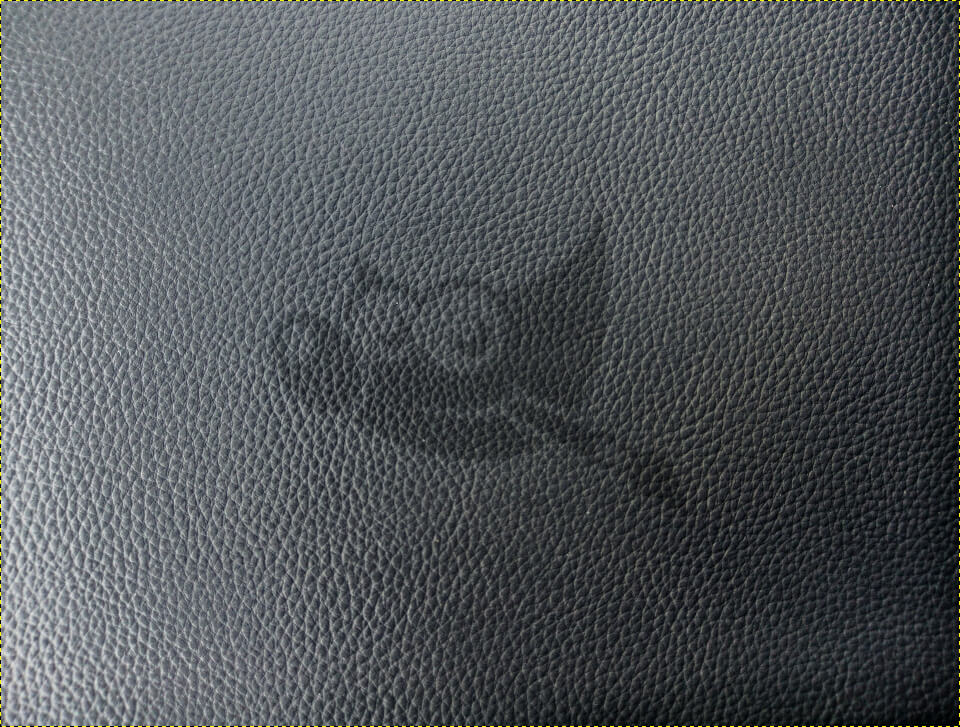
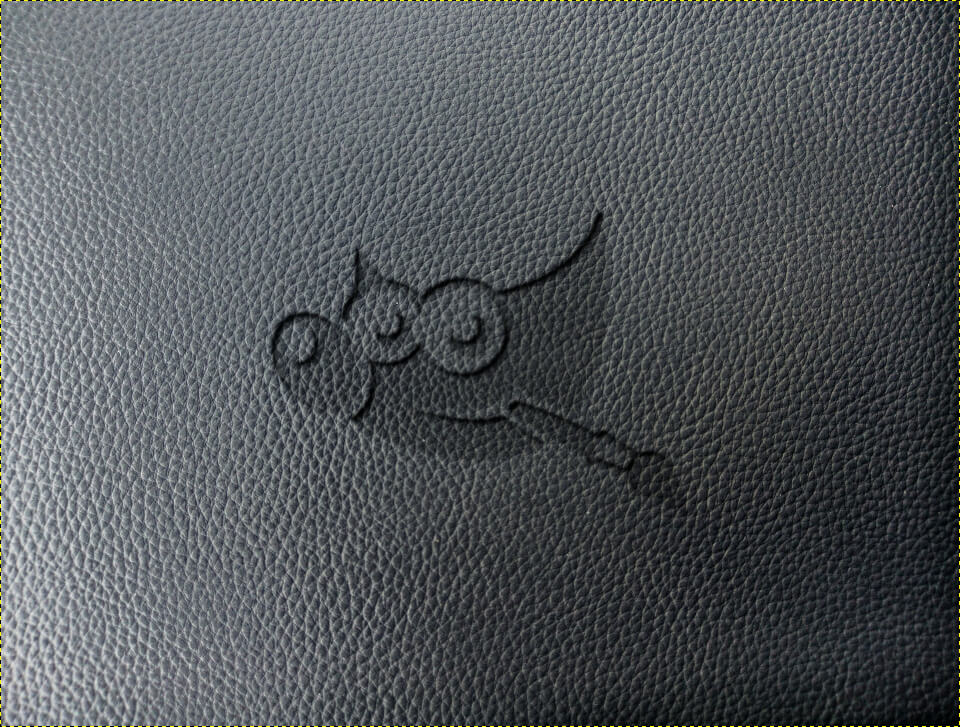
Create an alpha selection around the logo, then toggle off the visibility of the logo layer and feather the selection by 10 pixels. Now create a new layer and fill the selection with black.
Set the blend mode of the layer to soft light and drop the opacity to 40%.
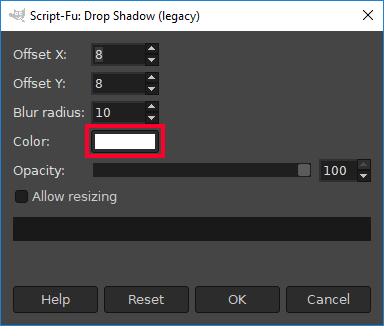
Now create another alpha select around the layer, invert it, then go to Filters > Light and Shadow > Drop Shadow (Legacy). Use the following presets…
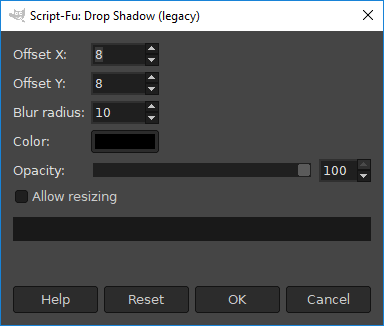
Make sure your input values match those of this screenshot
You will now have an inner shadow within the logo.
Go ahead and duplicate that drop shadow layer so that it becomes a little more visible.
Now we’re going to create another alpha selection around the logo and apply the drop shadow filter again, only this time we’ll use white instead of black.
Same presets as last time, only with white instead of black
This will create soft white glow around the edges of your logo…
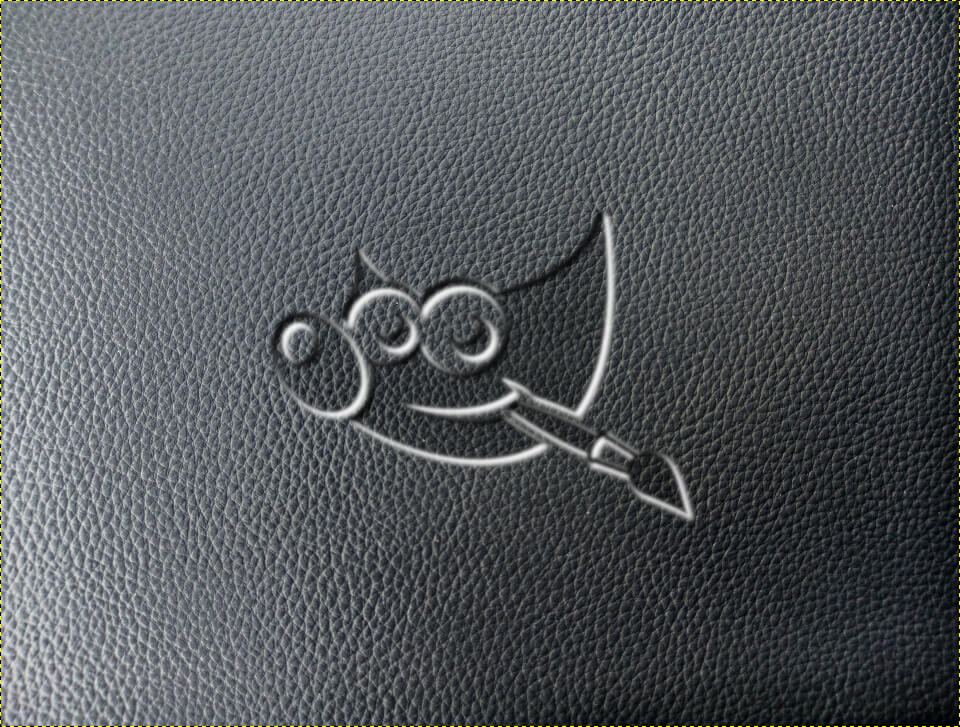
Now simply set the blend mode of the white drop shadow layer to overlay, and that should do it.

And with that, we are finished! If you have any questions or run into any problems, please leave a comment below. As always, thanks for watching!
Learn To Master The SoftwareGain a complete understanding of your favorite design apps with my comprehensive collection of video courses. Each course grants access to our private community where you can ask questions and get help when needed.
|
||||||||||||||||||||||||||||||||


You might also like


5 comments
-
-
Jakub
Thank you for doing this Nick! That really helped me in getting that effect, your website is truly a gem!
-
Brian
Hi there Nick
Any chance you could provide steps to do this on a white background so it looks like a pressed sheet of paper?
Thanks,
Brian -
Alastair Fraser-Mitchell
This is s great tutorial. Please phrase show how you made this leather effect in GIMP.
I have seen other tutorials for Photoshop but a) the texture is not as good and b) i can’t recreate these in GIMP as it didn’t have the same lighting tools.
Feel free to contact me.
-
Bobby
Hi there Nick,
There is no more Drop Shadow (Legacy) in 2.10.12.
using the Drop shadow fileter would not do the effect.
Any idea?Thank you
Bobby
Hadi
Awesome tutorials! Thanks Nick!