How To Free Transform with Affinity Photo
How To Free Transform with Affinity Photo https://logosbynick.com/wp-content/uploads/2021/09/free-transform-affinity-photo.png 800 470 Nick Saporito https://secure.gravatar.com/avatar/8e31bf392f0ba8850f29a1a2e833cdd020909bfd44613c7e222072c40e031c34?s=96&d=mm&r=gIf you’re a Photoshop user making the transition over to Affinity Photo then you may be disappointed to see that there’s no free transform tool — not one that functions the same as Photoshop’s at least. As a workaround, the way to free transform with Affinity Photo is to use an array of tools that carry out the same functions.
For scaling, rotating, moving, and shearing, the ideal tool to free transform with Affinity Photo is the Move Tool. However, if you’d like to change the perspective of your image, or perform a mesh warp, we’ll need different tools for that.
In this tutorial we’ll be going over everything you need to know to carry out free transform functions in Affinity Photo. Let’s dig in!
Free Transform with Affinity Photo
The following video tutorial will walk you through every free transform function, step-by-step:
Continue on for the written instructions.
Table of ContentsFree Transform Functions in Affinity Photo: |
Scaling
Scaling and resizing images is among the most common transformations you’ll make when working in Affinity Photo. For this we will use the Move Tool, which can be accessed with the keyboard shortcut (V) or by selecting it from your toolbox:
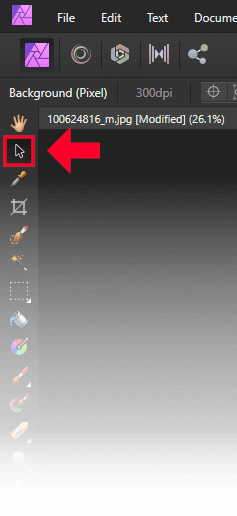
The Move Tool, represented by an arrow, is the second tool down from the top of the toolbox,
To scale your image, simply click and drag on one of the circular nodes located in the corners and sides of your layer:
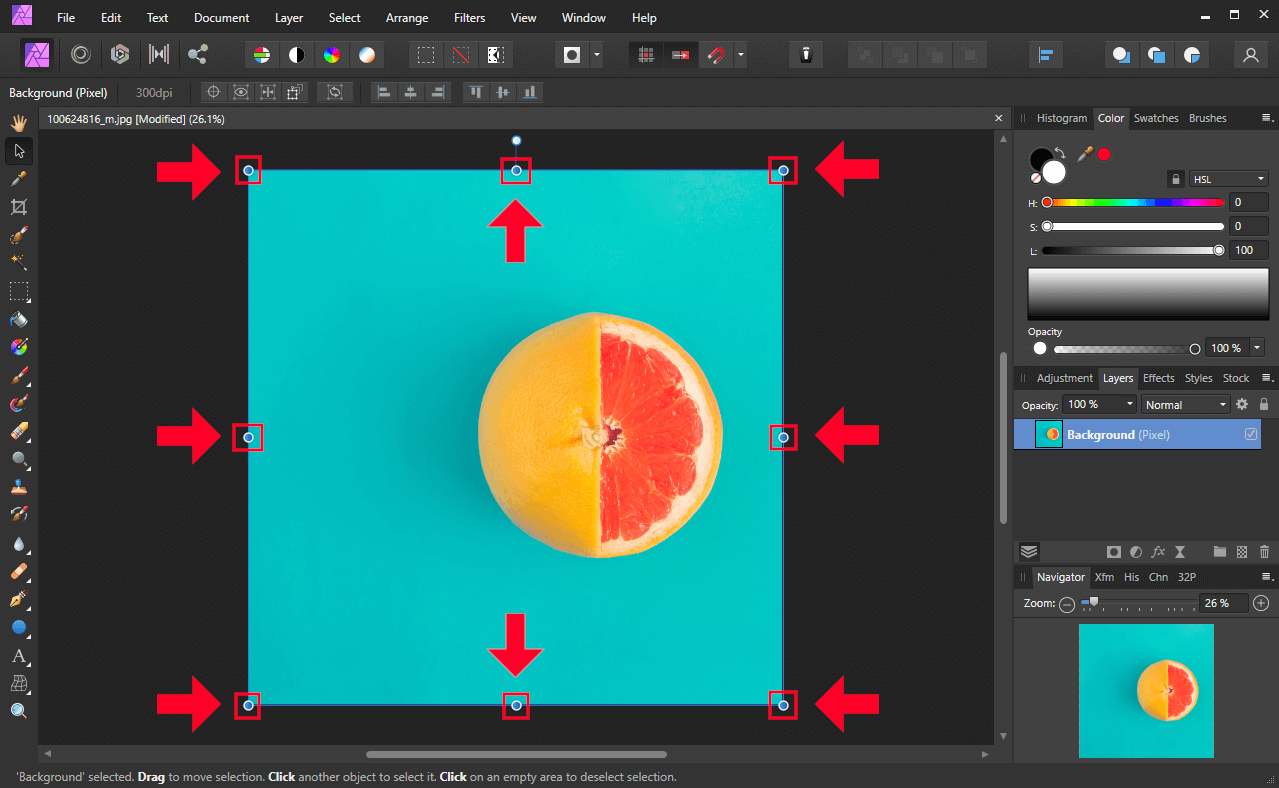
The scaling handles, outlined in red above, allow you to scale your selection.
As you click and drag, your selection will be scaled from its opposite end. You can scale your image from the center instead by holding the Control key while scaling.
By default, your image will scale proportionately. Or, in other words, as you change the width, the height will also change so that the aspect ratio is preserved, and vice versa.
If you’d like to distort your image while scaling it, you can do so by holding down the Shift key.
Rotating
Another common transformation you’ll probably need to make when looking to free transform with Affinity Photo is rotating your images. To rotate images, we will once again be using the Move Tool.
With the Move Tool selected, click on your image to select it. You should see a vertical handle sticking out from the top of the selection:
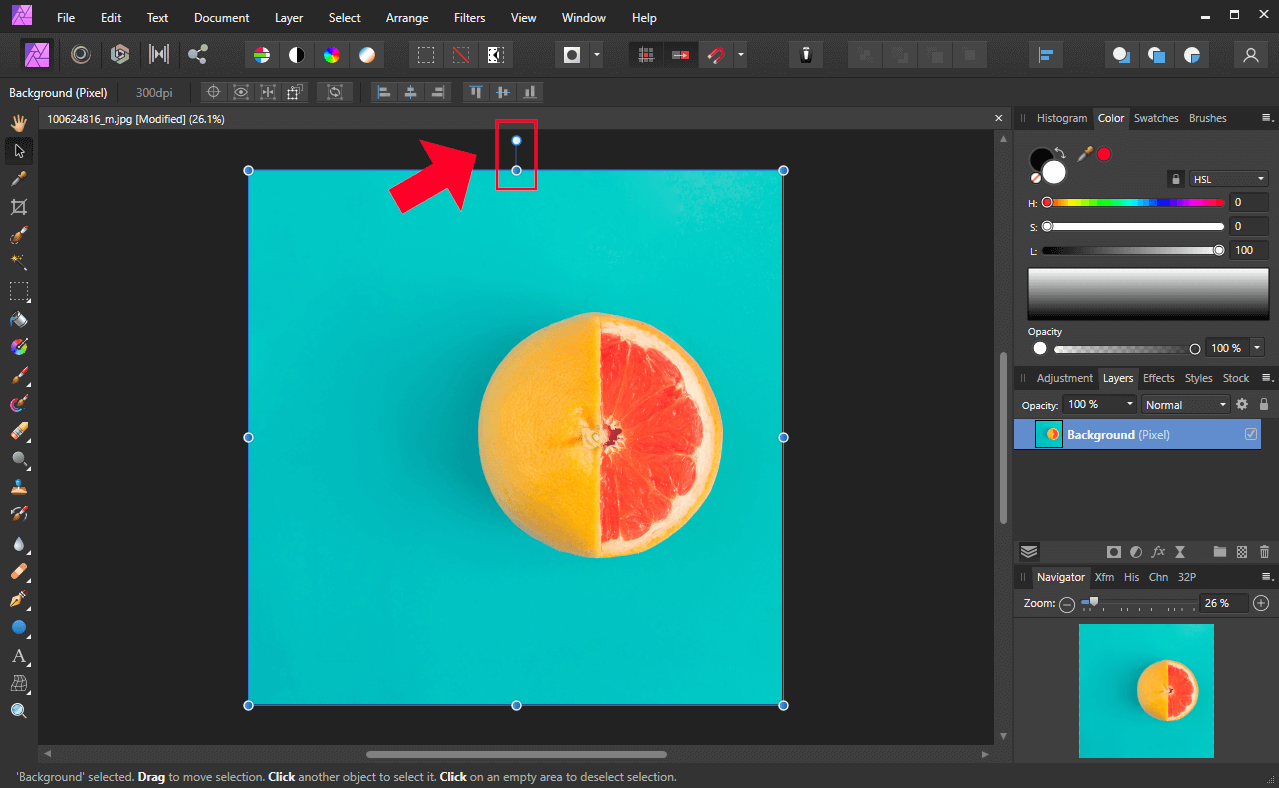
The rotation handle, outlined in red above, allows you to rotate your selection.
Clicking and dragging that handle will allow you to rotate your selection, either clockwise or counter-clockwise.
By default, the selection will rotate in a freeform fashion with the degrees of rotation being indicated in the label next to your cursor. You can rotate your selection in 15 degree increments by holding the Shift key while rotating. This can help you transform your images with more precision.
Shearing
Shearing is another way to free transform with Affinity Photo, although this function can be tricky as it’s somewhat hidden.
To shear objects with Affinity Photo, select your image with the Move Tool and move your cursor to one of the handles on the sides (not the corner handles) of the selection:
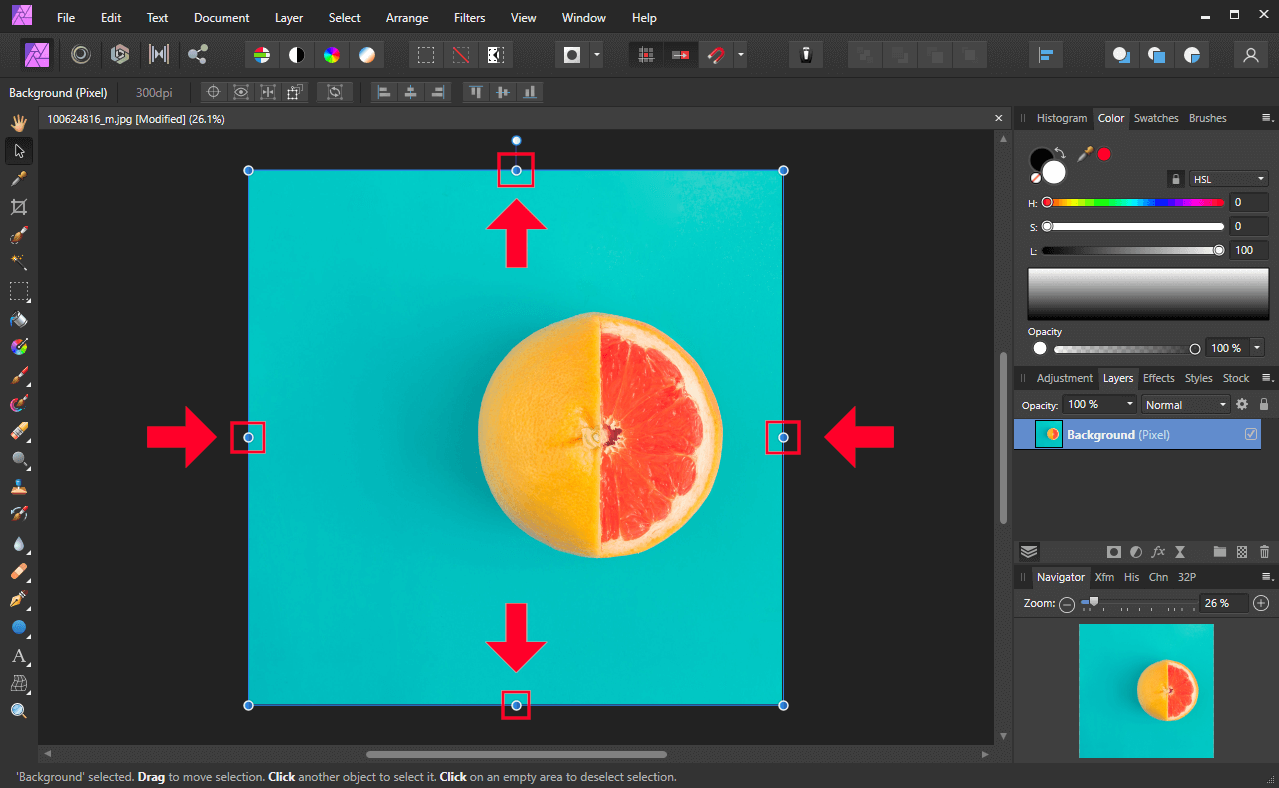
The shearing handles are located at the top, bottom, and sides of the selection.
When you hover your cursor over the left or right handle of your selection, the cursor icon will change to arrows that point upwards and downwards. At this point you can click and drag up or down to shear your selection vertically.
By default, the selection will shear relative to its opposite side. You can shear from the center by holding Control while clicking and dragging.
Hovering your cursor over the top or bottom of your selection will allow you to shear your image horizontally. As is the case for horizontal shearing, the cursor icon will change to a pair of arrows, only they’ll be pointing left and right instead of up and down.
Perspective Distort
Another way to free transform with Affinity Photo is to alter the perspective of your image. This can be done using the Perspective Tool, which will be located in your toolbar:
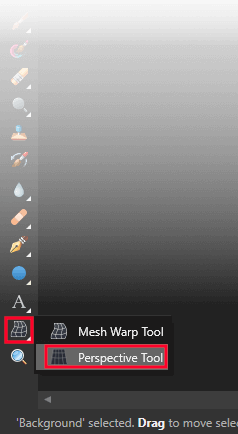
The Perspective Tool is hidden behind the Mesh Warp Tool.
The tool is hidden behind the Mesh Warp Tool, so right-click on that tool in order to get a flyout menu that will allow you to access the Perspective Tool.
With the Perspective Tool selected, you should notice four nodes in the corners of your image:
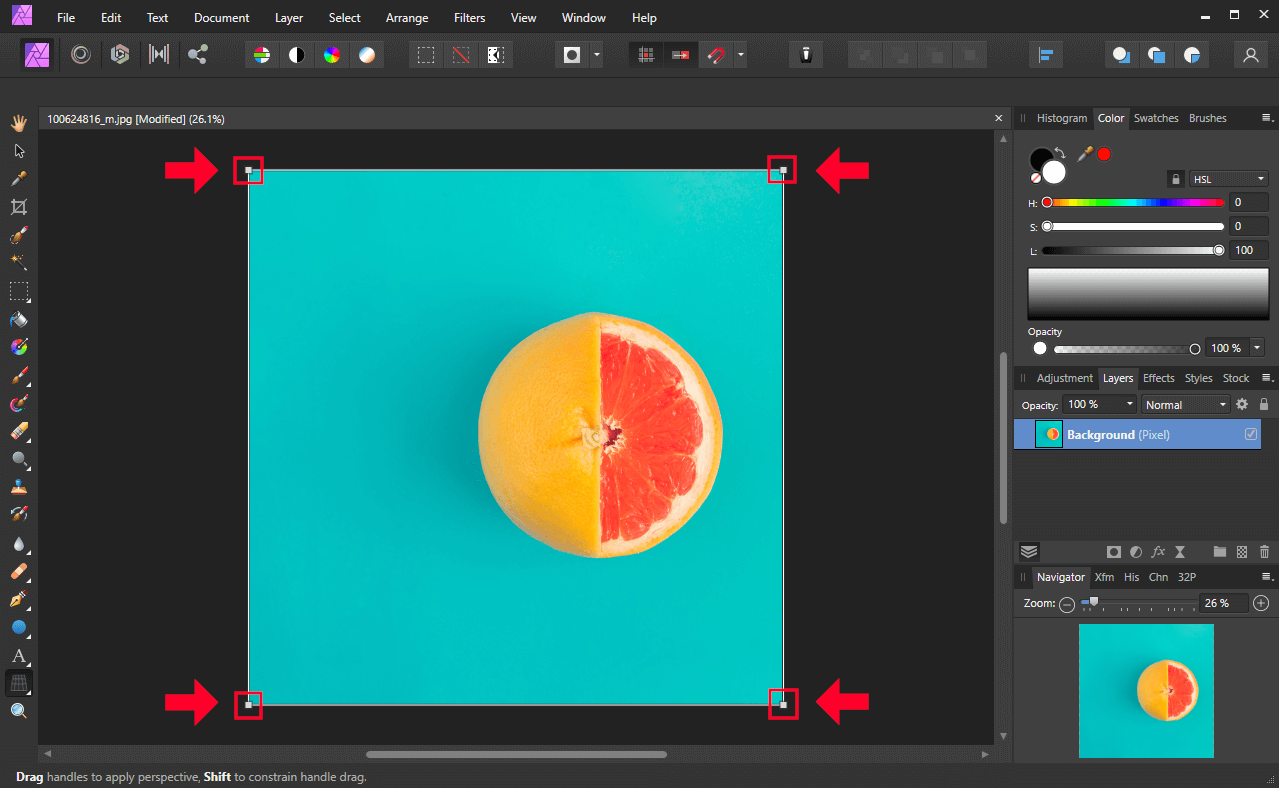
Clicking and dragging the perspective handles in the corners of the image will allow you to transform the perspective of the selection.
Clicking and dragging those nodes will allow you to distort the perspective of your image.
Holding Shift while clicking and dragging will lock the transformation onto the vertical or horizontal axis, depending on the direction of your hand movement.
Whenever you have the Perspective Tool activated you should see a small menu in the bottom-right of your screen. This menu will provide you with more granular controls over your perspective distortion, such as:
- Allowing you to place a grid over your image
- Split and mirror views for comparison
- Single or dual plane transformations
Use this menu if these are settings you’d like to alter.
Mesh Warp
The final function you’ll need when free transforming in Affinity Photo is a mesh warp. Mesh warping allows you to distort an image by clicking and dragging on localized areas of the image’s edges.
To perform mesh warps, grab the Mesh Warp Tool, which can be located towards the bottom of your toolbox:
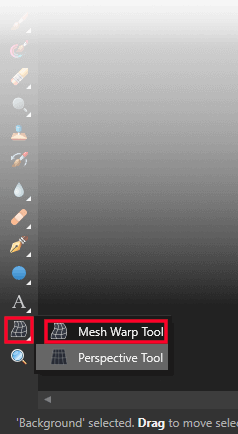
The Mesh Warp Tool is located towards the bottom of the toolbox.
Once selected, you should see nodes in the corners of your image. Clicking and dragging those nodes will bend (or “warp”) the image according to your hand motion. You can also click and drag on any of the image’s edges to warp/bend the image:
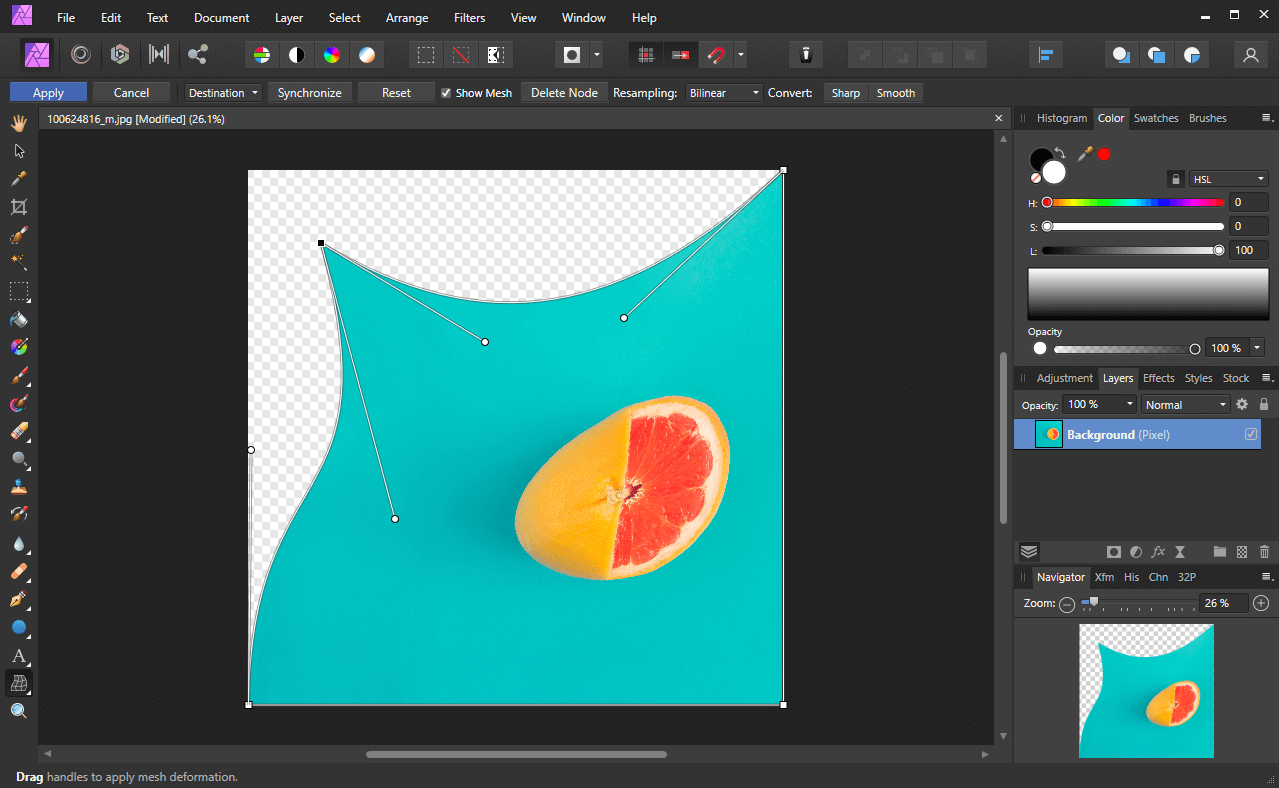
As you warp your image, you will notice transformation handles at the corner nodes. You can click and drag those handles to warp your image even further and with more precision.
Conclusion
It’s unfortunate that Affinity Photo doesn’t have an all-in-one equivalent to Photoshop’s Free Transform Tool. However, you can free transform in Affinity Photo by using the Move Tool for the most common transformations. When it comes to transformations such as perspective and mesh warping though, you’ll have to use the dedicated tools.
If you have any questions or if any part of this lesson was unclear, simply leave a comment below.
Learn To Master The SoftwareGain a complete understanding of your favorite design apps with my comprehensive collection of video courses. Each course grants access to our private community where you can ask questions and get help when needed.
|
||||||||||||||||||||||||||||||||


Great overview on how to do all of these functions to an entire image. It wasn’t what I was looking for, when Google suggested this, though. I was looking for how to make these changes to a selection. So, I’m hoping you will also do something like that, if you haven’t already. I’m used to being able to do ⌘T in Photoshop and Free Transform a selected part of an image, and was hoping for some option like that in Affinity Photo, but so far no love from Google searches, or searches on the Affinity forums.
You’ll have to cut the selection then paste it as a new layer. Then you can free transform it.
I cannot grab the handles of my image on a layer to transform it. It’s driving me crazy. Please help! I have Affinity Photo 2. If I touch the image and try to change the size, I get the edit menu instead. Grrr…
Hi Jennifer, are there no handles visible at all, or are they there but not clickable?
Eres un genio. Muchas gracias, Un saludo