How To Feather Edges In Affinity Photo
How To Feather Edges In Affinity Photo https://logosbynick.com/wp-content/uploads/2021/11/affinity-photo-feather.png 800 470 Nick Saporito https://secure.gravatar.com/avatar/8e31bf392f0ba8850f29a1a2e833cdd020909bfd44613c7e222072c40e031c34?s=96&d=mm&r=gIn today’s tutorial we’ll be using Affinity Photo to perform a common photo editing technique — feathering edges. Knowing how to feather edges in Affinity Photo allows you to soften the edges of a selection so that they aren’t too jagged or rigid. It can also be used to create visual effects for your images, as depicted in the post header.
In short, there’s two ways to feather edges in Affinity Photo — directly in the menu system, and then the advanced method that involves using the Refine Selection menu. The latter is preferred as it gives you a visual preview of the effect before it is applied, so that is the method we’ll be focusing on in this lesson.
Feather Edges In Affinity Photo
The following video tutorial will walk you through the entire process, step-by-step:
Continue on for the written instructions.
Table of Contents |
Step 1: Create a selection using one of the selection tools
In order to feather a selection in Affinity Photo we must first create a selection.
There’s various different ways to create a selection, including:
- The Selection Brush Tool
- The Flood Select Tool
- The Freehand Selection Tool
- Marquee Selection shapes (rectangle, ellipse, column, etc.)
- And more
This tutorial presumes that you already know how to create a selection with one of these tools and just want to know how to feather the edges, so we will not be going over the specifics of creating selections in this lesson.
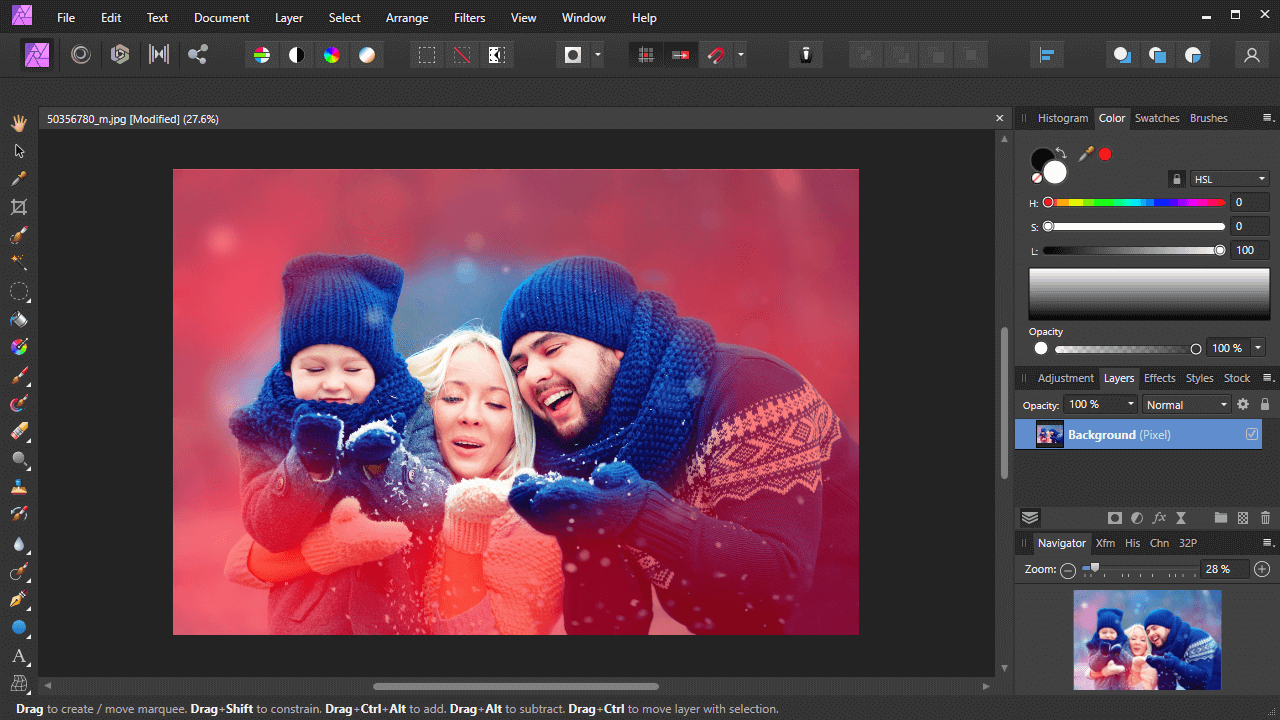
For this demonstration I will be using the Elliptical Marquee Tool to create an oval selection over the subjects in my example photo:
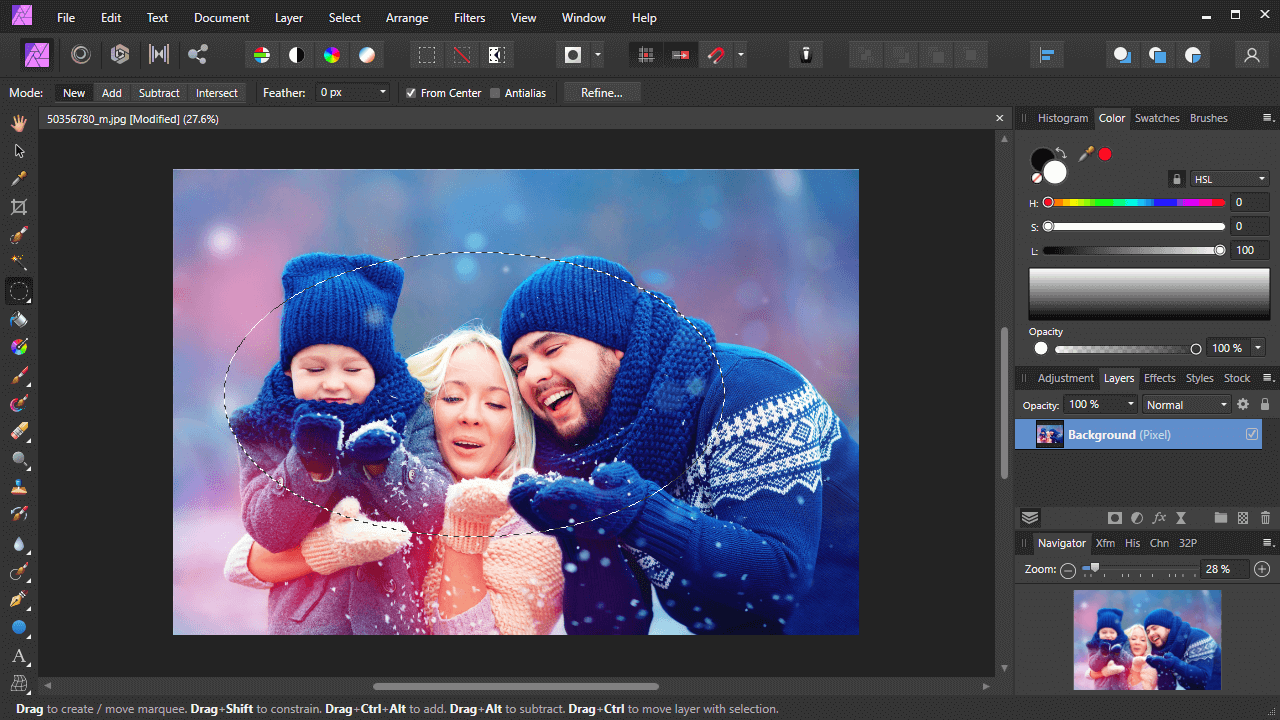
For this demonstration I have created an elliptical selection going around the subject of my photo.
Please note: In order to apply your selection to a given photo, you must first make sure that the photo’s layer is unlocked by clicking the lock icon (if it exists) next to the layer’s name, and then make sure that it is rasterized by right-clicking the layer and selecting Rasterize.
Refer to the video tutorial above for more detailed instructions.
Step 2: Open the Refine menu
Once you’ve created your selection, you should notice that a button labeled as “Refine” populates in the tool settings menu towards the top of the screen:
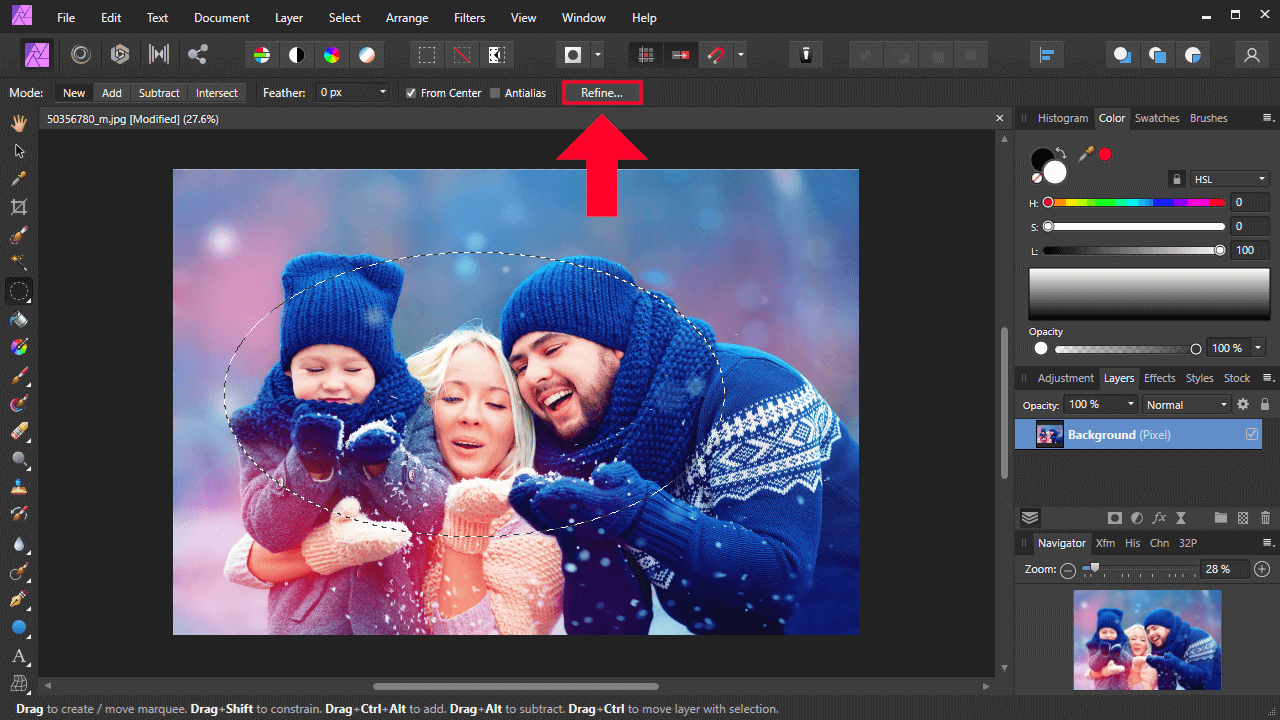
The Refine button is located towards the top of the menu.
Click on that button to open the Refine menu:
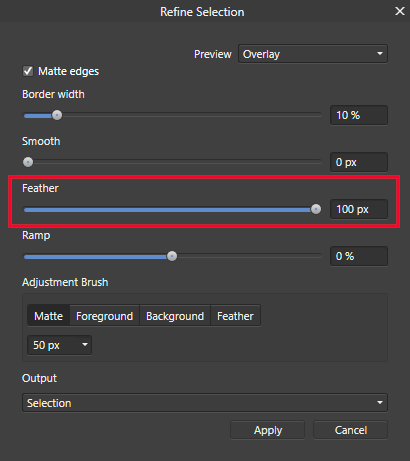
The Refine Edges menu, depicted above, has a setting for adding feathering to your selection.
Alternatively, you can also access this menu by navigating to:
Select > Refine Edges
Step 3: Use the Feather slider to adjust the amount to feather your selection by
The Refine menu in Affinity Photo allows you to adjust the properties of a selection you’ve created.
Once opened, there will be a red overlay/mask placed around the negative area of the selection to help you better visualize how your selection will look once implemented.
Within the Refine menu, you should see a Feather setting with a slider that you can adjust.
Moving this slider to the right will increase the size of the feathering, make the edges of your selection softer. Moving it to the left will decrease the size, leaving the edges harder and more rigid. As you adjust the slider you should notice the red mask updating according to these changes:
The red mask provides a preview of how the selection will look once the changes are applied.
Adjust this slider to your liking, using the red mask as a reference.
Step 4: Apply the changes to your selection
Once you are finished adjusting the Feather setting to your preference, press the Apply button to apply the changes.
If the only property of your selection that you changed is the feathering then there shouldn’t be much of a visual change on your canvas. The change will be most notable once applied to the image itself.
In my example image I currently have an elliptical selection going around my subject. I’d like to keep the contents of the elliptical selection and delete everything outside of it though, so I can going to invert the selection by navigating to:
Select > Invert Pixel Selection
Again, nothing will change visibly on the screen, but if you press the Delete key on your keyboard (or go to Edit > Cut), your background will be deleted with the contents of the elliptical selection remaining, but with feathered edges:
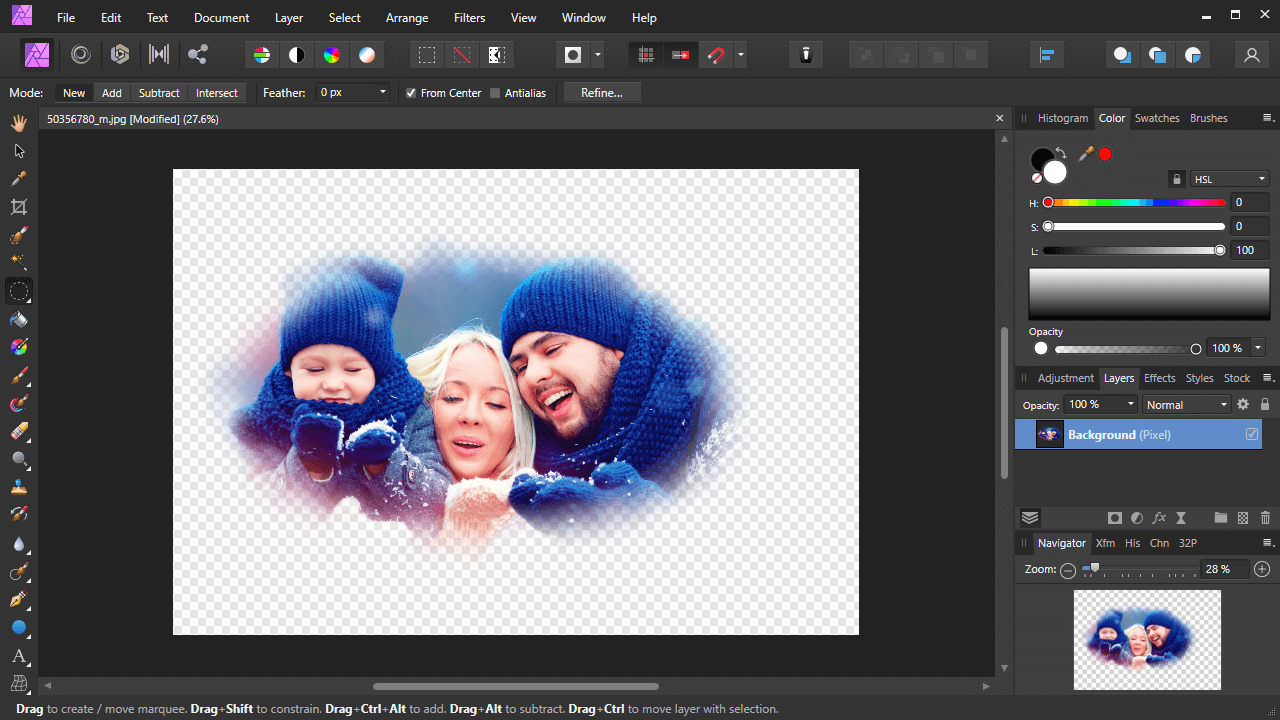
Feathering the edges of a selection can give your photo soft edges.
Now you can remove the selection from your screen by navigating to:
Select > Deselect
And that is how you can feather edges in Affinity Photo!
Conclusion
Using the Refine menu to adjust a selection’s properties is no the only way to feather edges in Affinity Photo. This can also be achieved by navigating to Select > Feather when you have a selection enabled, at which point you will be prompted to input a pixel amount to feather your selection by.
The problem with using this method, however, is that you do not get a preview of how the selection looks once feathered. This means that you’ll likely have to guess an amount, apply the changes, and if you don’t like how it looks you’ll have to undo everything and try a different threshold. The benefit of using the Refine menu is that it gives you a live preview of the transformation before applying it.
If you have any questions or need clarification on any of the steps taken in this lesson, simply leave a comment below.
Learn To Master The SoftwareGain a complete understanding of your favorite design apps with my comprehensive collection of video courses. Each course grants access to our private community where you can ask questions and get help when needed.
|
||||||||||||||||||||||||||||||||


