Erase Part Of An Image In Illustrator | Beginner Tutorial
Erase Part Of An Image In Illustrator | Beginner Tutorial https://logosbynick.com/wp-content/uploads/2022/01/erase-part-of-an-image-in-illustrator.png 800 470 Nick Saporito https://secure.gravatar.com/avatar/8e31bf392f0ba8850f29a1a2e833cdd020909bfd44613c7e222072c40e031c34?s=96&d=mm&r=gErasing parts of an image is something that is typically reserved for pixel-based design applications such as Photoshop. However, thanks to the masking feature, this sort of thing is possible in a vector application (like Adobe Illustrator) as well. In this tutorial we’ll be going over a simple workaround that will allow you to erase part of an image in Illustrator.
Why The Eraser Tool Doesn’t Work On Images
When looking to erase part of an image, your natural inclination may be to use something like the Eraser Tool. However, you will be disappointed to see that it doesn’t produce the desired result. When trying to use the Eraser Tool on an image, you will get an error sound and the cursor will depict a stop symbol.
The reason why this happens is because Adobe Illustrator is a vector graphics editor, therefore its tools are designed to work on vector objects and not rasterized (pixel-based) imagery.
The Workaround
In short, the way to erase part of an image in Illustrator is to open the Transparency menu, add a layer mask to the image, uncheck the “clip” box, and then begin painting over your image with a black brush.
The way layer masking works is that black areas of the mask create transparency over the subject it’s applied to, whereas white areas remain opaque. This is a similar approached we used in a previous tutorial demonstrating how to create a transparent gradient mask with Illustrator.
Best of all, this approach is completely non-destructive, meaning that it can be undone at any time. Let’s dig in!
Erase Part Of An Image In Illustrator
The following video tutorial will walk you through the entire process, step-by-step:
Continue on for the written instructions.
Table of Contents |
Step 1: Import your image onto the workspace
To get us started we must first import our image into Illustrator.
Please note: it’s important that you import your image onto an already existing document. The method we will be using in this lesson will not work if you use the File > Open method.
To import your image onto the workspace, navigate to:
File > Place
You will then be prompted to choose a file on your hard drive.
For this demonstration I will be partially erasing the following example image:
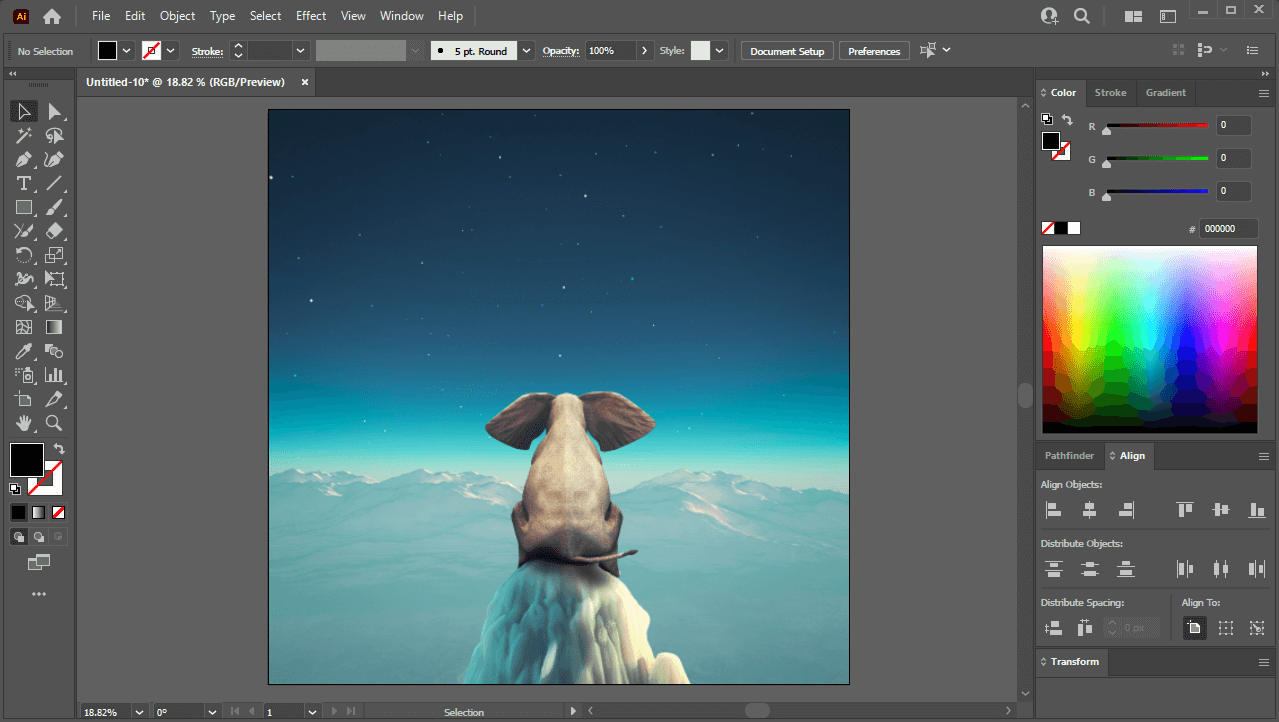
Step 2: Select your image and open the Transparency menu
Once you’ve placed your image onto the document, make sure you have it selected with the Selection Tool, and then open up the Transparency menu.
If you don’t already have the Transparency menu opened, you can access it by navigating to:
Window > Transparency
The Transparency menu should populate on the side of your screen as a small floating menu. This menu is what allows us to apply layer masks, which will be needed in order to erase part of an image in Illustrator.
Step 3: Click the Make Mask button to apply a layer mask and uncheck the Clip box
With your image selected and the Transparency menu open, click the Make Mask button to apply a layer mask:

The Make Mask button is located in the top-right corner of the Transparency menu.
Once applied, your image will temporarily disappear. Do not panic though. This is fine. Everything is fine.
Next, uncheck the box (just beneath the Make Mask button) that reads Clip. This will make your image reappear again.
Your image should now have a layer mask applied to it, although nothing has visibly changed yet.
Step 4: Use a black brush to paint over the mask, effectively erasing the image it’s applied to
At this point you should see two different thumbnail previews in the Transparency menu:

Selecting the left thumbnail allows you to edit the image, whereas the right thumbnail allows you to edit the applied mask.
The thumbnail on the left represents the image, and the thumbnail on the right represents the mask.
In order to begin erasing your image, you will need to make sure that you have the mask thumbnail selected, so go ahead and click on it. It should highlight in blue once selected.
With the mask layer now activated, grab the Brush Tool (keyboard shortcut: B), set your stroke color to black, and begin painting over your image.
If done correctly, the black brush strokes should work like an eraser does, effectively erasing the parts of your image that you paint over:
HERE
Tip and Pointers
Here’s a couple of tips to keep in mind when erasing part of an image in Illustrator:
- You can increase and decrease the size of your Brush Tool by using the left and right bracket keys on your keyboard. This can help you erase with more precision.
- You don’t have to use the Brush Tool to partially erase your object. Any object — including shapes and paths — placed over the image will erase/create transparency in the image so long as it is black.
Once you are finished erasing parts of your image, you can go back to transforming the image and working with it in all the ways you normally would by selecting the image thumbnail on the left-hand side in the Transparency menu:
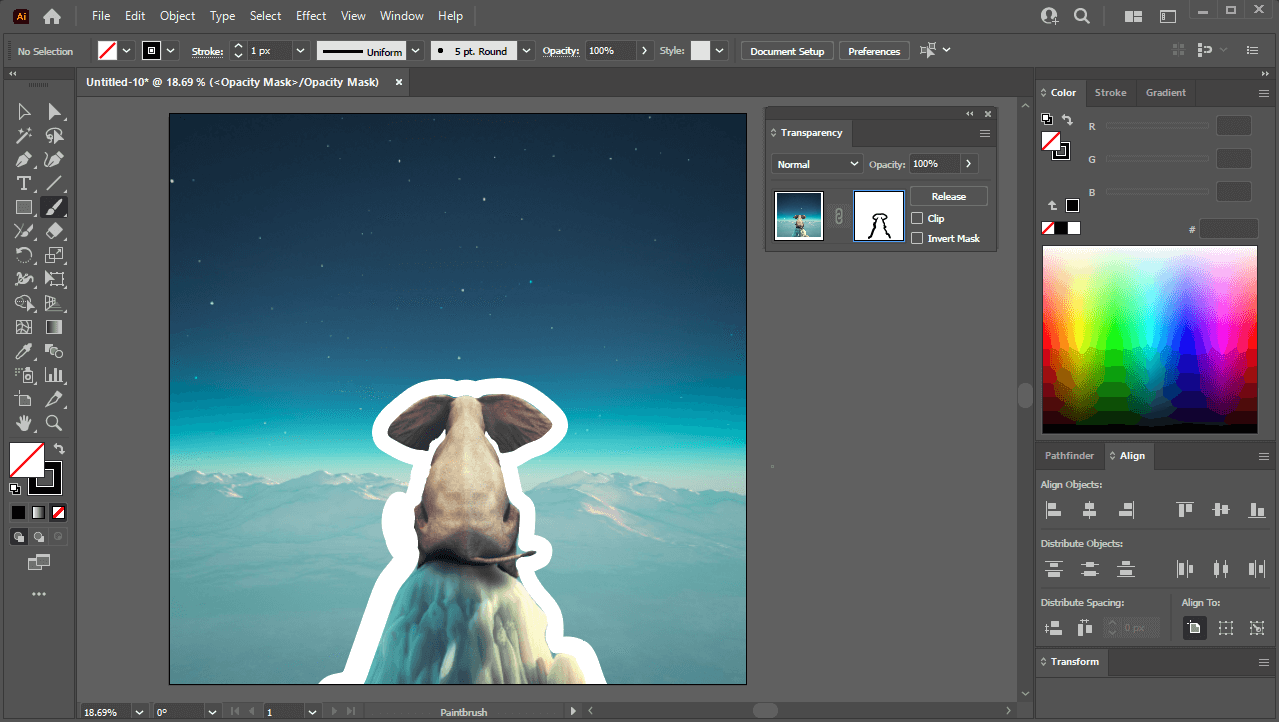
Painting around the edges of the subject with a black brush results in the painted areas of the image becoming erased.
Once selected, you will be able to move your image around again. And if you’d like to go back to erasing it at any point thereafter, all you have to do is select the mask thumbnail on the right again to activate it.
Once you’re finished erasing the parts of the image that you no longer want to be there, you can simply export your work in PNG format (this will preserve the transparency.)
How To Undo The Changes
One of the benefits of using this feature to erase images is that it’s non-destructive, meaning you can undo the changes at any point in the future.
To undo the changes you’ve made to your image, simply select the image and click the Release button in the Transparency menu (located where the Make Mask button previously was.)
This will remove the mask from your image, reverting it back to its original state:
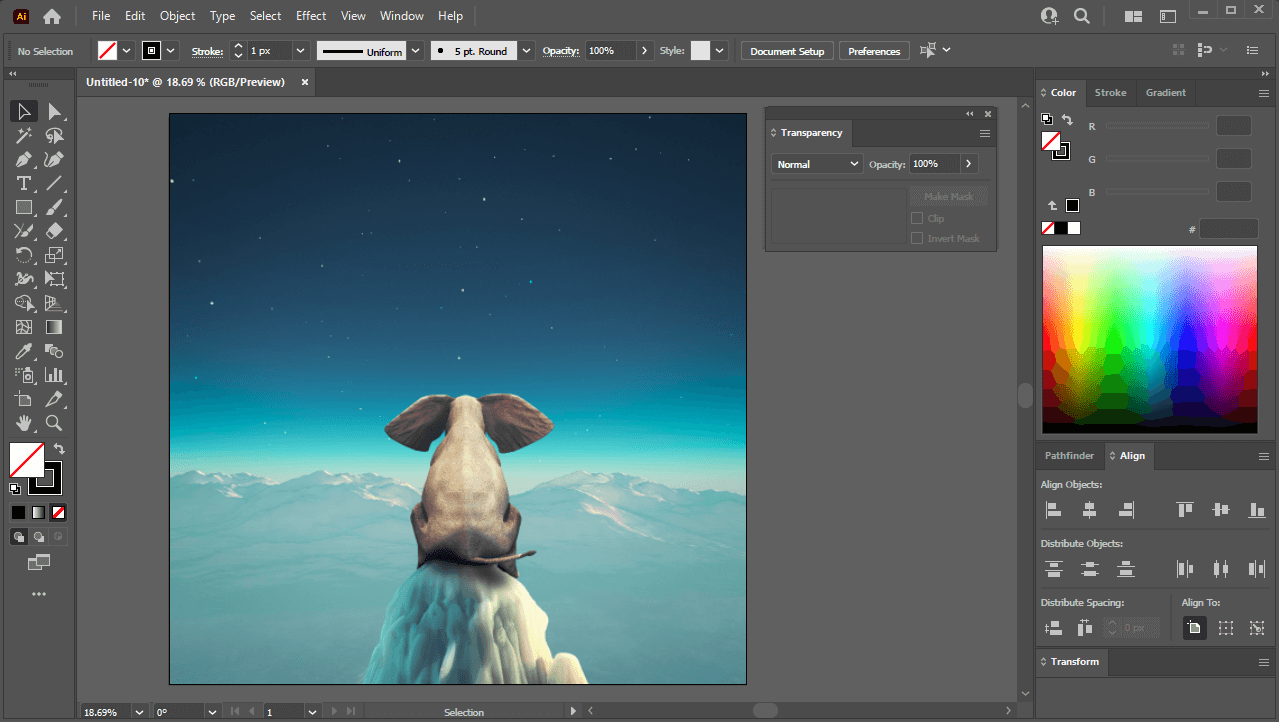
Once the mask is released the image will revert back to its previous state before you erased it.
And then from here you can simply delete the black strokes/objects that were previously used to create transparency on your image.
Conclusion
Knowing how to erase part of an image in Illustrator is simply an exercise in using masks. In a vector environment, masks allow you to do so much more than just erase images, so it’s a great skill to learn. Thankfully, Illustrator makes this process easier and more seamless than any other vector application.
If you have any questions or need clarification on any of the steps taken in this lesson just leave a comment below.
Learn To Master The SoftwareGain a complete understanding of your favorite design apps with my comprehensive collection of video courses. Each course grants access to our private community where you can ask questions and get help when needed.
|
||||||||||||||||||||||||||||||||


