
How To Quickly Create Drop Shadows with Photoshop CC 2021
How To Quickly Create Drop Shadows with Photoshop CC 2021 https://logosbynick.com/wp-content/uploads/2021/09/drop-shadows-photoshop.png 800 470 Nick Saporito https://secure.gravatar.com/avatar/8e31bf392f0ba8850f29a1a2e833cdd020909bfd44613c7e222072c40e031c34?s=96&d=mm&r=gToday we’ll be going over how to quickly add drop shadows with Photoshop so that you can give your artwork a layered look. This is a common photo editing task, and thanks to the existence of Layer Effects, this is something that can be done quite easily in Photoshop.
Much like we did in a recent tutorial about outlining text with Photoshop, applying drop shadows functions very similarly in that it’s carried out via the Blending Options menu, and then added as an adjustment layer.
Create Drop Shadows with Photoshop
The following video tutorial will walk you through the entire process, step-by-step, and in less than 3 minutes:
Table of Contents |
Create A Drop Shadow
Creating drop shadows with Photoshop requires that the shadow be applied to a layer via adjustment layers.
To get started, identify the layer you’d like to add your drop shadow to. For this demonstration I will be applying it to the following placeholder text:
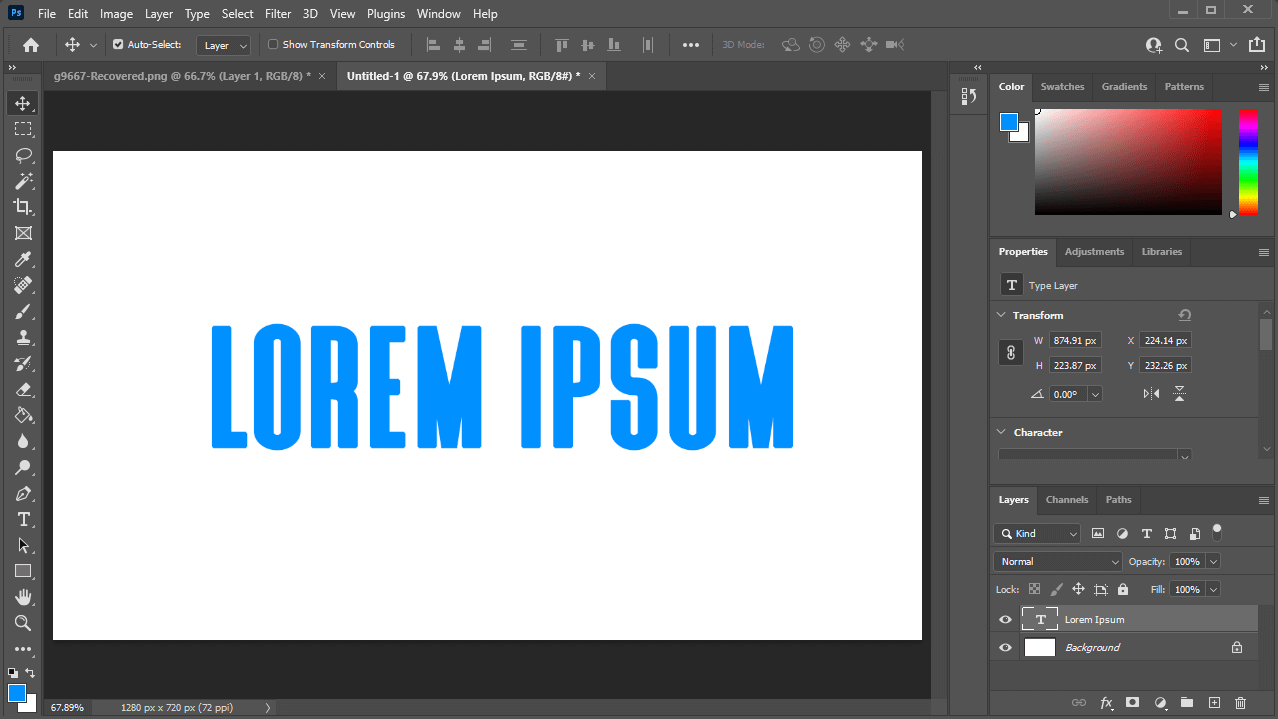
For this demonstration I will be applying a drop shadow to the Lorem Ipsum text above. This method will work on any layer though, not just text.
Locate the Layers menu in the bottom-right corner of the screen and right-click the layer you’d like to apply the drop shadow to. Select Blending Options.
Within the Blending Options menu you should see an option labeled as Drop Shadow. Go ahead and tick that box to add a drop shadow to your layer, and then click on menu item to bring up its properties:
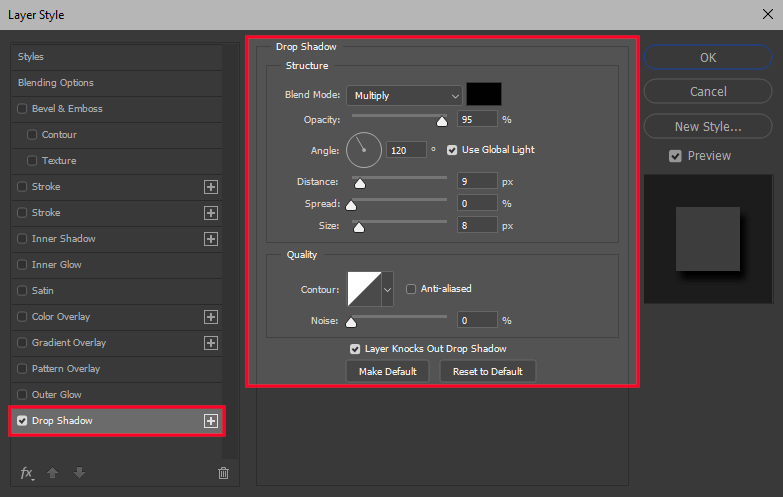
The Blending Options menu will allow you to apply a drop shadow to your selected layer and then adjust its properties.
The drop shadow properties that you can adjust are as follows:
- Blend Mode: this dictates how your drop shadow interacts with objects positioned beneath it. The default mode is Multiply, which is ideal if you just want to create a regular drop shadow. You can cycle through the other options if you’d like to see the result they produce.
- Opacity: this setting controls the transparency of your drop shadow. Increasing it will make the drop shadow more opaque, whereas decreasing it will make it more transparent.
- Angle: changing the angle of your drop shadow will change its position relative to the original object. This is the setting you need to tweak if you want to change the position of your drop shadow.
- Distance: distance represents the distance of your drop shadow from the original object. Increasing it will move the shadow further away, whereas decreasing it will bring it closer.
- Spread: this setting represents how much space your drop shadow occupies. Increasing it will spread the shadow out further, whereas decreasing it will have an opposite effect.
- Size: the size setting can be used to determine how soft or hard the edges of your drop shadow are. It works sort of like a Gaussian blur. Increasing it will make the shadow softer, whereas decreasing it will make the edges harder and more defined.
It’s also worth noting that you can change the color of your drop shadow by clicking the black stripe near the top of the menu, in which case a color picker will populate, allowing you to choose a color. By default, drop shadows are black to start out.
Finally, you force your drop shadow to render relative to a global light source if you are currently using one in your document. If not then you can ignore this setting.
Once you are finished adjusting the drop shadow’s settings to your liking, click the OK button to finalize your changes:
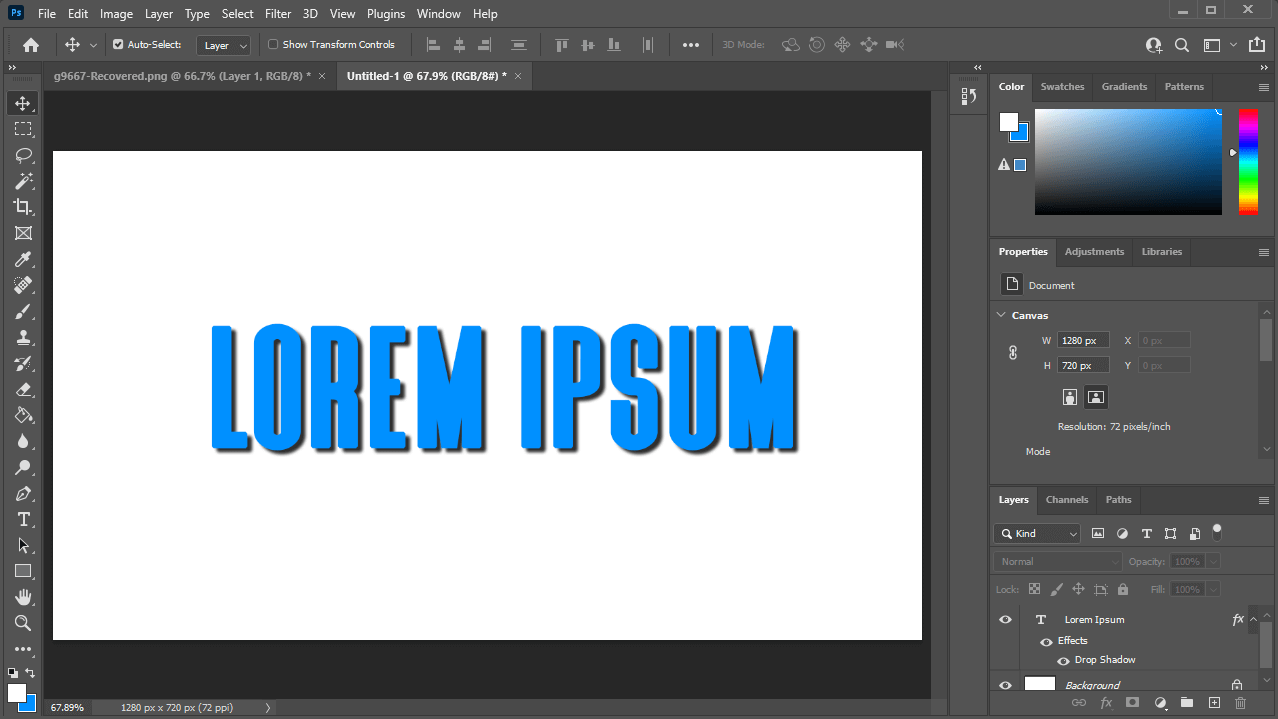
How the drop shadow looks when applied to some text.
The drop shadow will be applied to your layer as an effects layer.
Edit Drop Shadows
Now that we’ve gone over how to make drop shadows in Photoshop, let’s have a look at how you would go about editing the properties of your drop shadow retroactively in case you want to change its appearance.
To edit drop shadows in Photoshop all you have to do is double-click the Drop Shadow effects layer:
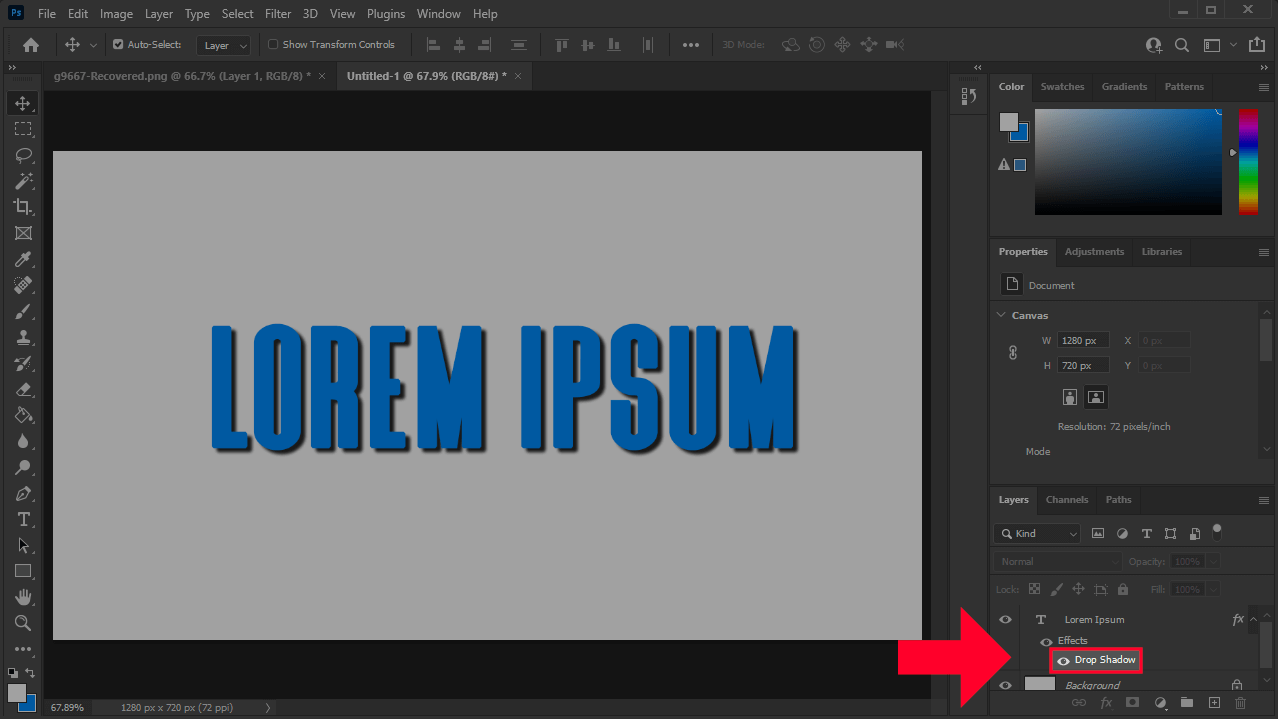
To edit your drop shadow, simply double-click the adjustment layer. This will open the Blending Options menu back up.
This will open the Blending Options menu back up, allowing you to change the properties of your shadow as you originally did when creating it.
Press OK when you are finished to apply your change.
Delete Drop Shadows
You can remove your drop shadow at any point if need be. There’s two ways to do so: temporarily and permanently. Let’s go over each.
Temporarily Remove Your Drop Shadow
One of the benefits of working with adjustment layers is that they’re non-destructive, meaning the changes can be undone at any point in the timeline.
To temporarily remove your drop shadow, all you have to do is click the eyeball icon next to its label in the Layers menu. Doing so will turn off the visibility of your drop shadow.
To turn the visibility back on, all you have to do is click the eyeball again to turn the opacity back on. When turned back on, your drop shadow will return with all of its original properties in place.
Permanently Delete Your Drop Shadow
There’s two ways that you can permanently delete drop shadows with Photoshop if you wish to do so.
For one, you can go back into the Blending Options menu and deselect the Drop Shadow box to remove the effect. Press OK to apply your changes once finished.
A quicker option, however, would be to simply click and drag the effect layer and place it over the trash can icon at the bottom of the Layers menu:
Clicking and dragging the adjustment layer onto the trash can will delete the drop shadow permanently.
Doing so will remove the adjustment layer altogether, effectively deleting your drop shadow.
Conclusion
Creating drop shadows with Photoshop is simply an exercise in applying pre-made layer effects and tweaking its properties to your liking. Thankfully, this isn’t something that requires any kind of extensive design skill or knowledge. First-time users and novices alike can add depth to their designs in minutes thanks to Photoshop’s ease of use.
If you have any questions or need clarification on any of the steps taken in this lesson, simply leave a comment below.
Learn To Master The SoftwareGain a complete understanding of your favorite design apps with my comprehensive collection of video courses. Each course grants access to our private community where you can ask questions and get help when needed.
|
||||||||||||||||||||||||||||||||


Thanks for this amazing post.. it’s really helpful.. surely going to share this ! They should follow the secret tips described in your article. Well done.
Thanks a lot.
Glad to help!