How To Brighten Colors In Illustrator Globally
How To Brighten Colors In Illustrator Globally https://logosbynick.com/wp-content/uploads/2021/05/brighten-colors-illustrator.png 800 470 Nick Saporito https://secure.gravatar.com/avatar/8e31bf392f0ba8850f29a1a2e833cdd020909bfd44613c7e222072c40e031c34?s=96&d=mm&r=gBy now it’s no secret that Adobe Illustrator comes packed with more tools and features than any other vector design application. One of Illustrator’s many hidden gems is the Recolor Artwork menu, which allows you to adjust the color settings of your designs globally, without having to manually change the color of each individual color. Today we’ll be using this feature to brighten colors in Illustrator so that they look more colorful and lively.
Knowing how to brighten colors in Illustrator is simply a matter of opening the Advanced tab in the Recolor Artwork menu, then adjusting the Brightness slider to increase or decrease its value. We’ll also be going over how to tweak some of these colors in a more localized way as well.
One of the other benefits of using this tool — aside from being able to apply global color changes — is that it locks your colors into a complementary profile so that they don’t clash. If you were to change the colors of each individual object manually, there’s a greater chance you might choose colors that clash with each other or don’t quite look right for one reason or another.
How To Brighten Colors In Illustrator
| To brighten colors in Illustrator, open the Recolor Artwork menu and click the Advanced button in the bottom-right corner. Then, click the menu icon and choose Global Adjust. From there, move the Brightness slider to the right to increase the image’s brightness. |
It should be noted that this method only works with vector artwork. If you’re trying to brighten a rasterized image, like a photo, JPEG, or PNG file, you’ll have to use another method.
The following video tutorial will walk you through the process of brightening your artwork in Illustrator using the Recolor Artwork menu:
Continue on for the written instructions.
Table of Contents |
Step 1: Select your artwork and open the Recolor Artwork menu
In order to brighten colors in Illustrator, the first thing we need to do select the objects you’d like to brighten. If you don’t have any objects selected then the Recolor Artwork menu will not be selectable.
Select your objects by clicking and dragging over them with the Select Tool, or you can select all by pressing Control + A on your keyboard.
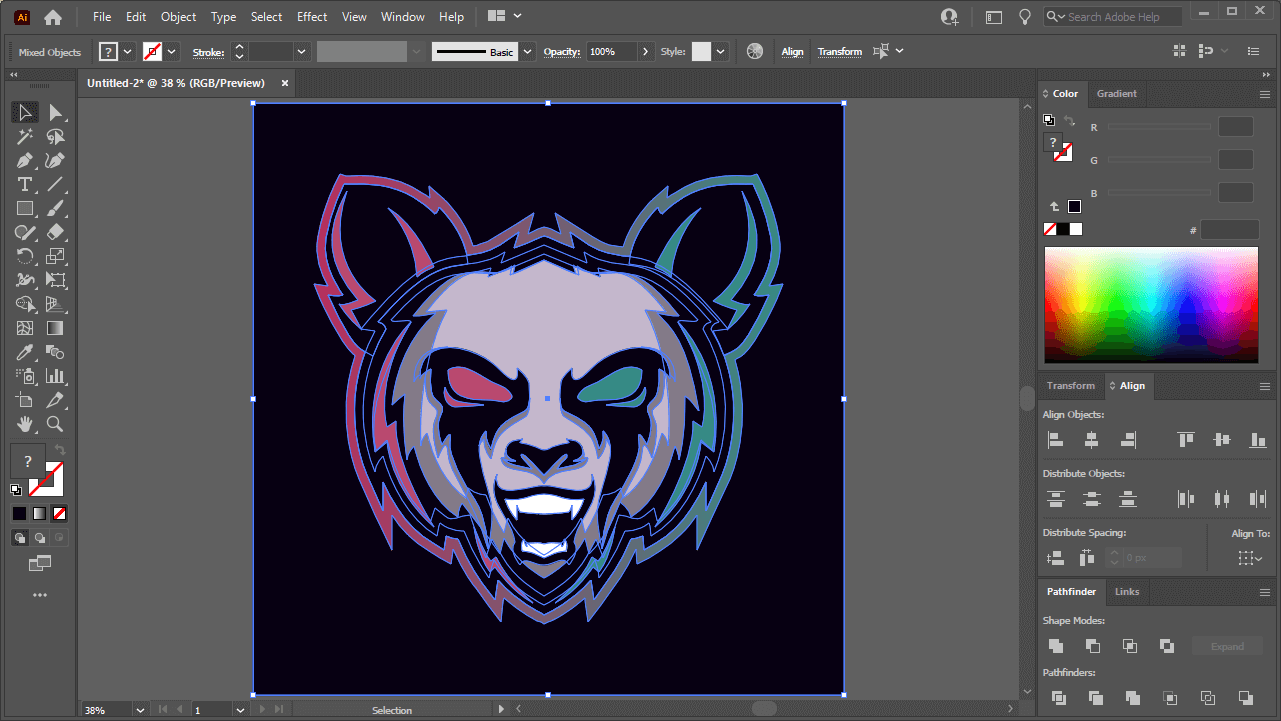
For this demonstration, I will be brightening the colors of the following design:
In order to open the Recolor Artwork menu, you’ll need to have at least one object selected.
With your artwork selected, open the Recolor Artwork menu by navigating to Edit > Edit Colors > Recolor Artwork.
This is what the Recolor Artwork menu looks like once opened:
There’s lots that can be done with this menu, but for this lesson we’ll only be focusing on brightening your colors.
Step 2: Open the Advanced tab and choose Global Adjust from the menu
Within the Recolor Artwork menu, you’ll see a button in the bottom-right corner that is labeled as “Advanced Options“…
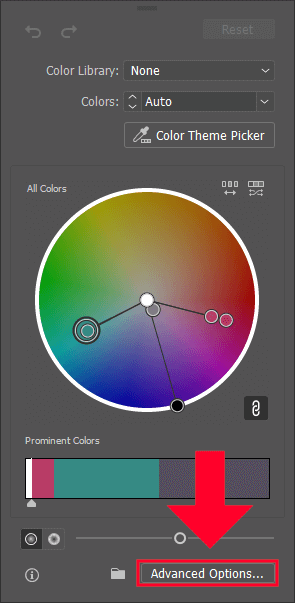
Click that button to open up the Advanced menu:

Next, click the little hamburger-style menu icon towards the bottom of the menu, and choose “Global Adjust” from the dropdown list.
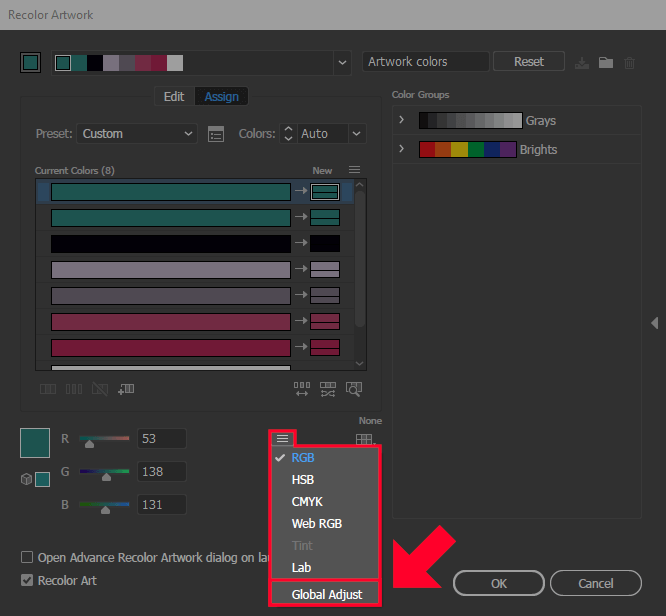
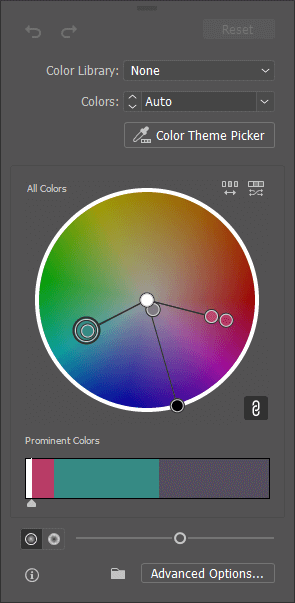
This will open a new menu:

In this section of the menu you can adjust various different color settings.
Within this menu you will be able to adjust the following settings:
- Saturation
- Brightness
- Temperature
- Luminosity
Step 3: Move the Brightness slider to the right to increase the brightness
In order to brighten colors in Illustrator, all you have to do is simply move the Brightness slider to the right. The further you move the slider, the more intense the changes will be.
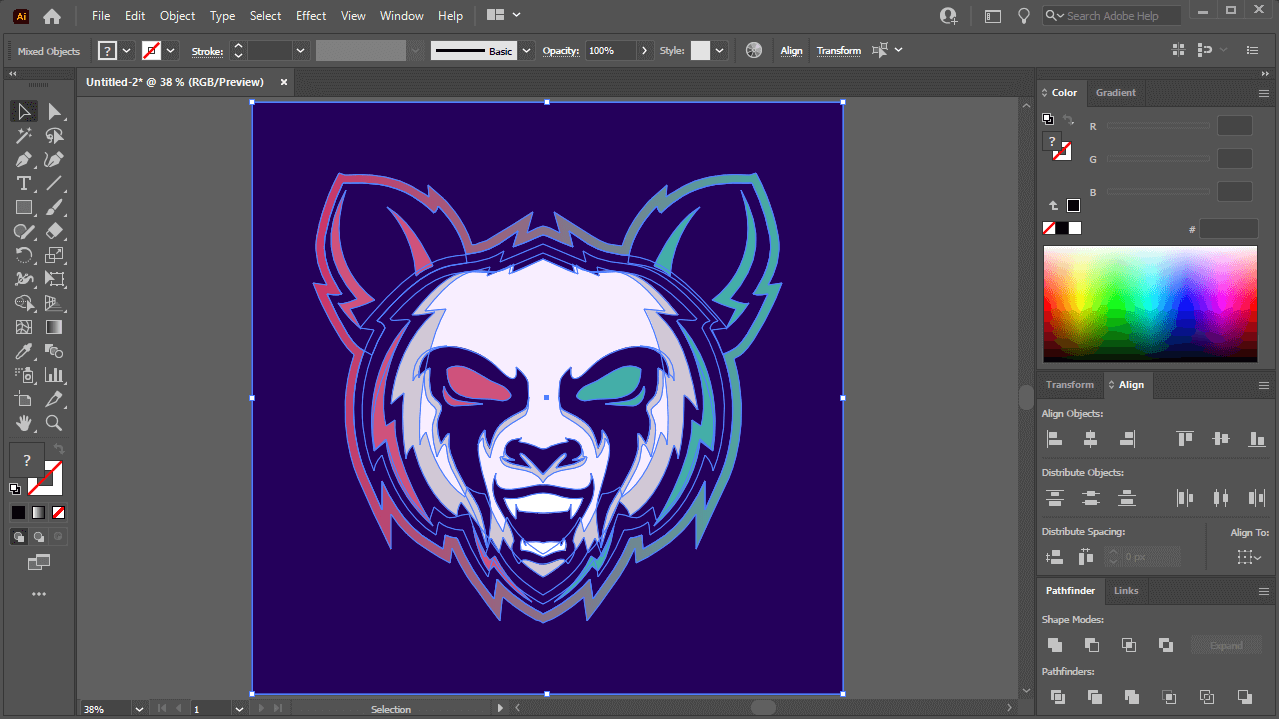
As you increase the brightness, you’ll notice the changes happening live on your canvas. If nothing is visibly changing then make sure you have the Recolor Artwork box enabled in the bottom-left corner of the menu:

Moving the Brightness slider to the right will brighten the colors of your selected artwork.
You can also adjust some of the other settings as well to see if they improve your artwork to your liking.
If you’re overall satisfied with the change, but there’s a particular color you’d like to change, you can do that using the Current Colors menu located just above the color settings sliders. The colors listed in the left column represent the original color, whereas the colors listed in the right column represent the new color once you’re finished brightening your image.
To change a color, simply double-click it to open the color selection menu, and from there you can choose your color:
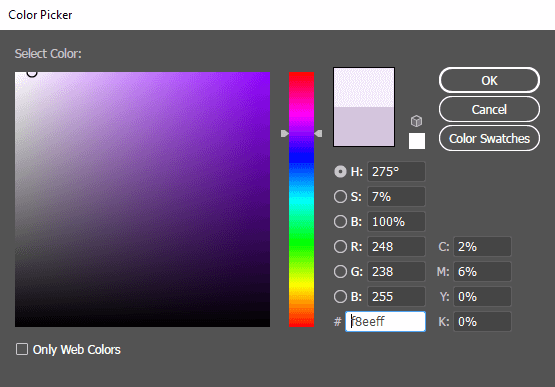
For my demonstration graphic, I had to adjust a couple of the colors individually because I wasn’t entirely satisfied with how they came out.
Make sure you are satisfied with all of your color selections before moving on to the next step.
Step 4: Click OK to apply your changes
Once you’ve finished brightening your colors, all you have to do now to apply the changes is click the OK button. The colors of your vector artwork will now be brighter:
The applied changes make the design look more vibrant and lively.
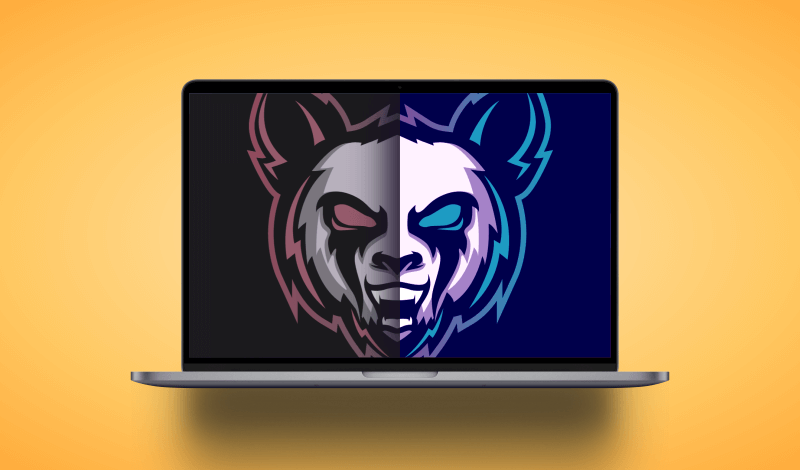
For comparison, here is how the design original looked versus how it looks once I brightened the colors:
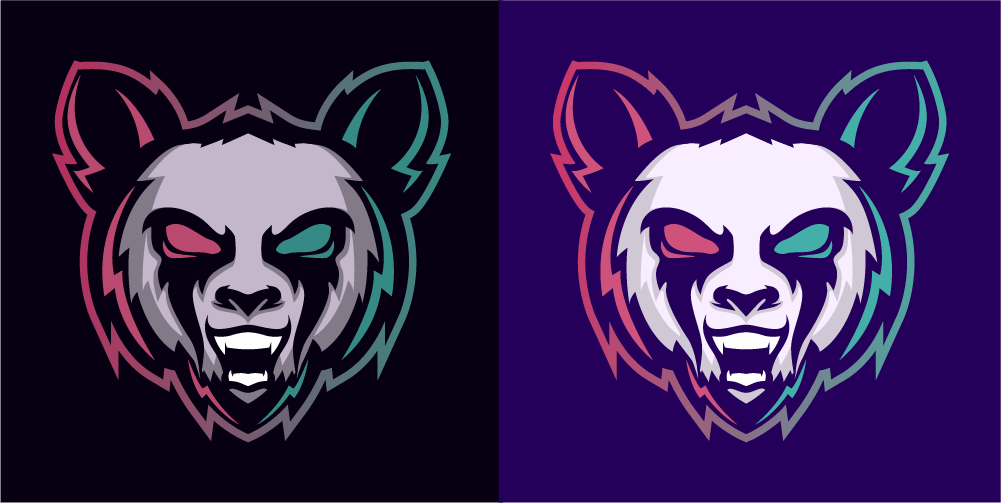
The design on the left is the original. The design on the right is how the design looks once the colors are brightened.
As you can see, the image on the right is more vibrant and lively.
Conclusion
Thanks to some of the robust features provided by Adobe, it couldn’t be easier to brighten colors in Illustrator. What’s more, this feature provides for added convenience by allowing the changes to be made globally, instead of having to manually change the color of each object individually. This is a really useful tool that I’d love to see implemented in other vector design applications.
If you have any questions, or if any part of this lesson was unclear, simply leave a comment below.
Learn To Master The SoftwareGain a complete understanding of your favorite design apps with my comprehensive collection of video courses. Each course grants access to our private community where you can ask questions and get help when needed.
|
||||||||||||||||||||||||||||||||


