How To Blend Colors In Procreate To Make New Colors
How To Blend Colors In Procreate To Make New Colors https://logosbynick.com/wp-content/uploads/2022/03/procreate-blend-colors.png 800 470 Nick Saporito https://secure.gravatar.com/avatar/8e31bf392f0ba8850f29a1a2e833cdd020909bfd44613c7e222072c40e031c34?s=96&d=mm&r=gMobile design apps such as Procreate for the iPad give artists a digital canvas for painting and drawing. One of the most common things you might do with paint is mix it with other colors of paint to form new colors. However, Procreate doesn’t necessarily behave this way. That’s okay though because there are workaround, and in this tutorial we’ll be going over how to blend colors in Procreate to make new colors.
In short, the approach we’ll be using to blend colors in Procreate is to use the Smudge Tool to mix them together, then use the Gaussian Blur adjustment to smooth everything out.
Color Mixing
Color mixing is the process of combining colors to form new colors:
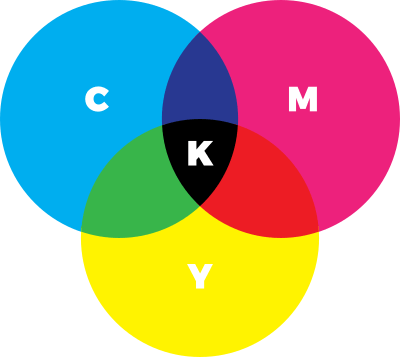
There are two types of color mixing:
- Additive
- Subtractive
When seeking to blend colors in Procreate, we will be doing so in an additive way to simulate the process of color mixing with paint.
The problem with attempting this in an app like Procreate is that when you paint over one color with another color, the colors do not mix with each other. Instead, the new color simply replaces the old color, which is not the desired effect if your goal is to blend them to make new colors.
That’s okay though! This can still be done in Procreate using the proper tools. Let’s get started!
Blend Colors In Procreate
The following video tutorial will walk you through this entire process in roughly 2 minutes:
Continue on for the written instructions.
Step 1: Fill your entire layer with one of the colors you’d like to mix
The first step on our journey to blend colors in Procreate is to fill an entire layer with a single color — one of the colors you’d like to mix.
Simply open your Color menu, set your color, than tap and drag the color disc onto the canvas to fill the layer:
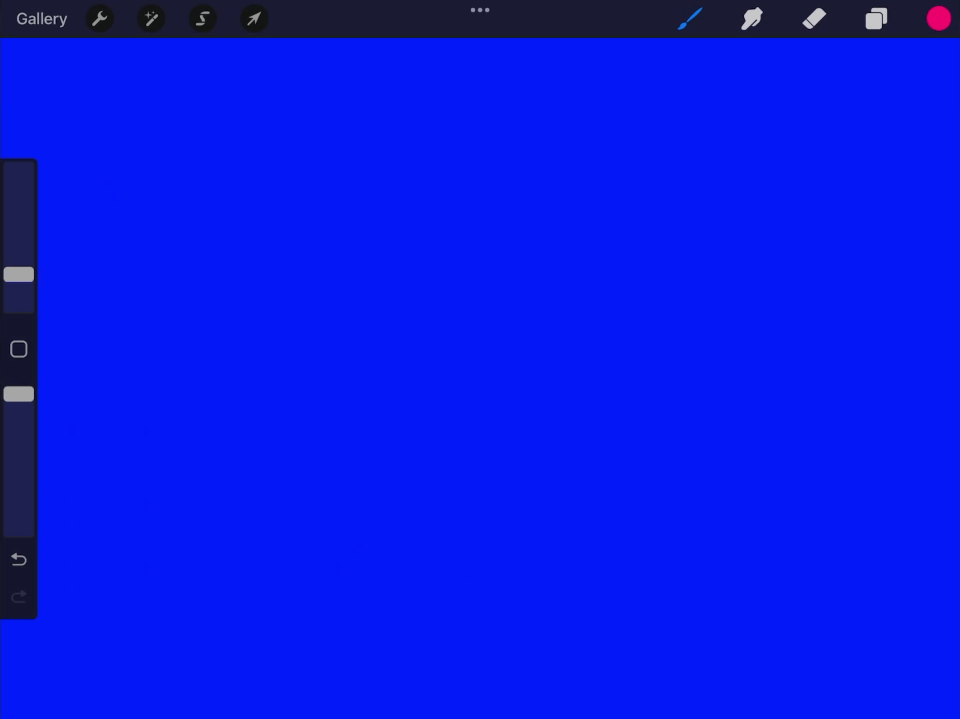
Filling the entire layer ensures that no white color will get mixed in with your blending.
The reason why we’re filling the entire layer is because we do not want any white areas of the background to get mixed in with our other colors, otherwise it will not produced the desired effect.
Filling the entire layer ensures that there’s no white areas.
Step 2: Use a paintbrush to add in the other color(s) you’d like to blend
Now it’s time to apply the other color(s) you’d like to blend together.
Grab a Paintbrush, set your desired fill color in the Colors menu again, and add some brush strokes to your canvas as depicted below:
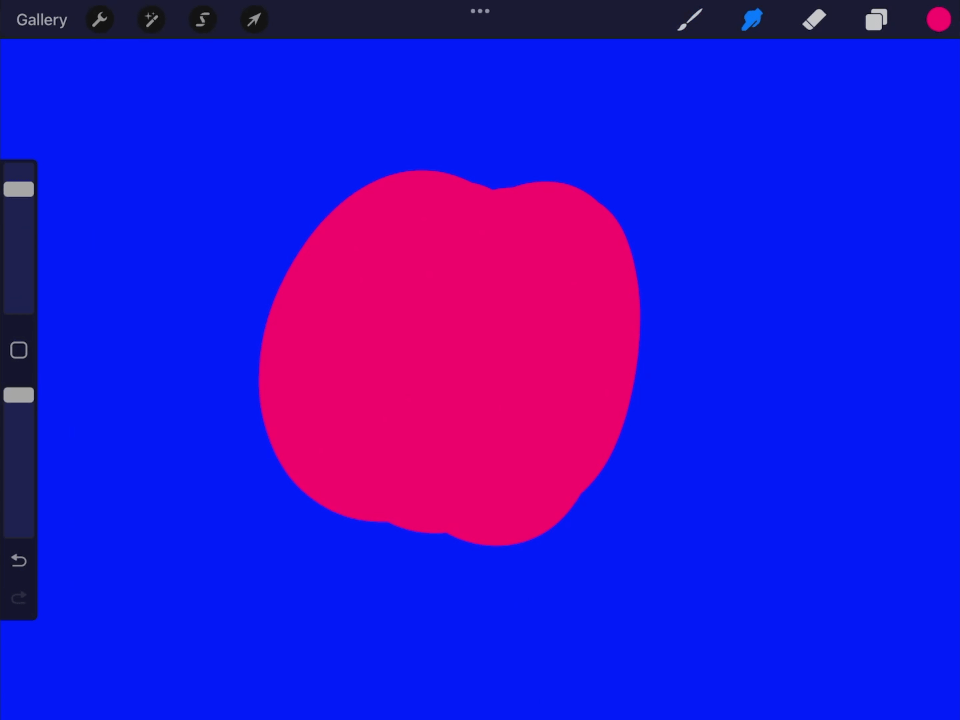
The color is added simply as a whimsical ink blotch. It doesn’t need to follow any kind of form. Just try not to make it too much or too little. The sample size depicted above is a good reference.
If you want to add more colors then go ahead and repeat this process with other colors to add more paint.
Step 3: Use the Smudge Tool to blend the colors together
Now it’s time to blend the colors together! For this we will be using the Smudge Tool — located in the tools menu to the top-right of the screen, next to the paintbrush.
Adjust the brush size as needed and begin swirling the colors around to mix them together:

If one color becomes too washed out you can balance it out by grabbing the brush again and adding some more of that color back to the image, as demonstrated in the video tutorial above.
Step 4: Apply the Gaussian Blur adjustment to smooth out the colors
This workflow for blending colors in Procreate could technically be all you need if you spend enough time mixing the colors together. However, it may be helpful to smooth things out afterwards, which is what we’ll be doing in this step.
Navigate to the Adjustments menu and apply a Gaussian Blur to the entire layer. Bring the blur all the way up to 100%:
This will smooth everything out and make it easier to nail down your desired color. However, this step can be optional.
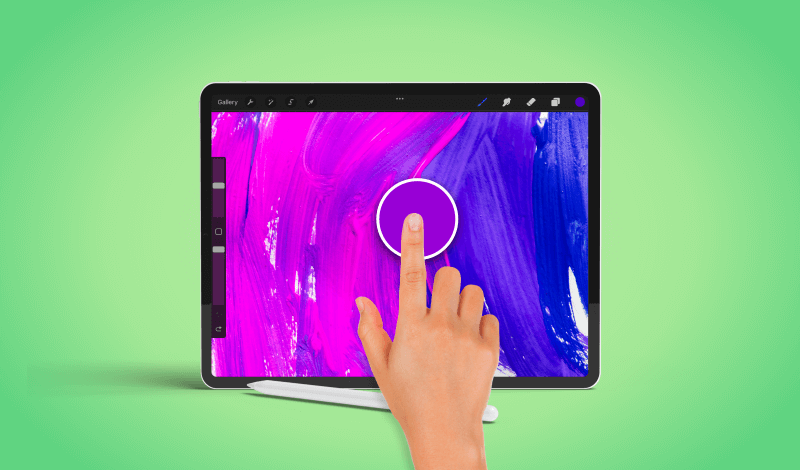
Step 5: Hold a tap over the area of the image that contains the new color to sample it
Once you are finished mixing your colors all you have to do is sample one of them from the image by holding a tap over it with your index finger. This is the same process used for a previous tutorial about color matching in Procreate.
Once you have the newly-created color set as your active color, you can go ahead and paint with it to test it out:
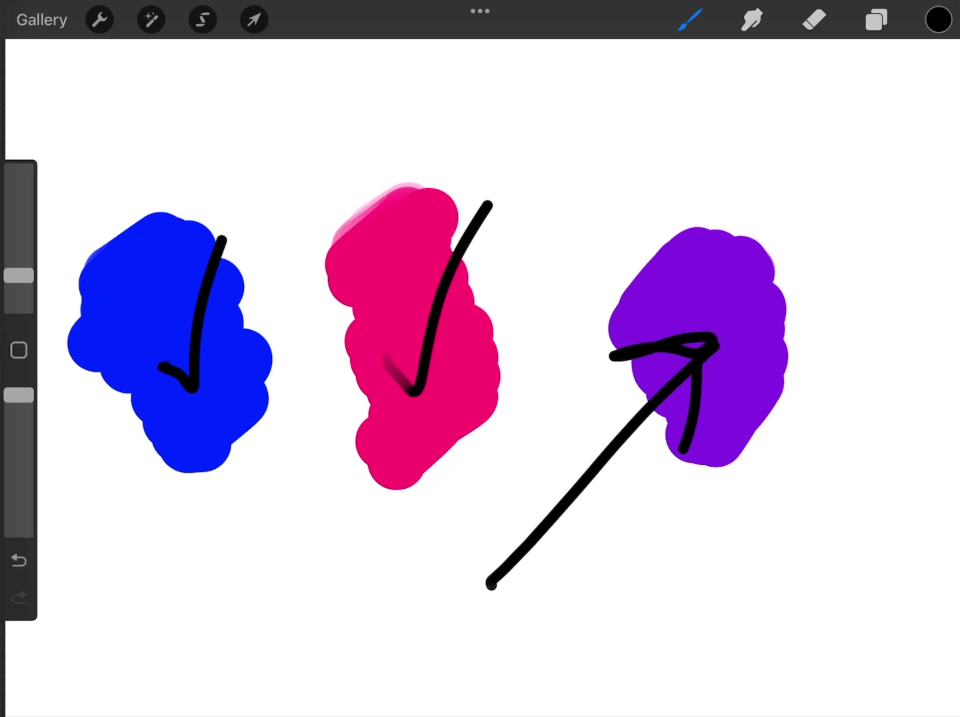
As you can see in the example painting above, the blue shade was mixed with a pink shade to make a purple/lavender shade.
Happy with your new color and want to use it again in the future without having to re-create it? Save it to one of your palettes as a swatch!
Conclusion
Knowing how to blend colors in Procreate can be a bit confusing at first — especially if you’re new to the digital environment and are used to working with literal paint. However, with the proper tools and workflow, you’ll be able to mix colors together with ease.
If you have any questions or need clarification on any of the steps taken in this lesson then just leave a comment below.
Learn To Master The SoftwareGain a complete understanding of your favorite design apps with my comprehensive collection of video courses. Each course grants access to our private community where you can ask questions and get help when needed.
|
||||||||||||||||||||||||||||||||


