How To Make A Color Palette From An Image In Procreate For The iPad
How To Make A Color Palette From An Image In Procreate For The iPad https://logosbynick.com/wp-content/uploads/2022/03/procreate-color-palette-from-image.png 800 470 Nick Saporito https://secure.gravatar.com/avatar/8e31bf392f0ba8850f29a1a2e833cdd020909bfd44613c7e222072c40e031c34?s=96&d=mm&r=gThose who love to paint, sketch and draw may be delighted to know that the Procreate app lets you sample colors from an image and add them to a custom color palette that you can use whenever you want. In this tutorial we’ll be going over how you can make a color palette from an image in Procreate for the iPad.
In order to create a color palette from an image in Procreate we will first have to follow the steps taken from a previous lesson on color matching. This will allow us to sample colors from the image. Then, we’ll be adding a custom palette and assigning colors to that palette from the image.
Once completed, you will have your own custom color palette, derived from an image, that you can use in any other document you may be working on in Procreate! Let’s get started.
Create A Color Palette From An Image In Procreate
The following video tutorial will walk you through the entire process step-by-step:
Continue on for the written instructions.
Table of Contents |
Step 1: Import your image into Procreate
In order to make a color palette from an image in Procreate we will first need to import the image.
There’s various ways that you can do this. You can copy and paste it, or you can import it from your library by tapping the Import button on the Gallery home screen.
If done correctly your image should be open in a new document. For this demonstration we will be sampling colors from the following image:
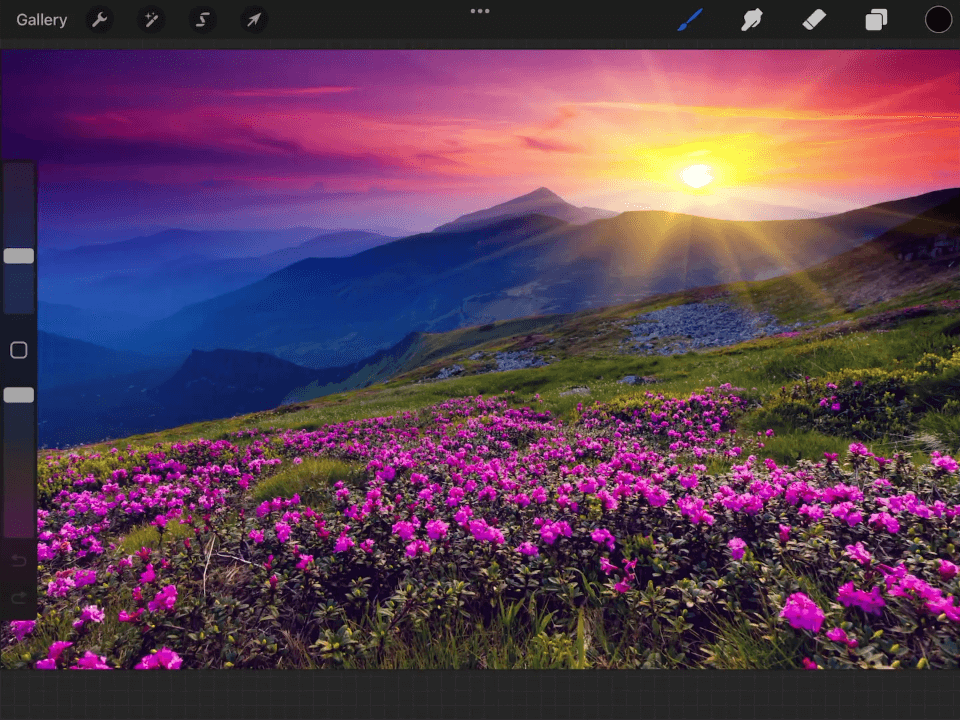
The colors from this image will be sampled to create a custom color palette in Procreate.
Step 2: Open the Color menu and navigate to the Palettes section
Open the Color menu by tapping the round color disc in the top-right corner of the screen. Then, navigate towards the bottom of the menu where it says Palettes and tap on it to open the Palettes menu:
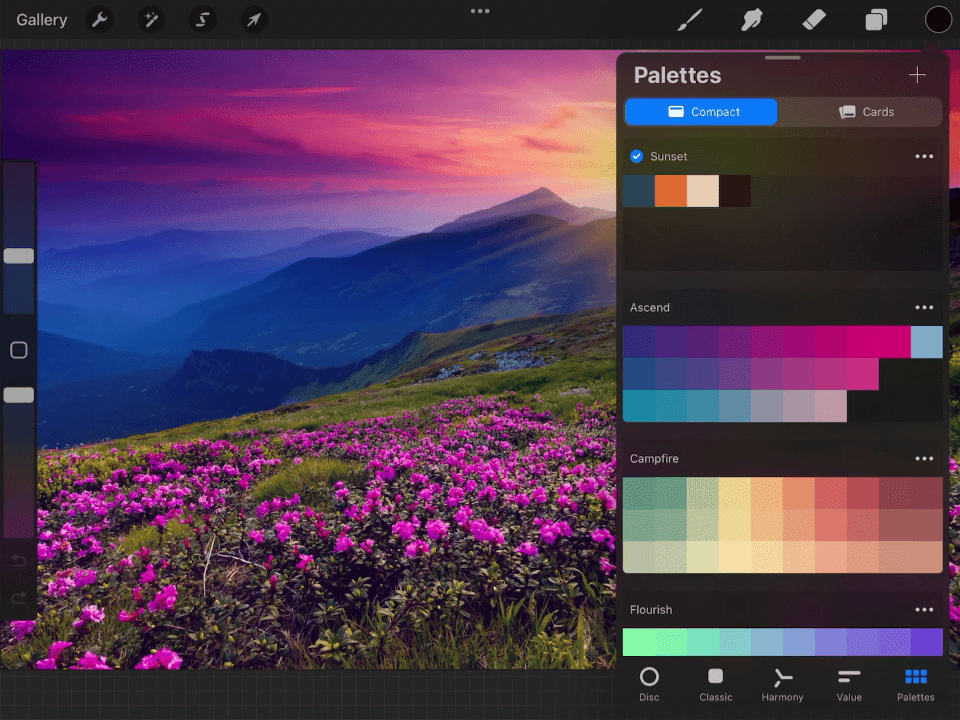
The Palettes menu is located within the Color menu.
There should already be some default palettes indexed in there. We will be adding our own to this list, using colors from the image.
Step 3: Tap the plus (+) icon to add a new palette
To add a new palette, tap the plus icon (+) in the top-right corner of the menu and select Create New Palette from the dropdown menu:
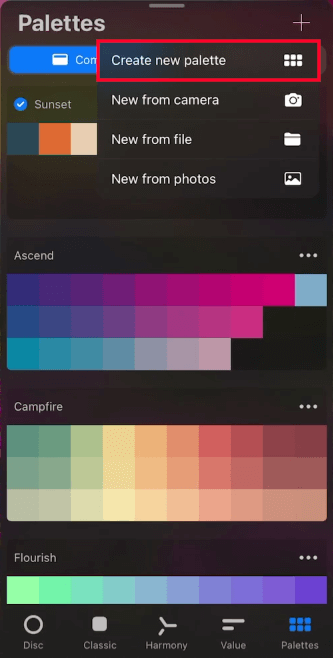
You will now have a new, empty palette to work with.
Step 4: Name your palette
Before going any further, it would be a good idea to assign a name to the new palette.
Double-tap on the text to highlight it and input a name for your palette:
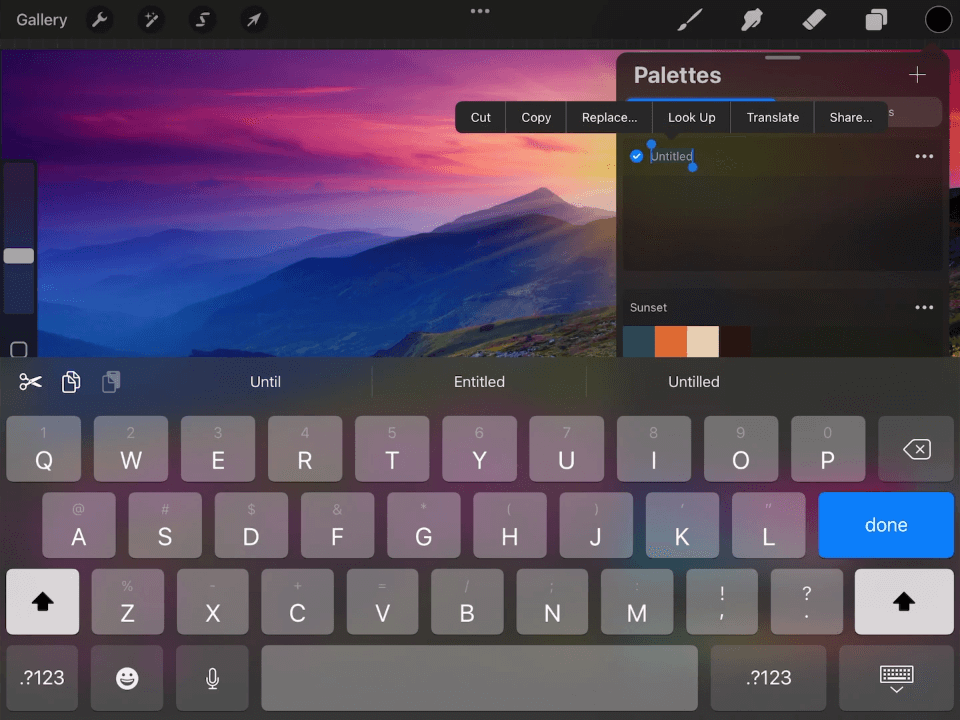
Double-tap the text to highlight it. The keyboard should populate as well.
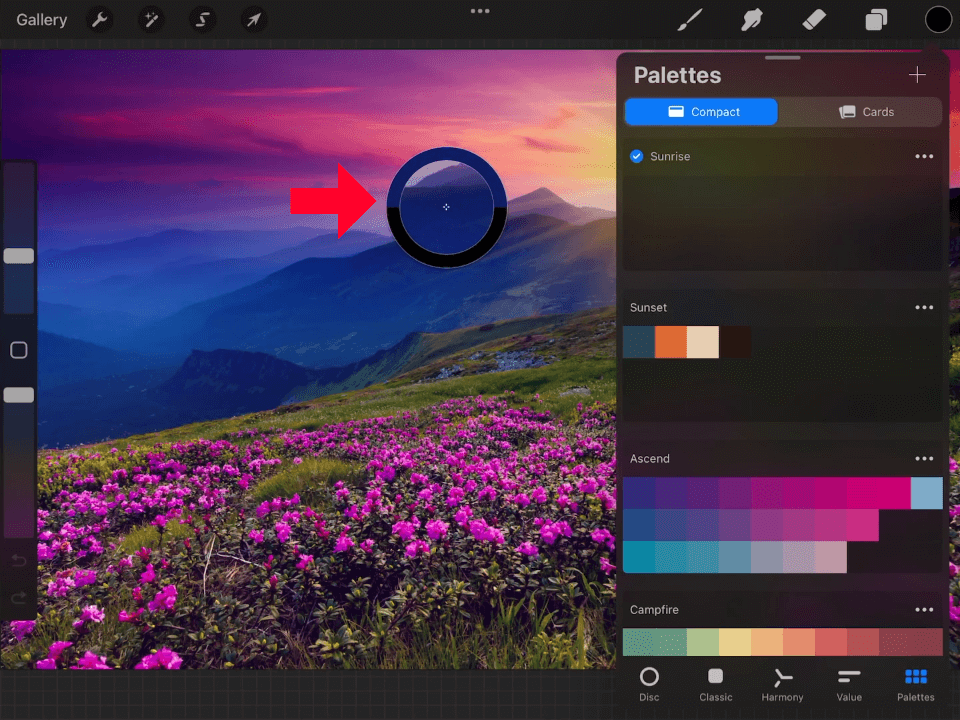
Step 5: Start sampling colors from your image to add to the palette
Now it’s time to start adding colors from the image to that palette.
Sample a color from your image by holding a tap over the area that contains a color you’d like to save:
All you have to do now to create your color palette from an image in Procreate is tap on one of the boxes in your palette to add the color:
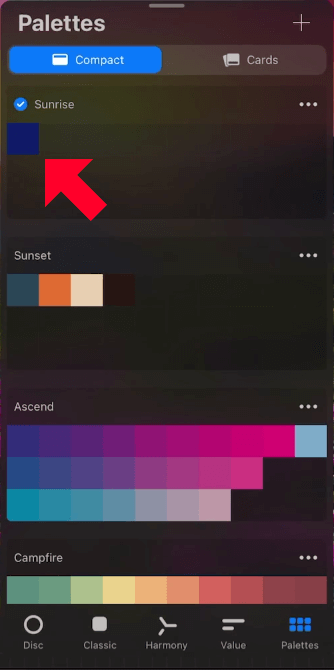
Tapping on one of the empty boxes in the palette will add the current active color as a new swatch.
Simply repeat this process to add more colors to your palette:
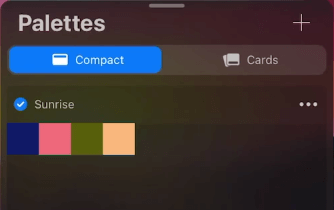
Once you are finished you will have a custom color palette, made using color from your image, that you can work with in Procreate any time you want! Just open your Palettes menu and tap on one of the colors to set it as your active color.
Deleting Colors and Palettes
If at any point you’d like to remove a color from your palette just hold a tap over it until the Remove Swatch label populates and tap on it.
If you’d like to delete the entire palette, just tap on the menu icon to the right of the palette’s name (represented as three small circles) and select Delete Palette from the dropdown list.
Conclusion
It’s safe to say that making a color palette from an image in Procreate is simply a matter of locating the Palettes menu in the menu system. Once you’re there, everything else is pretty self-explanatory if you’re already familiar with mobile UI.
If you have any questions or need clarification on anything covered in this tutorial then please leave a comment below.
Learn To Master The SoftwareGain a complete understanding of your favorite design apps with my comprehensive collection of video courses. Each course grants access to our private community where you can ask questions and get help when needed.
|
||||||||||||||||||||||||||||||||


