Affinity Designer Logo Tutorial: Simple Logo Design
Affinity Designer Logo Tutorial: Simple Logo Design https://logosbynick.com/wp-content/uploads/2020/09/affinity-logo-design-tutorial.png 800 470 Nick Saporito https://secure.gravatar.com/avatar/8e31bf392f0ba8850f29a1a2e833cdd020909bfd44613c7e222072c40e031c34?s=96&d=mm&r=gIn this Affinity Designer logo tutorial I’ll be demonstrating how you can create a simple badge style logo design. The logo depicts the name on a banner, placed over the silhouette of a deer’s head, but you can replace this with any other element you’d like in order to personalize it.
The following is just a brief overview of the steps taken in our Affinity Designer logo tutorial. For the complete tutorial please watch the video below. It will walk you through the process step-by-step in such a way that a beginner could follow along.
Affinity Designer Logo Tutorial
Creating this simple badge-style logo design with Affinity Designer is just a matter of creating a series of shapes and using Boolean operations such as addition, subtraction, and joining. We’ll also be working with text a bit as well.
Design Assets
For this demonstration I’ll be using the following design assets…
- The Kirsty font, which can be downloaded here: https://www.dafont.com/kirsty.font
- The vector deer silhouette, which can be downloaded here: https://logosbynick.com/wp-content/uploads/2020/09/deer-head.zip
We’ll be using the following silhouette of a deer’s head for this demonstration…
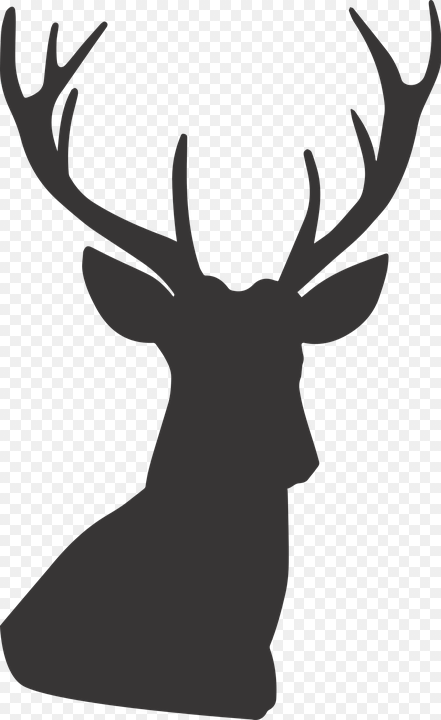
Credit to the user “StarGlade” via Pixabay
As I mentioned earlier, you can replace this deer head with whatever other vector illustration you’d like.
The Logo Design Process
The process for this Affinity Designer logo tutorial breaks down into 4 steps. As I mentioned earlier, make sure to watch the video tutorial at the top of the page for complete instruction. This is just a brief overview.
Step 1: Create The Text
The first thing we’ll be doing is creating some white text over a black rectangle. This rectangle will represent the main part of the banner.
Next we’ll be duplicating the black rectangle and transforming it to form the tail ends of the banner.
We’ll be using strokes to create the offset that will be used to represent the negative space between the body of the banner and the tails.
Step 2: Create The Emblem
Now that the text is completed we’ll move on to the body of the design, which will also represent the backdrop that sits behind the banner and the subject (deer.)
To do this, we’ll be creating a polygon and transforming it so that angles of the points are reduced. We’ll also be applying another stroke to create an offset, then another offset that will act as a border.
Now we can take the banner with the logo name and position it over the body emblem.
Make sure to position the banner so that it sits on the bottom third of the emblem. The idea is to leave enough space up top so that the subject can be the primary focus of attention, and the bottom portion of the design can represent a secondary element, like subtext, a tagline for your logo, or in this case, a simple star.
Step 3: Apply Your Subject
Now it’s time to add the subject into the design. This will help tie the entire logo design together and bring it to near completion.
If you’re going to be using the deer graphic linked above then you’ll have to open it in a separate panel so that you can separate the curves from the embedded document, otherwise you won’t be able to edit it as a vector object.
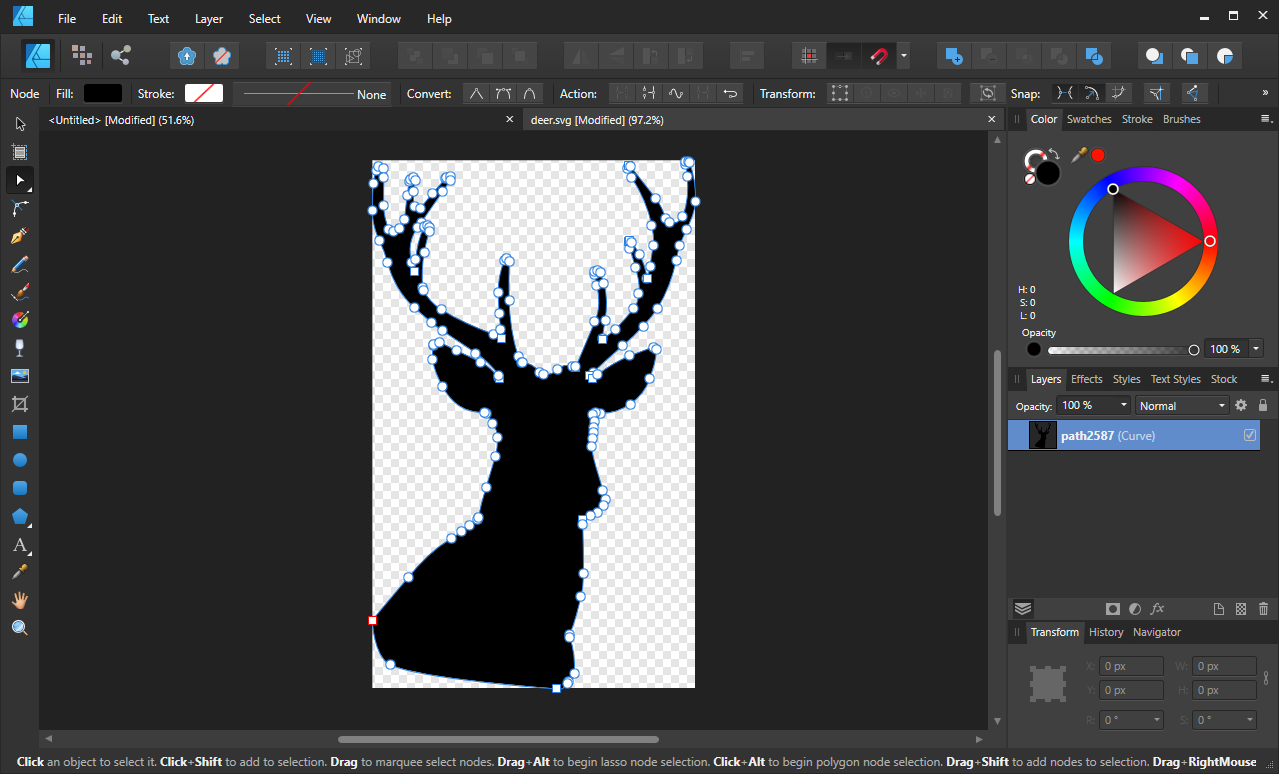
Extracting an editable path from a SVG document with Affinity Designer can be tricky.
Once finished, you can now copy and paste the design into the document you were previously working on.
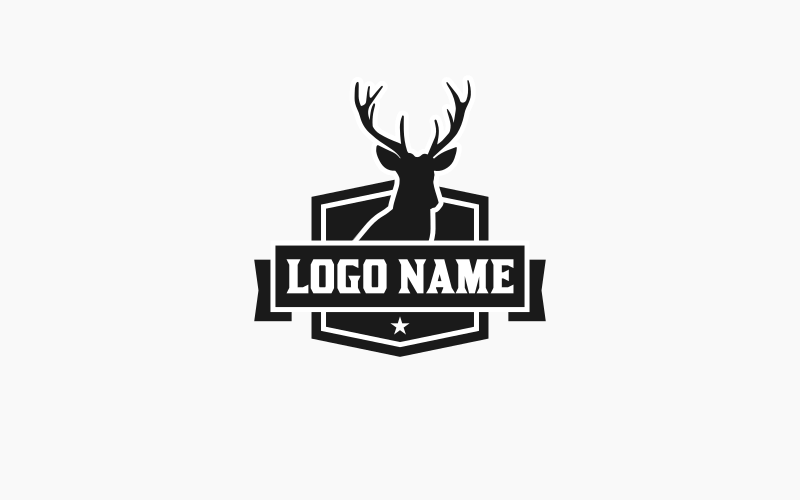
As you can see in the image above, we’ll be creating yet another stroke that will function as an offset. Make sure that the deer (and its offset) are positioned beneath the banner, then use the Star tool to add a simple star to the bottom third of the polygon emblem.
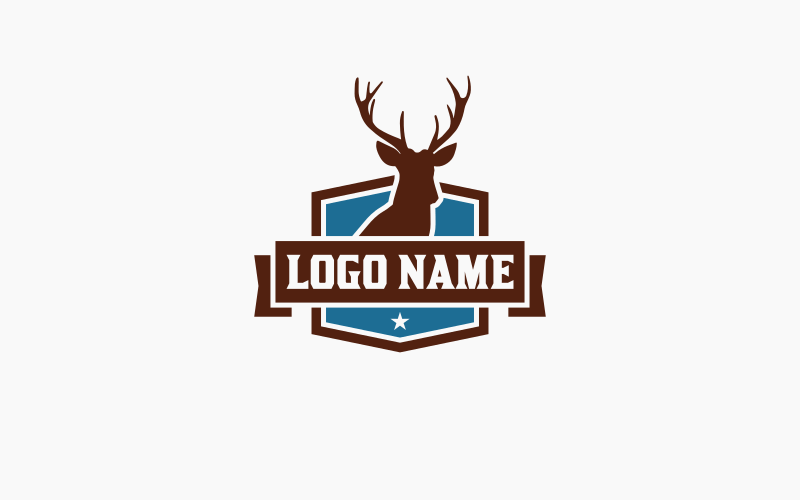
Step 4: Color As Desired
Once the elements of the design are in place, the final steps in our Affinity Designer logo tutorial are to use the offsets to create negative space throughout the design, then color it in however you’d like!
Make sure to save a copy of your work once you are finished. If you’d like to export your finished logo design in a variety of usable formats, be sure to check out my tutorial on batch export graphics from Affinity Designer.
Once exported, your new logo can be used however you’d like! You can even create photorealistic logo mockups with it.
You can use PSD mockup templates to apply your finished design to real world applications.
Check out my tutorial for creating logo mockups if you’d like to do the same.
Conclusion
That should do it for today’s Affinity Designer logo tutorial. Affinity tutorials are a new category that I’ve recently added to Logos By Nick, and there will be many more to come in the future! Make sure to opt in to browser notifications if you’d like to be notified when new tutorials are posted. Or you can subscribe to the Design Made Simple YouTube channel where I will be uploading all future Affinity Designer tutorials.
If you have any questions or run into any problems simply leave a comment below. As always, thanks for watching!
Learn To Master The SoftwareGain a complete understanding of your favorite design apps with my comprehensive collection of video courses. Each course grants access to our private community where you can ask questions and get help when needed.
|
||||||||||||||||||||||||||||||||


Hi Nick
Great to see you making Affinity Designer tutorials. Would you consider doing a comprehensive course like the Inscape course? I would buy that any time 😉
Absolutely. I’ll be releasing one by the end of the year.
Really fantastic tutorial !! Thank you so much Nick. Really clear and easy to follow and you treated your audience with respect by taking each step slowly and showing how it was done ! ( I want to send other tutorial teachers to you to show them how it is done ! ) 😀
Thank you for the feedback! Glad you found it helpful.
Hi Nick, My 11 yr old daughter is the graphic artist for my business. I would love to get her your premium membership and was wondering if Affinity would eventually be included in that? She loves using her iPad And she really wants to learn the software. Thank you
Hi Derrick, I don’t have an Affinity course yet, but I plan to launch one in 2021. It will be included in the complete bundle, and anyone who has purchased the bundle in the past will be given access to it.
interesting
Hi Nick,
I enjoy that you’ve started making tutorials in Affinity Designer. It’s interesting to see you craft your great logos in different software.
In the part where you make the offsets for the different elements, you removed the inner nodes. I think there is an even faster way to make an offset!
In the “Stroke Settings,” there is an option called “Align Stroke to Outside.” If you check that, then expand the stroke, then use Boolean operation “Divide,” you get an effect that reminds of “Break Apart” in Inkscape. It gives you both the fill and the stroke you expanded in two curves. You can then “add” those together to make the offset element a single shape. It does the same as what you got in the tutorial.
Thanks for another great tutorial!
Thanks for the tip, Dimitar! I’ll see how that works.