How To Vectorize a PNG Logo with Photoshop | Video Tutorial
How To Vectorize a PNG Logo with Photoshop | Video Tutorial https://logosbynick.com/wp-content/uploads/2019/06/vectorize-a-png-logo-with-photoshop-1024x602.png 1024 602 Nick Saporito https://secure.gravatar.com/avatar/8e31bf392f0ba8850f29a1a2e833cdd020909bfd44613c7e222072c40e031c34?s=96&d=mm&r=gIn this tutorial I’ll be demonstrating how to vectorize a PNG logo with Photoshop, which is actually quite simple and very beginner-friendly. I do have to preface this by warning that Photoshop is not the ideal tool to use for creating vectors. Ideally, you should use Illustrator, but if Photoshop is your only option then you are not out of luck. There is an imperfect (but acceptable) solution.
The following is just a brief overview of the steps taken to vectorize a PNG logo with Photoshop. For complete step-by-step instructions with voice narration, please refer to the video tutorial below:
Vectorize a PNG Logo with Photoshop
In order to vectorize a PNG logo with Photoshop, you must create paths going around the shape of your logo, then export it as an AI (Adobe Illustrator) file. Go ahead and open up your PNG file with Photoshop and we’ll get started.
Step 1: Create A Selection Around Your Logo
Assuming your PNG logo is formatted like mine, with negative space surrounding it and inside of it, create a selection around your logo by holding Control and clicking on the thumbnail preview in the Layers window.
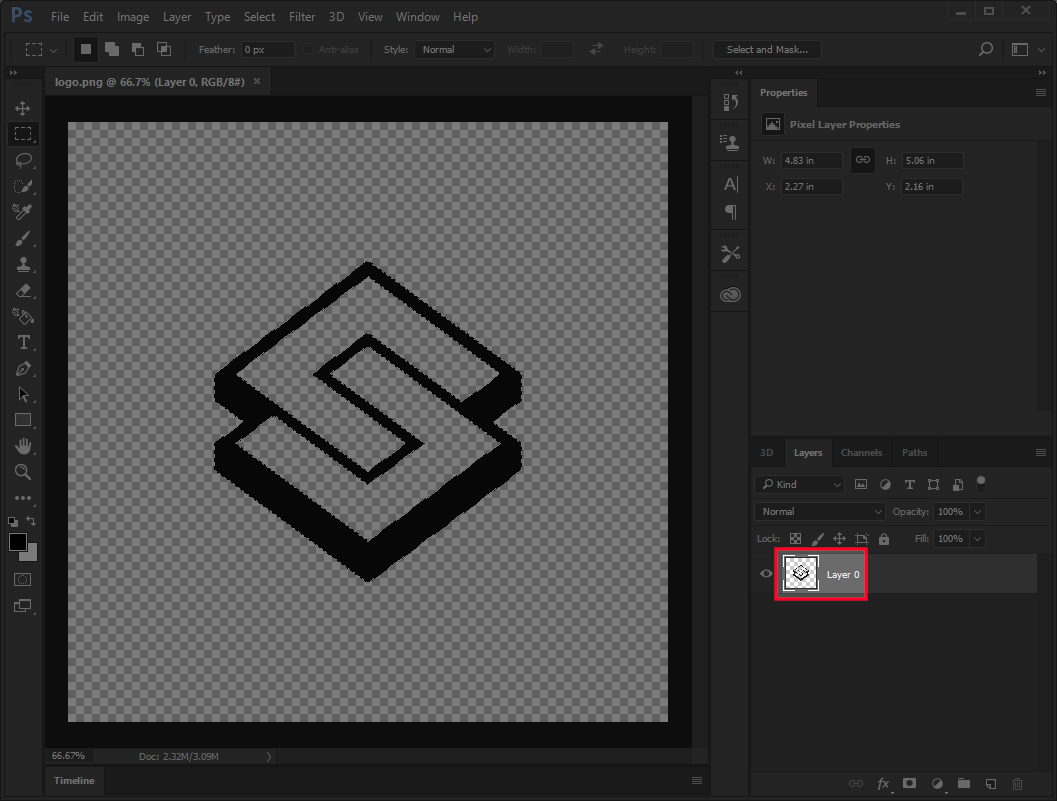
You’ll know you’ve created your selection properly if you see a moving dotted line outlining the shape of your logo.
If this method doesn’t work because your PNG has a solid background color, or because there’s fill color within the boundaries of your logo, then I would follow the steps in this video to create your selection by color, then move on to steps 2, 3 and 4.
Step 2: Convert Your Selection To Working Paths
Now we must convert our selection to paths. To do that, simply grab the Rectangle tool, right-click your logo on the canvas, then select Make Work Path.
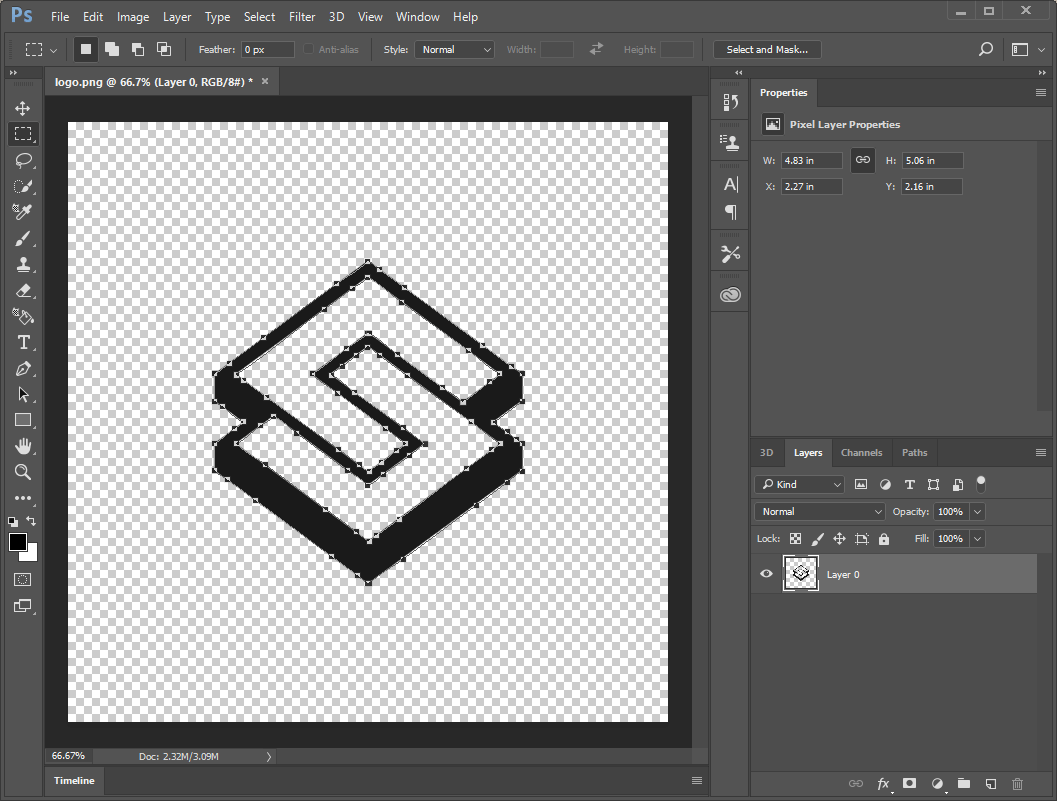
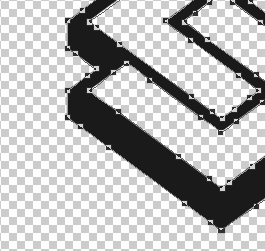
Paths will be indicated by black anchor points that are connected together with a solid thin line.
Step 3: Export The Paths To An Illustrator File
Now all we have to do is simply export our document in an editable vector format using the Export Paths to Illustrator feature in Photoshop. Simply go to File > Export > Paths To Illustrator, and choose where you’d like to save your file.
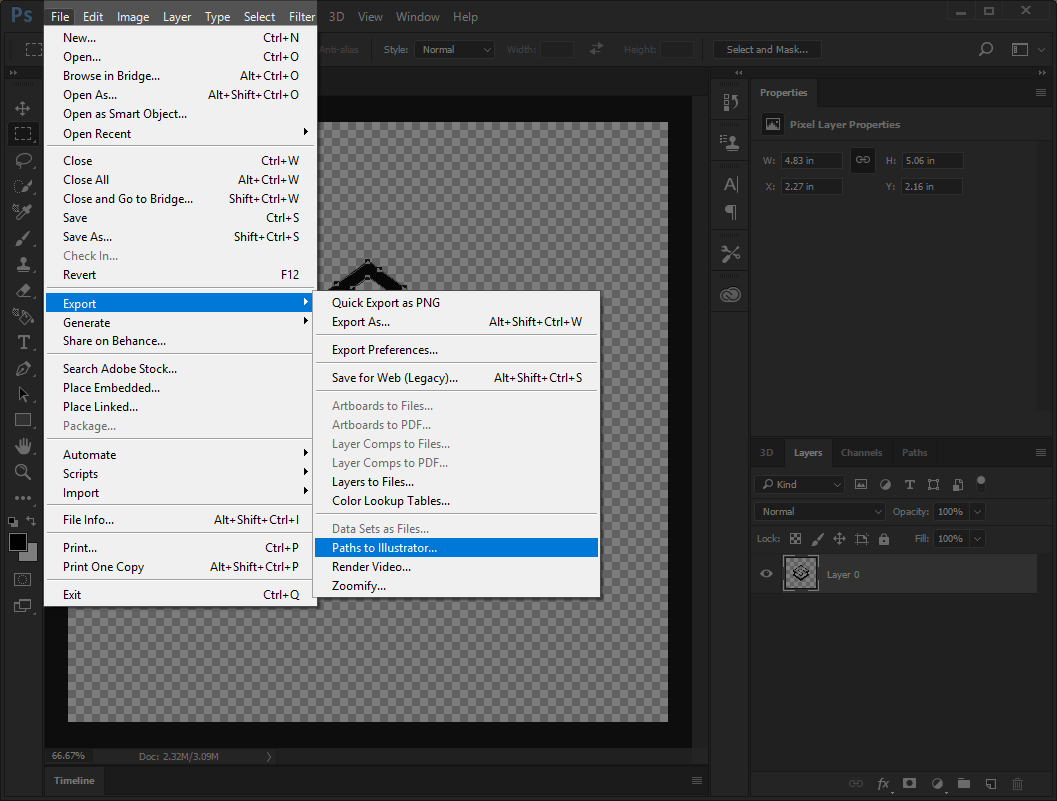
This will generate a .ai (Adobe Illustrator) file that can be opened and edited with Illustrator (or a free alternative like Inkscape,) or any other vector graphics program.
Step 4: Tweak The File in Illustrator As Needed
All you have to do now is open your .ai file with Illustrator and make the necessary adjustments. Press Control + Y on the keyboard to go into outline mode and see exactly where your vector paths are.
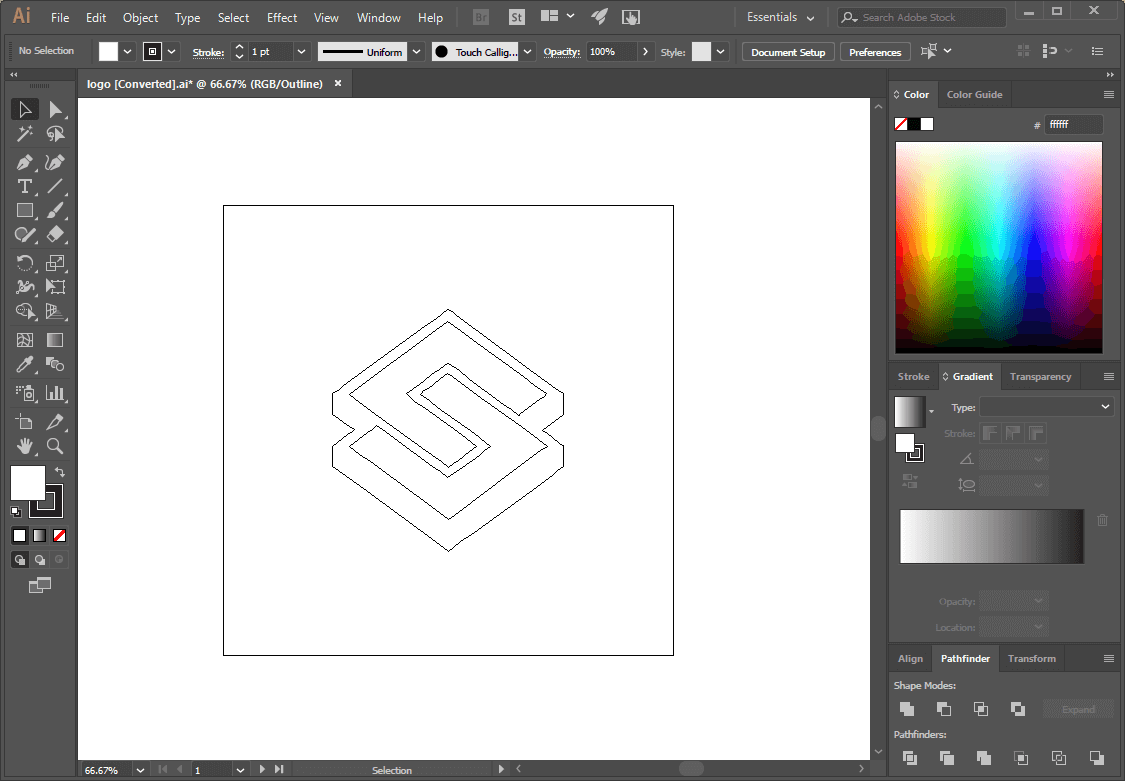
You can now fill your logo in with whatever colors you’d like, save/export it in your desired vector format, and you’re done! That is how you can vectorize a PNG logo with Photoshop.
Learn To Master The SoftwareGain a complete understanding of your favorite design apps with my comprehensive collection of video courses. Each course grants access to our private community where you can ask questions and get help when needed.
|
||||||||||||||||||||||||||||||||


christine zvosec
I have a logo i am trying to edit because the lines on it are way to small and to many for my machine to cut. I tried what you said but it is not working for me.
It’s the Steven’s Engineering logo. Its an orange circle with many many lines. What can i try?