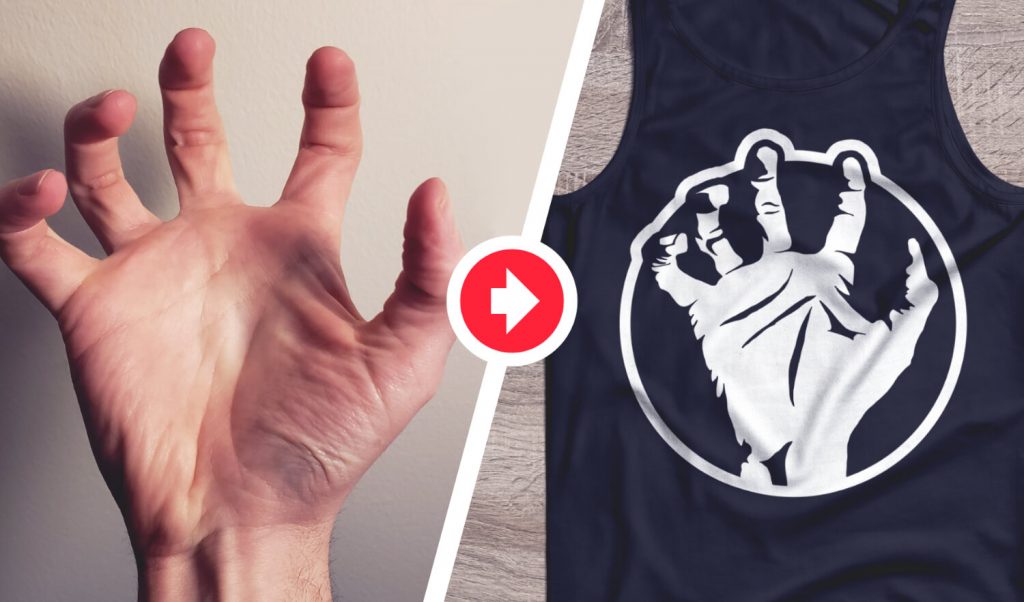
Turn Photos Into Logos with GIMP
Turn Photos Into Logos with GIMP https://logosbynick.com/wp-content/uploads/2019/01/turn-photos-into-logos-1024x602.jpg 1024 602 Nick Saporito https://secure.gravatar.com/avatar/8e31bf392f0ba8850f29a1a2e833cdd020909bfd44613c7e222072c40e031c34?s=96&d=mm&r=gIn today’s tutorial I’ll be demonstrating how you can take a photo and trace it into a whimsical-style hand drawn logo using GIMP version 2.10. The following is just a brief outline of the steps taken. For complete step-by-step instructions and voice narration, watch the following video tutorial:
Continue on for the written instructions.
Tracing Photos with GIMP
The first thing we’ll need is a photo of a subject you’d like to trace. For this tutorial, I’ll be using a photo of my hand that I took using my phone. Download the photo below if you’d like to follow along with what I’m doing, otherwise feel free to grab your phone and take a picture of your own hand (or anything else for that matter.)

Click to download
The first thing we’re going to do is remove the saturation from the photo then use the Curves function to deepen the shadows a bit.

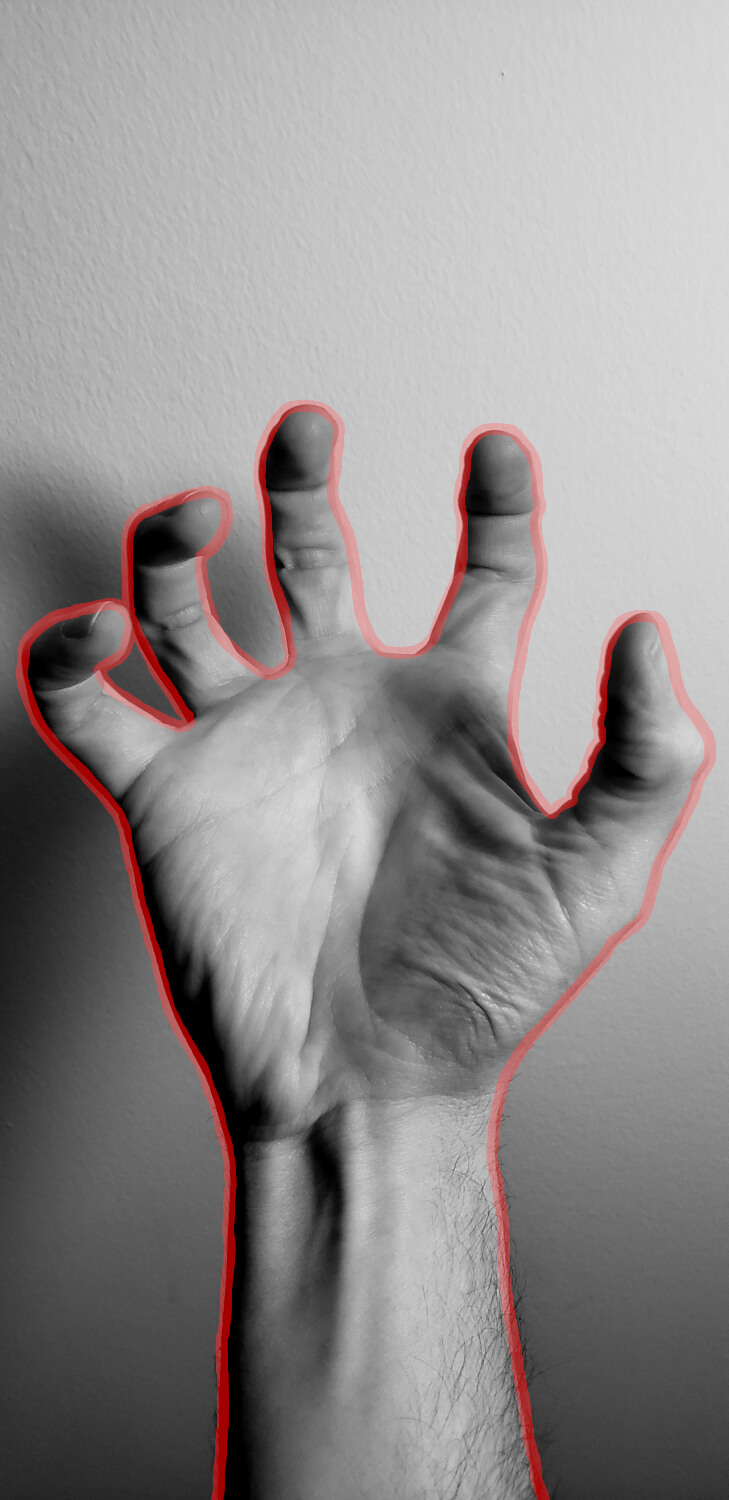
Next, we’ll create a new partially-transparent layer on top of the photo and use the paintbrush to trace around the outline of the subject. Don’t worry about the lines seeming whimsical and not precise — that’s actually the look we’re going for.
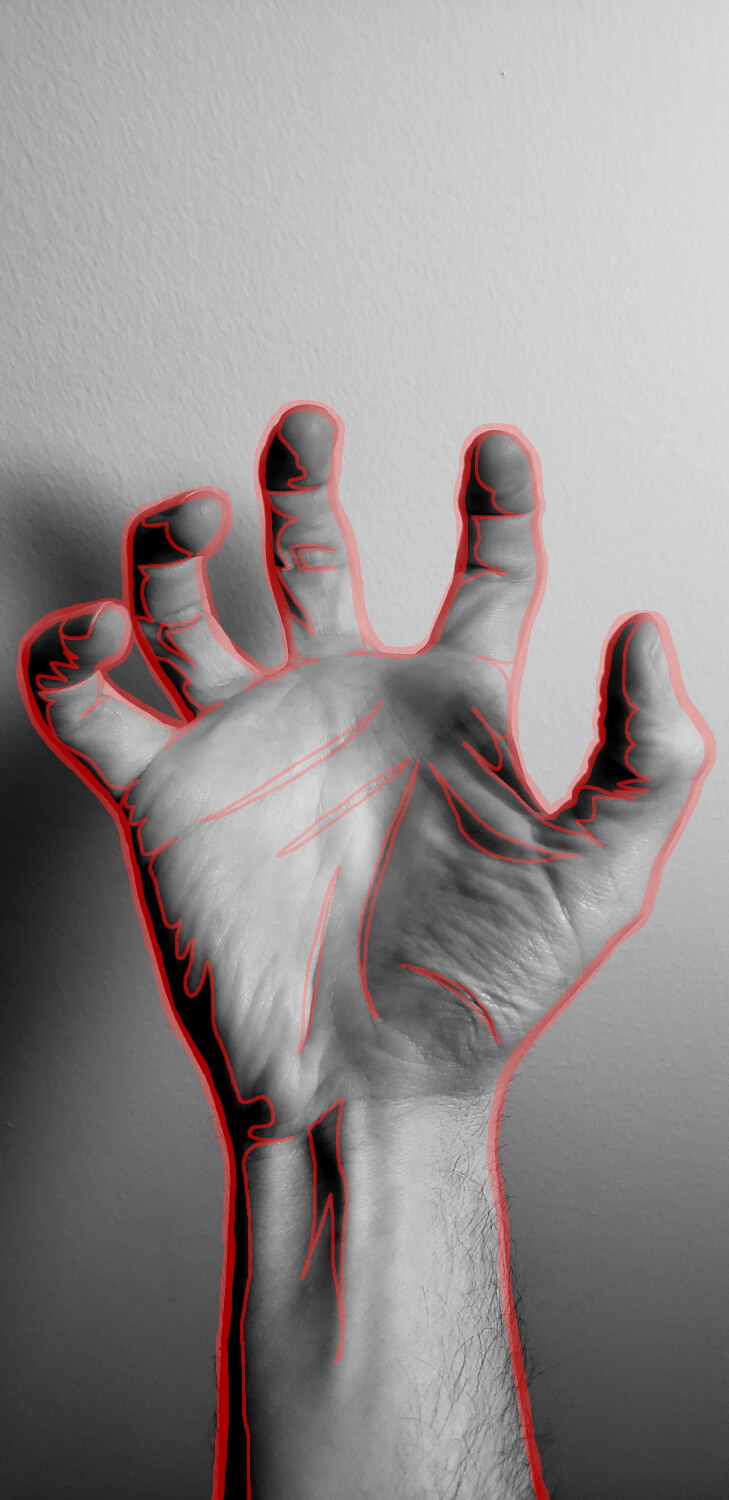
Now reduce the size of the brush and start tracing the inner shadows of the subject.
To fill in the shadow areas we’ll use the Bucket Fill tool.
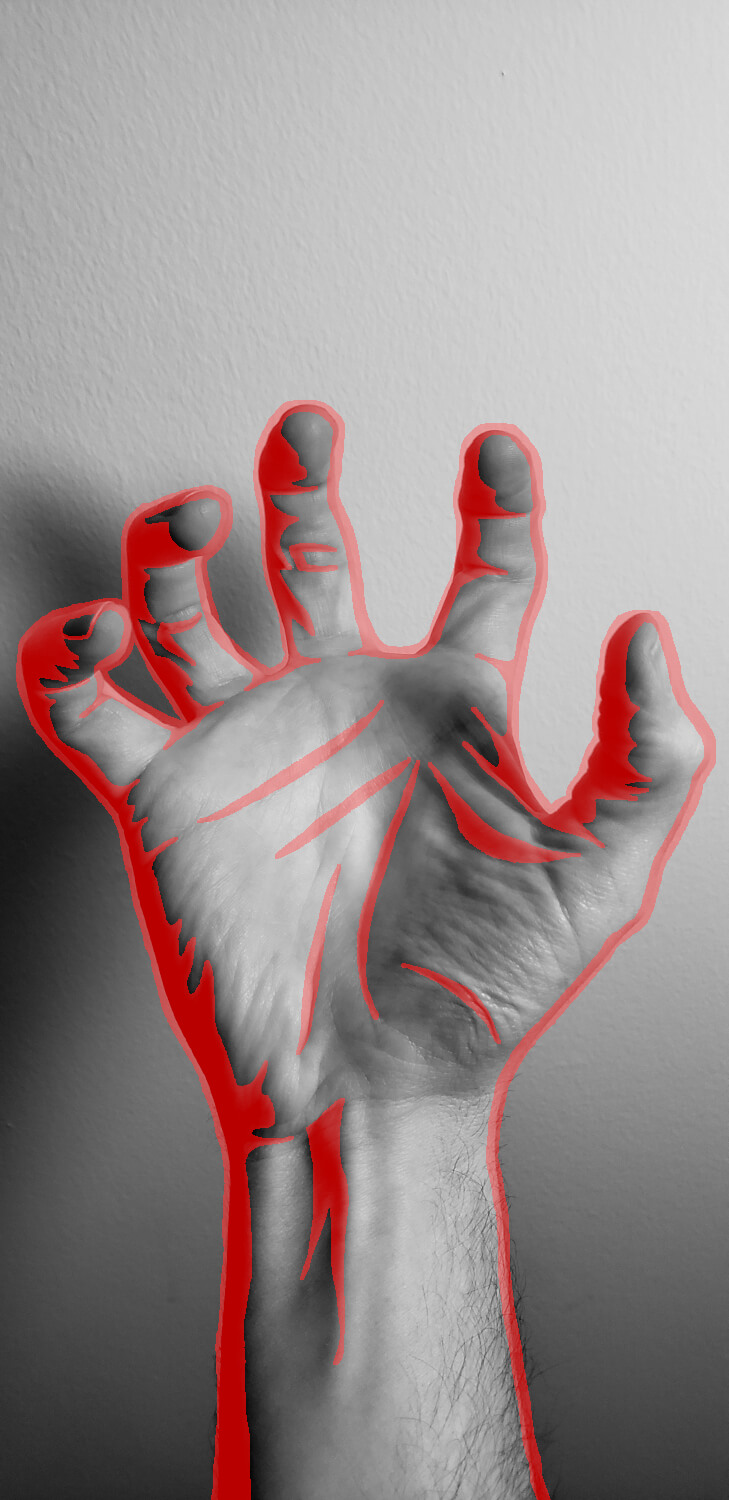
Now we can bring the opacity back up to 100% and use the Threshold function to make the sketch entirely black.

Creating The Logo
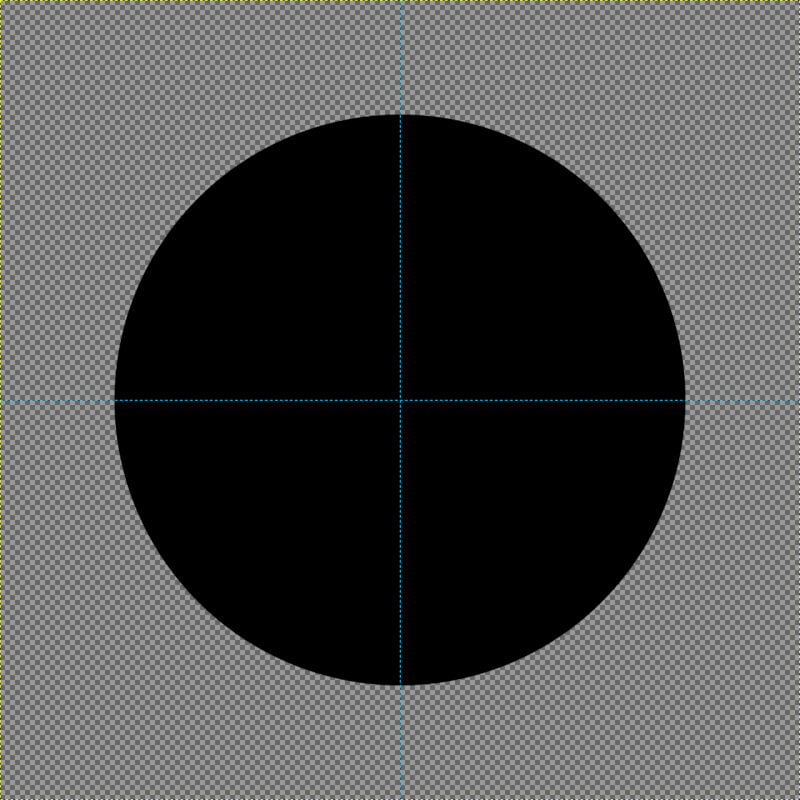
Now that the tracing is complete, it’s time to make it into a logo. Open a new document sized at 1,280 x 1,280 pixels and place horizontal and vertical guides at 50%, then use those guides as a reference to create a black circle in the center of the canvas.
Next, we’ll drop the opacity of the circle to 50%, then paste the hand tracing as a new layer and place it within the circle, but with the fingers protruding from the circle.

Grab the Eraser tool and start erasing the portions of the circle within the hand.
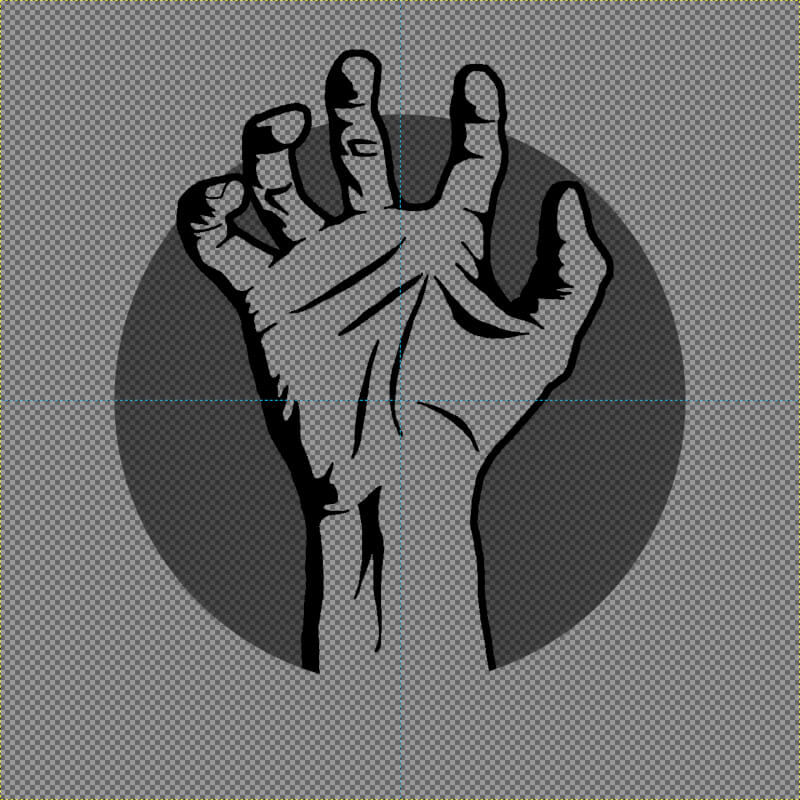
Now we can bring the opacity of the circle back up to 100% and add a white outline to the entire design.

And with that, our logo is complete! You can now export it as a PNG with a transparent background and use it however you’d like.
Learn To Master The SoftwareGain a complete understanding of your favorite design apps with my comprehensive collection of video courses. Each course grants access to our private community where you can ask questions and get help when needed.
|
||||||||||||||||||||||||||||||||


Hey Nick great tutorial.
What should we do when the client need the logo in the vector form. Because The edges are still looking Pixelated kind which will be an issue after printing the Tshirt, The border shows the Boxes kind weird look.
Any quick way to fix that brother 🙂 ????
You’ll have to trace a vector copy of it. If you use the Trace Bitmap feature in Inkscape then it’ll only take a minute.
I think you are a wonderful tutor. Thank you.
Glad to help!
Hi Nick, I can use this design for my t shirts in marketplace?
As long as you create it yourself using a photo of your own hand then yes, of course. You don’t need my permission for that. If you’re referring to the design that I made in this demonstration then I’d rather it not be resold, sorry.
sir how to plce a phhoto like hand photo on gimp screen
File > Open
I am trying to follow the tutorial 4 the hand logo and I am not seeing how to change the size of the brush. I am completely stuck because my layout on my screen using gimp looks different from your horse. The bottom left side of the screen on gimp is empty on my screen
What’s super awesome about this (aside from the finished product) is that you have both a video AND the instructions on site. Videos are nice but they’re hard to follow step by step sometimes. Having such a beautifully laid out instruction set is nice for people like me who have to keep pausing videos.
Thanks!
Hey Nick,
Huge fan of yours. You seem to be my only reliable resource for helping to turn my creative passion in to a lucrative career (without having to pay for Adobe Illustrator 😂). Inkscape has been my main tool for creating logos, but GIMP has proven to be an invaluable option for doing mockups to use on my website or to share on social media.
Just from following your tutorials, both of these programs have become a lot more intuitive for me. Another option on this specific “zombie hand” tutorial would have been to merge down the layer you created to add the white outline around the fingers with the original white circle. That way, you wouldn’t have needed to create the layer mask. Just a thought.
Anyways, keep up the great work. You are extremely talented and I will continue to learn from you on a regular basis. Thank you for being a wealth of knowledge and sharing it with the world.
Best Regards,
Doug
P.S. I downloaded your eBook about logo design and that has helped me tremendously! Thanks again.
Thanks for your feedback Doug, glad to help!