How To Rasterize A Vector Object In Inkscape (And Why You Should)
How To Rasterize A Vector Object In Inkscape (And Why You Should) https://logosbynick.com/wp-content/uploads/2023/07/how-to-rasterize-inkscape.webp 1000 587 Nick Saporito Nick Saporito https://secure.gravatar.com/avatar/8e31bf392f0ba8850f29a1a2e833cdd020909bfd44613c7e222072c40e031c34?s=96&d=mm&r=g- Nick Saporito
- no comments
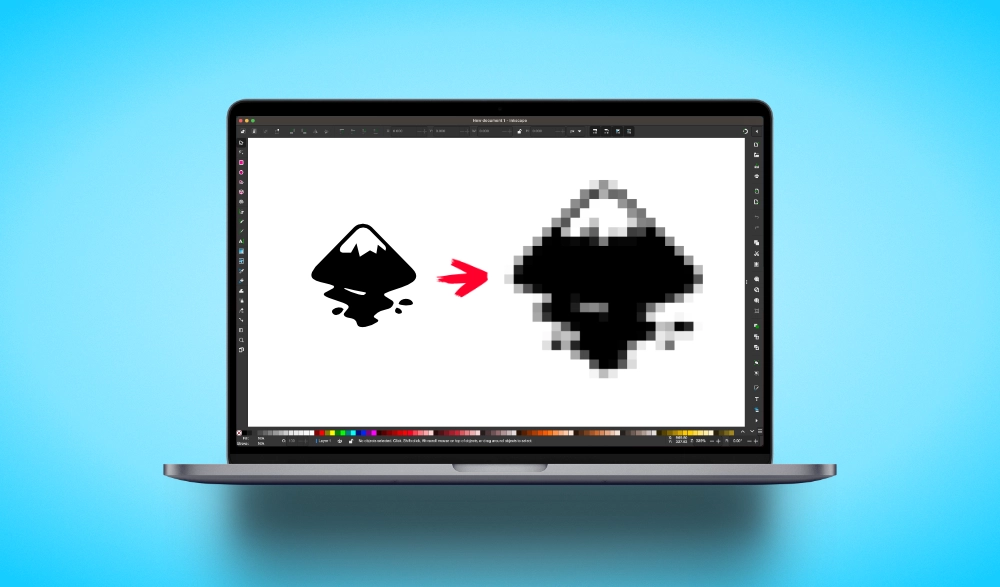
In this tutorial we’ll be going over how you can make rasterized (or pixel-based) copies of vector elements in Inkscape. More importantly though, we’ll be going over why you would want to do such a thing.
To clarify, we won’t be going over how to export/save raster copies (you can check this tutorial if that’s what you’re looking for) but rather how to make a rasterized copy on your canvas that you can immediately work with.
To accomplish this we’ll be using a simple feature built into Inkscape, known as “Make A Bitmap Copy“. Let’s have a look.
How To Rasterize In Inkscape
And it’s literally that simple. Watch the video tutorial below for a demonstration as well as instructions for how to increase the bitmap’s resolution:
Continue on for a step-by-step breakdown.
Table of Contents |
Why Rasterize?
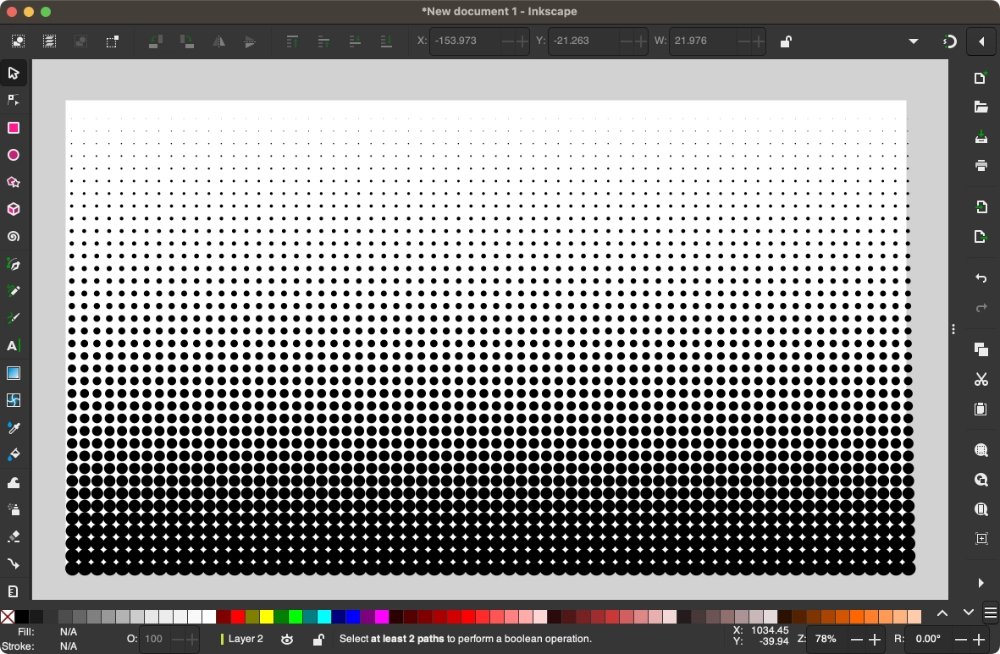
The million dollar question is, if Inkscape is a vector-based editor, why would you want to rasterize a vector element anyway? A good example of why this sort of thing is useful would be a the vector halftone pattern that we made in a previous tutorial:

Designs that contain lots of individual nodes and elements can slow down the application and worsen performance.
This design consists of hundreds (maybe even thousands) of individual vector circles, and the software has to process the data of every one of those elements individually. This can lead to slowdowns and crashing when working with elaborate designs with lots of elements, making it difficult to continue working with the document.
Generating a raster (pixel-based) copy of everything will free up lots of CPU resources and make the software run more efficiently. Then, you can continue adding to your design without having to endure painful slowdowns and frequent crashes.
Rasterize By Making A Bitmap Copy
To rasterize a vector element in Inkscape, simply select it and navigate to:
Edit > Make A Bitmap Copy
You can also perform this function using the following keyboard shortcuts:
- For Windows and Linux users: Alt + B
- For Mac users: Option + B
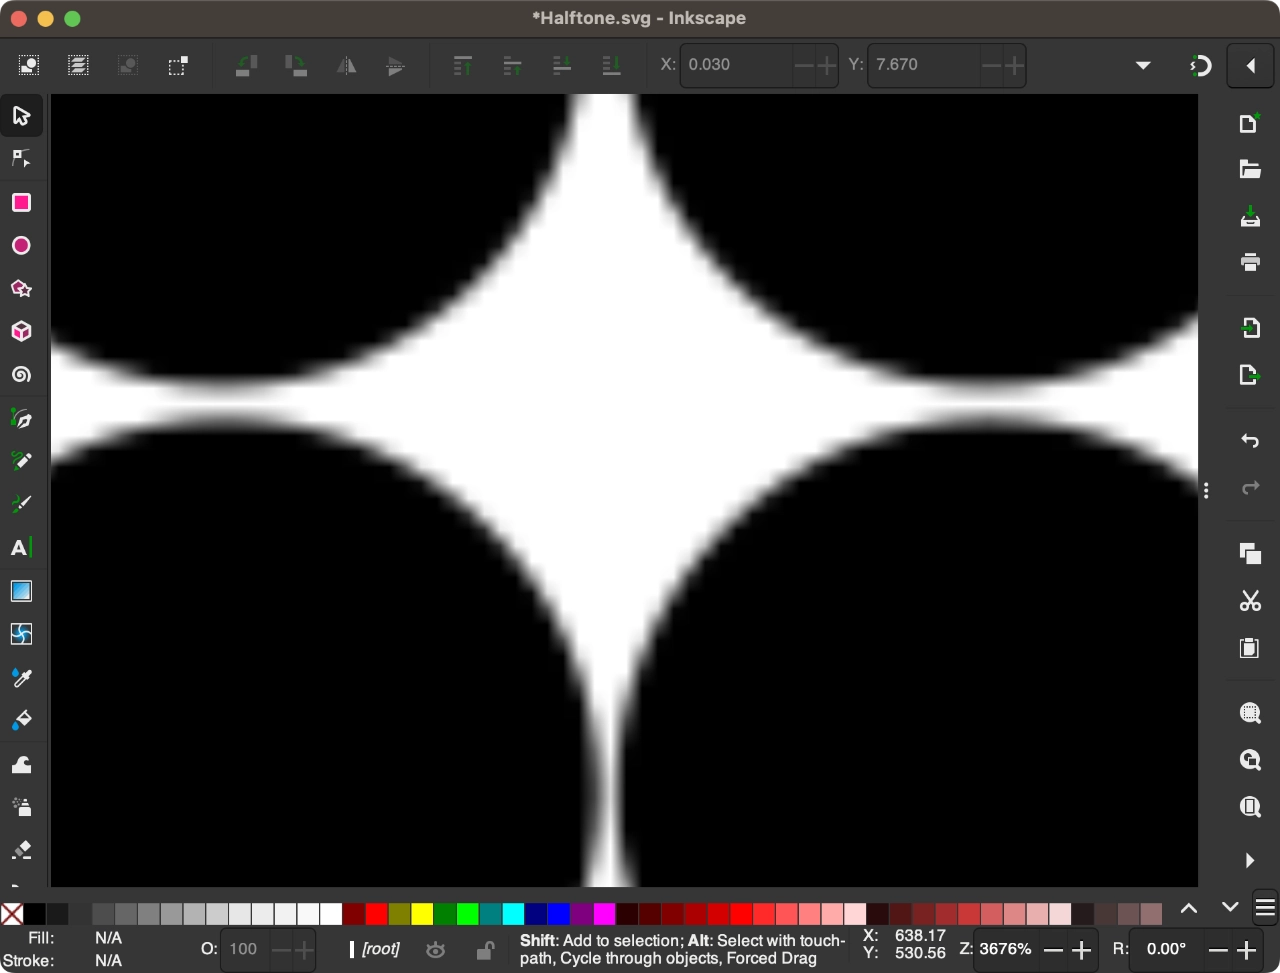
Once applied, Inkscape will generate a pixel-based copy of the selection on to of the original selection. You can zoom into it to confirm that it is indeed rasterized:

You can zoom in to see the pixelation and confirm that it has indeed been converted to raster (click to enlarge.)
Now you can use the Layers menu to place this raster copy on its own layer, turn off the visibility of the original layer, and performance will be vastly improved (check the video tutorial at the beginning of the post if you need help with that.)
Increase The Resolution Of Rasterized Objects
One problem you may encounter when rasterizing objects in Inkscape is that the resolution (or image quality) of the bitmap copy isn’t up to snuff. This can be improved in the Inkscape Preferences menu. To access it:
- For Windows and Linux users: Control + Shift + P
- For Mac users: Command + Shift + P
Within the menu, select the Imported Images option on the left-hand side of the screen:
Look for the input box that reads “Resolution for Create Bitmap Copy” and change the value from 96 to something much higher (I recommend 300 personally.)
Once applied, you can close the menu and the next time you create a rasterized element with this feature the resulting bitmap be of a much higher image quality.
In Conclusion
Although Inkscape is a vector-based application, that doesn’t mean that pixels and bitmaps can’t serve a useful role. Rasterizing vector elements in Inkscape is an excellent way to free up system resources and improve the software’s performance.
Learn To Master The SoftwareGain a complete understanding of your favorite design apps with my comprehensive collection of video courses. Each course grants access to our private community where you can ask questions and get help when needed.
|
||||||||||||||||||||||||||||||||
- Post Tags:
- inkscape
- Posted In:
- Inkscape
- Open Source
- Tutorials
Nick Saporito
Hi, I'm Nick— a Philadelphia-based graphic designer with over 10 years of experience. Each year millions of users learn how to use design software to express their creativity using my tutorials here and on YouTube.
All stories by: Nick Saporito


Leave a Reply