
How To Make A Color Transparent In GIMP
How To Make A Color Transparent In GIMP https://logosbynick.com/wp-content/uploads/2021/05/make-color-transparent-gimp.png 800 470 Nick Saporito https://secure.gravatar.com/avatar/8e31bf392f0ba8850f29a1a2e833cdd020909bfd44613c7e222072c40e031c34?s=96&d=mm&r=gGIMP’s robust suite of tools and features allow you to manipulate your images in many different ways. One of the ways in which you can edit your photos is by isolating a single color — or a spectrum of similar colors — and deleting it to transparency. In this tutorial I’ll be demonstrating how to do just that as we use the Color to Alpha feature to make a color transparent in GIMP.
There’s actually several ways in which you can make a color transparent in GIMP. One way you can do so is by using the Select By Color tool, which you can use to click on a single color. When clicked, every other pixel of your image that has a similar color will be selected at once, and from there you can simply press Delete on your keyboard to make it transparent.
A more advanced method, though, would be the Color to Alpha feature, which we’ll be focusing on in this tutorial. This method is preferred because it gives you more granular control over the threshold of your transparent and opaque areas. Let’s dive in.
Make A Color Transparent In GIMP
The following video tutorial will walk you through the process of using GIMP to select a single color and replace it with transparency:
Continue on for a brief overview of the steps taken in this lesson.
Table of Contents |
Step 1: Open the Color to Alpha menu
To make a color transparent in GIMP we’ll be using the Color to Alpha feature.
This tool allows you to move a single color within an image — or a range of similar colors — to the alpha channel, which will result in transparency.
To access this menu, navigate to Colors > Color to Alpha. The following menu should populate:

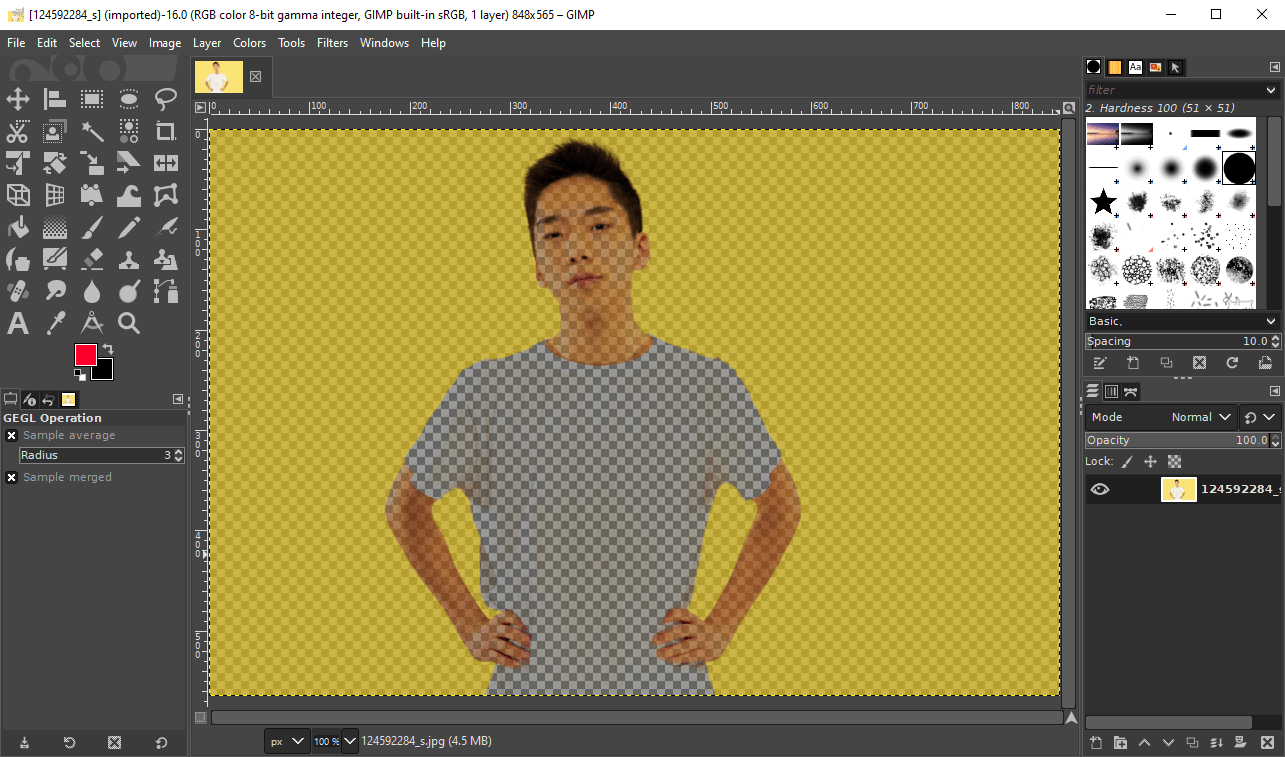
Once opened, you should notice that a large portion of the image on your canvas becomes partially transparent:

Your image may look something like this when you first open the Color to Alpha menu.
The reason why this happens is because by default, the Color field in the Color to Alpha menu is white (as indicated by the white stripe in the menu.) This means that the white portion of all of the colors in your image are reduced to transparency based on a scale of how much white the color contains. Lighter areas become more transparent, whereas darker areas remain more opaque.
Step 2: Pick the color that you’d like to make transparent
To pick the color that you’d like to make transparent in GIMP, click on the dropper icon in the Color to Alpha menu labelled “pick color from the image” when you hover your cursor over it. It’s the first item at the top of the list, located next to the white stripe:
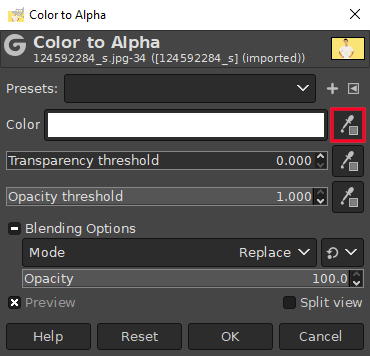
The dropper icon to select is highlighted in red.
With the dropper selected, click on the area of your image that contains the color you’d like to make transparent. Alternatively, you can also click on the white stripe to manually input a color code if you prefer to do it that way.
For this example image I will be making the shirt color transparent, so I clicked on the area of the image where the shirt is.
Step 3: Set the farthest full-transparency color
Seeing as how nuanced the color composition of images can be, chances are you don’t just want to make a single color transparent. Ideally, you’d want to make all similar colors transparent as well.
For example, the color of the shirt in my image is white, but there’s many different grayscale shades that need to be made transparent as well, otherwise the shirt wont be entirely transparent. This is where the Color to Alpha tool begins to shine.
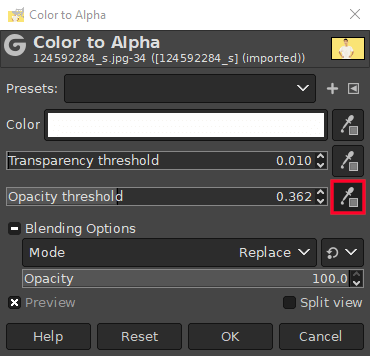
Within the menu, select the middle dropper icon labelled “pick the farthest full-transparency color” when you hover your cursor over it:

Use this tool to select the brightest area of your image that contains the color that you’d like to make transparent. For my example, I’ll be clicking on the whitest area:
You should notice that your selection is beginning to appear more accurate in the preview window.
Step 4: Set the nearest full-opacity color
Now that you’ve told GIMP which pixels should be entirely transparent, it’s time to tell it which pixels should remain fully opaque.
To do so, click on the last dropper icon at the bottom of the list, labelled “pick nearest full-opacity color” when you hover your cursor over it:
Click on an area of the image that contains colors that you’d like to remain fully opaque.
Seeing as how your image will most likely have lots of different colors you’d like to remain opaque, you may have to select several different colors to see what gets the best result. You can also click and drag over your image to see how each of these colors react in real time.
Step 5: Adjust the opacity and transparency threshold as needed
At this point we are nearly finished. However, as you can see in my example image, there is still some discoloration in the shirt, meaning there are white pixels that still need to be selected. This is where the threshold sliders come into play.
Within the Color to Alpha menu you will see two adjustment sliders:
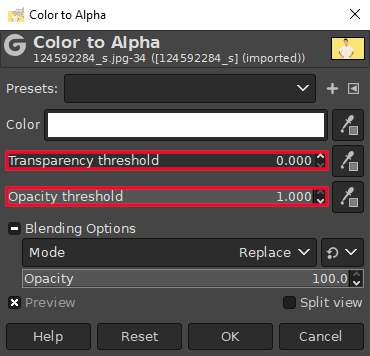
- Transparency threshold: this controls the intensity of the transparent areas. Increasing it will grab more colors from the spectrum and make them transparent. Decreasing it will have the opposite effect.
- Opacity threshold: this control the intensity of the opaque area. Increasing it will make more colors in the selected spectrum more opaque. Decreasing it will have the opposite effect.
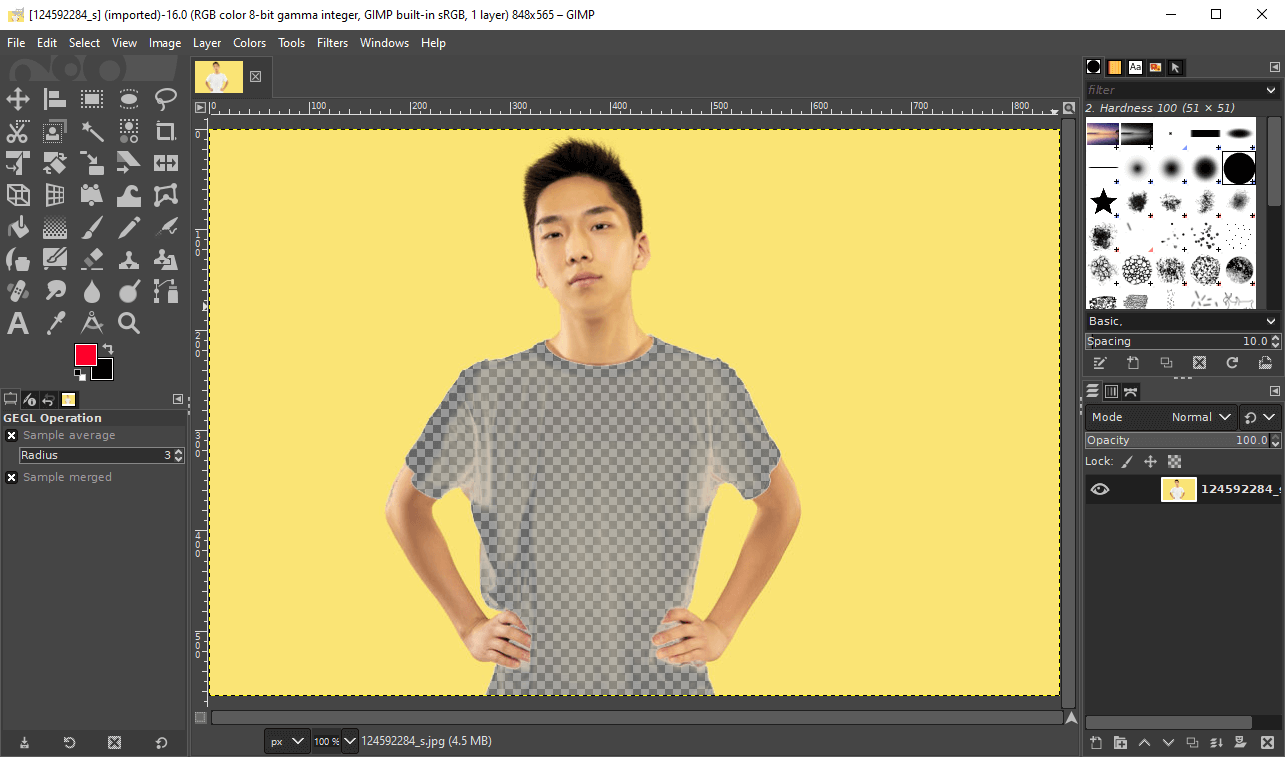
Adjust each of these sliders to tweak your selection. The values you should use will differ for each image. There’s no real formula for doing this, so just eyeball it and adjust these sliders until you get your desired result:
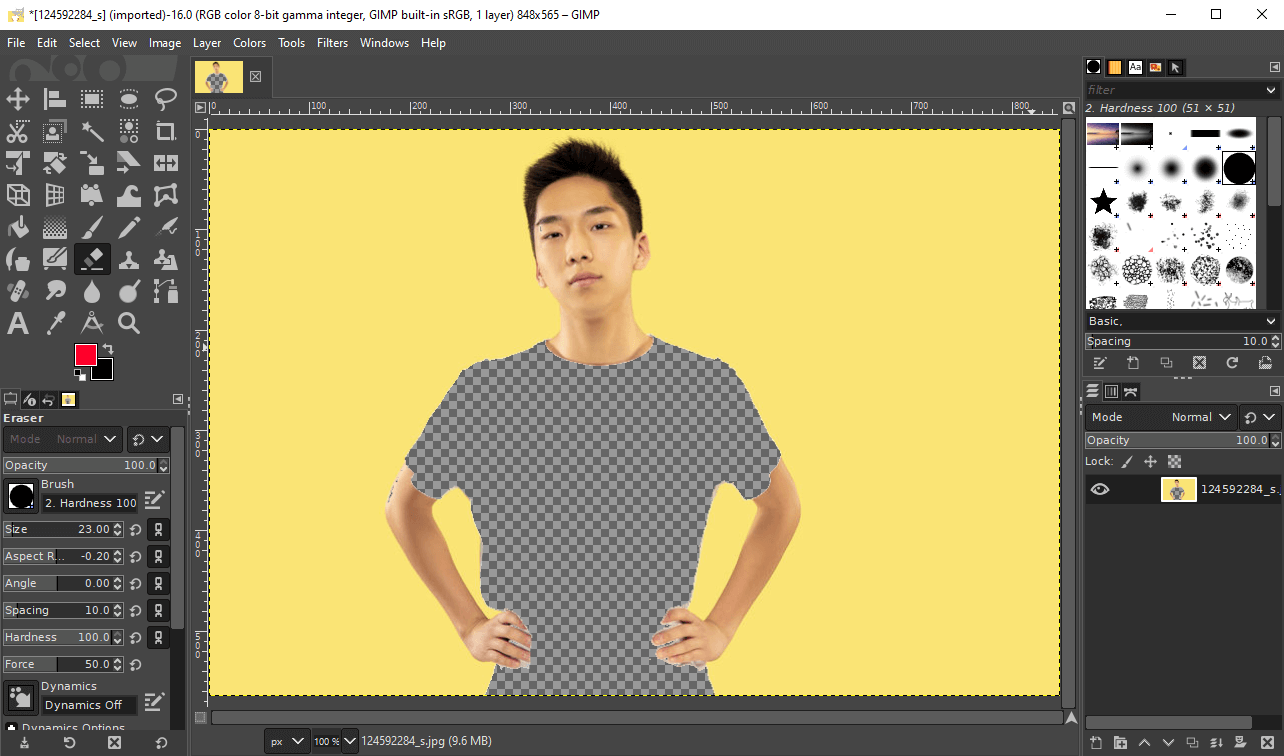
As you can see, I was able to use the Color to Alpha feature to make a color transparent in GIMP.
Once you are happy with the adjustments, simply click the OK button to apply your changes and make your chosen color transparent!
Conclusion
Unfortunately, there’s no perfect way to make a color transparent in GIMP. Regardless of the chosen technique, you are most likely going to end up with imperfections, as is the case with my example image. This feature probably won’t be the entire solution for you, but it can do most of the heavy lifting.
Once you have eliminated the base of the colors you’d like to make transparent, you can go through with the Eraser tool and erase out any outstanding pixels that may have slipped through the cracks. You can also go back and color in any pixels that you wanted to remain opaque, but may have been made transparent.
If you have any questions or need clarification for any the steps taken in this tutorial, simply leave a comment below.
Learn To Master The SoftwareGain a complete understanding of your favorite design apps with my comprehensive collection of video courses. Each course grants access to our private community where you can ask questions and get help when needed.
|
||||||||||||||||||||||||||||||||


I am trying to make the area outside of a smart scissors area transparent. I was not able to do it using your directions. Can you help more?
Couldn’t you just invert the selection? (Select > Invert) and then try deleting.